Home>Production & Technology>Stereo>How To Make Cooler Stereo
Stereo
How To Make Cooler Stereo
Modified: January 22, 2024
Learn how to make a cooler stereo system that will enhance your listening experience. Perfect for those who want to enjoy high-quality sound with their favorite beats.
(Many of the links in this article redirect to a specific reviewed product. Your purchase of these products through affiliate links helps to generate commission for AudioLover.com, at no extra cost. Learn more)
Table of Contents
Introduction
Are you an avid music lover who wants to bring your tunes with you everywhere you go? Do you enjoy outdoor gatherings and parties, but feel like something is missing? Well, look no further! In this article, we will guide you through the steps of making a cooler stereo that will not only keep your drinks cold but also provide high-quality sound for your entertainment.
The concept of a cooler stereo is simple – it combines the functionality of a cooler with the audio capabilities of a stereo system. Imagine having a portable, self-contained music player that can accompany you on camping trips, beach outings, and tailgate parties. With a cooler stereo, you can enjoy your favorite songs while keeping your beverages refreshingly chilled.
Creating your own DIY cooler stereo is an exciting and rewarding project. Not only will it save you money compared to purchasing a pre-made one, but it will also allow you to customize the design to your preferences. Whether you are a tech-savvy enthusiast or a beginner, don’t worry – this guide is designed to be accessible for everyone.
In the following steps, we will explore the materials needed, the process of preparing the cooler, mounting the stereo components, wiring the system, testing and troubleshooting, securing the components, and adding final touches and customization. Before we dive into the details, it is important to note that safety should always be a top priority. Make sure to follow the instructions carefully and take necessary precautions when working with power tools and electrical wiring.
So, grab your toolset, put on your favorite tunes, and let’s get started on creating your very own cooler stereo that will be the talk of every gathering!
Step 1: Gathering Materials
Before you start building your cooler stereo, it’s essential to gather all the necessary materials and tools. By having everything prepared, you can ensure a smooth and efficient construction process. Here is a list of the items you will need:
- A portable cooler – Choose a cooler with a spacious interior that can accommodate the stereo components and still have room for your beverages.
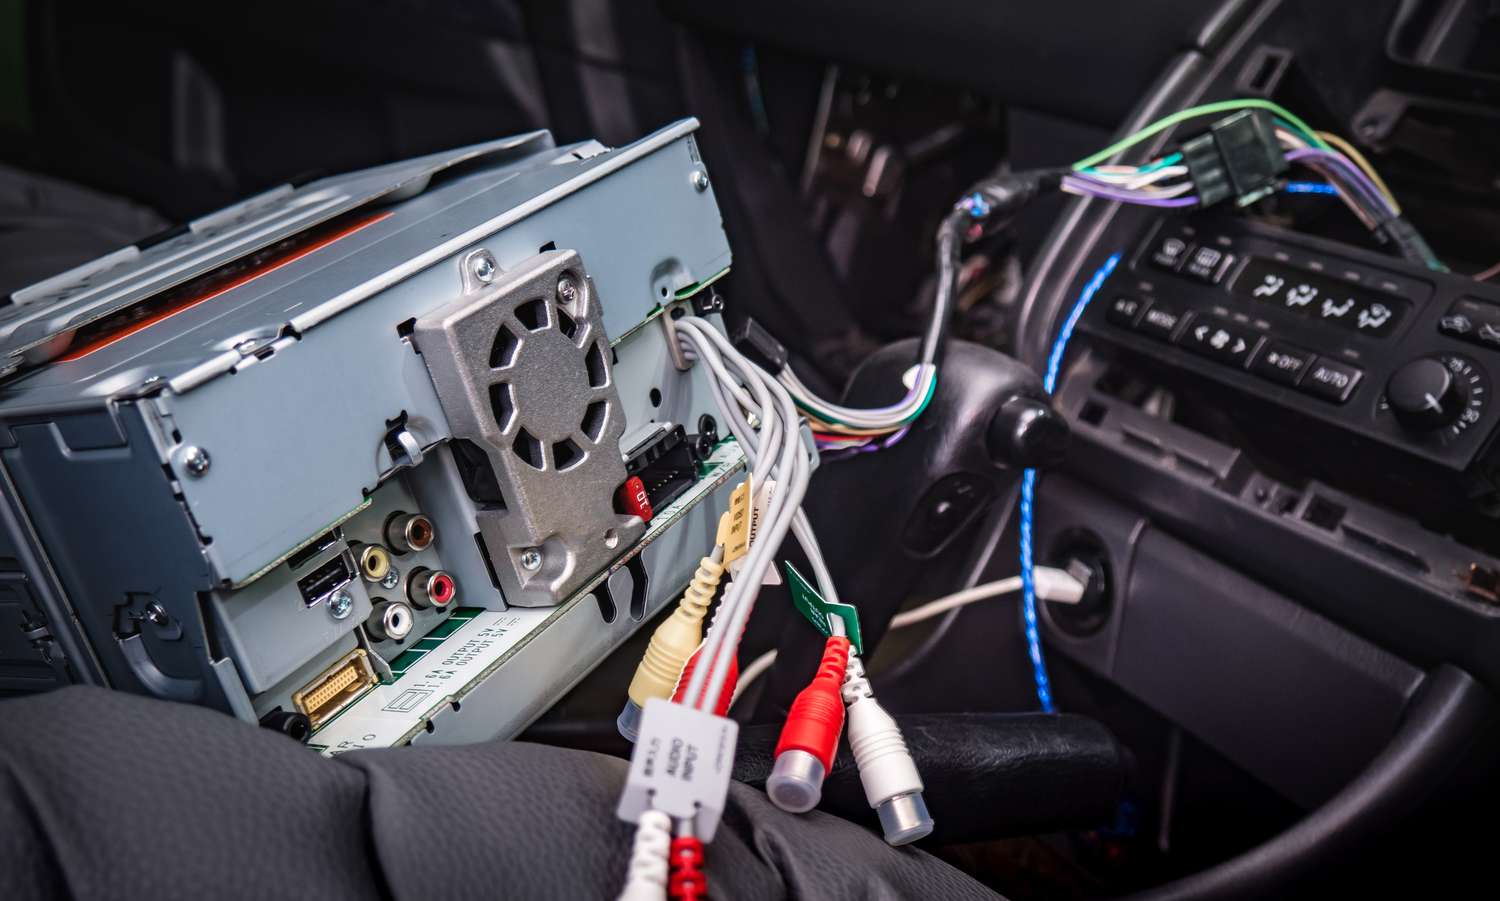
- A stereo system – Look for a compact stereo system that fits your desired sound quality and features. You can opt for a Bluetooth-enabled system for wireless connectivity.
- Power supply – Depending on the stereo system’s power requirements, you may need a battery pack, a power inverter, or a power cable to connect to a nearby power source.
- Speakers – Select waterproof or water-resistant speakers that can withstand outdoor conditions and deliver superior sound quality.
- Wiring and connectors – Get the necessary wires, cables, connectors, and terminal blocks to connect the stereo components together.
- Insulation and soundproofing material – Add insulation to keep your beverages cold and minimize vibrations and unwanted noise.
- Mounting hardware – You’ll need brackets, screws, and other hardware to secure the stereo components and speakers inside the cooler.
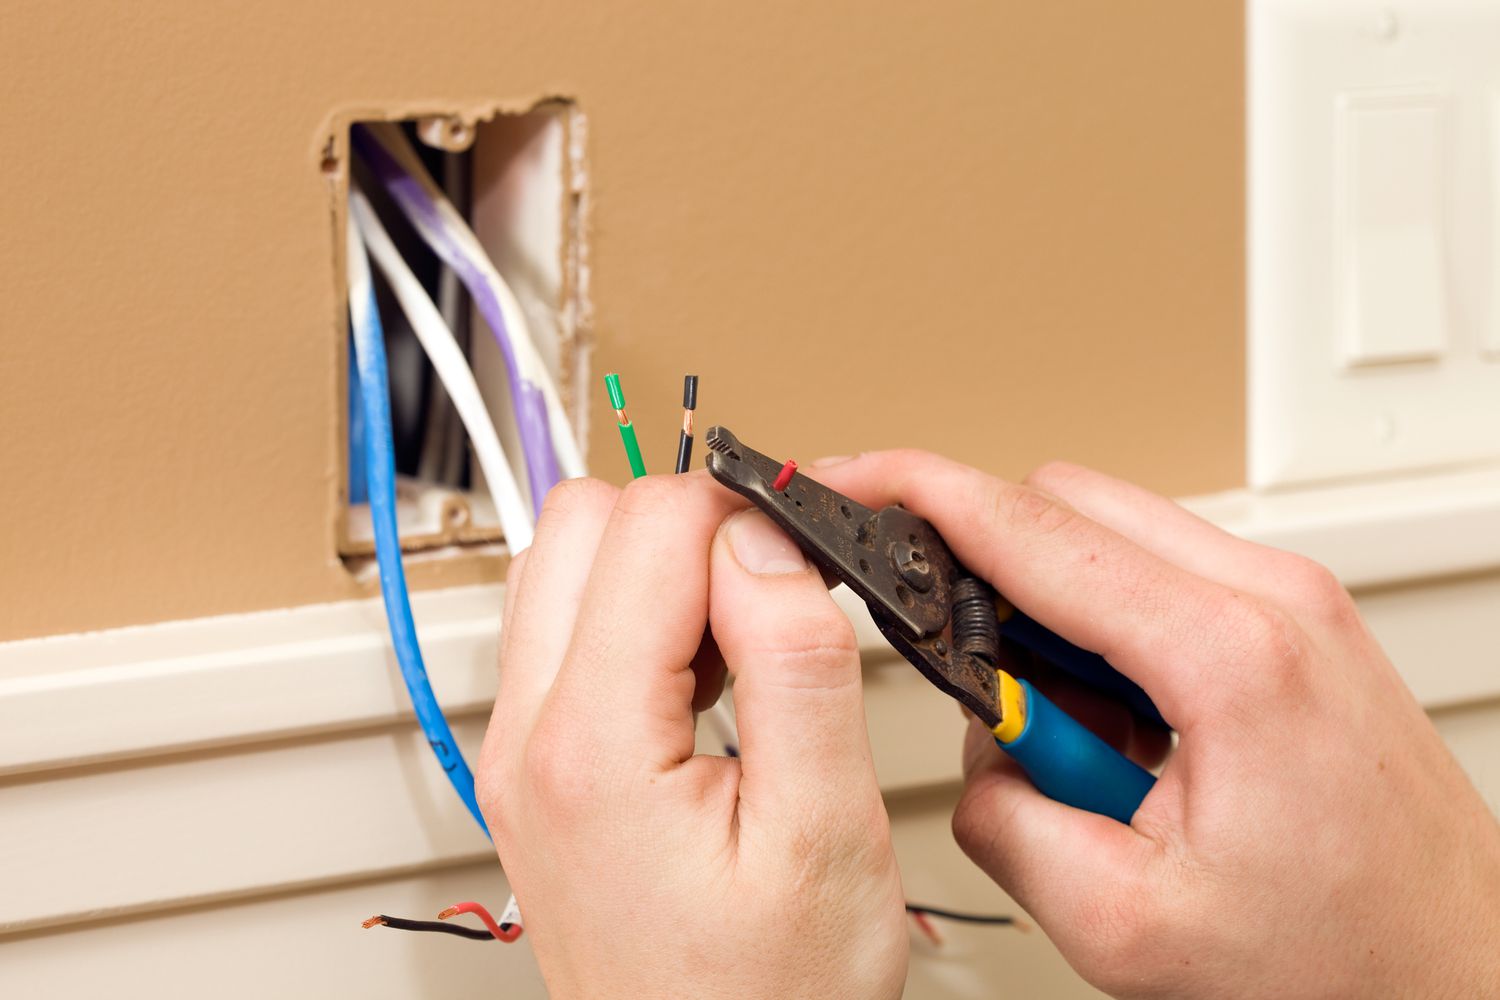
- Tools – Prepare a set of basic tools such as a screwdriver, drill, wire cutter, wire stripper, and a utility knife.
Taking the time to gather the materials mentioned above ensures that you have everything you need within reach, preventing any unnecessary delays during the construction process. Additionally, consider the quality and durability of the materials to ensure a long-lasting and efficient cooler stereo system.
Now that you have your materials ready, it’s time to move on to the next step – preparing the cooler for the installation of the stereo components.
Step 2: Preparing the Cooler
Now that you have gathered all the necessary materials, it’s time to prepare the cooler for the installation of the stereo components. This step involves creating the necessary openings and modifications to accommodate the speakers, wires, and other components. Follow these guidelines to ensure a proper setup:
- Choose a location: Decide where you want to position the stereo components inside the cooler. Keep in mind that you’ll need to make openings for the speakers, wires, and power source without compromising the integrity of the cooler’s insulation and structure.
- Mark the openings: Use a tape measure and a marker to mark the locations of the speaker openings on the cooler lid. Ensure they are evenly spaced and appropriately sized to fit the speakers.
- Cut the openings: Using a utility knife or a hole saw, carefully cut along the marked lines to create the speaker openings. Take your time and make sure the cuts are clean and precise.
- Create a power access point: Depending on your chosen power source, you may need to create a small opening on the side or bottom of the cooler to connect the power cable or battery pack. Ensure the size of the access point is sufficient for the power connector to fit through.
- Seal the openings: To maintain insulation and prevent water from seeping into the cooler, apply a waterproof sealant or adhesive around the edges of the speaker openings and the power access point. This step will help keep your cooler stereo waterproof and durable.
Preparing the cooler for the installation of the stereo components is a critical step in ensuring a successful and functional cooler stereo system. Take your time to make precise cuts, seal the openings properly, and ensure the integrity of the cooler is maintained.
With the cooler prepared, we’re ready to move on to the next step – mounting the stereo components.
Step 3: Mounting the Stereo Components
With the cooler prepared and the openings created, it’s time to mount the stereo components inside the cooler. Proper mounting ensures stability and allows for easy access to the controls and ports. Follow these steps to securely install the stereo components:
- Position the stereo system: Decide where you want to place the main stereo unit inside the cooler. Consider accessibility to the controls and visibility of the display. Use mounting brackets or adhesive strips to secure the stereo system in place.
- Mount the speakers: With the speaker openings created in the cooler lid, carefully insert the speakers from the underside. Align them properly and secure them using the provided mounting hardware or adhesive strips. Ensure the speakers are secured tightly to prevent any movement or vibrations.
- Arrange the wiring: Organize the wiring neatly to avoid tangling or interference. Use cable ties or adhesive clips to secure the wires against the cooler walls or underside of the lid. Keep the wires away from any moving parts or sharp edges to prevent damage.
- Connect the components: Follow the manufacturer’s instructions to connect the speakers and power source to the stereo system. Double-check the connections to ensure they are secure and properly aligned. If using a battery pack, install it in a secure location within the cooler.
When mounting the stereo components, it is crucial to ensure a stable and secure installation. This will prevent any damage to the components and ensure optimal sound quality. Take your time to position and align the components properly, and use the provided hardware or adhesive strips for a reliable fit.
Now that the stereo components are successfully mounted, we can move on to the next step – wiring the stereo system to bring it to life!
Step 4: Wiring the Stereo System
With the stereo components securely mounted inside the cooler, it’s time to wire the system and establish the necessary connections. Proper wiring ensures the seamless flow of audio signals and power, resulting in high-quality sound output. Follow these steps to wire the stereo system:
- Plan the wiring route: Determine the most efficient and organized route for the wires. Consider the accessibility of the connections and the need to keep the wires away from any potential hazards or sharp edges.
- Connect the speakers: Using the appropriate wiring and connectors, connect the speakers to the designated speaker outputs on the stereo system. Follow the color coding or instructions provided by the manufacturer to ensure correct polarity.
- Connect the power source: Depending on the power requirements of your stereo system, connect the power source. For battery-powered setups, connect the battery pack to the designated power input. If using a power inverter or cable, ensure a secure and proper connection to a nearby power source.
- Connect any auxiliary devices: If your stereo system has auxiliary inputs, such as Bluetooth or audio-in ports, connect any additional devices or sources you want to use. This could include smartphones, MP3 players, or other audio sources.
- Tidy up the wiring: After the connections are made, tidy up the wiring inside the cooler. Secure any loose wires using cable ties or adhesive clips. Ensure all wires are properly insulated and protected from potential damage.
When wiring the stereo system, it’s essential to follow the manufacturer’s instructions and ensure a secure and proper connection for each component. Take your time to organize the wiring and double-check all connections to avoid any loose or faulty connections.
With the stereo system fully wired, it’s time to move on to the next step – testing and troubleshooting the setup to ensure it functions properly.
Step 5: Testing and Troubleshooting
After successfully wiring the stereo system, it’s crucial to test and troubleshoot the setup to ensure everything is functioning as intended. This step will help identify any issues or errors that need to be addressed before using the cooler stereo for your entertainment needs. Follow these steps for testing and troubleshooting:
- Power up the system: Turn on the stereo system and ensure it receives power either from the battery pack or the connected power source. Check the battery levels or the power indicator on the stereo system to confirm the power supply.
- Check the audio output: Play some music or audio to test the quality and volume from the speakers. Ensure all speakers are producing sound and that there are no distortions or anomalies in the audio output.
- Test auxiliary inputs: If you connected any auxiliary devices, such as a smartphone or MP3 player, test the connection and ensure the audio is playing through the stereo system as expected.
- Troubleshoot any issues: If you encounter any issues during testing, such as no sound, inconsistent audio quality, or connection problems, troubleshoot the problem. Check the wiring connections, adjust the volume levels, or consult the stereo system’s user manual for specific troubleshooting steps.
- Make necessary adjustments: Based on your testing and troubleshooting, make any required adjustments to improve the sound quality or resolve any issues. This may include repositioning the speakers, securing loose connections, or adjusting settings on the stereo system.
Testing and troubleshooting are crucial steps to ensure the functionality and performance of your cooler stereo system. Take your time to identify and address any issues before finalizing the setup. It’s better to fix any problems now rather than encountering them during your outdoor gatherings.
Once you have tested and successfully resolved any issues, you can proceed to the next step – securing the components inside the cooler to prevent any movement or damage.
Step 6: Securing the Components
Now that you have tested and ensured that the cooler stereo system is functioning properly, it’s time to secure the components inside the cooler. This step is crucial to prevent any movement or damage to the stereo system while in transit or during use. Follow these steps to securely fasten the components:
- Use mounting brackets or adhesive strips: Check the mounting brackets or adhesive strips that came with the stereo system and speakers. Attach them securely to the cooler and the components to prevent any shifting or vibrations.
- Secure the power source: If you’re using a battery pack, secure it inside the cooler using straps or Velcro. This will prevent it from moving around and potentially causing damage to the system.
- Ensure a snug fit: Check that all the stereo components are properly seated and snugly fit inside the cooler. They should not move or shake when the cooler is in use or being transported.
- Consider shock absorption: If you anticipate rough handling or transportation, you may want to add some additional padding or shock-absorbing material inside the cooler. This will provide extra protection for the components against impacts and vibrations.
- Double-check connections: Before securing everything in place, double-check all the wiring connections to ensure they are tight and secure. Any loose or faulty connections should be fixed before finalizing the setup.
Securing the components inside the cooler is essential for the longevity and functionality of your cooler stereo system. Taking the time to properly fasten the components will prevent any damage and ensure a stable and reliable setup. This step is especially important if you plan on using the cooler stereo for outdoor activities and transportation.
Once the components are securely mounted and fastened, you can proceed to the final step – adding the finishing touches and customizing your cooler stereo to make it uniquely yours.
Step 7: Final Touches and Customization
Congratulations! You have successfully built a functional and portable cooler stereo system. Now, it’s time to add those final touches and customize it to make it uniquely yours. This step allows you to personalize the cooler stereo and add some additional features or aesthetics. Here are some ideas for final touches and customizations:
- Decorate the exterior: Use stickers, decals, or paint to add some flair to the outside of the cooler. You can choose designs that reflect your personality, favorite bands, or sports teams.
- Add LED lights: Install LED lights inside the cooler to create a vibrant and visually appealing atmosphere. You can choose lights that change colors or synchronize with the music to enhance the party vibes.
- Upgrade the insulation: Consider adding extra insulation to the cooler to improve its cooling capability. This can be done by lining the inside with foam insulation or using insulating panels.
- Install a bottle opener: Attach a bottle opener to the side of the cooler for convenience during your gatherings. This simple addition can be very handy for opening your favorite beverages.
- Create a storage compartment: If you have extra space inside the cooler, add a small storage compartment for items such as charging cables, extra batteries, or other essentials.
- Add a built-in USB charger: Install a USB charging port inside the cooler to keep your devices powered up while enjoying your favorite tunes.
These are just a few ideas to get you started, but feel free to let your imagination run wild and add any additional customization that suits your preferences. From adding a built-in radio to a built-in cup holder, the possibilities are endless.
Remember, the key is to make the cooler stereo system uniquely yours and tailored to your needs and style. With the finishing touches and customizations complete, you’re now ready to bring the party wherever you go!
Congratulations once again on building your own cooler stereo system. Enjoy the music and the convenience of having your favorite tunes and cold beverages in one portable and stylish package.
Stay cool and rock on!
Conclusion
Building your own cooler stereo system is a fun and rewarding project that allows you to combine your love for music with the practicality of a portable cooler. By following the steps outlined in this guide, you can create a unique and personalized cooler stereo that will be the life of every outdoor gathering.
Throughout the process, we discussed the importance of gathering the necessary materials, preparing the cooler, mounting the stereo components, wiring the system, testing and troubleshooting, securing the components, and adding final touches and customization. Each step plays a crucial role in ensuring the functionality, durability, and performance of your cooler stereo.
Remember to prioritize safety when working with power tools and electrical wiring. Take your time, carefully follow the instructions, and don’t hesitate to seek professional assistance if needed.
Once your cooler stereo is complete, you’ll be able to enjoy your favorite tunes while keeping your beverages cool in one convenient package. Take it to the beach, on camping trips, or use it for tailgate parties – the possibilities are endless.
Don’t be afraid to get creative and add your personal touch to the cooler stereo. Whether it’s through decorating the exterior, customizing the lighting, or adding extra features like a bottle opener or a USB charger, make it uniquely yours.
Now, it’s time to grab your cooler stereo, gather your friends and family, and enjoy countless hours of music and fun-filled gatherings. Get ready to impress everyone with your DIY skills and party-ready cooler stereo system.
Thank you for following this guide, and we hope you have an amazing time with your new cooler stereo!