Home>Production & Technology>Stereo>How To Set The Clock On A Kenwood Stereo

Stereo
How To Set The Clock On A Kenwood Stereo
Modified: January 22, 2024
Learn how to set the clock on your Kenwood stereo easily. Follow our step-by-step guide to ensure accurate timekeeping.
(Many of the links in this article redirect to a specific reviewed product. Your purchase of these products through affiliate links helps to generate commission for AudioLover.com, at no extra cost. Learn more)
Table of Contents
Introduction
Welcome to this guide on how to set the clock on a Kenwood stereo. Whether you’ve recently purchased a Kenwood stereo system or have been struggling to figure out how to change the time on your current setup, this article will provide you with step-by-step instructions to help you easily synchronize your stereo’s clock.
Setting the clock is an essential task, as it ensures that your stereo displays the correct time. This is particularly important if you rely on your stereo’s clock for daily activities, such as waking up to your favorite radio station or keeping track of time during a road trip.
The procedure for setting the clock may vary slightly depending on the model of your Kenwood stereo, but the basic steps remain the same. This guide will walk you through a general method that can be applied to most Kenwood stereos.
Before we delve into the steps, it’s essential to ensure that your Kenwood stereo is powered on and functioning properly. Make sure that the stereo is connected to a power source and turned on before you begin the clock-setting process.
Now, let’s jump into the steps and get your Kenwood stereo’s clock accurately set!
Step 1: Power on the Kenwood stereo
The first step in setting the clock on your Kenwood stereo is to ensure that it is properly powered on. Look for the power button on your stereo’s control panel and press it to turn on the device. If your stereo has a separate power source, such as a power cord or battery, make sure it is properly connected or charged.
As you power on the stereo, you may hear a startup sound or see the display light up. This indicates that the stereo is receiving power and ready for operation. Give it a few seconds to fully boot up before moving on to the next steps.
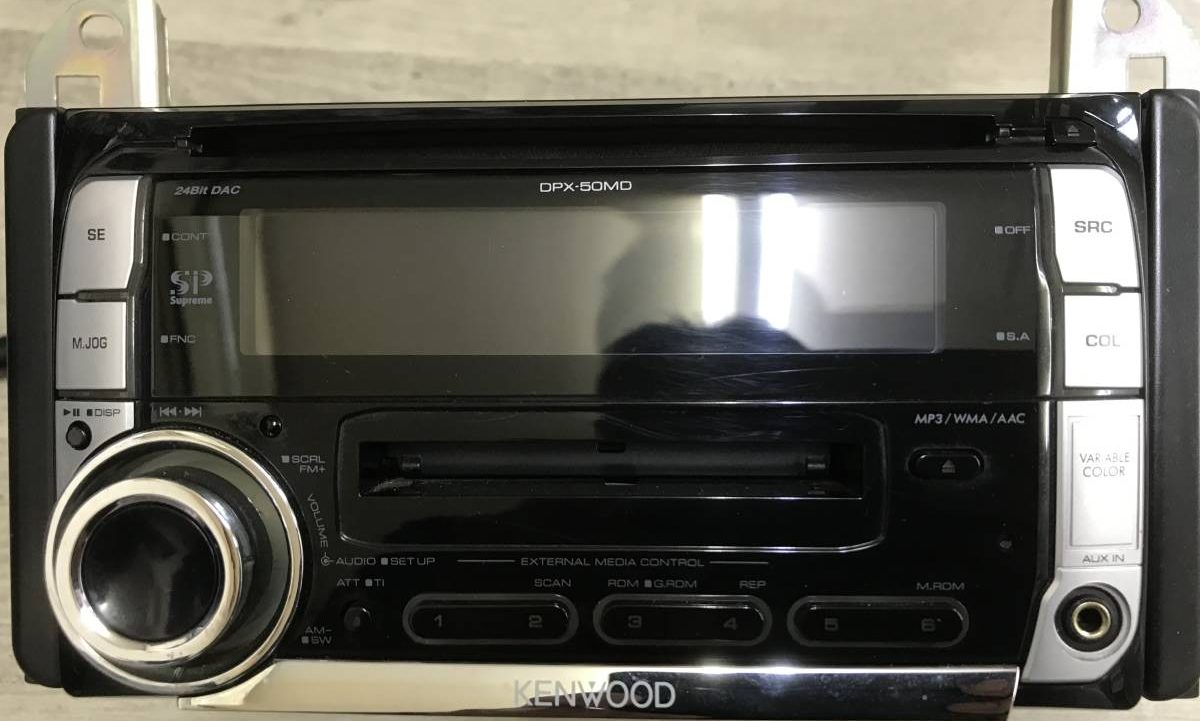
Please note that the location of the power button may vary depending on the model of your Kenwood stereo. It is typically located on the front panel, either as a standalone button or part of a cluster of control buttons. If you’re having trouble locating the power button, consult your stereo’s user manual for assistance.
Once your Kenwood stereo is powered on, you are ready to proceed to the next step of accessing the menu settings.
Step 2: Access the “Setup” menu
After ensuring that your Kenwood stereo is powered on, the next step is to access the “Setup” menu. This menu contains various settings and configurations for your stereo, including the clock adjustment.
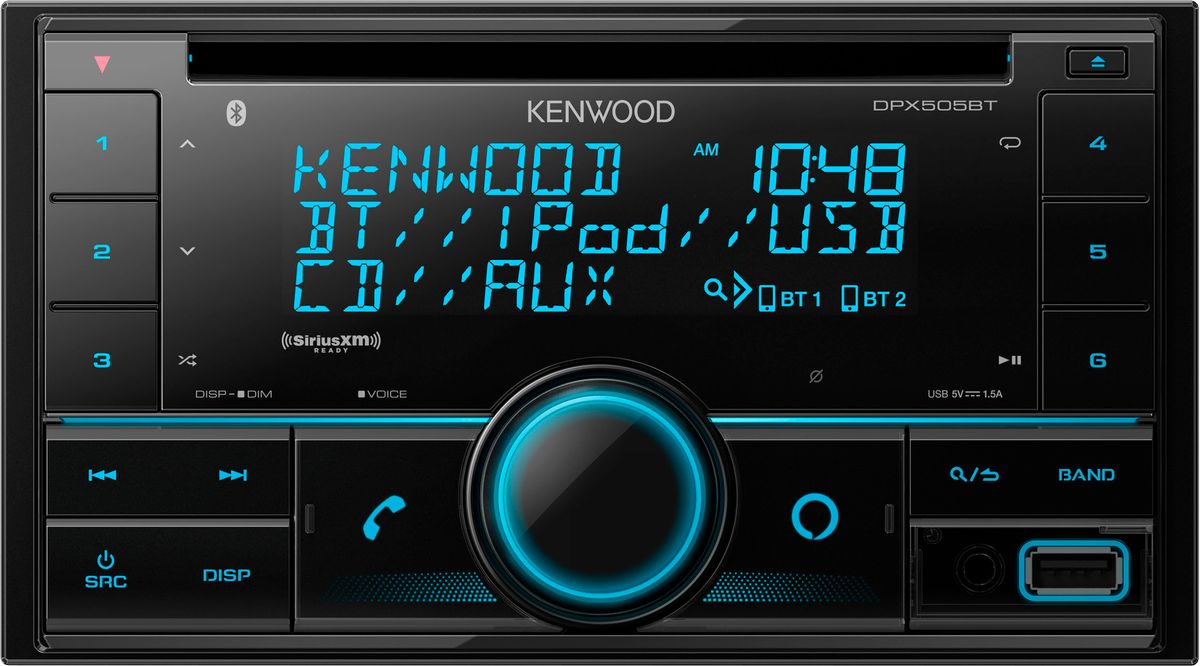
To access the “Setup” menu, locate the dedicated button on your stereo’s control panel. The button is often labeled “Setup” or “Menu” and is typically located near the display screen or within a cluster of control buttons.
Press the “Setup” button to enter the menu. On some Kenwood stereo models, you may need to press and hold the button for a few seconds to activate the menu interface. The display screen should now show the “Setup” menu options.
If you’re having trouble finding the “Setup” button or accessing the menu, refer to your stereo’s user manual for specific instructions tailored to your model.
Once you have successfully entered the “Setup” menu, you’re ready to proceed to the next step and navigate to the “Clock” settings.
Step 3: Navigate to the “Clock” settings
Now that you have accessed the “Setup” menu on your Kenwood stereo, it’s time to navigate to the “Clock” settings. This is where you will find the options to adjust and set the time on your stereo.
Using the control buttons on your stereo, navigate through the “Setup” menu options until you find the “Clock” settings. The specific location of the “Clock” settings may vary depending on your Kenwood stereo model, but it is typically located within the primary or secondary menu options.
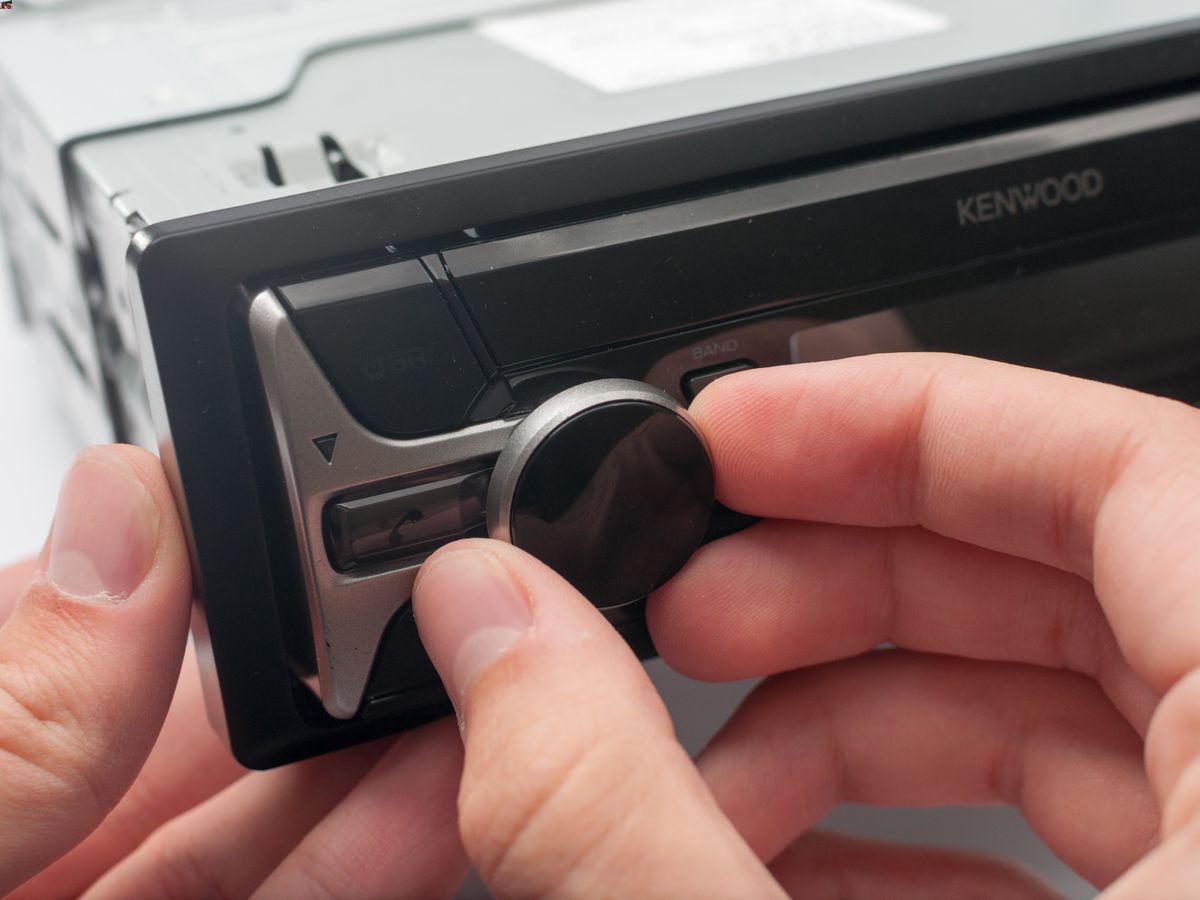
Scroll through the menu using the arrow buttons or the rotary knob, depending on the design of your stereo. Look for labels such as “Clock,” “Time,” or “Time Settings” to identify the correct option.
Once you have located the “Clock” settings, proceed to the next step to adjust the hours on your stereo’s clock.
Step 4: Adjust the hours
Now that you have successfully navigated to the “Clock” settings on your Kenwood stereo, it’s time to adjust the hours on the clock display.
Using the control buttons or the rotary knob, find the option to adjust the hours. In most cases, this option will be labeled as “Hour” or “Hours.”
Once you have located the “Hour” setting, you can begin adjusting the displayed hours. Depending on your stereo’s design, you may need to press a button to increase or decrease the hours, or rotate the knob clockwise or counterclockwise to make the adjustment.
Pay close attention to the current time displayed and make the necessary changes to ensure that the hour is accurate. Take into account whether the displayed time is in 12-hour or 24-hour format, as this will influence how you adjust the hours.
Continue making adjustments until the correct hour is displayed on your Kenwood stereo’s clock. Once you are satisfied with the changes, proceed to the next step to set the minutes.
Step 5: Set the minutes
After adjusting the hours on your Kenwood stereo’s clock, it’s time to move on to setting the minutes. This step will ensure that the time displayed is accurate down to the minute.
Using the control buttons or the rotary knob, locate the option to adjust the minutes. It is typically labeled as “Minute” or “Minutes.”
Once you have found the “Minute” setting, you can begin adjusting the displayed minutes. Similar to adjusting the hours, you may need to press a button or rotate the knob to increase or decrease the minutes.
Pay attention to the current time displayed and make the necessary changes to ensure that the minutes are accurate. Take into account whether the displayed time is in 12-hour or 24-hour format to avoid any confusion when adjusting the minutes.
Continue making adjustments until the correct minutes are displayed on your Kenwood stereo’s clock. Take your time to ensure precision and accuracy in setting the minutes.
Once you are satisfied with the minute adjustments, move on to the next step to choose the desired time format.
Step 6: Choose the desired time format
After setting the hours and minutes on your Kenwood stereo’s clock, you have the option to choose the desired time format. This step allows you to select whether you prefer a 12-hour or 24-hour time display.
Using the control buttons or the rotary knob, navigate to the time format settings. It may be labeled as “Time Format,” “Clock Format,” or something similar.
Once you have located the time format settings, you can choose between the available options. For a 12-hour format, you will typically have the choice of AM/PM or 12H, while a 24-hour format is usually labeled as 24H.
Select the time format that suits your preference by pressing the corresponding button or rotating the knob. Take note of the displayed time as you make the selection to ensure that it aligns with your chosen format.
After choosing the desired time format, move on to the final step to save and apply the changes to your Kenwood stereo’s clock.
Step 7: Save the changes
After adjusting the hours, minutes, and time format on your Kenwood stereo’s clock, it’s time to save and apply the changes. This step ensures that the new settings are stored and that your stereo’s clock will display the accurate time going forward.
Using the control buttons or the rotary knob, navigate to the option to save the changes. It may be labeled as “Save,” “Apply,” or something similar.
Once you have found the option to save the changes, press the corresponding button or select it by rotating the knob. Your Kenwood stereo will then apply the new settings to the clock display.
Take a moment to verify that the updated time and time format are correctly displayed on your stereo’s clock. Ensure that the hour, minute, and AM/PM or 24H format are all accurate.
If the displayed time and format are correct, congratulations! You have successfully set the clock on your Kenwood stereo. It will now accurately display the current time whenever you power on the stereo.
However, if you notice any discrepancies or need to make further adjustments, simply repeat the previous steps to make the necessary changes. Remember to save the new settings once you’ve made the adjustments.
With the changes saved and applied, you can now enjoy the convenience of having an accurate clock on your Kenwood stereo. Whether you’re using it in your car or at home, you can rely on the displayed time to help you stay punctual and organized.
That concludes our guide on how to set the clock on a Kenwood stereo. We hope that this step-by-step process has been helpful and that you now feel confident in adjusting the time on your Kenwood stereo.
Thank you for reading, and enjoy your perfectly synchronized clock!
Conclusion
Setting the clock on your Kenwood stereo is a straightforward process that ensures you have an accurate time display for your daily activities. By following the steps outlined in this guide, you can easily adjust the hours, minutes, and time format on your stereo’s clock.
Remember to power on your Kenwood stereo and access the “Setup” menu. From there, navigate to the “Clock” settings and make the necessary adjustments to the hours and minutes. Choose between a 12-hour or 24-hour time format that suits your preference, and finally, save the changes to apply them to your stereo’s clock.
Having an accurate clock on your Kenwood stereo allows you to stay organized, keep track of time during road trips, and even wake up to your favorite radio station. It adds convenience and reliability to your overall audio experience.
If you encounter any difficulties or have a different Kenwood stereo model, consult the user manual specific to your device for detailed instructions tailored to your particular model.
We hope that this guide has been helpful in assisting you with setting the clock on your Kenwood stereo. With the correct time displayed, you can now fully enjoy your music and audio experiences with accurate timekeeping at your fingertips.
Thank you for reading, and may your newly set clock bring you punctuality and enjoyment in your audio journeys!

