Home>Production & Technology>Stereo>How To Update Mcu On The Android Car Stereo
Stereo
How To Update Mcu On The Android Car Stereo
Modified: January 22, 2024
Learn how to easily update the MCU on your Android car stereo and enjoy enhanced functionality. Get step-by-step instructions and optimize your stereo today!
(Many of the links in this article redirect to a specific reviewed product. Your purchase of these products through affiliate links helps to generate commission for AudioLover.com, at no extra cost. Learn more)
Table of Contents
Introduction
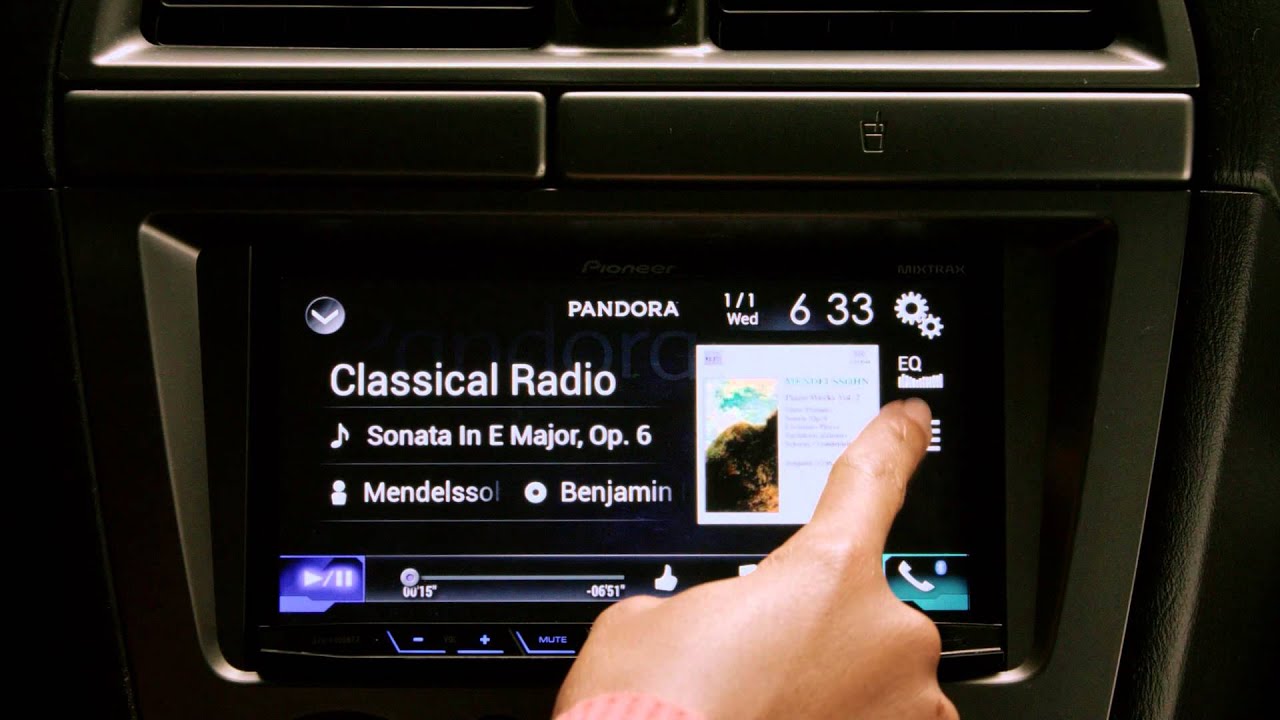
In today’s advanced technological era, car stereos have evolved from simple audio players to sophisticated multimedia systems. Android car stereos, in particular, offer a wide range of features and functionalities, providing an enhanced driving experience. One essential component of these systems is the MCU (Microcontroller Unit). The MCU is responsible for controlling various hardware components and ensuring the smooth operation of the Android car stereo.
Over time, advancements and bug fixes are made to the MCU firmware, resulting in improved performance, stability, and compatibility with new software updates. Updating the MCU firmware on your Android car stereo is crucial to enjoy the latest features and ensure optimal performance.
This article will guide you through the process of updating the MCU on your Android car stereo. We will cover the necessary steps to prepare for the MCU update, finding the correct MCU version, downloading the latest MCU firmware, transferring it to a USB drive, and finally, updating the MCU on your car stereo.
So, whether you’re experiencing issues with the current MCU firmware or simply want to stay up-to-date with the latest advancements, let’s dive into the world of MCU updates for Android car stereos.
Understanding MCU (Microcontroller Unit)
The MCU, also known as the Microcontroller Unit, is a critical component of an Android car stereo. It serves as the brain of the system, controlling various hardware components and ensuring their proper functioning. Think of it as the control center that enables your car stereo to perform its tasks effectively.
The MCU is responsible for managing tasks such as audio playback, touchscreen responsiveness, Bluetooth connectivity, GPS functionality, and other hardware-related functions. It plays a crucial role in maintaining the overall stability and performance of your Android car stereo.
MCU firmware is the software that runs on the MCU, similar to the operating system on a computer. It contains the necessary instructions and code that allow the MCU to communicate with the different components of your car stereo. Updating the MCU firmware is essential to address bugs, enhance performance, and introduce new features or compatibility improvements.
As the MCU firmware evolves, manufacturers release updates to address known issues, improve functionality, and deliver a better user experience. These updates can include bug fixes, optimizations, and compatibility enhancements with new applications and software updates.
Updating the MCU firmware on your Android car stereo ensures that you have the latest improvements and optimizations installed. It can help resolve any compatibility issues with newer firmware versions of other components, provide access to new features, and deliver an overall smoother and more reliable experience.
It’s important to note that updating the MCU firmware should be done carefully, following the manufacturer’s instructions and guidelines. Incorrectly updating the MCU firmware can lead to potential issues, including system instability and functionality problems. Therefore, it’s crucial to understand the process and take necessary precautions before proceeding with the update.
Preparing for MCU Update
Before diving into the process of updating the MCU on your Android car stereo, it’s essential to prepare yourself and your system adequately. Taking the necessary precautions and following these steps will help ensure a smooth and successful MCU update.
- Back up your data: Before proceeding with the MCU update, it’s recommended to back up any essential data or settings on your Android car stereo. This includes your preferred radio stations, navigation favorites, and customized settings. While the update process typically preserves your data, it’s always better to be safe and have a backup available.
- Ensure a stable power source: MCU updates require a stable power source to prevent any interruptions or issues during the update process. Ensure that your vehicle’s battery is fully charged or connect your car stereo to a power source to maintain a constant power supply throughout the update.
- Check for available storage space: Before downloading the MCU firmware, check the available storage space on your Android car stereo. Make sure you have enough free space to accommodate the new firmware. If needed, you may have to remove unnecessary files or applications to create space for the update.
- Connect to a stable internet connection: To download the latest MCU firmware, you’ll need a stable and reliable internet connection. Connecting to a secure Wi-Fi network is preferable to ensure a fast and uninterrupted download. Avoid using mobile data or public Wi-Fi networks that may have limited bandwidth or connectivity issues.
- Read the manufacturer’s instructions: Each Android car stereo may have specific instructions and guidelines for updating the MCU firmware. It’s essential to carefully read the user manual or visit the manufacturer’s website to understand the recommended steps, requirements, and any additional precautions to be taken during the update process.
By following these preparations, you’ll be better equipped to proceed with the MCU update on your Android car stereo. Taking these precautions will help minimize the risk of potential issues and ensure a successful update that maximizes the performance and functionality of your car stereo.
Finding the Correct MCU Version
When preparing to update the MCU on your Android car stereo, it’s crucial to find the correct MCU version for your specific device. Using an incompatible or incorrect MCU firmware can lead to compatibility issues and potentially render your car stereo inoperable.
To find the correct MCU version, follow these steps:
- Identify your Android car stereo model: Determine the exact make and model of your car stereo. This information is typically available in the user manual or can be found on the device itself. Knowing your car stereo model is crucial for finding the compatible MCU firmware.
- Visit the manufacturer’s website: Access the official website of the car stereo manufacturer. Look for the support or downloads section, where you can find firmware updates for your specific car stereo model. Some manufacturers provide a dedicated page for MCU firmware updates.
- Check for firmware updates: Within the support or downloads section, search for firmware updates related to the MCU. Look for specific instructions or files mentioning MCU updates. Manufacturers may provide the latest MCU firmware as a separate download or as part of a firmware package that includes updates for other components as well.
- Read the release notes: Thoroughly read the release notes or changelog provided by the manufacturer. This will give you an overview of the improvements, bug fixes, and new features introduced in the MCU firmware update. It’s essential to ensure that the update addresses any specific issues you may be facing or offers enhancements you desire.
- Verify compatibility: Double-check that the MCU firmware you have found is compatible with your specific car stereo model. Pay attention to any specific version numbers or hardware requirements mentioned by the manufacturer. Using an incompatible firmware can have detrimental effects on the performance and functionality of your Android car stereo.
By following these steps and diligently verifying the compatibility of the MCU firmware for your Android car stereo, you can ensure a successful update process and enjoy the benefits of the latest firmware version.
Downloading the Latest MCU Firmware
Once you have identified the correct MCU firmware for your Android car stereo, the next step is to download the latest firmware version onto your device. Here’s a step-by-step guide to downloading the firmware:
- Visit the manufacturer’s website: Open your web browser and navigate to the official website of the car stereo manufacturer. Look for the support or downloads section, where you can find firmware updates for your specific car stereo model.
- Select the correct firmware: Within the downloads section, locate the MCU firmware update that corresponds to your car stereo model and download it. Pay attention to the version number and ensure that it matches the firmware you identified in the previous step.
- Choose the appropriate download format: The firmware may be available in different formats, such as ZIP or BIN files. Choose the format that is compatible with your Android car stereo and click on the download link.
- Save the firmware file: Choose a location on your computer or device where you want to save the downloaded firmware file. It’s recommended to save it in a location that is easily accessible and memorable.
- Verify the downloaded file: Before proceeding with the update, verify the integrity of the downloaded firmware file. Compare the file size and checksum (if provided by the manufacturer) to ensure that the file has been downloaded completely and without any errors.
- Create a backup copy: It’s good practice to create a backup of the downloaded firmware file in case of future updates or reinstallation. Store the backup in a secure location to safeguard against accidental loss or corruption.
By following these steps, you can successfully download the latest MCU firmware for your Android car stereo. It’s important to ensure that the firmware file is genuine and obtained from the official manufacturer’s website to avoid potential issues and security risks.
Transferring the MCU Firmware to a USB Drive
Once you have successfully downloaded the latest MCU firmware for your Android car stereo, the next step is to transfer the firmware to a USB drive. This USB drive will be used to update the MCU on your car stereo. Follow these steps to transfer the firmware:
- Prepare a compatible USB drive: Ensure that you have a USB drive that is compatible with your Android car stereo. Check the specifications or user manual to determine the supported USB drive formats (e.g., FAT32) and storage capacity limitations.
- Insert the USB drive into your computer: Insert the USB drive into an available USB port on your computer. Wait for the computer to recognize the USB drive and assign it a drive letter.
- Copy the MCU firmware file: Locate the downloaded MCU firmware file on your computer and copy it. Right-click on the firmware file and select “Copy” from the context menu.
- Paste the firmware file onto the USB drive: Open the USB drive window on your computer. Right-click inside the USB drive window and select “Paste” from the context menu. This will copy the MCU firmware file from your computer to the USB drive.
- Eject the USB drive: Safely eject the USB drive from your computer to prevent any data corruption. Right-click on the USB drive icon in the system tray (Windows) or use the “Eject” option in the Finder (Mac) to safely remove the drive.
Now you have successfully transferred the MCU firmware to a USB drive. Make sure to keep the USB drive in a safe place until you’re ready to update the MCU on your Android car stereo. In the next section, we will discuss how to update the MCU firmware using the USB drive.
Updating the MCU on the Android Car Stereo
Now that you have prepared the necessary firmware and transferred it to a USB drive, you’re ready to update the MCU on your Android car stereo. Follow these steps to perform the update:
- Turn off the car stereo: Start by turning off your Android car stereo. Ensure that the system is completely powered off before proceeding with the update.
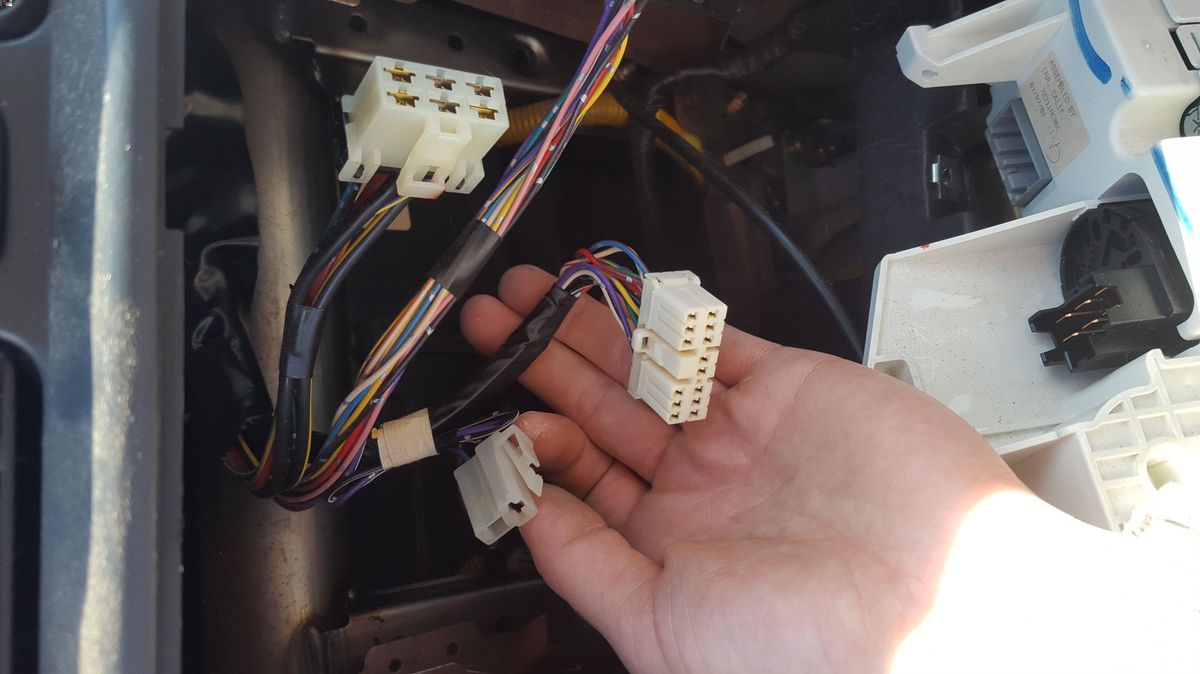
- Insert the USB drive: Insert the USB drive containing the MCU firmware into the appropriate USB port on your car stereo. Refer to the user manual or the car stereo’s interface for the exact location of the USB port.
- Power on the car stereo: Turn on your car stereo and wait for it to initialize. Once the system is powered on, it should detect the USB drive automatically.
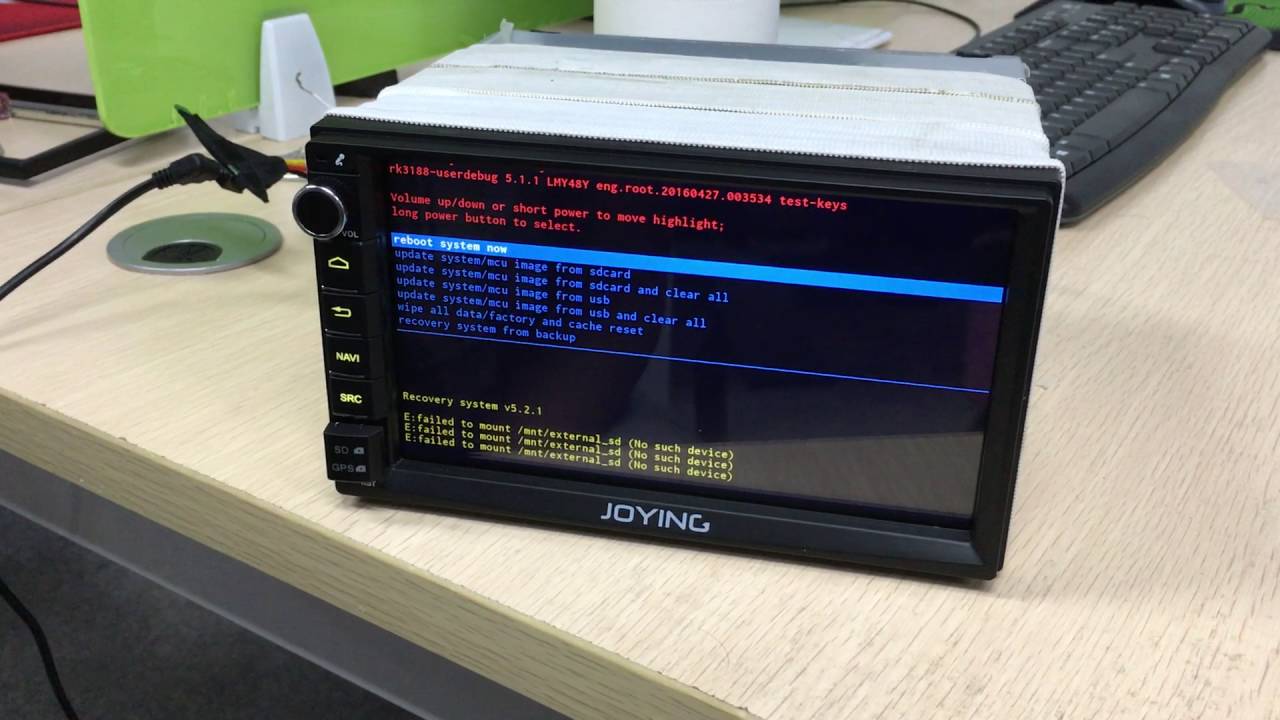
- Access the MCU update menu: Navigate through the car stereo’s interface to access the settings or system menu. Look for an option related to firmware updates, often labeled “MCU Update” or something similar.
- Select the MCU firmware file: Within the MCU update menu, locate the option to select the firmware file. The car stereo should detect the firmware file on the USB drive. Select the firmware file to initiate the update process.
- Start the MCU update: Follow the on-screen prompts to start the MCU update. The process may take a few minutes, during which the car stereo may display progress indicators or reboot multiple times. It’s important to avoid interrupting the update process or powering off the car stereo.
- Wait for the update to complete: Allow the car stereo to complete the MCU update process. The update progress may be indicated on the screen or through audible alerts. Once the update is complete, the car stereo may reboot automatically.
After the MCU update completes and the car stereo reboots, it should be running on the latest firmware version. You can now enjoy the enhanced performance, stability, and new features that come with the updated MCU firmware.
It’s worth noting that some Android car stereos may offer different update procedures or have specific requirements for the MCU update. Always refer to the manufacturer’s instructions or user manual for accurate and customized guidance for your specific car stereo model.
Verifying the MCU Update
After successfully updating the MCU on your Android car stereo, it’s important to verify that the update was completed properly. Verifying the MCU update ensures that your car stereo is running on the latest firmware version and that the update process was successful. Follow these steps to verify the MCU update:
- Check the firmware version: Access the settings menu on your Android car stereo and navigate to the system information or about section. Look for the firmware version or MCU version information. Verify that the firmware version displayed matches the latest version you updated to.
- Test functionality: Test various functions and features of your car stereo to ensure they are functioning correctly. This can include audio playback, touchscreen responsiveness, Bluetooth connectivity, GPS functionality, and any other features specific to your car stereo. Pay attention to any improvements or changes you notice compared to the previous firmware version.
- Monitor system stability: Observe the overall stability of your Android car stereo after the MCU update. Check for any unexpected crashes, freezes, or performance issues. If you encounter any problems, contact the manufacturer for support and assistance in troubleshooting the issue.
- Stay updated: Keep an eye out for future firmware updates released by the manufacturer. Regularly check their website or subscribe to their newsletter to stay informed about any new firmware releases or bug fixes. It’s important to keep your MCU firmware up to date to ensure optimal performance and compatibility with the latest software updates.
By following these steps, you can verify that the MCU update on your Android car stereo was successful. It’s crucial to ensure that the update process has been completed properly to fully benefit from the improvements and enhancements introduced in the latest firmware version.
If you encounter any issues or notice any unexpected behavior after the MCU update, it’s recommended to contact the manufacturer’s support team for further assistance. They can provide guidance and troubleshooting steps to address any problems you may encounter.
Troubleshooting MCU Update Issues
While updating the MCU on your Android car stereo usually goes smoothly, there can be instances where issues may arise during or after the update process. If you encounter any problems, here are some troubleshooting steps to help you resolve them:
- Ensure proper firmware compatibility: Double-check that you have downloaded the correct MCU firmware for your specific car stereo model. Using an incompatible firmware can lead to issues and system instability. If you have mistakenly used the wrong firmware, try reverting to the previous version and then obtaining the correct firmware.
- Verify the firmware file integrity: Check the firmware file you downloaded to ensure it is not corrupted. Compare the file size and checksum to the values provided by the manufacturer. If you suspect a corrupted file, re-download the firmware from the official source and try again.
- Note down error messages: If you encounter any error messages during the update process, make note of them. These messages can provide important clues about the root cause of the issue. Use these error messages to search for specific solutions or contact the manufacturer’s support team for assistance.
- Perform a factory reset: If you experience persistent issues after the update, try performing a factory reset on your Android car stereo. This will restore the system to its default settings and often resolves compatibility or stability issues. However, keep in mind that a factory reset will erase all data and settings, so ensure you have a backup.
- Contact manufacturer support: If none of the troubleshooting steps resolve the issue, reach out to the manufacturer’s support team for further assistance. They have specific knowledge about their product and can provide personalized guidance based on your situation.
It’s important to approach troubleshooting with caution and take proper precautions to avoid further complications. Always refer to the manufacturer’s instructions and guidelines when troubleshooting MCU update issues to ensure the best outcome.
Remember, updating the MCU firmware should generally be a smooth process, but in rare cases, unforeseen issues may arise. By following these troubleshooting steps and seeking support when needed, you will be better equipped to address and resolve any problems that may occur during or after the MCU update process.
Conclusion
Updating the MCU (Microcontroller Unit) firmware on your Android car stereo is a crucial step in maximizing performance, stability, and compatibility. By following the guidelines and steps outlined in this article, you can ensure a smooth and successful MCU update process.
Remember to thoroughly prepare by backing up your data, ensuring a stable power source, and checking for available storage space. Finding the correct MCU version for your specific car stereo model and downloading the latest firmware from the manufacturer’s website is also essential.
Transferring the MCU firmware to a USB drive and updating the MCU on your Android car stereo can usually be done through the system’s settings menu. Verify the update’s success by checking the firmware version, testing functionality, and monitoring system stability. Stay updated with future firmware releases to continue enjoying a reliable and up-to-date Android car stereo experience.
If you encounter any issues during the update process or experience unexpected behavior afterwards, don’t hesitate to seek assistance from the manufacturer’s support team. They can provide valuable guidance and troubleshooting steps to resolve any problems you may encounter.
Updating the MCU firmware ensures that your Android car stereo stays optimized, compatible with new software updates, and equipped with the latest features. By staying proactive and performing regular MCU updates, you can continue to enjoy an enhanced driving experience with your Android car stereo.