
Home>Production & Technology>Surround Sound and Soundbar Guides
Production & Technology
Surround Sound and Soundbar Guides
Modified: 3 October 2026
Table of Contents
Start here: surround sound fundamentals
Before you start a surround sound setup, step back and look at what your gear actually sends out of its ports. Many televisions silently convert external surround signals to plain two-channel output over optical, making a multi-speaker layout pointless unless you are routing audio through the correct HDMI-ARC or eARC connection.
The first mental model to lock in is the difference between stereo vs. mono audio. Mono funnels everything into one identical stream from all speakers, while stereo splits sound into separate left and right channels to create a sense of width. On an iPhone, you can hear this instantly by opening Settings > Accessibility > Audio & Visual and toggling Mono Audio on and off; the same screen holds a Balance slider that shifts the stereo image left or right. Android users find an equivalent slider and mono switch under Settings > Accessibility.
When you move from two channels into the territory of surround sound basics, the goal changes from left-right separation to a bubble of sound around you. Apple does not offer a generic manual surround setup on iPhone, though on iPhone 16 or later the Camera app records in Spatial Audio by default and you can switch between Spatial Audio, Stereo, and Mono in Settings > Camera > Record Sound. That leads directly into surround sound channel configurations, where the number and placement of speakers define the experience.
Getting the most from any speaker arrangement also means understanding stereo features and the settings that shape them. On an iPhone, the Headphone Accommodations menu under Audio & Visual lets you tune frequencies and soft sounds for phone calls, though those adjustments require supported headphones. One hard limit to know: if you turn on Mono Audio while using supported Beats with an Apple device, you lose Spatial Audio and head tracking entirely.
Connecting sources and displays
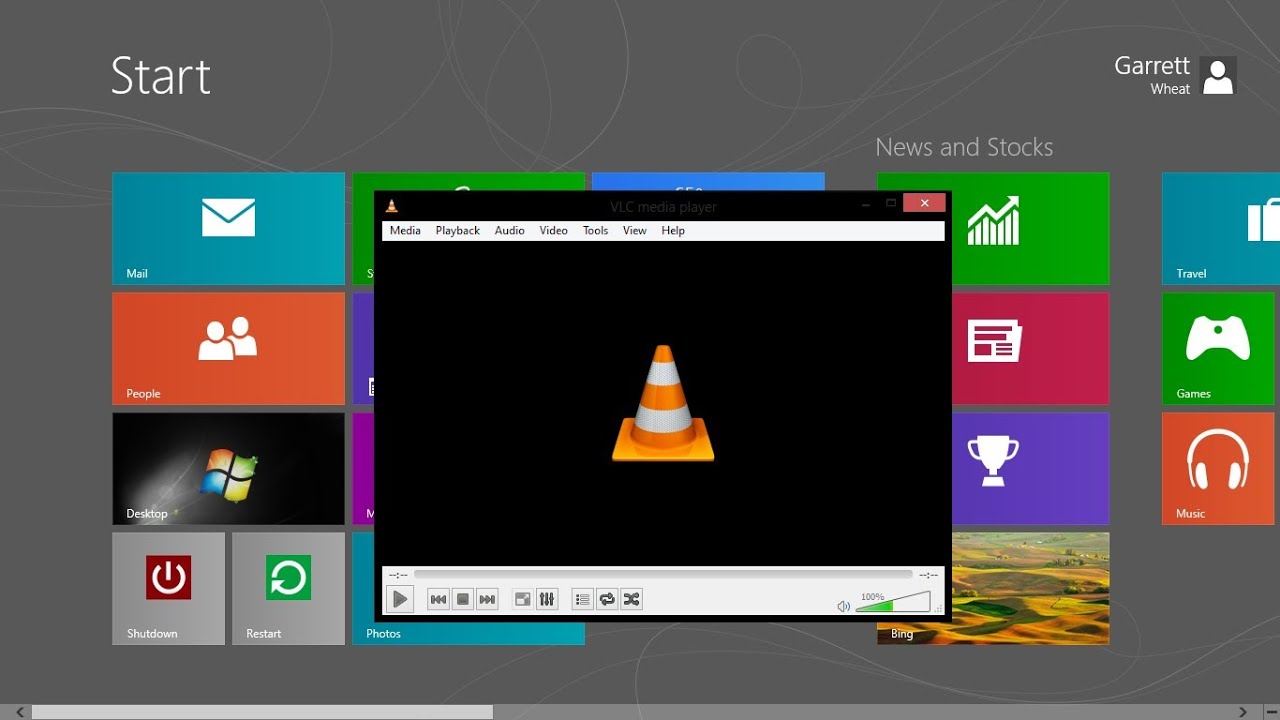
Getting audio out of a computer and into a dedicated sound system trips up even experienced users because the physical jack does not always tell you what the port actually sends. When you are connecting computers to stereo systems, the simplest path is often a 3.5 mm-to-RCA cable from the headphone output, but that cable carries an already-amplified signal that can distort a receiver’s line-level input, so keep the computer volume around 80 percent and let the stereo do the heavy lifting. The situation gets stricter when connecting surround sound to TVs, where the television itself is the most common bottleneck, as a set that happily accepts a 5.1 signal over HDMI may still downmix it to stereo the moment it passes through the optical output, so check the TV’s audio-out settings for a “pass-through” or “bitstream” option before you blame the receiver. A general surround sound hookup reminder worth pinning to the wall is that DVD-Audio and SACD multichannel formats are not output digitally, so to get true high-resolution surround from a universal player you must connect its six-channel analog audio outputs to the matching inputs on your receiver. For older gear that lacks wireless connectivity, adding Bluetooth to audio receivers is often a matter of plugging a small adapter into an available RCA or 3.5 mm input; on Sony home-theater systems, you place the source within one meter of the main unit, press the Bluetooth button, and on some models hold it for two seconds to start pairing. If your media lives on a security system drive, playback on computer h dvr h264 files usually requires installing the codec pack or player that the DVR manufacturer bundles, since generic players frequently decode the video but choke on the proprietary audio stream. On a PC that shipped without optical drive support, you can add DVD playback to Windows 8 by installing a third-party media player that includes the necessary MPEG-2 decoder, because the built-in Windows 8 video app was never licensed for disc menus.
Setting up speakers and soundbars
Before you place a single speaker, trace the signal path from your source to your ears. A television that downmixes HDMI audio to stereo over its optical output will defeat an elaborate surround sound speaker setup before it ever produces a note. Dolby’s placement guidance asks that front left, front right, center, left surround, and right surround speakers form triangles with the main listening position and sit equal distances apart where the room allows. If cabling to the rear channels is impractical, wireless speaker connections can bridge the gap; Logitech’s adapter, for example, powers on, plugs into powered speakers or an AV receiver with the included Y-cable, and enters Bluetooth pairing mode with a press of its connect button.
Once the hardware is physically arranged, a Yamaha sound system setup begins on the front panel. Press the SETUP key, navigate to a menu with the arrow keys, press ENTER, change values, and press SETUP again to exit, with the RETURN key stepping back to the previous menu. The display will indicate a Sound Setup menu and switch to surround playback when configured. If a channel stays silent during testing, replace the speaker cable with a known-good one before digging deeper. For the final control layer, sound bar remote programming can tie the system together, though the exact code-entry sequence varies by brand.
Fine-tuning and niche scenarios
Once the system is powered on, adjusting sound bar audio settings often means cycling through modes with the remote rather than opening a phone app, with many TCL bars using a Sound Mode button to jump between Movie, Music, News/Dialogue, and Night Mode while select models also offer dedicated Bass and Treble controls. Roku TV Ready soundbars steer you to Home > Settings > System > Audio > Digital Audio Format, letting you fall back to PCM-Stereo if the auto-negotiation fails.
Shifting back to the hardware bench, some Original Canary devices cannot complete their initial handshake over Bluetooth and require you to find canary all in one security home system yellow setup audio cable, which forces a wired connection during setup determined solely by the device model. Once the system is online and set to private, the camera, microphone, and motion detection are fully disabled regardless of how the initial pairing was done.











