Home>Devices & Equipment>Yamaha Sound System Setup and Fixes
Devices & Equipment
Yamaha Sound System Setup and Fixes
Modified: 3 October 2026
Table of Contents
Yamaha sound system setup for first-time receiver and soundbar users
A successful Yamaha sound system setup requires checking specific menu settings for audio return before you attach a single cable. You may need to enable HDMI-CEC on your TV, then ensure ARC or eARC is enabled in the unit's settings. Skipping one of these layers can result in a completely silent system.
When you first unbox the hardware, a convenient path to sound is often wireless. To set up yamaha sound bar models like the YAS-109, install the Sound Bar Controller app on a smartphone or tablet. Open it and simply follow the onscreen instructions to link the unit to your home network. For a more complex component system, the AV Setup Guide app assists with cable hookups and AV receiver setup. This lets you set up yamaha receiver hardware with guided assistance.
Once you have audio playing, check for immediate stability problems. If the unit behaves erratically or shuts down during use, you may need to update firmware yamaha receiver software. You can pull the latest package directly through the unit’s Internet link or by USB thumb drive. If you choose the USB route, the file must sit alone in the root directory with no folders and no other data on the drive. Should the update fail during the process, do not panic. The yamaha receiver power issue may be related to a failed update. Unplug the AC cord, insert the USB stick into the front panel port, hold the INFO key, and reattach power until USB UPDATE appears on the screen.
Connecting your TV and video sources
Getting picture and sound to play nicely together starts with a single HDMI cable run from your Yamaha unit’s HDMI OUT (ARC) or HDMI TO TV (eARC/ARC) port to the dedicated ARC-labeled input on your television. Once that physical link is in place, you must visit two separate menu layers on the TV, not just one, to wake the audio return channel. When you connect Samsung TV to Yamaha receiver hardware, navigate to Home > Settings > General > External device management and flip Anynet+ (HDMI-CEC) to On. On some regional models the same toggle lives under System > Expert settings. If your Samsung supports eARC, also open Settings > Sound > Expert Settings > HDMI-eARC Mode and set it to Auto. Then confirm Digital Output Audio Format is on Auto or Pass-Through before you turn on ARC on Yamaha receiver by enabling HDMI Control in its own setup menu. For LG displays, long-press the Settings button on the remote, go to Sound > Sound Out, and select HDMI ARC. The soundbar or AVR display should confirm the lock with an ARC or E-ARC readout. When you want to hook PS4 to sound bar, the console routes audio over the same HDMI path. Feed the PS4 into a standard HDMI input on the Yamaha bar or unit and let the ARC connection carry sound up to the speakers. If your gear predates HDMI, you can still connect coaxial audio cable between TV and soundbar using the orange RCA-style digital output, provided both devices share that legacy jack. The right choice depends entirely on which physical ports your television and audio hardware actually expose. For a straightforward analog hookup, you can connect red white audio cable to insignia 42 inch TV if you need to send stereo sound from a basic source directly to that display. To get full surround channels working, you can connect yamaha surround sound system to TV and enjoy immersive audio from your favorite movies and shows. If you are reviving older equipment, you can connect old stereo system to new TV and give your vintage amplifier a second life with modern video sources. For LG owners specifically, you can connect yamaha receiver to LG TV to ensure seamless HDMI-CEC and ARC compatibility between the two brands. And for a simpler, space-saving solution, you can connect yamaha soundbar to TV and upgrade your television's built-in speakers without cluttering the room with separate components.
Wiring up surround sound and speakers
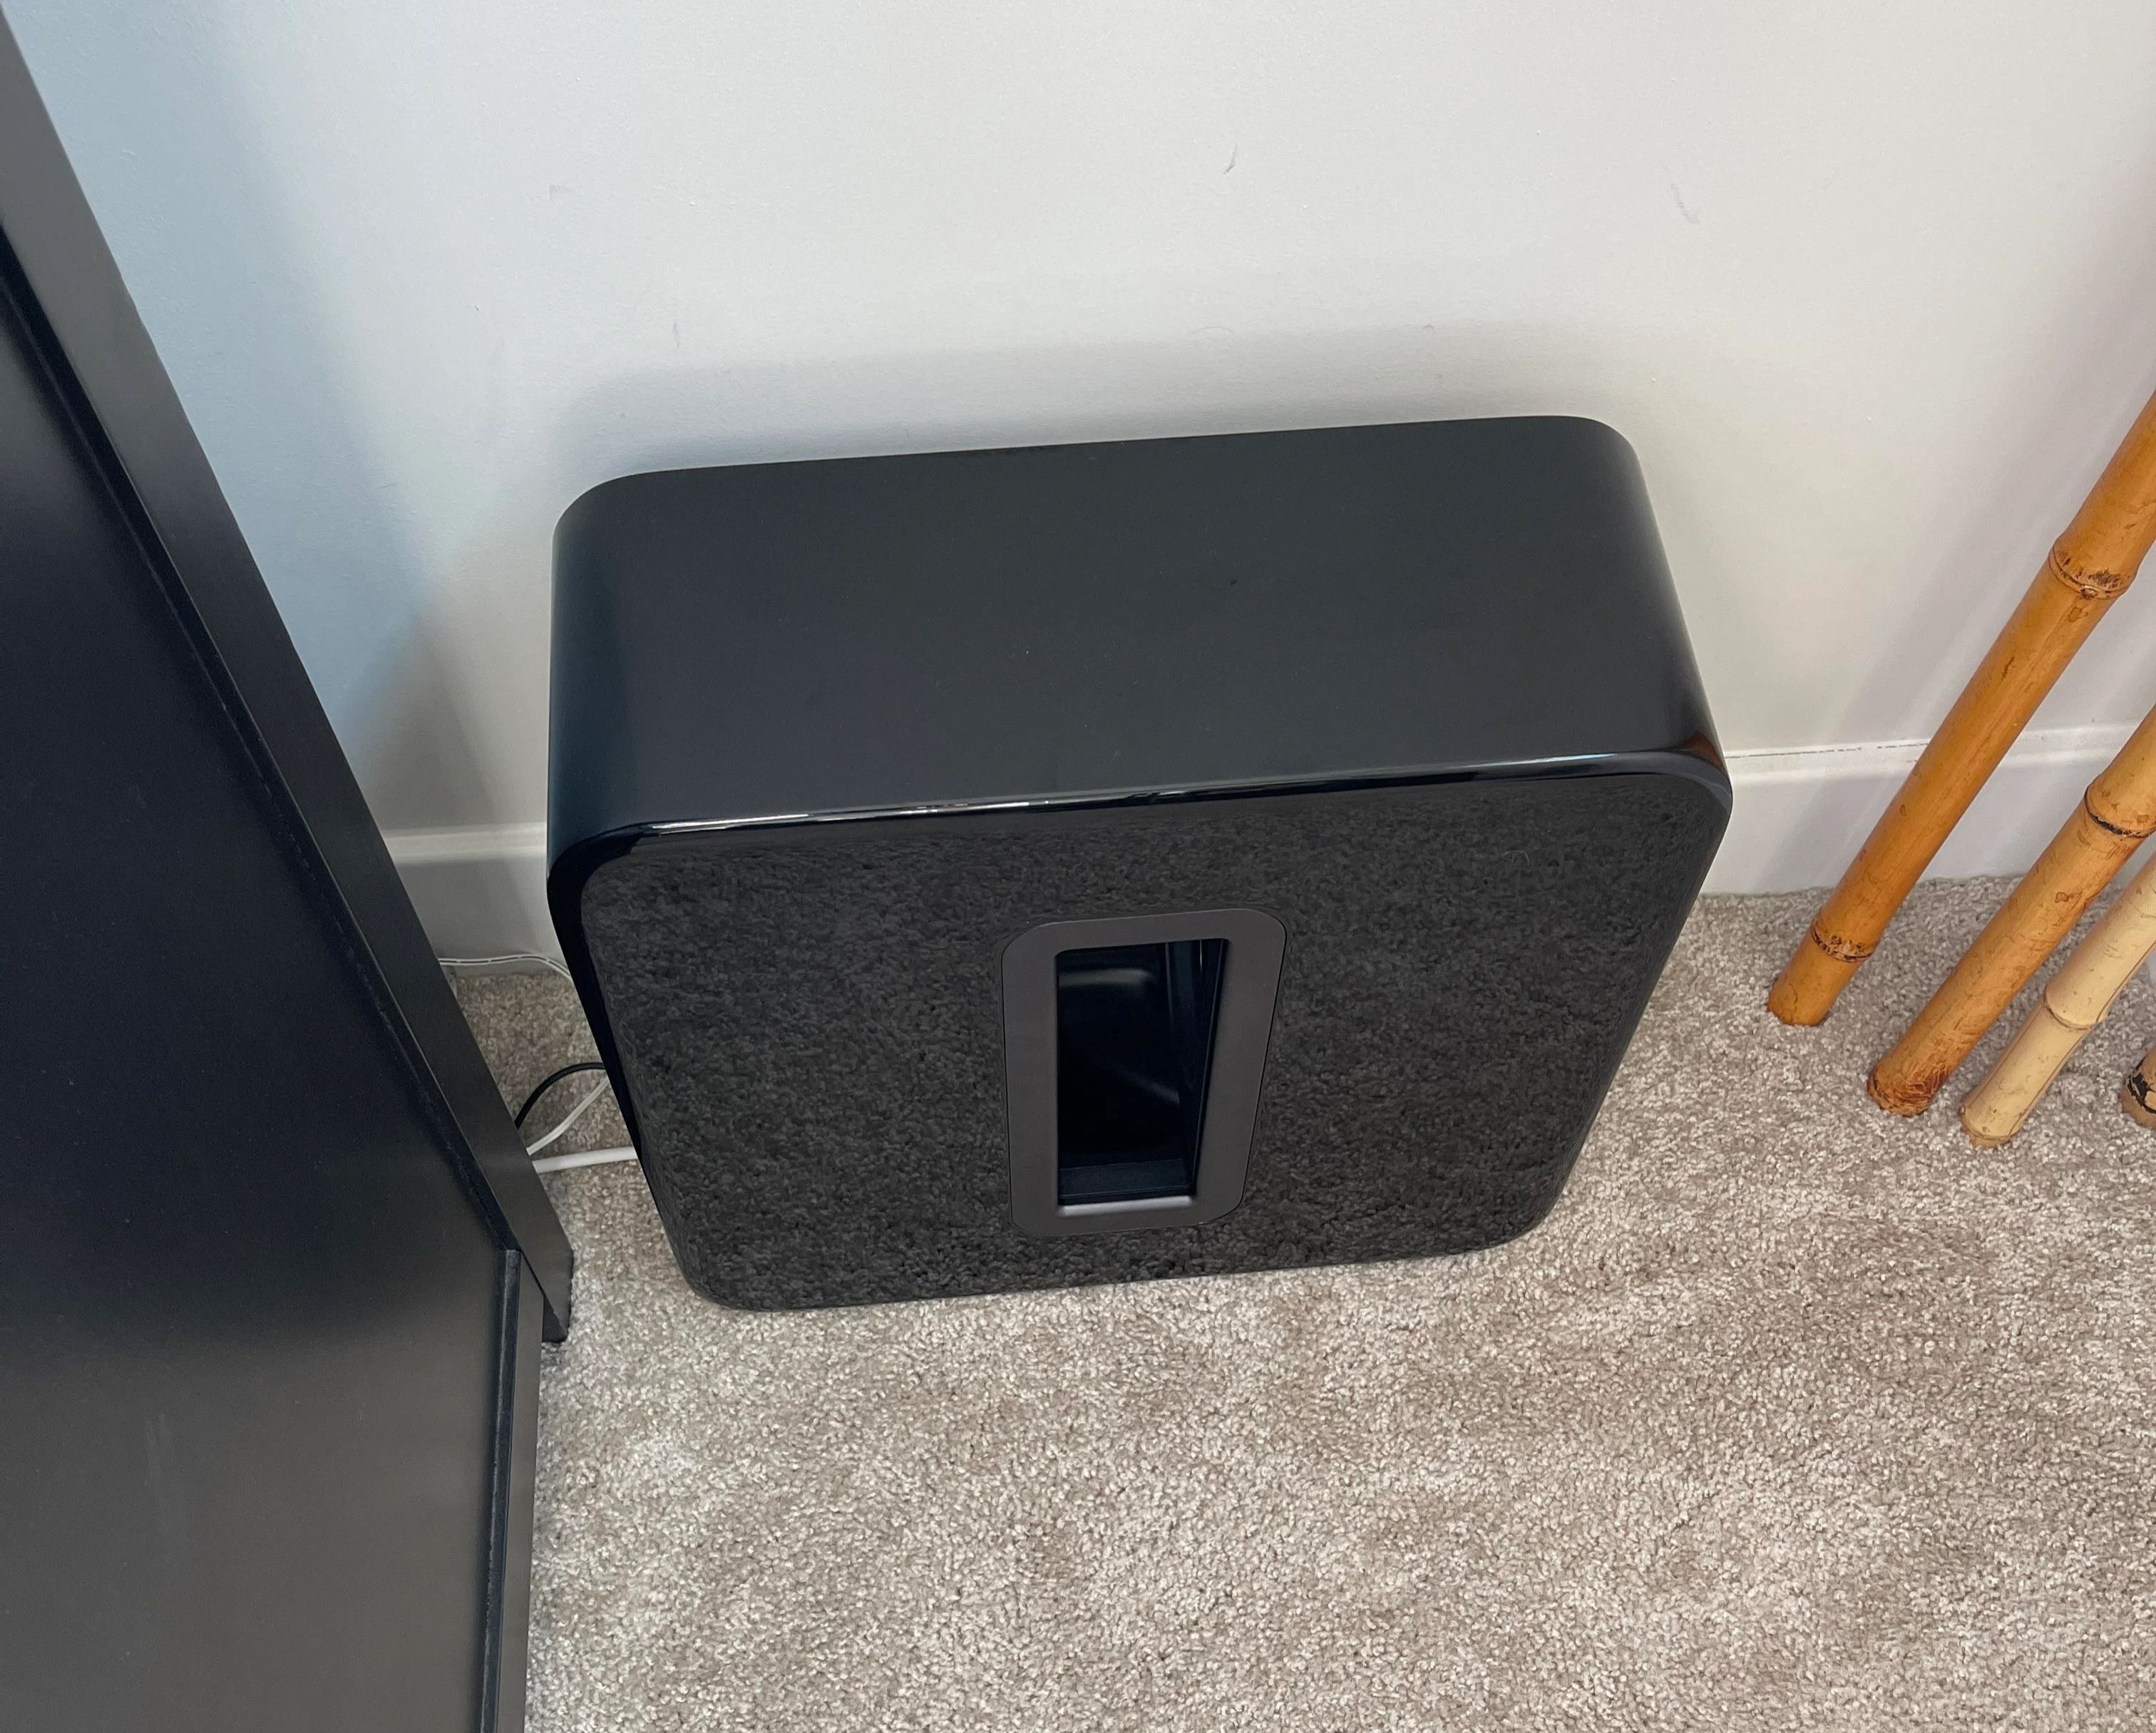
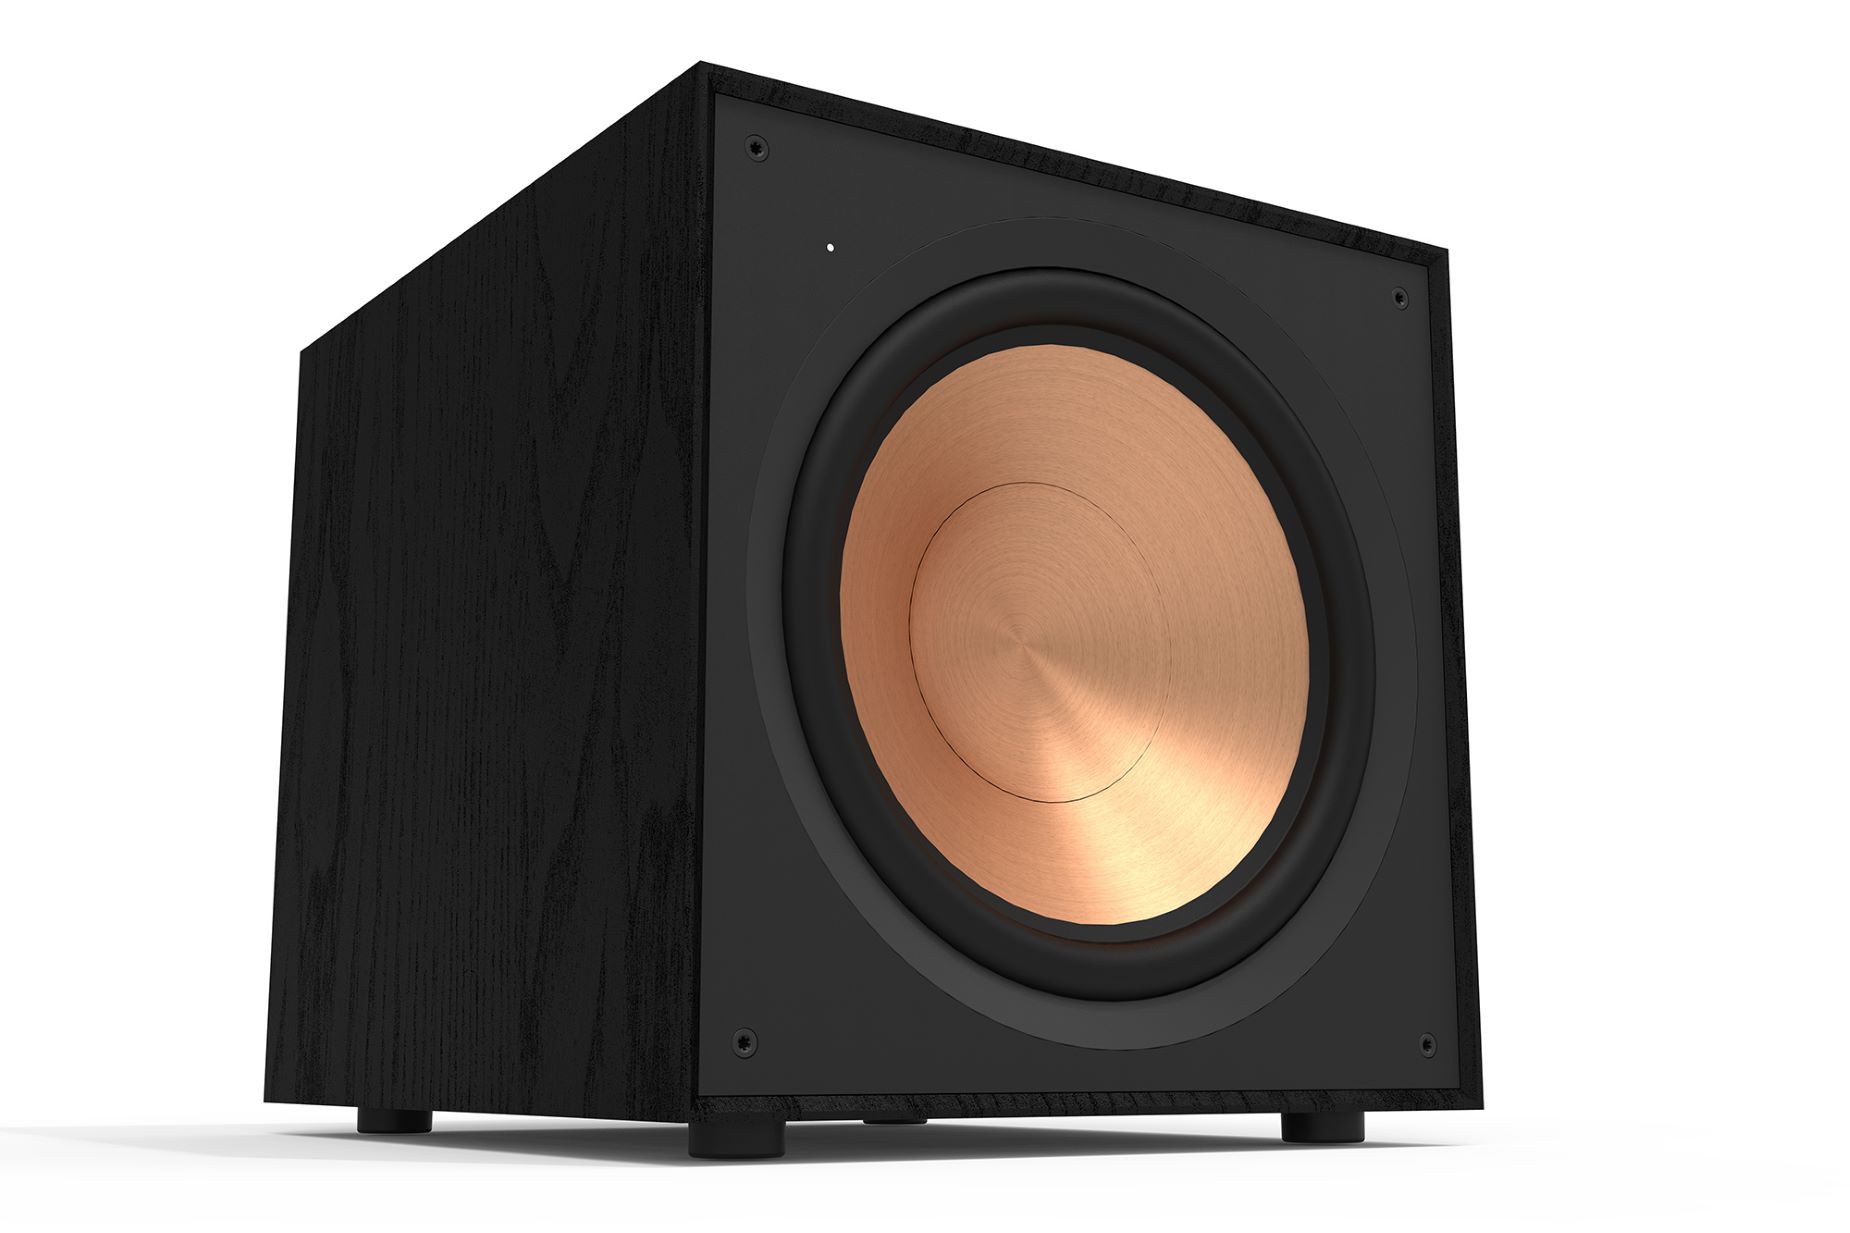
Once the digital handshake between your TV and the main unit is established, you can physically connect yamaha surround sound system components by matching each passive speaker’s bare wire to the color-coded binding posts on the back of the unit. Supported layouts vary by model, and many units can drive traditional 5.1 arrays, virtual height effects, or in-ceiling speakers, while some MusicCast-capable models even allow wireless surrounds to replace the rear-channel cables. When you need to hook up a yamaha surround sound system to TV, run an HDMI cable from the receiver's HDMI output to an HDMI input on the television; higher-tier models like the RX-V6A offer multiple HDMI inputs for your other sources. If your setup includes a powered sub, you can connect klipsch subwoofer to yamaha receiver by running an audio pin cable from the sub’s input to the SUBWOOFER jack on the amp, then set the sub’s own volume dial to roughly half and its crossover to maximum if the control is present. With everything wired, you will likely need to turn on decoder on yamaha receiver to achieve multi-channel playback by navigating to the surround decoder settings in the receiver's menu, where on some models you can choose Auto, Neural:X, or Neo:6 Cinema depending on the content, though the exact menu name differs across product lines.
Integrating soundbars and older stereo gear
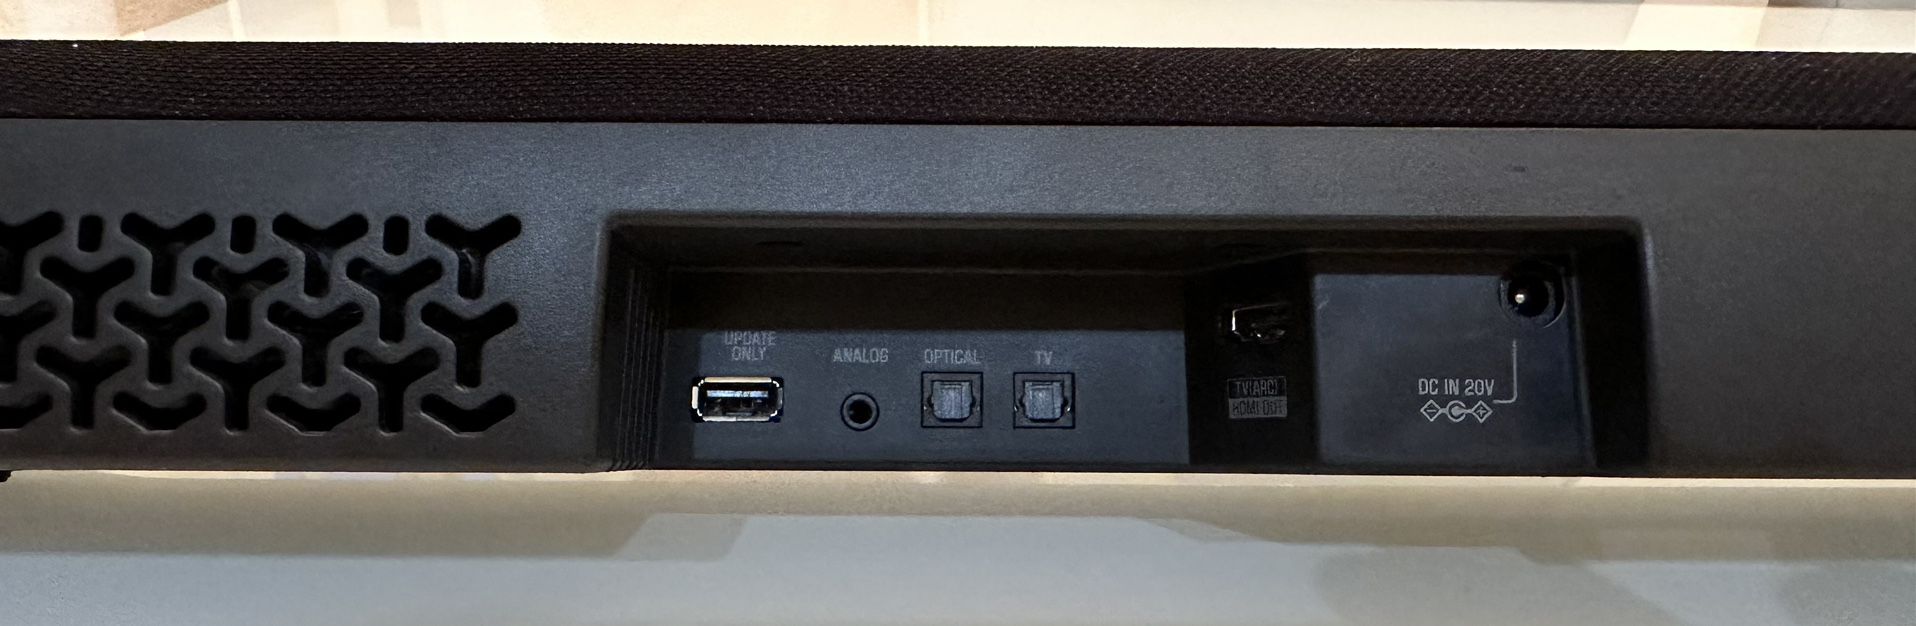
Bridging modern televisions with older stereo gear often means working around the absence of HDMI. Current Yamaha sound bars keep a foot in both worlds. When you need to connect a yamaha sound bar to a legacy amplifier that lacks ARC, check the bar’s back panel for an optical input. The MusicCast BAR 400, for instance, can pull TV sound over optical while streaming music from a phone via Bluetooth, AirPlay 2, or Spotify Connect through the MusicCast Controller app. If your setup instead requires you to hook up a sound bar to yamaha receiver that has no HDMI output at all, you can route audio from the unit’s headphone jack or zone outputs to the bar’s analog input. For newer bars like the True X Surround 90A, a single HDMI cable carrying eARC and CEC lets the television remote command both power and volume while the bar passes through 4K Ultra HD and HDR signals without stripping picture quality. Whichever path you choose, remember that older digital inputs on some Yamaha bars accept only PCM 2-channel, Dolby Digital up to 5.1 channel, and DTS Digital Surround up to 5.1 channel, so a source set to output undecoded bitstream may fall silent until you adjust the TV or player settings.
Linking studio gear, mixers and computers
When you need to connect yamaha hs5 to audio interface, the speakers accept balanced or unbalanced signals through their XLR or TRS phone jack inputs, so a standard XLR-to-XLR or TRS-to-TRS cable from your interface’s main outputs is all it takes. The same approach applies when you want to connect yamaha speakers to computer: you route the computer into an audio interface first, then take the interface’s XLR or TRS outputs directly to the HS5 inputs rather than hunting for a direct USB connection on the speaker itself. If your setup revolves around a mixing desk, you can connect yamaha mixer to speakers by patching from the mixer’s MONITOR OUT or AUX SEND jacks into those same speaker inputs; when driving passive cabinets from a powered mixer, you must first set the impedance switch to match your speakers. For private practice, you can connect headphones to yamaha keyboard using the jack labeled PHONES or PHONES/OUTPUT, which is most often on the back panel but appears on the front or side of certain models. If your headphones terminate in a stereo mini plug, keep a converter plug handy to fit the keyboard’s full-size socket.
Network and smart home connections
Wired networking on older Aventage models remains straightforward. To connect yamaha rx v673 to network, run a commercially available STP network cable (CAT-5 or higher straight cable) from the unit’s LAN port directly to your router, and if the router provides DHCP, the component will pull an IP address automatically with no further menu diving required. When you want voice control on a legacy unit, connecting Alexa to a Yamaha RX-V661 likely requires an external Echo device plugged into an analog input rather than native integration. For wireless audio, the built-in Bluetooth transmitter is the workhorse, and you can connect yamaha Bluetooth speaker by pressing SETUP on the remote, selecting 'Bluetooth,' setting 'Transmitter' to 'On,' choosing 'Device Search,' and selecting your speaker from the list, provided the system is not already set to the Bluetooth input source. To end the session, you either sever the link from the speaker side or flip Transmitter back to Off in the same menu.
Troubleshooting and special modes
When the unit stops responding, the method you use to reset yamaha sound bar depends on the model in front of you. On a YAS-109, turn the power off and hold down both Volume+ and Power until every light flashes. For an SR-B20A, press the recessed Reset button on the back panel for a full ten seconds until it shuts down. Owners of an ATS-B400 or similar B-series bar must power off, then hold the + key while pressing the power button to trigger the factory initialization. A True X Bar 90A offers a menu-based initialization on the TV screen under Setup > Function > Initialization > All, so check your specific model’s button layout before you begin.
If you are chasing a cleaner, less processed signal path, you may have come across yamaha pure direct as a listening option, but no equivalent mode is called out in the settings for the sound bars covered here. Similarly, if you are looking for a setting called the yamaha theater to activate a specific surround profile.