Home>Production & Technology>Surround Sound>How To Hook Up Surround Sound To TV With HDMI

Surround Sound
How To Hook Up Surround Sound To TV With HDMI
Published: December 23, 2023
Learn how to easily connect surround sound to your TV using HDMI cables and enhance your audio experience at home. Follow our step-by-step guide now!
(Many of the links in this article redirect to a specific reviewed product. Your purchase of these products through affiliate links helps to generate commission for AudioLover.com, at no extra cost. Learn more)
Table of Contents
Introduction
Welcome to the world of immersive audio experiences with surround sound! If you’re looking to elevate your TV viewing or gaming sessions to a whole new level, connecting a surround sound system to your TV is essential. With surround sound, you’ll feel like you’re right in the middle of the action, with audio coming from all directions to create a truly captivating experience.
In this article, we’ll guide you through the process of hooking up your surround sound system to your TV using an HDMI cable. HDMI (High-Definition Multimedia Interface) is the most common and convenient method for connecting audio and video devices. Not only does it provide excellent audio quality, but it also supports high-resolution video transmission.
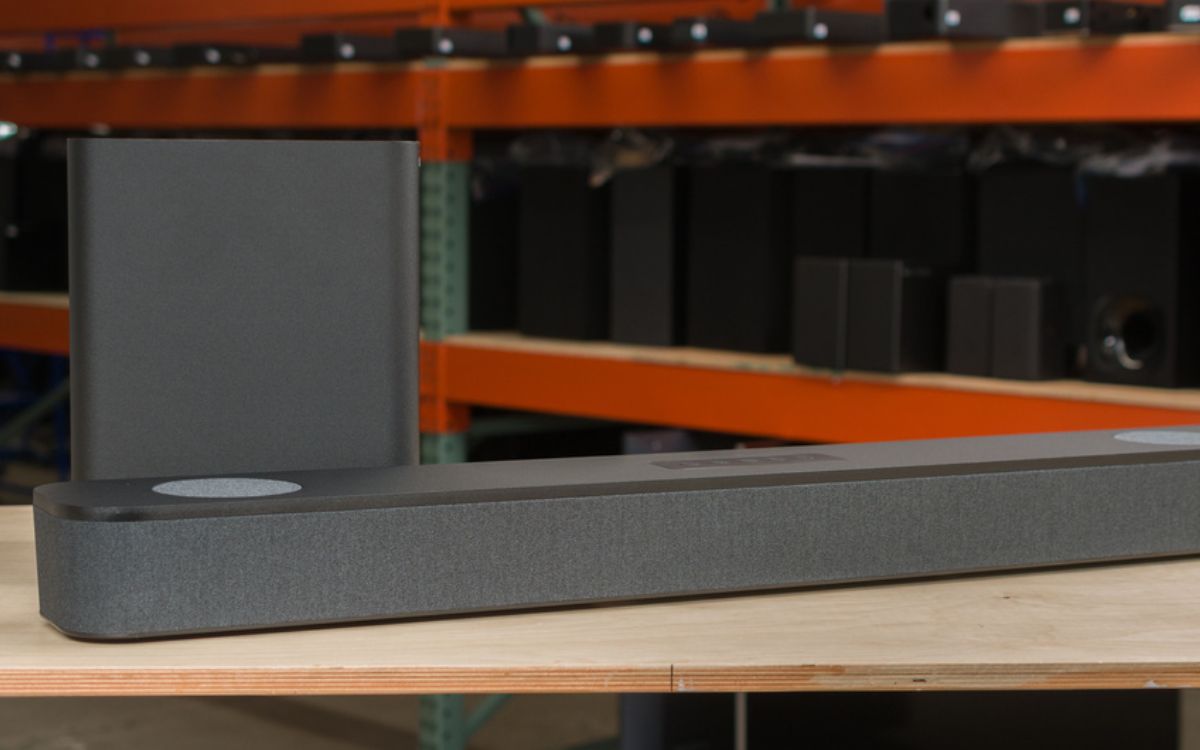
Before we dive into the steps, let’s quickly check if you have everything you need. Firstly, ensure that your TV has an HDMI port. Most modern TVs come equipped with multiple HDMI ports to connect various devices. Secondly, make sure you have a surround sound system with an HDMI input. This can be a home theater receiver, soundbar, or a dedicated surround sound amplifier.
Once you’ve confirmed you have the necessary equipment, it’s time to connect your TV and surround sound system. Follow the steps in this article, and you’ll soon be enjoying an immersive audio experience that will take your entertainment to another level.
Step 1: Check your TV and Surround Sound System
Before you begin connecting your surround sound system to your TV, it’s important to ensure that both your TV and surround sound system are compatible and properly set up. This step will help you identify any potential issues and ensure a smooth installation process.
Firstly, check your TV to confirm that it has an HDMI port. Most modern TVs come with multiple HDMI ports, but it’s always best to double-check. Look for small rectangular ports labeled “HDMI” on the back or side of your TV. If you’re unsure, consult your TV’s manual or manufacturer’s website for more information.
Next, examine your surround sound system and verify that it has an HDMI input. This input is typically found on the back of the receiver, soundbar, or amplifier. The HDMI input allows the audio signal from your TV to pass through the surround sound system and deliver immersive audio to your speakers. If your surround sound system doesn’t have an HDMI input, check if it has other audio inputs such as optical or RCA. While HDMI is the preferred option for the best audio quality, alternative connections can still provide decent sound.
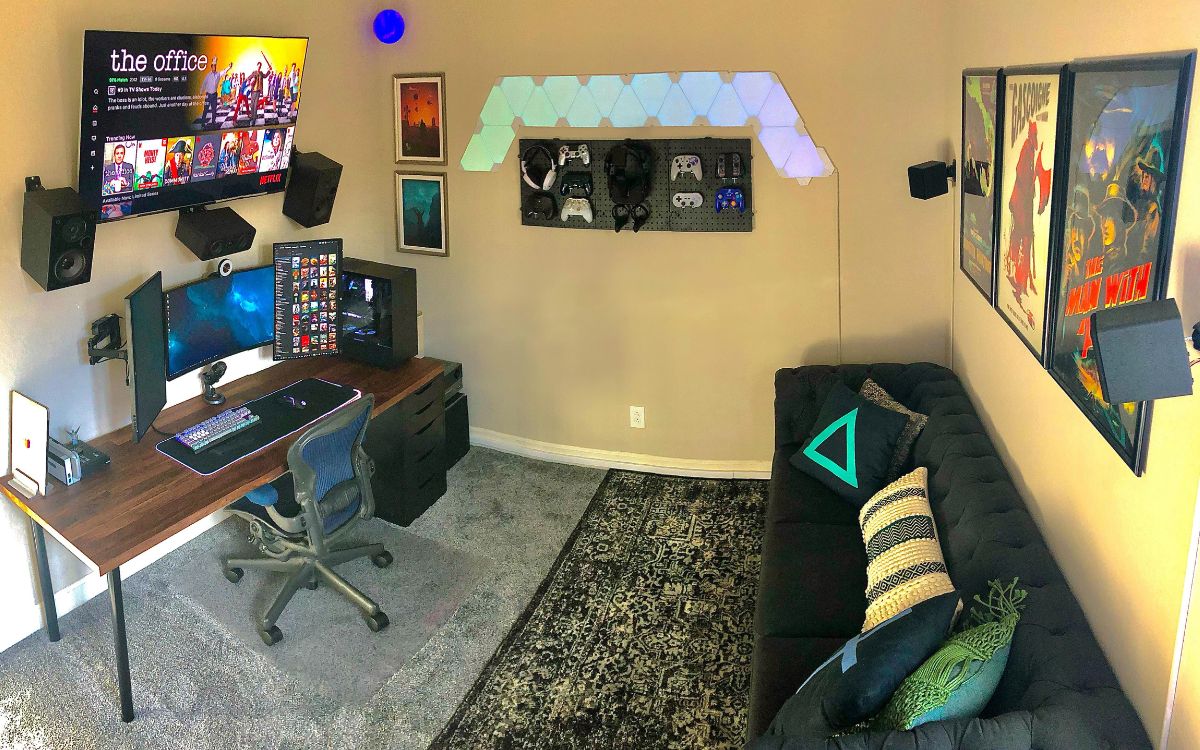
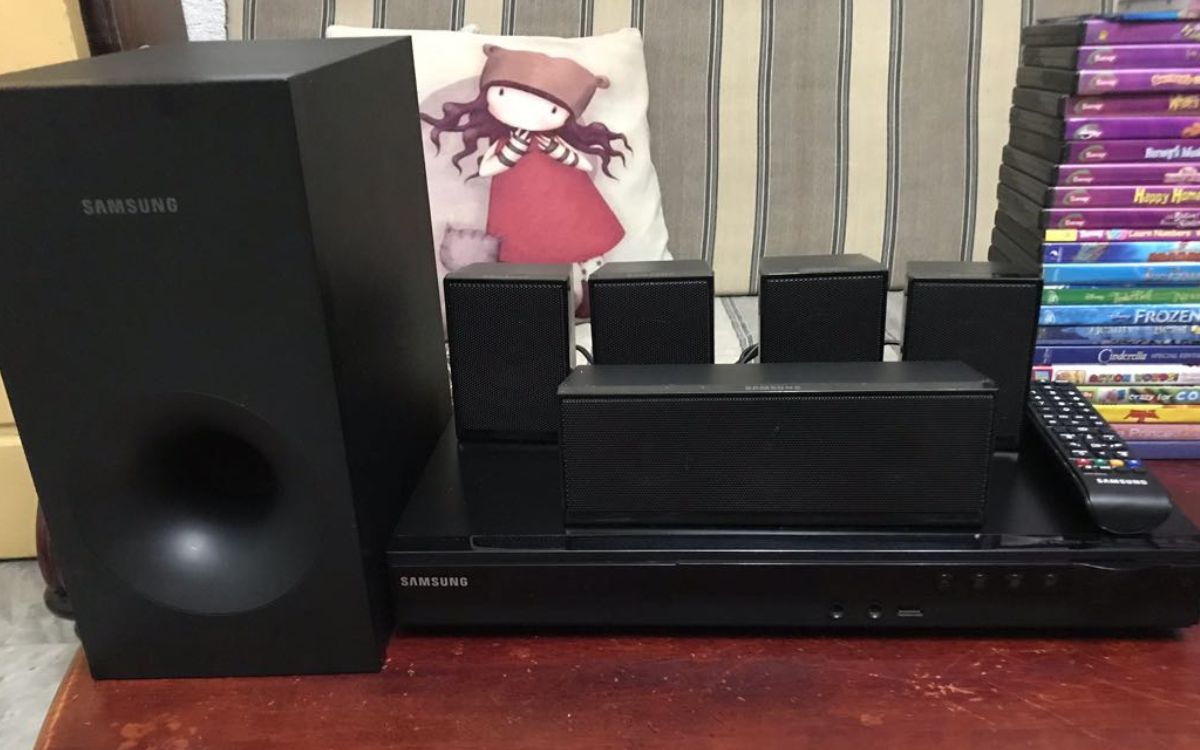
Additionally, make sure your surround sound system is properly set up and configured. Check the speaker connections to ensure they are securely plugged into the appropriate terminals. Verify that the speakers are positioned correctly and that their cables are routed neatly without any obstructions. If your system has a separate subwoofer, ensure it is connected and placed in an optimal location for bass distribution.
Take a moment to familiarize yourself with the user manual or online documentation for your TV and surround sound system. This will provide important information on the available settings, inputs, and functions that will come in handy during the installation process. It’s better to be prepared and have a good understanding of your devices’ capabilities before proceeding.
Once you have confirmed that your TV and surround sound system are compatible and properly set up, you’re ready to start connecting them using an HDMI cable. Proceed to the next step to learn how to make the necessary connections and configure the audio settings on your TV.
Step 2: Connect HDMI Cable to TV
Now that you have verified the compatibility and setup of your TV and surround sound system, it’s time to connect them using an HDMI cable. This step will establish the audio and video connection between your TV and surround sound system.
Start by locating the HDMI output port on your surround sound system. It is usually labeled “HDMI Output” and may be color-coded for easy identification. Take note of the HDMI port number to which you will be connecting the cable.
Next, find an available HDMI input port on your TV. These ports are typically located on the back or side of the TV and are also numbered or labeled. Choose the HDMI input port that corresponds to the port number you noted from your surround sound system.
Once you have identified the HDMI output port on your surround sound system and the HDMI input port on your TV, it’s time to connect the HDMI cable. Take one end of the HDMI cable and insert it firmly into the HDMI output port on your surround sound system. The cable has a unique connector shape that ensures proper alignment. Make sure it is fully inserted and secured.
Now, take the other end of the HDMI cable and insert it into the HDMI input port on your TV. Again, ensure a secure connection by pushing the cable connector all the way in. You should hear a satisfying click or feel a snug fit when the cable is properly inserted.
With the HDMI cable successfully connected to both your surround sound system and TV, you have established the audio and video connection between the two devices. This means that any audio signals from your TV will now be transmitted to your surround sound system, allowing you to enjoy immersive audio through your speakers.
Before moving on to the next step, take a moment to ensure that the HDMI cable is routed neatly behind your entertainment setup and that there are no kinks or twists in the cable. This will help prevent any potential signal interference or damage to the cable.
Now that the HDMI cable is securely connected, proceed to the next step to learn how to connect the HDMI cable to your surround sound system.
Step 3: Connect HDMI Cable to Surround Sound System
With the HDMI cable successfully connected to your TV, it’s time to complete the audio connection by connecting the other end of the cable to your surround sound system. This step will enable the transmission of audio signals from your TV to your surround sound speakers, providing you with an immersive audio experience.
Locate the HDMI input port on your surround sound system. This port is typically labeled “HDMI Input” or may be color-coded for easy identification. Take note of the HDMI port number to which you connected the HDMI cable from your TV.
Now, take the other end of the HDMI cable that is connected to your TV and insert it firmly into the HDMI input port on your surround sound system. Align the cable connector with the port and push it in until it is fully inserted and secured. Again, you should hear a click or feel a snug fit when the cable is properly connected.
By connecting the HDMI cable from your TV to your surround sound system, you have established the audio connection between the two devices. This means that the audio signals from your TV will now be transmitted to your surround sound system, allowing you to enjoy immersive audio through your speakers.
Before moving on to the next step, double-check that the HDMI cable is securely connected to both your TV and surround sound system. Ensure that the cable is not loose or partially inserted, as this could affect the audio transmission quality. Take a moment to tidy up the cable by routing it neatly behind your entertainment setup to prevent any potential signal interference or cable damage.
With the HDMI cable successfully connected to both your TV and surround sound system, you have completed the necessary audio and video connections. In the next step, we will guide you through the process of configuring the audio settings on your TV to ensure optimal sound output.
Step 4: Configure Audio Settings on TV
Once you have connected the HDMI cable between your TV and surround sound system, it’s time to configure the audio settings on your TV. This step ensures that the audio is properly routed to your surround sound system, allowing you to experience the full benefits of surround sound.
Start by turning on your TV and accessing the settings menu. The process may vary depending on the make and model of your TV. Look for options such as “Settings,” “Menu,” or an icon resembling a gear or wrench on your remote control or TV interface.
Navigate to the audio settings section. Here, you should find options related to audio output, speakers, or sound settings. Select the appropriate option that allows you to configure the audio output.
Within the audio settings menu, look for the audio output or sound mode setting. Select the option that corresponds to your surround sound system. It might be labeled as “External Speakers,” “Audio System,” or “AV Receiver.” Choose the option that directs the TV’s audio output to the HDMI connection where your surround sound system is connected.
Some TV models may require you to enable the HDMI-CEC (Consumer Electronics Control) feature, which allows for seamless control of multiple devices connected via HDMI. Check your TV’s manual or settings menu to see if this feature needs to be enabled. HDMI-CEC can automatically switch the TV’s audio output to the connected surround sound system and vice versa.
Additionally, you may have the option to adjust the audio format or sound mode. This allows you to customize the audio settings based on your preference or the type of content you are watching. Experiment with different options, such as “Surround,” “Movie,” or “Music,” to find the sound mode that best suits your audio needs.
Once you have made the necessary audio settings adjustments, save the changes and exit the settings menu. Your TV is now configured to output audio to your connected surround sound system through the HDMI connection.
Before proceeding to the final step, it’s a good idea to test your surround sound system to ensure everything is working correctly. Play a movie or TV show and listen for audio coming from all the speakers, confirming that the surround sound effect is working as expected.
Now, let’s move on to the last step to finalize the setup and test your surround sound system.
Step 5: Test Surround Sound System
After completing the setup and configuration of your surround sound system, it’s essential to test it to ensure that everything is functioning correctly. This step allows you to verify the audio quality and confirm that the surround sound effect is working as intended.
Start by playing a piece of content that is known to have surround sound, such as a movie or TV show with immersive audio. Make sure the source of the content is connected to your TV, whether it’s through a cable box, Blu-ray player, streaming device, or other media sources.
While the content is playing, carefully listen for audio coming from each of the speakers in your surround sound system. For example, if there is a particular sound effect or dialogue coming from the left side of the screen, you should hear it predominantly from the left speaker. The same applies to sounds coming from the right, rear, and center channels. This indicates that the surround sound system is properly distributing audio across the speakers.
Take note of any issues you encounter during the testing process. For example, if you notice that the audio is only coming from the TV speakers and not from the surround sound system, double-check the connections and audio settings on your TV to ensure they are configured correctly. Make sure that the audio output on your TV is set to the HDMI connection where the surround sound system is connected.
If the surround sound effect is not as pronounced as expected, you may need to fine-tune the audio settings on your TV or surround sound system. Adjusting the volume levels of individual speakers, enabling specific sound enhancement features, or experimenting with different sound modes can help optimize the audio quality.
Remember that each surround sound system may have its own set of settings and configuration options. Consult the user manual or documentation for your specific surround sound system to explore additional features or troubleshooting tips.
Once you are satisfied with the performance and audio quality of your surround sound system, sit back, relax, and enjoy the immersive audio experience it provides. Whether you’re watching movies, playing video games, or listening to music, the surround sound system will elevate your entertainment to a whole new level.
Congratulations! You have successfully hooked up your surround sound system to your TV using an HDMI cable and tested it to ensure optimal performance. Now, sit back, relax, and let the enveloping audio transport you into a world of immersive entertainment.
These were the steps to connect a surround sound system to your TV using an HDMI cable. Enjoy your newfound audio experience!
Conclusion
Connecting your surround sound system to your TV using an HDMI cable is a straightforward process that can greatly enhance your audio experience. By following the steps outlined in this guide, you can enjoy immersive sound while watching movies, playing games, or listening to music.
Remember to check that your TV and surround sound system are compatible and properly set up before connecting them. Ensure that both devices have HDMI ports, and confirm that your surround sound system has the necessary inputs to connect the HDMI cable.
Once you have made the physical connections, take the time to configure the audio settings on your TV. This step ensures that the audio is routed to your surround sound system effectively, providing you with an optimal surround sound experience. Play with the sound modes and formats to find the setting that best suits your preference and the content you are consuming.
With everything set up and configured, it’s crucial to test your surround sound system to ensure that the audio is distributed correctly across the speakers. Listen for audio coming from each speaker, confirming that the surround sound effect is working as intended. If any issues arise, double-check the connections and audio settings, and consult the user manual for troubleshooting steps.
Once you have successfully tested and optimized your surround sound system, you can sit back, relax, and enjoy an immersive audio experience that enhances your entertainment. Whether you’re watching movies, playing video games, or listening to music, the spatial audio provided by surround sound will transport you into the heart of the action.
Now that you have completed all the steps, you are ready to enjoy the immersive audio experience that surround sound provides. Dive into your favorite movies, games, and music, and let the rich and enveloping sound elevate your entertainment to new heights.
Thank you for following this guide, and we hope you have found it helpful in connecting your surround sound system to your TV using an HDMI cable. Embrace the power of surround sound and indulge in the immersive world of audio.

