Home>Production & Technology>Surround Sound>How To Connect Soundbar To Surround Sound
Surround Sound
How To Connect Soundbar To Surround Sound
Modified: January 22, 2024
Learn how to connect your soundbar to surround sound systems and enjoy immersive audio experiences. Enhance your home entertainment with easy-to-follow instructions for setting up your surround sound.
(Many of the links in this article redirect to a specific reviewed product. Your purchase of these products through affiliate links helps to generate commission for AudioLover.com, at no extra cost. Learn more)
Table of Contents
Introduction
When it comes to creating the ultimate cinematic experience in your home, a surround sound system is a must-have. It allows you to immerse yourself in the action, bringing movies, music, and games to life with rich, immersive audio. However, setting up a surround sound system can be a daunting task for many. That’s where soundbars come in.
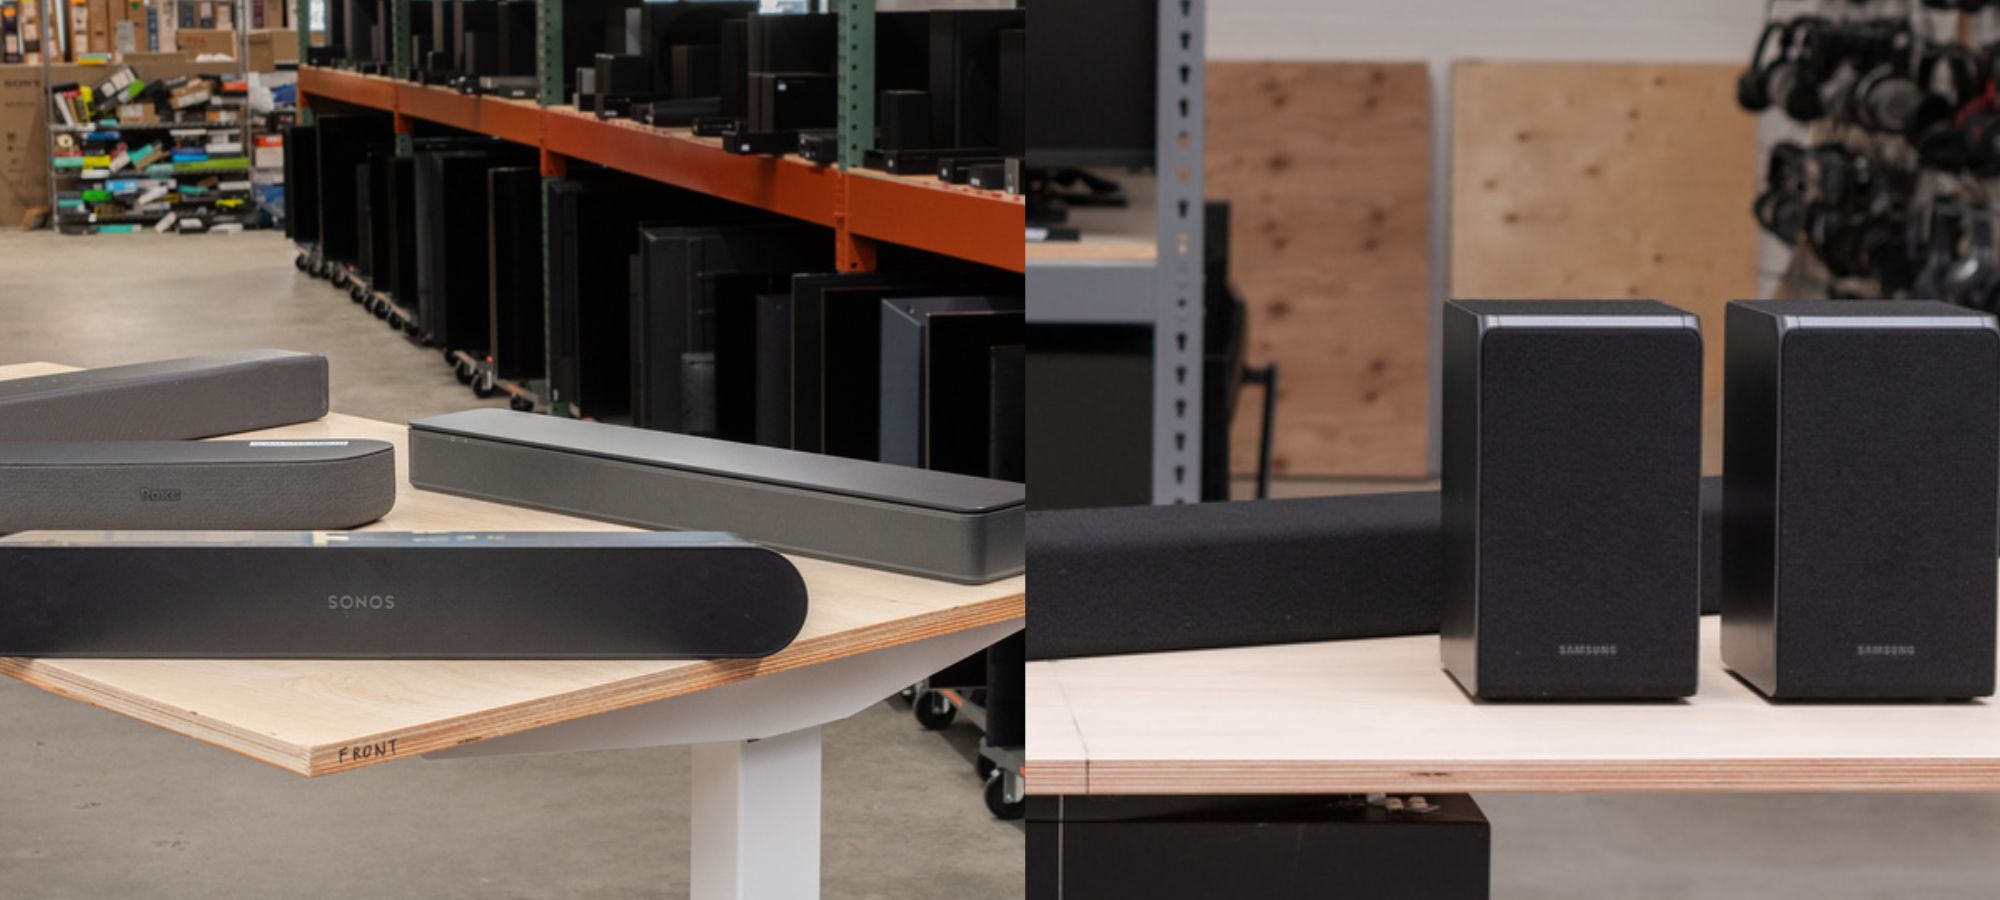
A soundbar is a compact, all-in-one speaker system that is designed to deliver high-quality audio and simulate the effect of a full surround sound system. It is a convenient and space-saving solution that is ideal for those who want to upgrade their audio experience without the hassle of installing multiple speakers and running cables all over the room.
In this article, we will guide you through the process of connecting a soundbar to a surround sound system. Whether you already have a surround sound system in place and want to enhance it with a soundbar, or you’re starting from scratch and want to create a complete audio setup, we’ve got you covered.
We will walk you through the required equipment, the step-by-step process of setting up the soundbar, and connecting it to your surround sound system. We will also provide tips on adjusting audio settings to ensure the best possible sound quality. Additionally, we’ll offer troubleshooting tips and address common issues that may arise during the setup process.
So, if you’re ready to take your audio experience to the next level, let’s dive in and explore how you can connect a soundbar to a surround sound system.
Understanding Soundbars and Surround Sound Systems
Before we delve into the process of connecting a soundbar to a surround sound system, it’s important to have a clear understanding of what these terms mean and how they work.
A soundbar is a slim, elongated speaker enclosure that is designed to sit below or above your TV. It typically contains multiple speakers and amplification to provide a virtual surround sound experience. Soundbars are known for their simplicity and ease of use, making them a popular choice for those who want to upgrade their TV’s audio without the complexity of a traditional surround sound system.
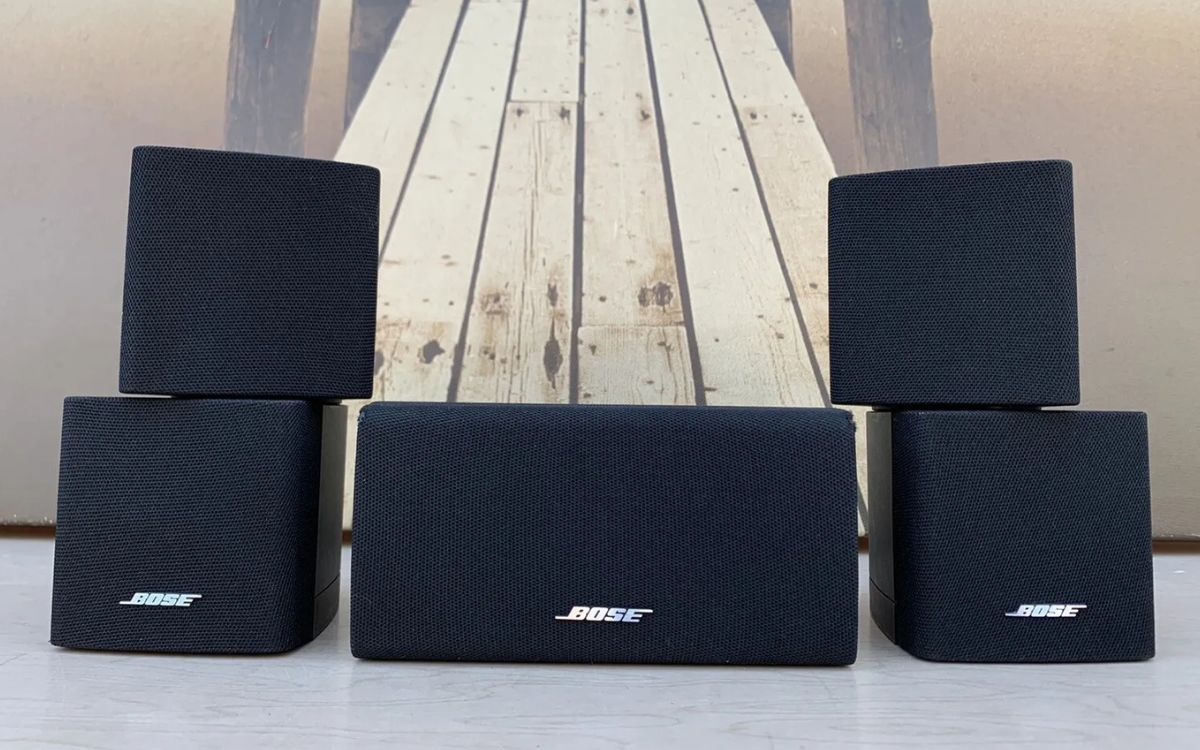
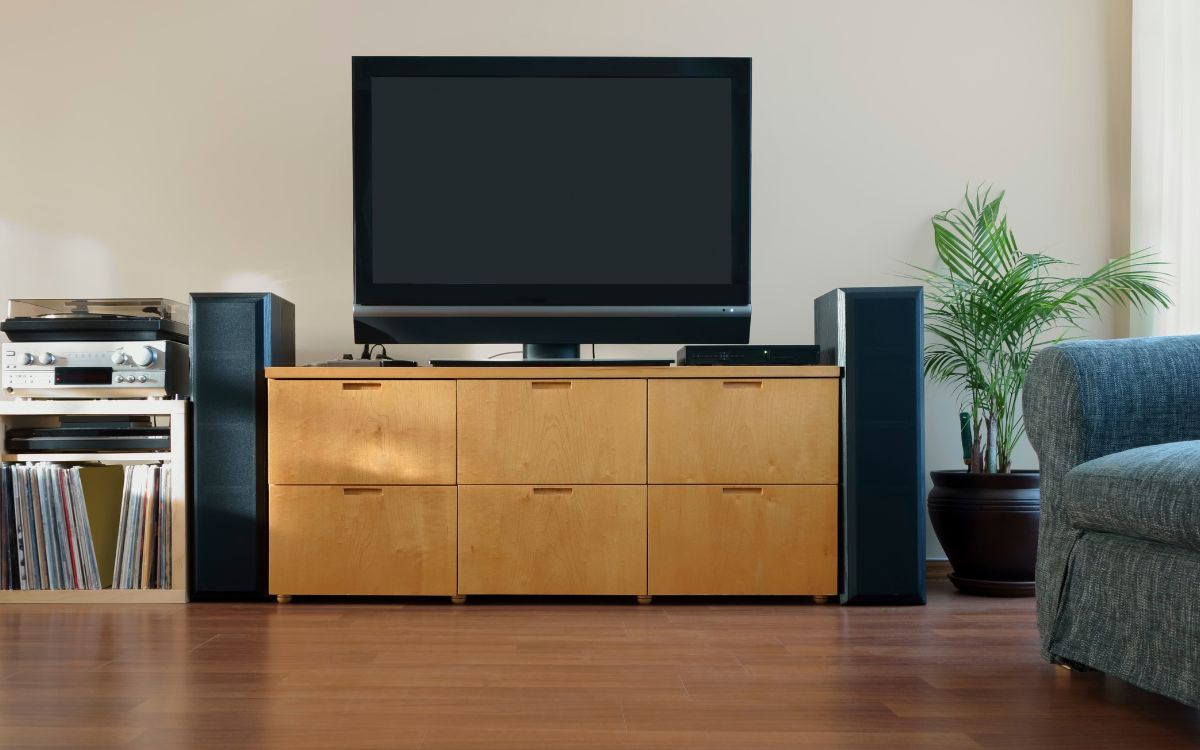
On the other hand, a surround sound system consists of multiple speakers placed strategically around a room to create a realistic and immersive audio experience. A typical surround sound system includes a center speaker, left and right front speakers, left and right surround/rear speakers, and a subwoofer. These speakers work together to deliver directional sound effects, making you feel like you’re right in the middle of the action.
When it comes to soundbars, there are two main types: virtual surround sound and true surround sound. A virtual surround sound soundbar uses advanced audio processing algorithms to simulate the effect of a multi-speaker setup. While it may not provide the same level of immersion as a true surround sound system, it can still deliver an impressive audio experience. On the other hand, a true surround sound soundbar consists of multiple speakers placed within the soundbar itself, offering a more authentic surround sound experience.
Soundbars and surround sound systems can be used together to create a more powerful and immersive audio setup. By connecting a soundbar to your existing surround sound system, you can enhance the audio quality, fill in any gaps, and create a more balanced soundstage.
Now that we have a basic understanding of soundbars and surround sound systems, let’s move on to the equipment you’ll need to make the connection.
Required Equipment
Before you can connect your soundbar to your surround sound system, you will need to gather a few essential pieces of equipment. Here’s what you’ll need:
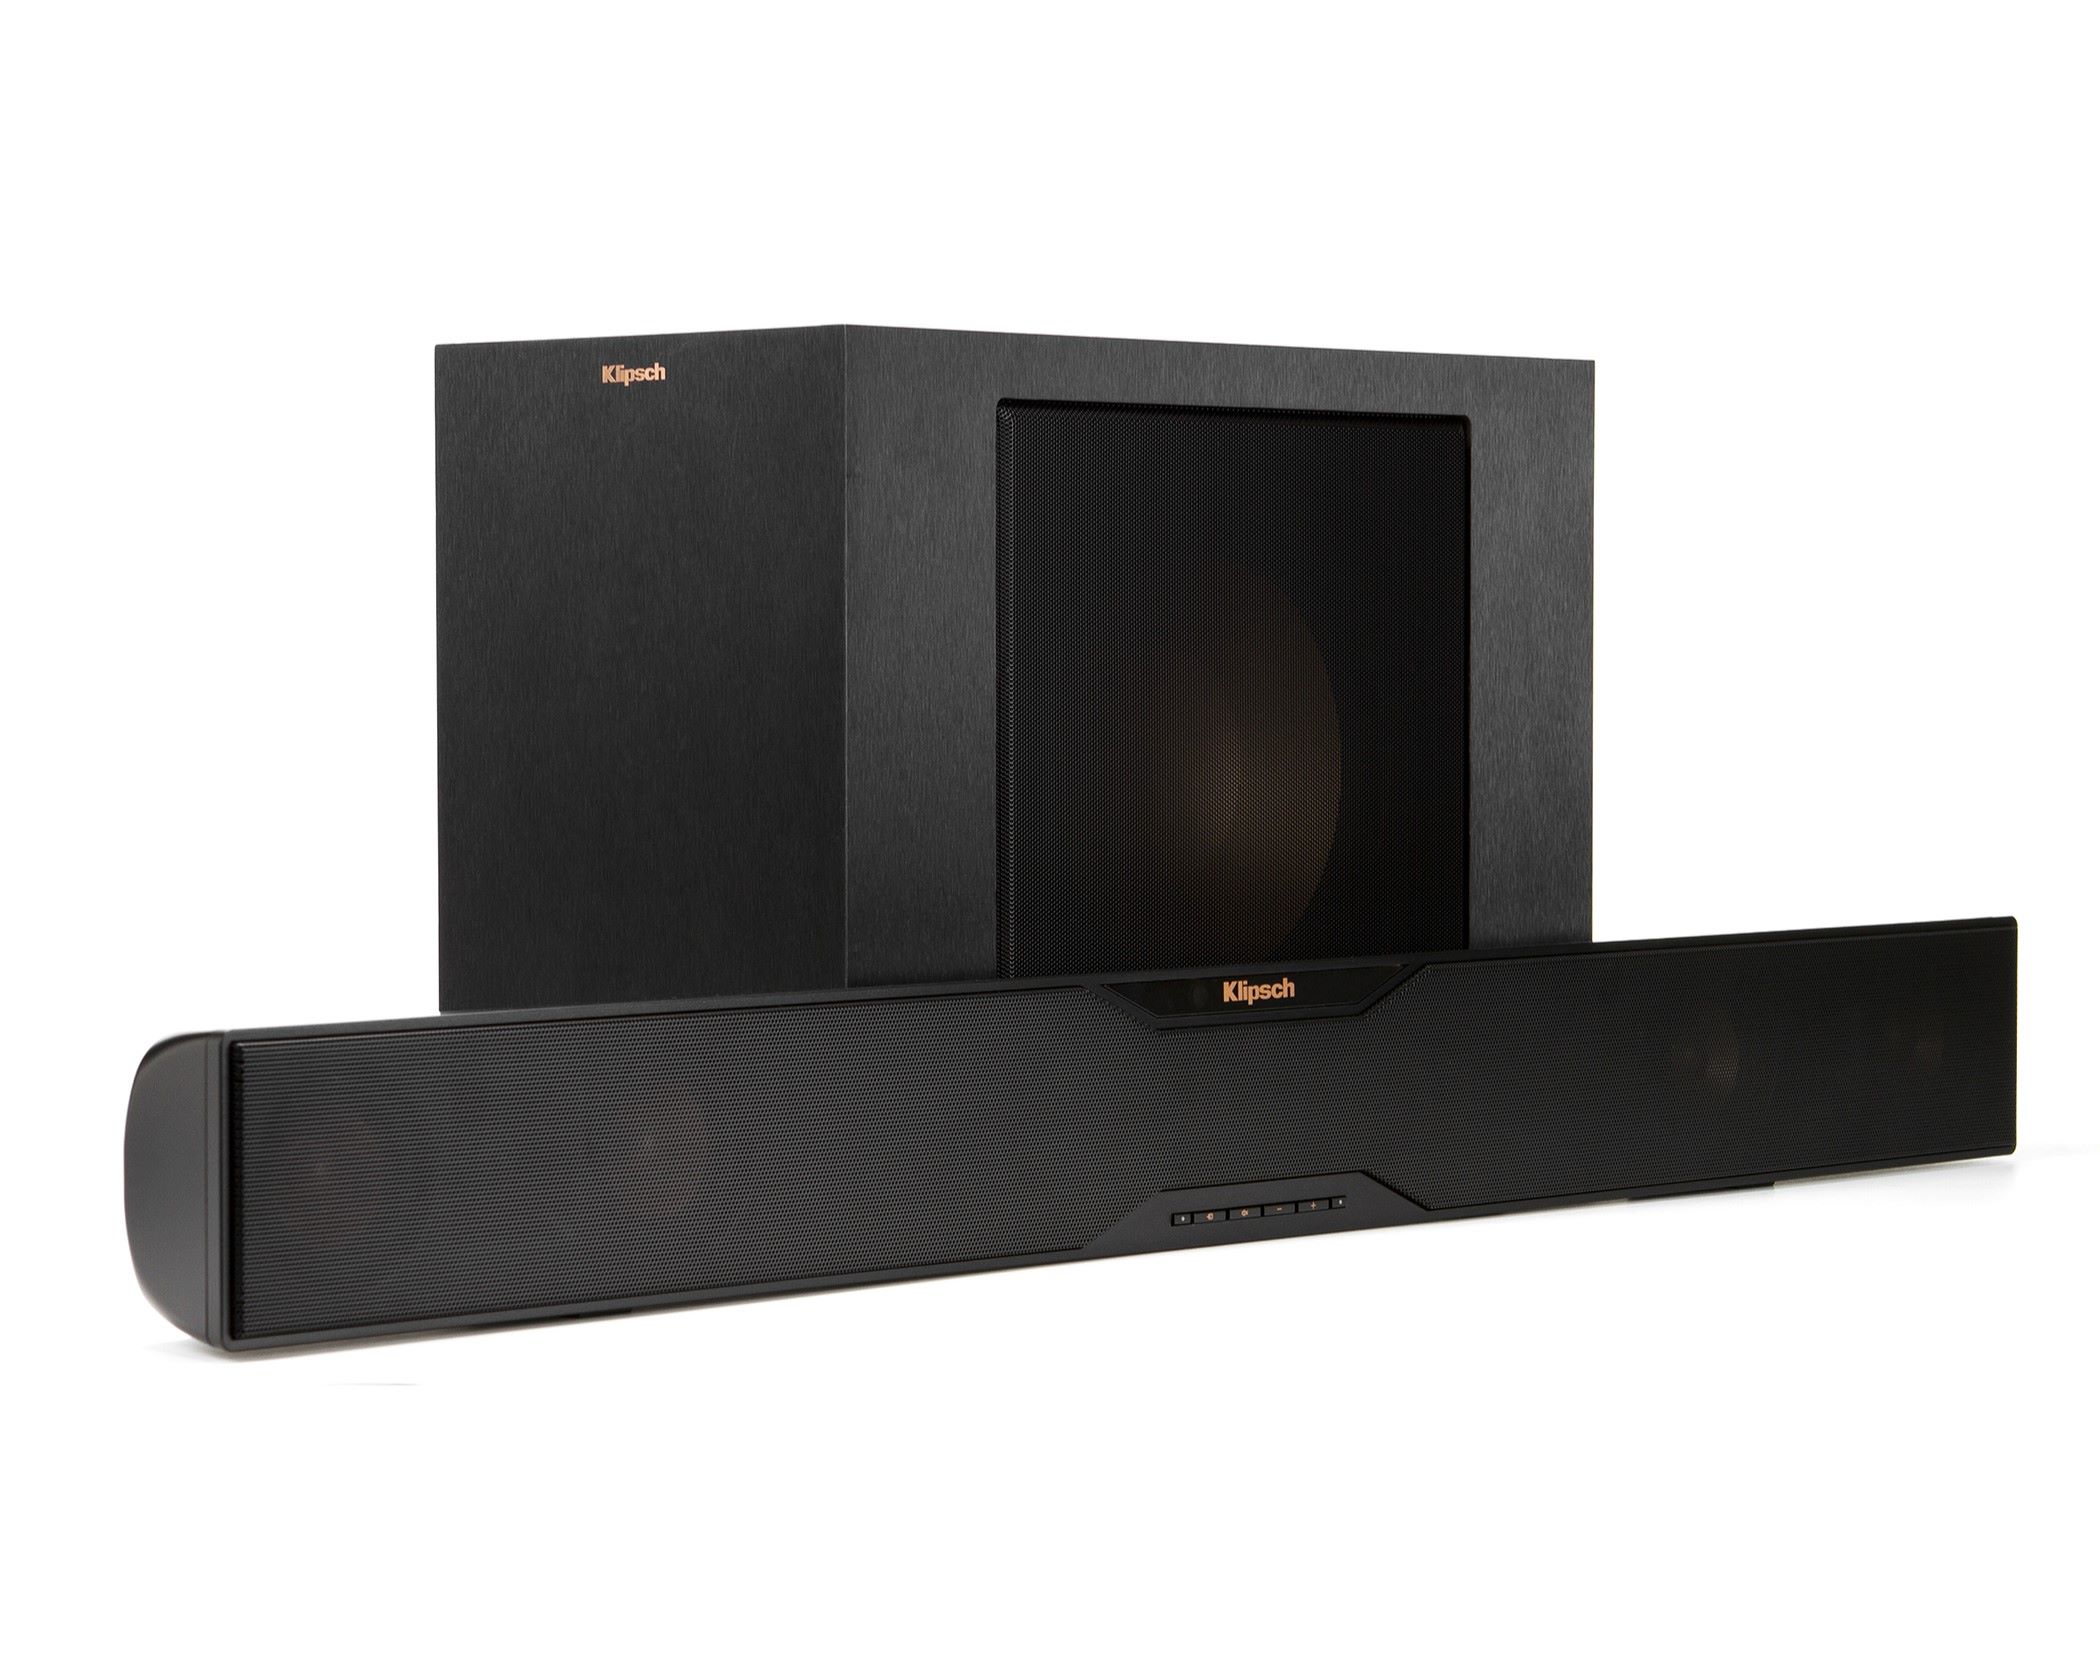
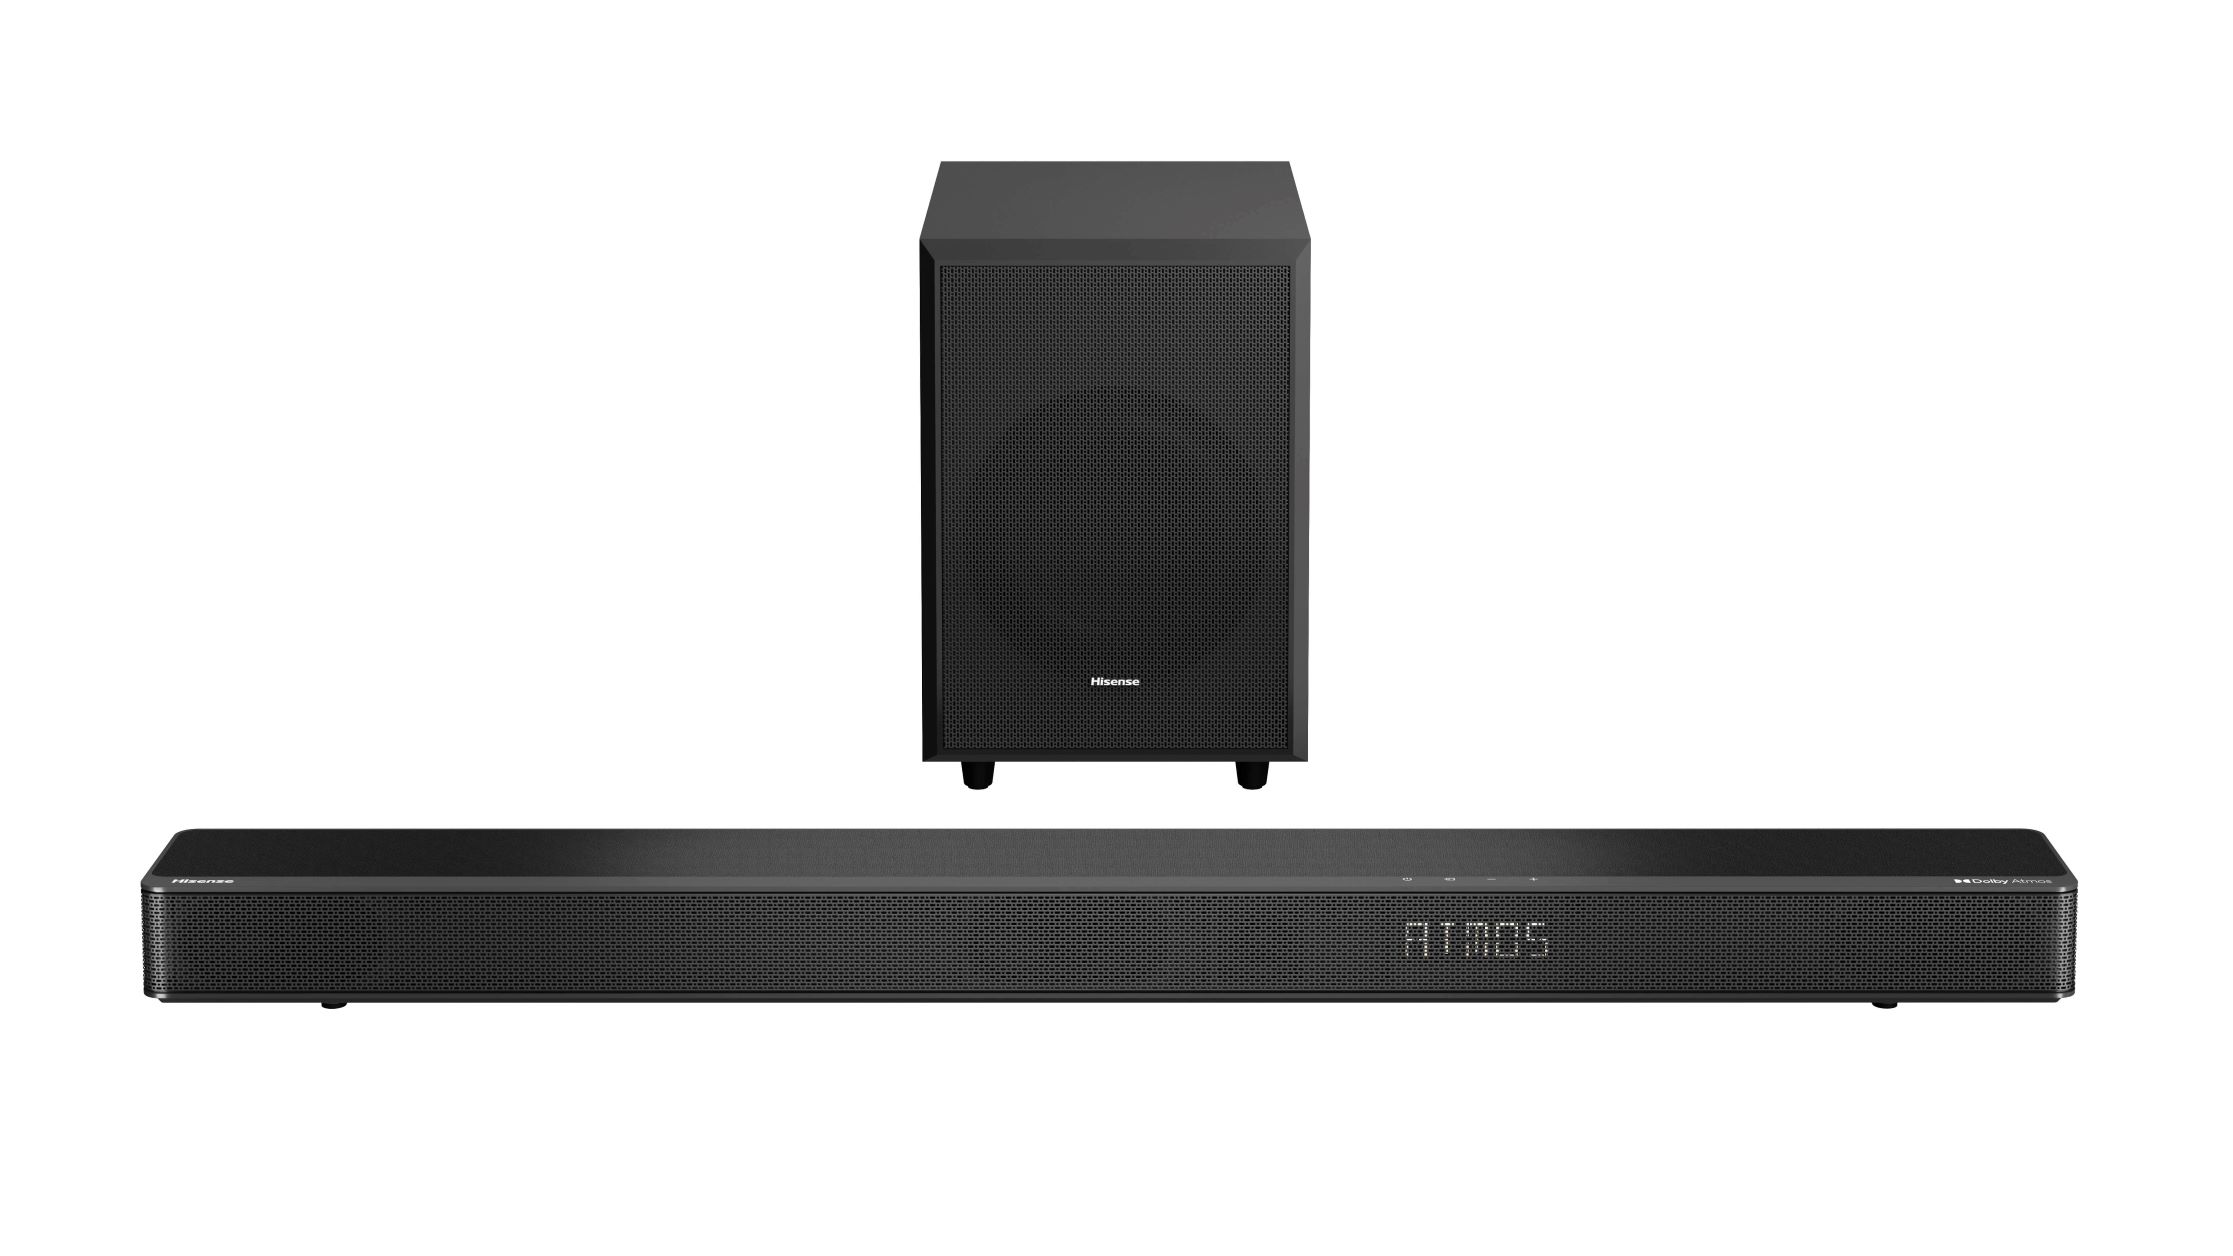
- Soundbar: Of course, the first item you’ll need is a soundbar itself. Make sure to choose a soundbar that is compatible with your audio setup and meets your specific needs in terms of sound quality, connectivity options, and features. You can find soundbars in various sizes and price ranges, so take the time to research and select the one that best suits your requirements.
- Surround Sound System: Since we’re connecting the soundbar to a surround sound system, you’ll need a surround sound system in place. This includes speakers such as the center speaker, front speakers, rear/surround speakers, and a subwoofer. Ensure that your surround sound system is properly set up and functioning before proceeding with the soundbar connection.
- Audio Cables: You’ll need appropriate audio cables to connect the soundbar to your surround sound system. The type of cables you’ll need may vary depending on the specific models and connections available. Common audio cables used for connecting soundbars include HDMI, optical (TOSLINK), and RCA cables. Check the inputs and outputs on both your soundbar and surround sound system to determine the cable types you’ll require.
- Remote Control: The soundbar may come with its own remote control to adjust the audio settings and control various functions. Some soundbars also have companion apps that you can install on your smartphone or tablet. Ensure that you have the necessary remote control or app to operate your soundbar effectively.
- Power Cables and Adapters: Don’t forget the power cables and adapters for both the soundbar and the surround sound system. Make sure you have the necessary power supply to connect all components and ensure proper functionality.
Once you’ve gathered all the required equipment, you’re ready to move on to the next steps: setting up the soundbar and connecting it to your surround sound system.
Setting up the Soundbar
Setting up your soundbar properly is crucial to ensure optimal audio performance. Here are the steps to set up your soundbar:
- Choose the Placement: Decide where you want to place your soundbar. It is typically placed below or above the TV, but make sure it’s positioned in a way that allows sound to project forward and reach your listening area effectively.
- Connect the Power: Plug in the power cable of your soundbar into a power outlet. Ensure that the power source is easily accessible and does not cause any strain on the cable.
- Connect the Audio Source: Depending on your soundbar and audio source, there are multiple ways to connect them. The most common methods include HDMI, optical (TOSLINK), or RCA connections. Refer to the user manual of your soundbar to determine the appropriate connection method and connect the audio source accordingly.
- Pair the Subwoofer (If Applicable): If your soundbar comes with a wireless subwoofer, you may need to pair them together. Follow the instructions provided by the manufacturer to establish a wireless connection between the soundbar and the subwoofer.
- Adjust the Soundbar Settings: Access the soundbar’s settings menu using the remote control or the companion app. Adjust the audio settings, such as volume, bass, treble, and any other available sound enhancements, according to your preferences.
- Position the Surround Sound Speakers (If Applicable): If you have additional surround sound speakers in your audio setup, position them properly around the room. Refer to the user manual of your surround sound system to determine the optimal placement for the speakers for the best surround sound experience.
- Test the Soundbar: Play some audio or video content to test the soundbar’s functionality. Check for balanced sound output, clear dialogue, and immersive surround sound effects. Make any necessary adjustments to the settings or speaker positions to achieve the desired audio experience.
By following these steps, you can successfully set up your soundbar and ensure that it’s ready to be connected to your surround sound system. Next, we’ll discuss the process of connecting the soundbar to your surround sound system.
Connecting the Soundbar to the Surround Sound System
Once you have set up your soundbar, it’s time to connect it to your surround sound system. Follow these steps to ensure a proper connection:
- Identify Audio Outputs: Locate the audio outputs on your surround sound system. These may include HDMI ARC (Audio Return Channel), optical (TOSLINK), or RCA outputs. The specific ports available will depend on the model of your surround sound system.
- Connect the Audio Cable: Choose the appropriate audio cable based on the available audio outputs. If your soundbar has an HDMI ARC port, use an HDMI cable to connect the HDMI ARC port on the soundbar to the HDMI ARC port on the surround sound system. If your soundbar and surround sound system have optical ports, use an optical (TOSLINK) cable to connect them. Alternatively, if the devices have RCA ports, use RCA cables to make the connection.
- Power on the Devices: Turn on both your soundbar and surround sound system. Ensure that they are both receiving power and are ready to be used.
- Select the Correct Input: Using the remote control or the control buttons on the soundbar, select the input source that corresponds to the connected audio cable. This will allow the soundbar to receive audio signals from your surround sound system.
- Test the Connection: Play some audio or video content on your surround sound system to test the connection with your soundbar. Check if the sound is coming through the soundbar and if the surround sound effects are working properly. Make any necessary adjustments to the soundbar settings or the surround sound speaker positions to achieve the desired audio experience.
Once you have completed these steps and successfully connected your soundbar to your surround sound system, you’re ready to enjoy a more immersive and enhanced audio experience. Take some time to fine-tune the audio settings and experiment with different audio content to fully appreciate the benefits of your newly connected soundbar.
Adjusting Audio Settings
After connecting your soundbar to your surround sound system, adjusting the audio settings is crucial to ensure optimal sound quality. Here are some tips to help you adjust the audio settings:
- Balance the Levels: Ensure that the audio levels of the soundbar and surround sound speakers are balanced. Use the soundbar’s remote control or the settings menu to adjust the volume of each speaker. This will help create a seamless and immersive audio experience.
- Configure Surround Sound Effects: If your soundbar has built-in surround sound capabilities, explore the different sound modes available. These modes can enhance the virtual surround sound effect and tailor the audio output to match the content you’re watching or listening to. Experiment with the different modes and select the one that best suits your preferences.
- Tweak Bass and Treble Settings: Adjust the bass and treble levels to fine-tune the audio output according to your preferences. Boosting the bass can add depth and impact to explosions and music, while adjusting the treble can enhance the clarity of dialogue and high-frequency sounds.
- Utilize Sound Enhancements: Many soundbars offer additional sound enhancements, such as dialogue enhancement, night mode, or dynamic range compression. These features can enhance the clarity of dialogue, reduce sudden volume changes, or optimize the audio for low-level listening. Explore these options and enable the ones that enhance your listening experience.
- Consider Room Acoustics: Take into account the acoustics of your room when adjusting the audio settings. Every room has its own unique characteristics that can affect sound quality. Experiment with speaker placement, positioning, and even the use of acoustic treatments such as curtains or sound-absorbing panels to improve the overall audio performance.
- Calibrate the Surround Sound System (If Available): If your surround sound system offers calibration options, use them to optimize the audio performance. This usually involves using a microphone to measure the acoustics of the room and adjust the speaker levels and delay settings accordingly. Follow the instructions provided by the manufacturer to calibrate your surround sound system properly.
By adjusting these audio settings, you can personalize the sound output of your soundbar and surround sound system to match your preferences and create an immersive audio experience. Take your time to experiment, fine-tune, and find the settings that provide the best audio quality for your enjoyment.
Troubleshooting and Common Issues
While connecting and setting up a soundbar to a surround sound system is generally a straightforward process, there are some common issues that may arise. Here are a few troubleshooting tips to help you overcome these challenges:
- No Sound: If you’re not getting any sound from the soundbar, double-check that all the audio cables are securely connected. Ensure that the soundbar and the surround sound system are powered on and set to the correct input source. Also, verify that the volume levels are appropriately adjusted on both devices.
- Inconsistent Sound: If you’re experiencing intermittent sound or sound dropouts, start by checking the audio cables for any damage or loose connections. If the issue persists, try using different audio cables to eliminate any potential cable-related problems. Additionally, ensure that the audio settings on both the soundbar and surround sound system are properly configured and compatible with each other.
- Audio Lag: If you notice a delay between the audio and video, known as audio lag or lip sync, it can be frustrating. First, check if your soundbar has a lip-sync adjustment feature and try adjusting it to synchronize the audio with the video. Additionally, some TVs have a built-in audio delay option, so you may want to explore your TV’s settings as well. If the issue persists, it may be worth contacting the manufacturer for further assistance.
- No Surround Sound Effects: If the surround sound effects are not working as expected, ensure that your soundbar is capable of producing surround sound. Some soundbars may simulate surround sound effects through virtual processing, while others may have physical surround sound speakers built-in. Verify your soundbar’s capabilities and consult the user manual to ensure the correct settings are applied for surround sound reproduction.
- Compatibility Issues: Occasionally, compatibility issues may arise between the soundbar and surround sound system. Ensure that both devices are compatible with each other in terms of audio formats and connection methods. If you encounter compatibility problems, consider updating the firmware of the soundbar and surround sound system to the latest version, as manufacturers often release updates to address such issues.
- Audio Settings Reset: If you encounter unexpected changes in audio settings or if your soundbar starts behaving differently, it may be due to a factory reset or a software glitch. In such cases, try resetting the soundbar to its factory default settings and reconfigure the audio settings from scratch.
If you encounter any persistent issues that you cannot resolve on your own, don’t hesitate to reach out to the customer support of the soundbar or surround sound system manufacturer for further assistance. They will have the expertise and knowledge to help you troubleshoot and resolve specific issues.
By following these troubleshooting tips and seeking assistance when needed, you can overcome common issues and ensure a seamless and enjoyable audio experience with your connected soundbar and surround sound system.
Conclusion
Connecting a soundbar to a surround sound system can significantly enhance your audio experience by providing immersive sound and a more balanced soundstage. By following the steps outlined in this article, you can successfully set up and connect your soundbar to your surround sound system, elevating your home entertainment to new levels.
We began by understanding the basics of soundbars and surround sound systems, highlighting their features and benefits. We then discussed the required equipment to make the connection, emphasizing the importance of selecting the right cables and power supply.
Next, we explored the process of setting up the soundbar, covering essential steps such as placement, power connection, audio source connection, and adjusting the settings. We also mentioned the significance of positioning surround sound speakers in order to optimize the surround sound experience.
Afterwards, we discussed the procedure of connecting the soundbar to the surround sound system, detailing the various audio cables and connection types, and ensuring a proper signal flow between the two devices.
Furthermore, we emphasized the significance of adjusting audio settings to ensure optimal sound quality. We provided tips on balancing audio levels, configuring surround sound effects, tweaking bass and treble settings, utilizing sound enhancements, and considering room acoustics to enhance the overall audio experience.
In addition, we addressed common troubleshooting issues that may arise during the setup process, offering guidance on identifying and resolving issues such as no sound, inconsistent sound, audio lag, and compatibility issues.
In conclusion, connecting a soundbar to a surround sound system opens up a world of high-quality audio and immersive entertainment possibilities. By following the steps outlined in this article and troubleshooting any potential issues, you can create a captivating home theater experience that rivals the movie theater. So, go ahead and embark on this audio journey, and let the soundbar and surround sound system elevate your home entertainment to new heights.