Home>Production & Technology>Surround Sound>How To Connect Surround Sound To DirecTV Genie
Surround Sound
How To Connect Surround Sound To DirecTV Genie
Modified: January 22, 2024
Learn how to connect surround sound to your DirecTV Genie for an immersive audio experience. Upgrade your entertainment system with this step-by-step guide.
(Many of the links in this article redirect to a specific reviewed product. Your purchase of these products through affiliate links helps to generate commission for AudioLover.com, at no extra cost. Learn more)
Table of Contents
Introduction
Welcome to the world of immersive audio! Surround sound systems have revolutionized the way we experience sound, bringing a whole new level of depth and realism to our entertainment. Whether you’re watching a blockbuster movie, playing a video game, or enjoying your favorite TV show, a surround sound system can transport you into the heart of the action.
In this article, we will guide you through the process of connecting your surround sound system to your DirecTV Genie receiver. By following the steps outlined here, you will be able to enjoy breathtaking audio that fully complements the stunning visuals that your Genie receiver provides.
Before we begin, let’s quickly go over what surround sound is and why it is worth investing in. Surround sound technology creates an immersive audio experience by distributing audio through multiple speakers placed strategically around the room. This allows for a more realistic and captivating soundstage, with sounds coming from different directions, just like in a movie theater.
The DirecTV Genie receiver is a popular choice for home entertainment, offering an extensive range of channels and on-demand content. By connecting your surround sound system to the Genie receiver, you can take your entertainment experience to new heights by enjoying crisp dialogue, impactful sound effects, and enveloping music.
In the following sections, we will walk you through the necessary equipment needed for the setup, the steps involved in connecting your surround sound system to the Genie receiver, and configuring the audio settings to optimize your experience. Let’s get started!
Equipment Needed
Before diving into the process of connecting your surround sound system to your DirecTV Genie receiver, let’s go over the equipment you’ll need to ensure a successful setup:
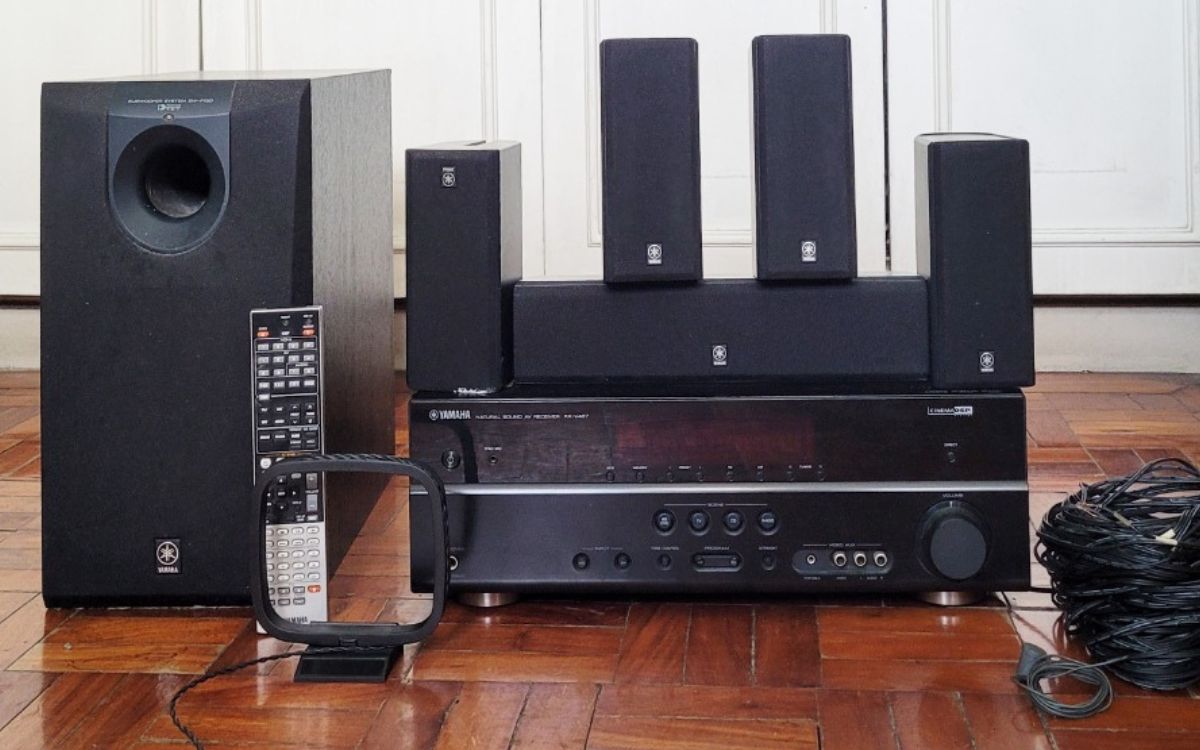
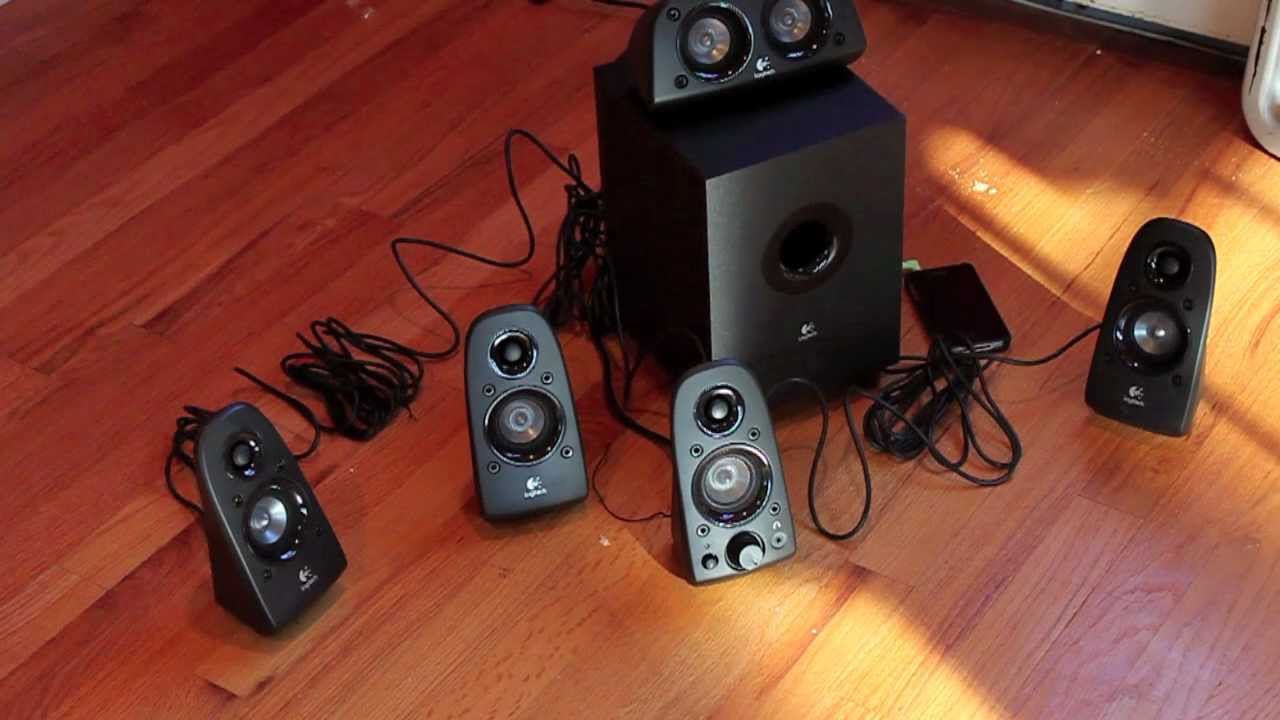
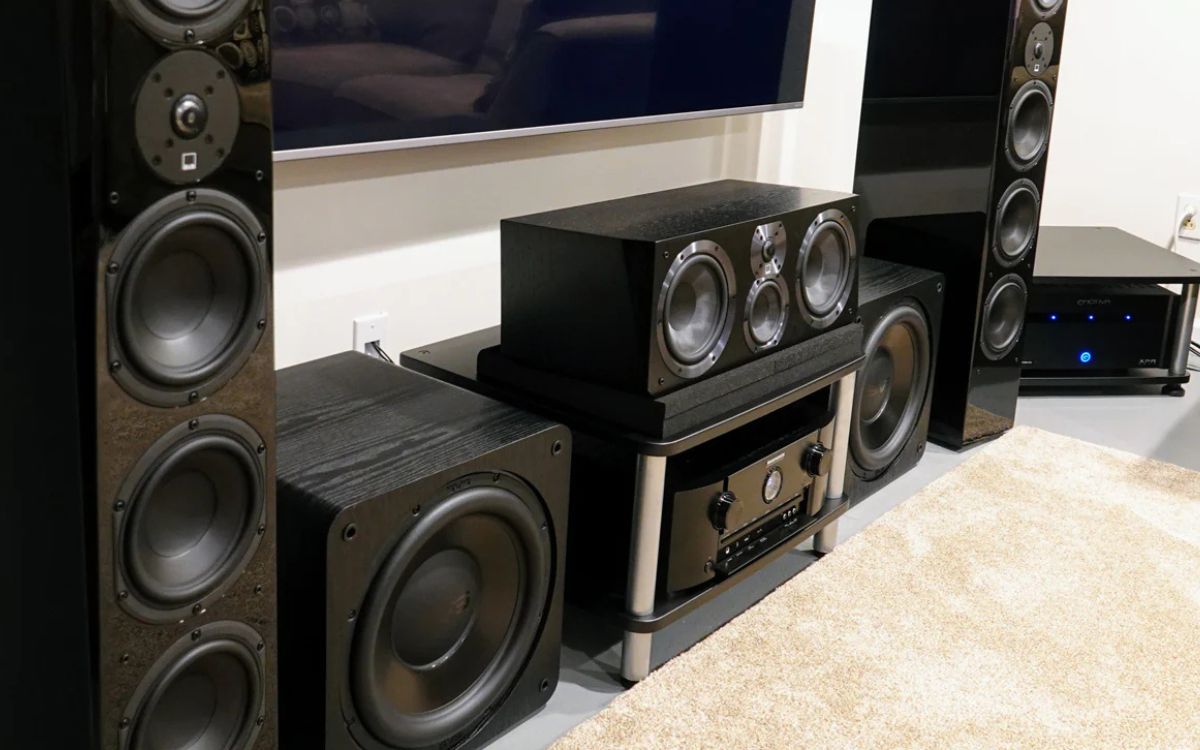
- Surround Sound System: This includes a receiver/amplifier and multiple speakers. The number and type of speakers depend on your preference and the size of your room. A typical setup includes a center channel speaker, front left and right speakers, rear surround speakers, and a subwoofer for low-frequency effects.
- DirecTV Genie Receiver: This is the central hub for your DirecTV satellite TV service. Make sure you have a Genie receiver with the necessary audio output connections.
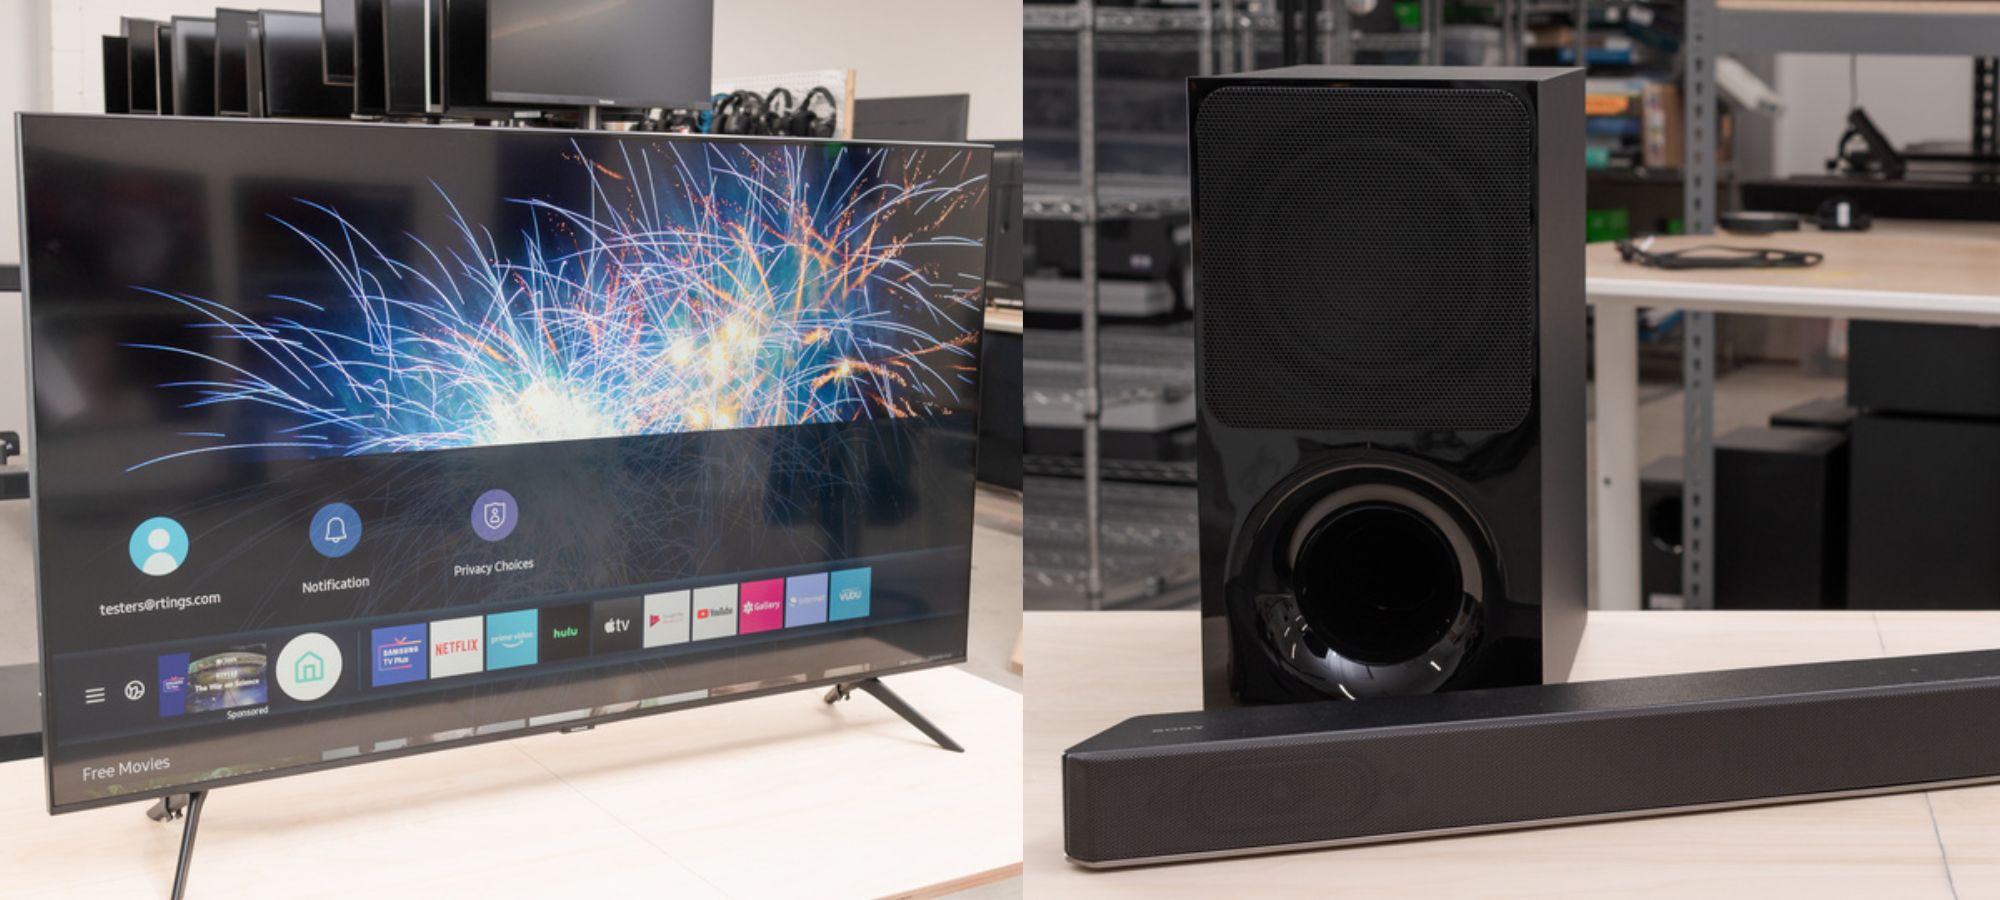
- HDMI Cable: You will need an HDMI cable to connect the Genie receiver to your TV. This will deliver high-quality audio and video signals.
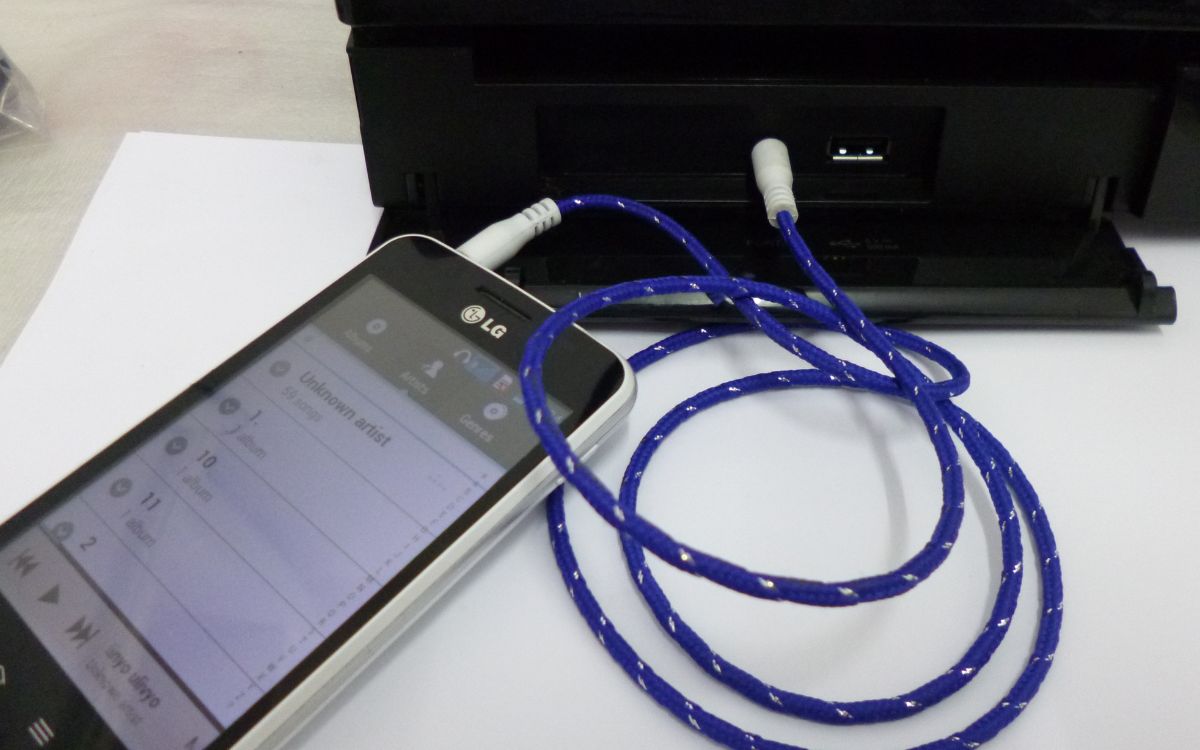
- Audio Cables: Depending on your setup, you may need additional audio cables such as RCA cables, optical cables, or HDMI ARC (Audio Return Channel) cables to connect your surround sound system to the Genie receiver.
- Speakers: Ensure you have the correct speakers for your surround sound setup. Consider floor-standing or bookshelf speakers for the front left and right channels, a dedicated center channel speaker for dialogue, smaller satellite speakers for the surround channels, and a powered subwoofer for deep bass.
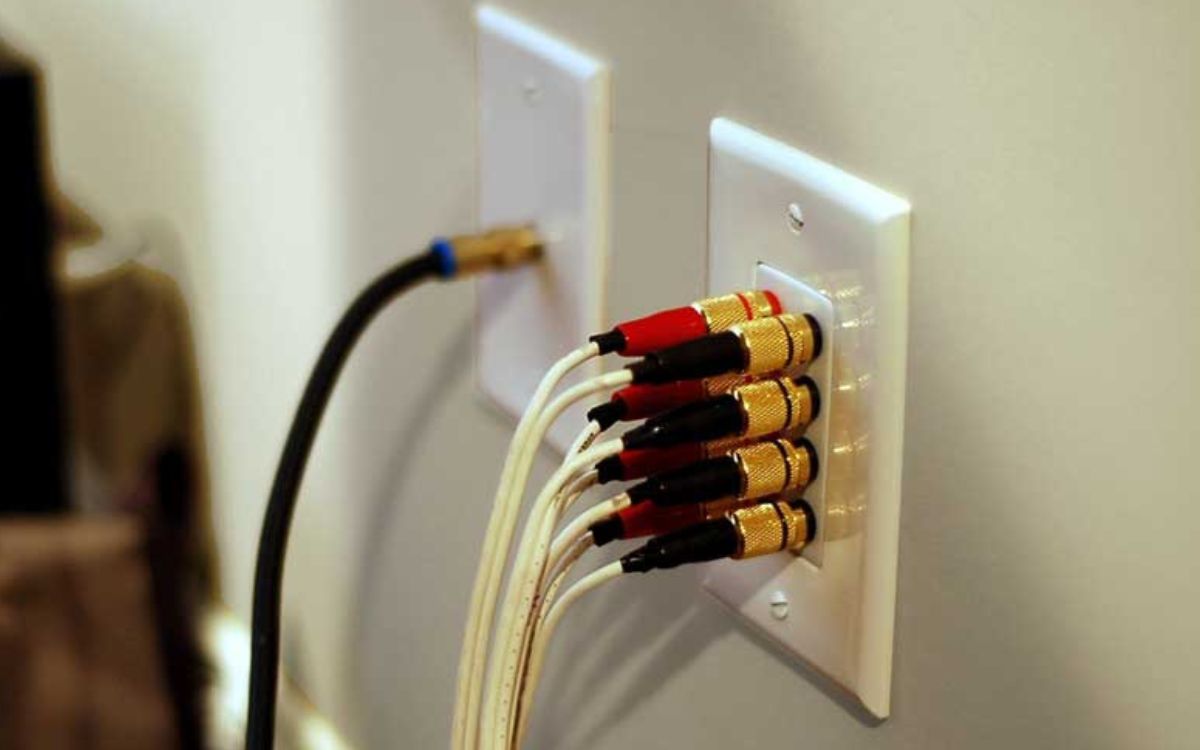
- Speaker Wires: You will need speaker wires to connect your speakers to the surround sound system’s receiver or amplifier. Make sure you have enough wire length and gauge suitable for your setup.
- Power Cables: Ensure you have enough power cables to connect all the devices in your setup. Keep in mind the power requirements of each component.
- TV with Audio Output: Your TV should have an audio output option, such as HDMI ARC, optical, or RCA output, to connect with the Genie receiver.
By having the above equipment on hand, you will be well-prepared for the process of connecting your surround sound system to your DirecTV Genie receiver. Now let’s move on to the next step: checking your Genie receiver for audio output options.
Step 1: Check Your Genie Receiver
Before proceeding with the connection process, it’s crucial to ensure that your DirecTV Genie receiver has the necessary audio output options. This step will help you identify the available audio connectors and select the appropriate cables for your surround sound system.
Here’s how you can check your Genie receiver:
- Locate your Genie receiver. It is typically placed near your TV or entertainment center.
- Inspect the back panel of the receiver. You should see a variety of ports and connectors.
- Look for audio output options. The most common audio output ports on a Genie receiver are HDMI, optical (TOSLINK), and RCA (red and white) connectors.
- Ensure that the Genie receiver has enough audio output options to accommodate your surround sound system’s requirements. For example, if you have a modern surround sound system, you should have HDMI or optical output options available.
If your Genie receiver doesn’t have the necessary audio output options, you may need to consider alternative solutions. This can include using an HDMI audio extractor or an HDMI ARC converter to extract the audio signal and connect it to your surround sound system.
Once you have determined the available audio output ports on your Genie receiver, you can move on to the next step: connecting the HDMI cable.
Step 2: Connect the HDMI Cable
Connecting the HDMI cable is an important step in establishing the audio and video connection between your DirecTV Genie receiver and your TV. The HDMI cable carries both high-definition video and audio signals, allowing for a seamless and crisp audiovisual experience.
Here’s how you can connect the HDMI cable:
- Locate the HDMI output port on your DirecTV Genie receiver. It is usually labeled as “HDMI Out” or “HDMI Output.”
- Take one end of the HDMI cable and insert it into the HDMI output port on the Genie receiver.
- Identify the HDMI input port on your TV. It is typically labeled as “HDMI In” or “HDMI Input.”
- Connect the other end of the HDMI cable into the HDMI input port on your TV.
- Ensure that both ends of the HDMI cable are securely plugged in.
Once the HDMI cable is connected, the video and audio signals from the Genie receiver will be transmitted to your TV. This is a crucial step in the setup process, as it allows for the playback of high-definition content with accompanying audio.
It’s important to note that some newer TVs may support HDMI ARC (Audio Return Channel) functionality. If your TV has HDMI ARC, you can connect the HDMI cable from the Genie receiver to the HDMI ARC input on your TV. This will allow for audio to be transmitted back from the TV to the surround sound system, simplifying the overall setup.
With the HDMI cable successfully connected, you’re ready to move on to the next step: connecting the audio cables.
Step 3: Connect the Audio Cables
After connecting the HDMI cable to establish the video and audio connection between your DirecTV Genie receiver and your TV, it’s time to connect the audio cables to your surround sound system. This step will ensure that the audio from your Genie receiver is properly distributed to the speakers in your surround sound setup.
Here’s how you can connect the audio cables:
- Identify the audio output options on your Genie receiver. These can include RCA (red and white) connectors, optical (TOSLINK) ports, or HDMI ARC (Audio Return Channel) if your TV has it.
- Determine the corresponding audio input options on your surround sound system. This can vary depending on the receiver or amplifier you are using.
- Choose the appropriate audio cable based on the available options. For example, if your Genie receiver has RCA output, you will need RCA cables. If it has optical output, an optical cable will be required.
- Connect one end of the audio cable into the audio output port on the Genie receiver.
- Connect the other end of the audio cable to the corresponding audio input port on your surround sound system.
- Repeat the process for each channel of your surround sound system, including the center channel, front left and right speakers, and rear surround speakers.
Ensure that the audio cables are securely connected to both the Genie receiver and the surround sound system. It’s a good practice to check that the connections are tight and that there is no loose or faulty wiring.
Remember, the specific connections and cables you use will depend on the audio output options available on your Genie receiver and the input options on your surround sound system. If you’re unsure about which cables to use, refer to the user manuals of your devices for guidance.
With the audio cables connected, you’re now ready to move on to the next step: setting up your surround sound system.
Step 4: Set up the Surround Sound System
Setting up your surround sound system is an essential step in creating an immersive audio experience. This involves placing the speakers in optimal positions and configuring the receiver or amplifier to match your room and listening preferences.
Follow these steps to set up your surround sound system:
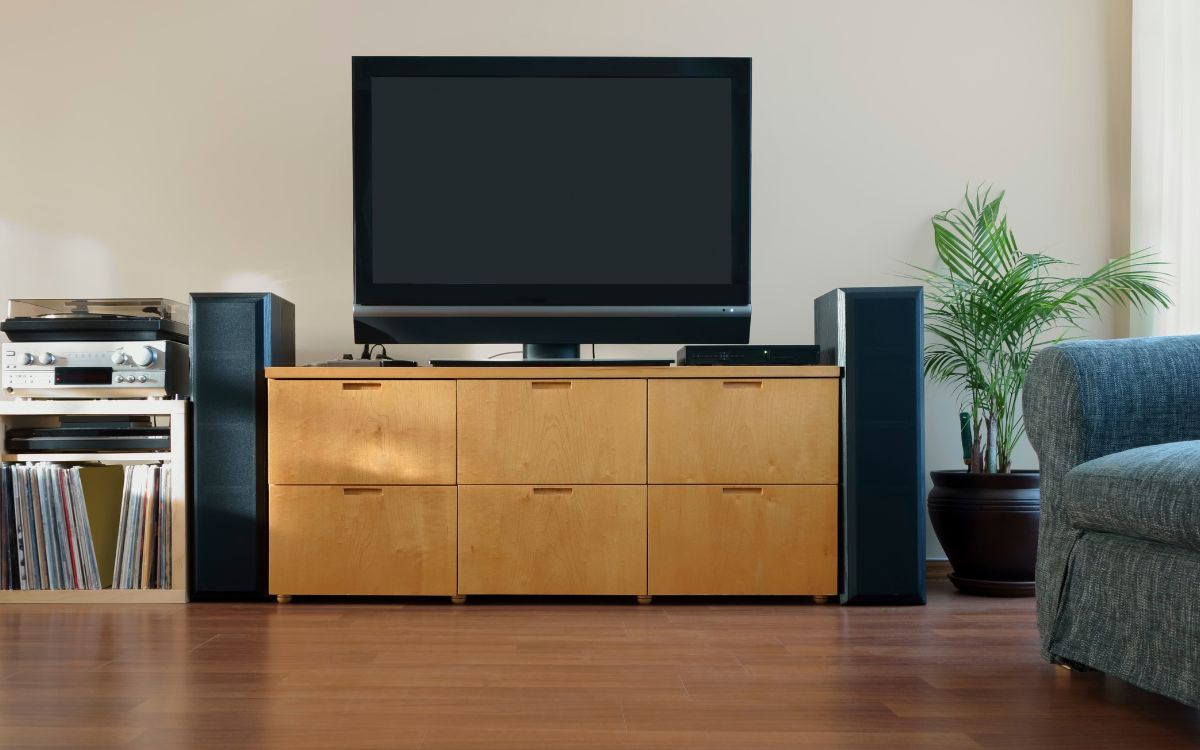
- Refer to the user manual of your surround sound system to understand the recommended placement for each speaker. Typically, the center channel speaker should be positioned above or below the TV, while the front left and right speakers should be placed on either side of the TV at ear level.
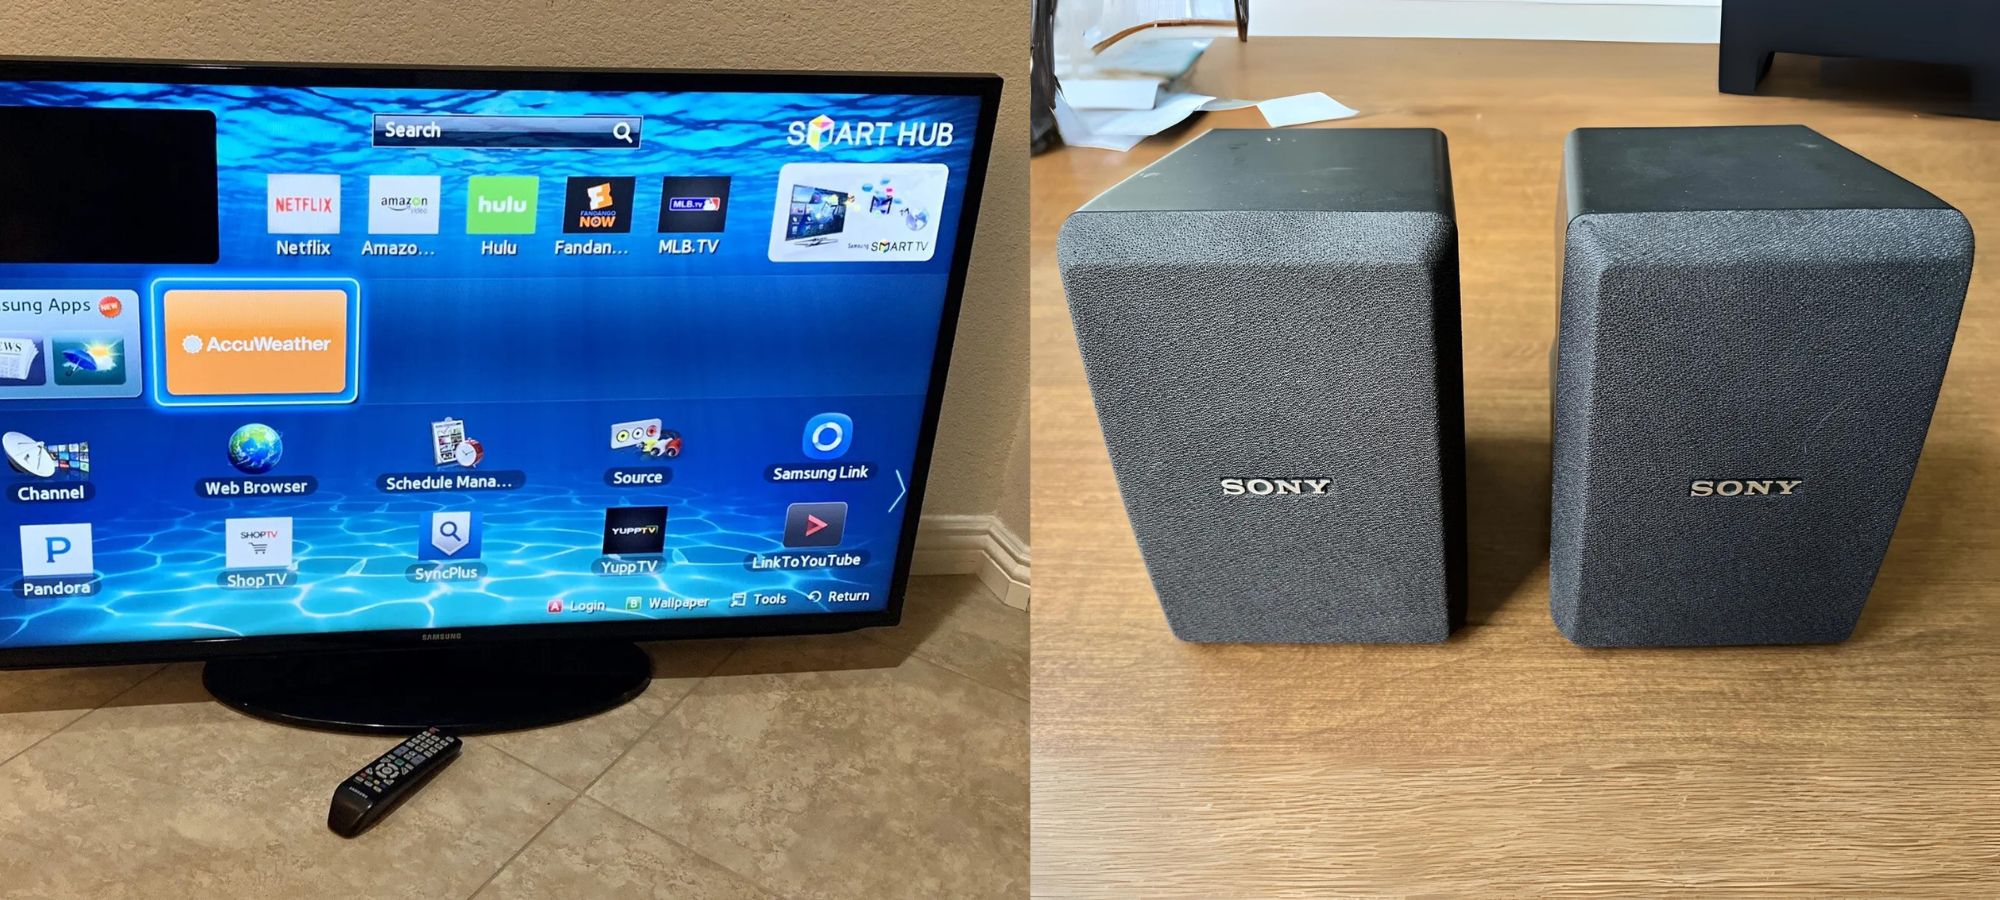
- Position the rear surround speakers behind the seating area, slightly above ear level, and angled towards the listener. If you have a 7.1 or higher channel system, additional speakers may need to be placed on either side or behind the listener.
- Place the subwoofer in a location that provides deep bass response. The bass is non-directional, so it can be placed anywhere in the room. Experiment with different positions to find the best spot.
- Connect each speaker to the corresponding output terminals on the surround sound receiver or amplifier. Ensure that the positive (+) and negative (-) terminals on the speakers align with the corresponding terminals on the receiver or amplifier.
- Double-check all the connections to ensure they are secure and properly attached. Loose connections can lead to audio distortion or loss of sound.
- Power on the surround sound system and make sure all the speakers are functioning correctly. Refer to the user manual for any specific setup procedures or calibration settings recommended by the manufacturer.
Keep in mind that the setup and configuration of a surround sound system may vary depending on the specific model and brand you’re using. It’s always a good idea to consult the user manual or seek additional guidance from the manufacturer if you encounter any difficulties during setup.
With your surround sound system properly set up and calibrated, you’re now ready to move on to the next step: configuring the audio settings on your DirecTV Genie receiver.
Step 5: Configure the Genie Receiver Audio Settings
Configuring the audio settings on your DirecTV Genie receiver is crucial to ensure that the audio is optimized for your surround sound system. By adjusting these settings, you can fine-tune the audio output to match the capabilities and specifications of your setup.
Here’s how you can configure the audio settings on your Genie receiver:
- Turn on your TV and Genie receiver, and navigate to the on-screen menu.
- Go to the “Settings” or “Options” menu on your Genie receiver.
- Look for the “Audio” or “Sound” settings and select it.
- Under the audio settings, you’ll typically find options such as “Audio Output,” “Dolby Digital,” or “Surround Sound.”
- Select the appropriate audio output setting based on your surround sound system. This setting should match the audio connections you established in previous steps (e.g., HDMI ARC, optical, or RCA).
- If your receiver has specific audio format options (e.g., Dolby Digital, DTS), choose the format that is supported by your surround sound system.
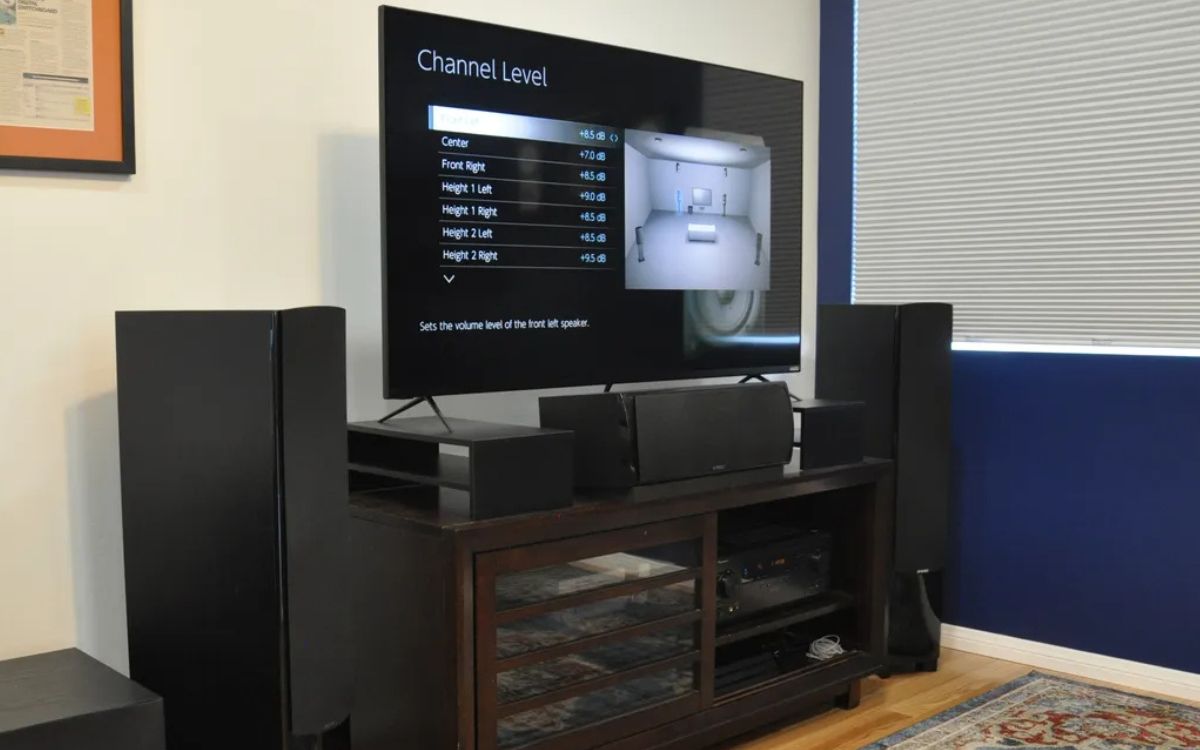
- Configure any additional audio settings or enhancements based on your preferences, such as speaker distance, channel levels, or equalizer settings.
- Follow any on-screen prompts or instructions to save and apply the audio settings.
It’s important to note that the menu and terminology may vary depending on the specific model of your Genie receiver. Refer to the user manual or on-screen prompts for specific instructions related to your receiver.
After configuring the audio settings, play a test audio or video source to ensure that the surround sound system is receiving the audio signal properly and that all speakers are producing sound correctly. Make any necessary adjustments to the speaker volume levels or settings to achieve the desired audio balance and clarity.
With the audio settings of your Genie receiver optimized, you’re ready to move on to the final step: testing the surround sound system.
Step 6: Test the Surround Sound
Testing the surround sound system is the final step in the setup process. This step allows you to ensure that all the speakers are working correctly and that you’re experiencing the full immersive audio experience that surround sound offers.
Follow these steps to test your surround sound system:
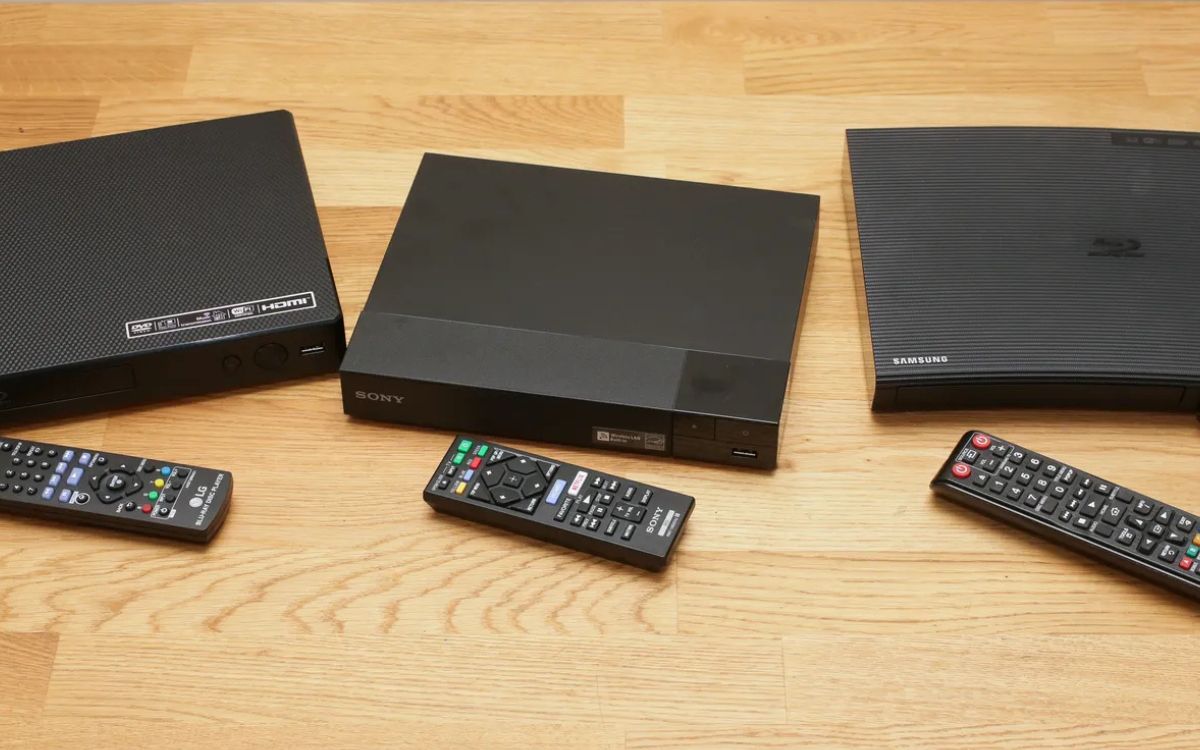
- Select a source that supports surround sound, such as a Blu-ray disc with a Dolby Atmos soundtrack or a streaming service that offers surround sound content.
- Play the selected source on your DirecTV Genie receiver.
- As the audio starts playing, pay attention to each speaker in your surround sound system. Confirm that sound is coming from all the speakers and that each one is producing clear and distinct audio.
- Listen for sound effects that are specific to certain channels, such as voices coming from the center speaker, ambient sounds from the rear surround speakers, and low-frequency effects from the subwoofer.
- Walk around the room and listen for consistent and smooth audio transition as you move from one speaker to another.
- If you notice any imbalance or issues with the audio, adjust the speaker levels on your surround sound receiver or amplifier. Refer to the user manual for instructions on how to do this.
- Continue playing different audio and video sources to test the surround sound system’s performance with various types of content.
During the testing process, it’s important to ensure that the volume levels are not excessively high, as this can cause audio distortion or damage to the speakers. Start with a moderate volume and gradually increase it if needed, keeping an ear out for any signs of distortion or discomfort.
If you encounter any issues or face difficulties during the testing process, consult the user manual of your surround sound system or reach out to the manufacturer’s customer support for further assistance.
Congratulations! By successfully testing your surround sound system, you have completed the setup process. Now you can sit back, relax, and enjoy a truly immersive audio experience with your DirecTV Genie receiver and surround sound system.
Conclusion
Congratulations on successfully connecting your surround sound system to your DirecTV Genie receiver! By following the steps outlined in this guide, you have created an immersive audio setup that will enhance your home entertainment experience.
Surround sound systems offer a whole new level of depth and realism, allowing you to enjoy movies, games, and TV shows with stunning audio quality. The combination of your Genie receiver and surround sound system will transport you into the heart of the action, bringing every sound to life.
Throughout the setup process, you’ve learned about the necessary equipment, how to connect the HDMI and audio cables, and how to configure the audio settings on your Genie receiver. You’ve also set up your surround sound system and tested it to ensure optimal performance.
Remember, each surround sound system and Genie receiver may have unique features and specifications. It’s essential to refer to the user manuals and follow the specific instructions for your devices.
Now that everything is set up and tested, you can sit back, relax, and fully immerse yourself in the incredible audio experience offered by your surround sound system. Enjoy the crisp dialogue, impactful sound effects, and enveloping music that will bring your favorite movies and shows to life.
Don’t forget to regularly update your Genie receiver and surround sound system to ensure you have access to the latest features and improvements. Additionally, periodically check your connections and settings to ensure optimal performance.
Thank you for choosing to enhance your entertainment setup with surround sound. We hope this guide has been helpful in setting up your DirecTV Genie receiver with your surround sound system. Now, get ready to be blown away by the immersive audio experience!