Home>Production & Technology>Surround Sound>How To Hook Up Surround Sound To Projector

Surround Sound
How To Hook Up Surround Sound To Projector
Modified: February 18, 2024
Learn how to easily hook up surround sound to your projector for an immersive audio experience. Enhance your home theater with crystal clear sound.
(Many of the links in this article redirect to a specific reviewed product. Your purchase of these products through affiliate links helps to generate commission for AudioLover.com, at no extra cost. Learn more)
Table of Contents
Introduction
Surround sound systems have revolutionized the way we experience audio in our homes. By providing immersive and realistic sound, these systems elevate our entertainment experiences to a whole new level. Whether you’re watching a movie, playing video games, or listening to music, a surround sound system can truly enhance your audio enjoyment.
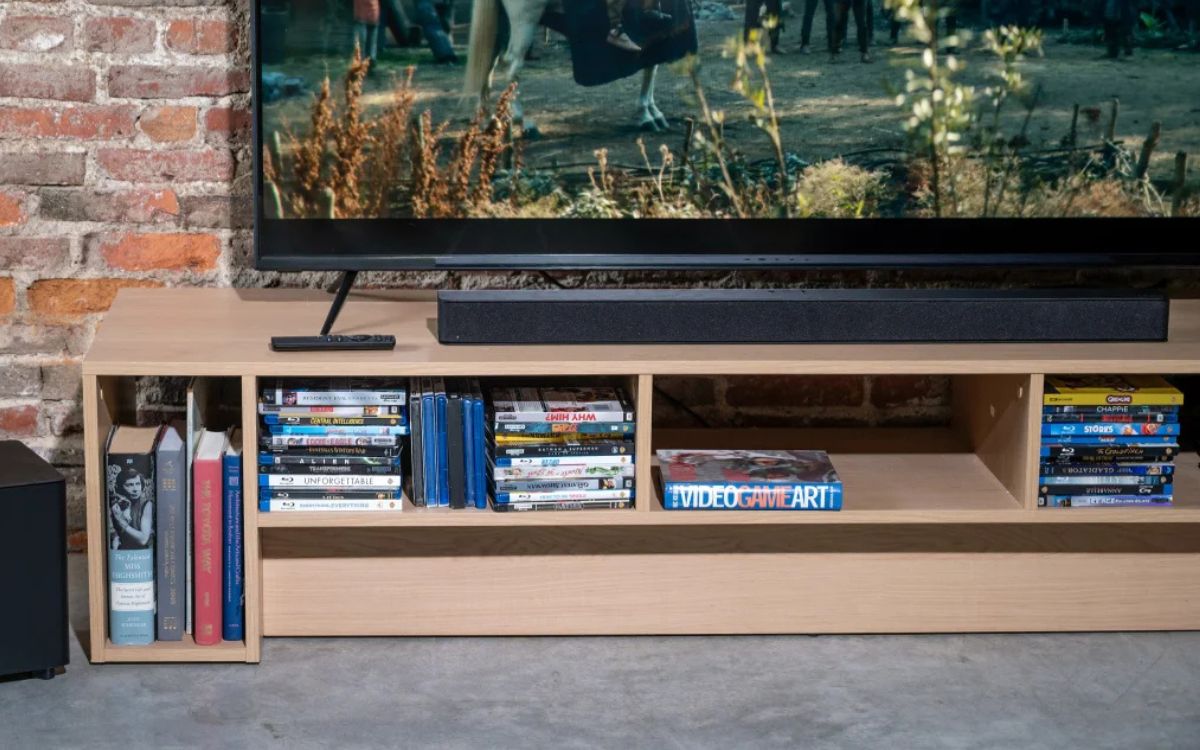
One popular setup for enjoying surround sound is connecting it to a projector. This allows you to not only enjoy a larger than life picture, but also a captivating audio experience that complements the stunning visuals. If you’re wondering how to hook up surround sound to a projector, you’ve come to the right place.
In this article, we will guide you through the process of connecting a surround sound system to a projector. We’ll cover everything from determining the system requirements to configuring the audio settings. By following these steps, you’ll be able to create your own immersive home theater setup.
Before we dive into the details, it’s important to understand the basic components involved in a surround sound system. The key components include a surround sound receiver, audio sources such as Blu-ray players or gaming consoles, speakers, and of course, a projector. These components work together to deliver a surround sound experience that simulates a multi-dimensional audio environment.
Now that we have a basic understanding of what a surround sound system entails, let’s move on to the step-by-step process of connecting it to a projector. With a bit of patience and the right equipment, you’ll soon be enjoying movies and games with incredible surround sound right in the comfort of your own home.
Step 1: Determine the Surround Sound System Requirements
Before you begin connecting your surround sound system to a projector, it’s essential to determine the specific requirements of your system. This will ensure that you have all the necessary components and cables to make the connection:
- Audio Source: Identify the device that will be supplying the audio to the surround sound system. This can be a Blu-ray player, gaming console, streaming device, or any other audio output device.
- Surround Sound Receiver: Make sure you have a surround sound receiver that is compatible with your audio source. The receiver acts as the control center for your system, receiving audio signals and distributing them to the speakers.
- Projector: Ensure that your projector has audio output capabilities. Some projectors come with built-in speakers, while others require external speakers for audio playback.
- Speakers: Determine the number and type of speakers you plan to connect to your surround sound system. This may include front speakers, center channel speakers, surround speakers, and a subwoofer for a complete surround sound experience.
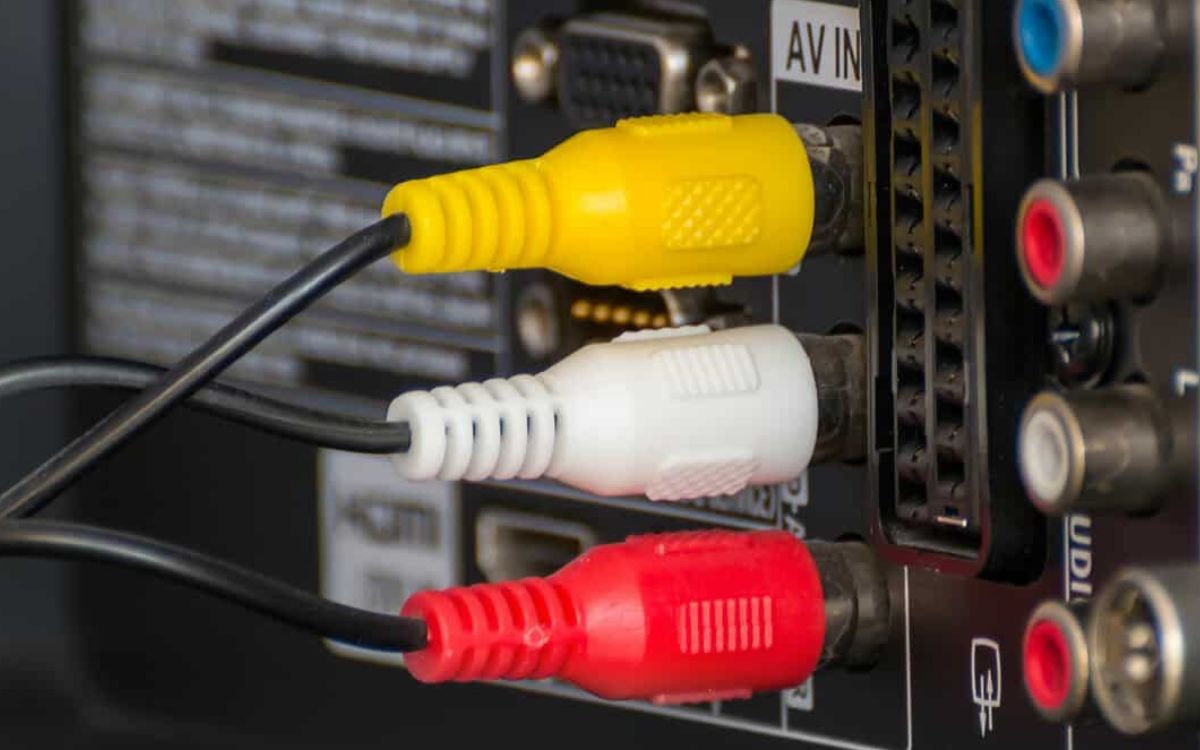
- Cables: Take note of the necessary cables needed to connect your audio source, surround sound receiver, and projector. This may include HDMI cables, optical cables, or RCA cables, depending on the available inputs and outputs on your devices.
By understanding the requirements of your surround sound system, you’ll be well-prepared to make the necessary connections and ensure compatibility between all the components. Take the time to gather all the required equipment before proceeding to the next steps.
Step 2: Connect the Audio Source to the Surround Sound Receiver
Once you’ve determined the surround sound system requirements, it’s time to connect the audio source to the surround sound receiver. This step is crucial as it establishes the connection between the device providing the audio and the receiver that will distribute it to the speakers. Follow these steps to make the connection:
- Identify the audio output port on your audio source device, which is typically labeled as “Audio Out” or “HDMI Out”.
- Using the appropriate cable, connect one end to the audio output port on your audio source device.
- Locate the corresponding audio input port on the surround sound receiver, often labeled as “Audio In” or “HDMI In”.
- Connect the other end of the cable to the audio input port on the surround sound receiver.
Depending on the available ports and compatibility between your audio source device and surround sound receiver, you may use different types of cables such as HDMI, optical, or RCA. It is advisable to use HDMI cables whenever possible, as they support higher audio quality and are often the preferred option for surround sound systems.
Once the audio source is connected to the surround sound receiver, you should select the corresponding input on the receiver. This can usually be done using the receiver’s remote control or front panel. Consult the receiver’s manual for specific instructions on selecting the appropriate input.
With the audio source connected to the surround sound receiver, you have established the foundation for transmitting audio signals to your speakers. The next step is to connect the surround sound receiver to the projector to complete the setup.
Step 3: Connect the Surround Sound Receiver to the Projector
Now that you have successfully connected the audio source to the surround sound receiver, it’s time to establish the connection between the receiver and the projector. This step is crucial for routing the audio from the surround sound system to the projector. Follow these steps to connect the surround sound receiver to the projector:
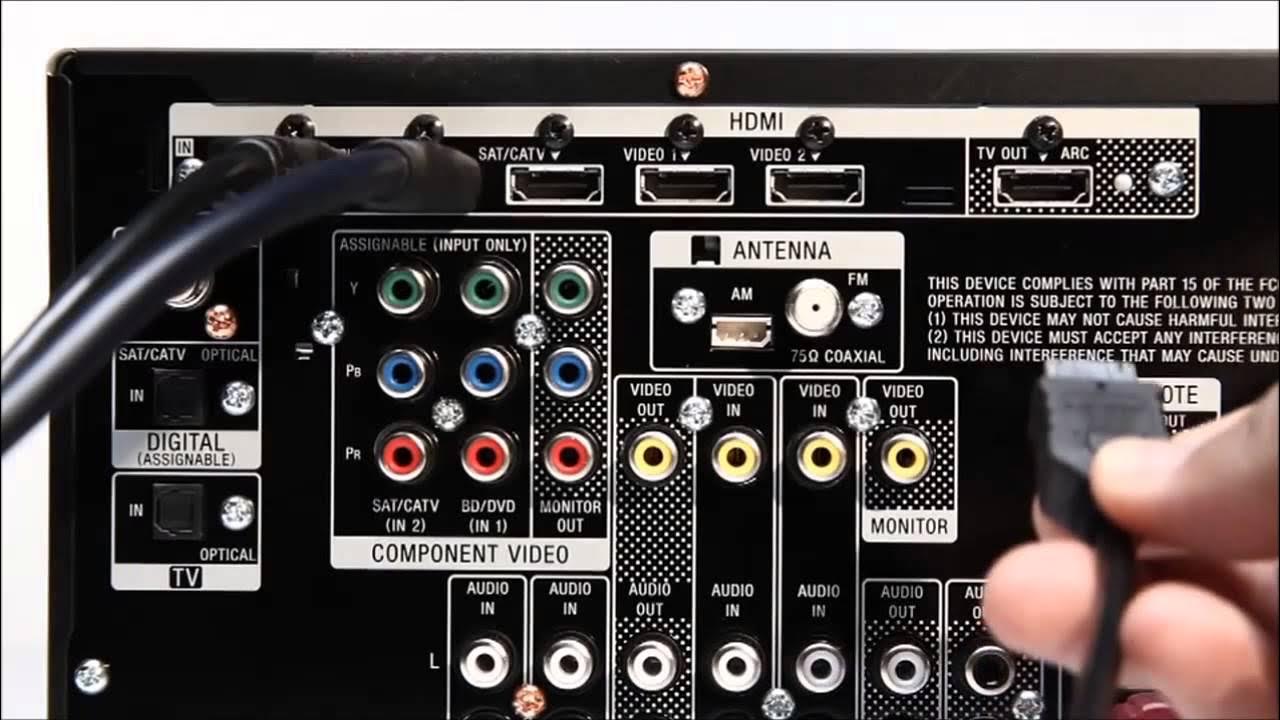
- Identify the audio output ports on your surround sound receiver. These are typically labeled as “Audio Out”, “HDMI Out”, or “Monitor Out”.
- Using the appropriate cable, connect one end to the audio output port on the surround sound receiver.
- Locate the corresponding audio input ports on the projector. These are usually labeled as “Audio In” or “HDMI In”.
- Connect the other end of the cable to the audio input ports on the projector.
Similar to the previous step, the type of cable you use will depend on the available ports and compatibility between your surround sound receiver and projector. HDMI cables are typically the preferred option as they support both high-quality audio and video signals.
Once the connections are made, you may need to adjust the audio settings on both the surround sound receiver and the projector. Consult the user manuals for these devices to ensure the correct settings are configured. In some cases, you may need to change the audio output settings on the surround sound receiver to route the audio to the projector.
Remember to power on the surround sound receiver and the projector, and select the correct input on the projector to receive the audio signal from the surround sound system. With these connections in place, you’re one step closer to enjoying an immersive surround sound experience alongside your projected visuals.
Step 4: Configure Audio Settings
With the connections established between the surround sound receiver and the projector, it’s important to configure the audio settings to ensure optimal sound performance. Follow these steps to properly configure the audio settings:
- Access the settings menu on your surround sound receiver. This can usually be done through the receiver’s remote control or front panel.
- Navigate to the audio settings or setup section of the menu.
- Ensure that the audio output settings are correctly configured. This may include selecting the appropriate audio format (e.g., Dolby Digital, DTS) and adjusting volume levels for each speaker.
- Additionally, if your surround sound system includes a subwoofer, you may need to adjust settings such as crossover frequency and subwoofer level to achieve optimal bass performance.
- Check the audio settings on your projector as well. Make sure the audio output is enabled and set to the correct audio source.
While the specific audio settings will vary depending on your surround sound receiver and projector, it’s important to consult the user manuals for detailed instructions on configuring the settings. This will help you make the most of your surround sound system and ensure a well-balanced audio experience that complements the visuals from the projector.
Once you have adjusted the audio settings to your preference, it’s recommended to test the surround sound system to confirm that all speakers are properly producing sound and that the audio is synchronized with the visuals from the projector.
Remember that the configuration of audio settings may vary depending on the specific surround sound system and projector you’re using. It’s always a good idea to refer to the user manuals for step-by-step instructions tailored to your equipment.
Step 5: Test the Surround Sound System
After connecting and configuring your surround sound system, it’s essential to test the system to ensure that everything is functioning as expected. Follow these steps to properly test your surround sound system:
- Play a test audio or video source that is known to have surround sound capabilities. This can be a movie scene, a gaming sequence, or a surround sound test file.
- Listen carefully to the audio output from each speaker. Ensure that sound is coming from the correct speakers, as per their designated positions in the surround sound setup.
- Check the volume levels of each speaker to ensure they are balanced and appropriately adjusted. Make adjustments if necessary to achieve the desired sound balance.
- Pay attention to sound clarity, presence, and directionality. Ideally, sound effects and dialogue should be immersive and accurately positioned within the surround sound field.
- Take note of any audio syncing issues between the sound and the visuals from the projector. If there is a delay, refer to the user manuals of your devices to adjust the audio delay settings accordingly.
During the testing phase, it’s helpful to have a reference point to compare the audio experience. Refer to the user manual or online resources to determine what the ideal setup and listening experience should sound like. This will assist you in identifying any potential issues or areas for improvement in your surround sound system configuration.
If you encounter any issues or are not satisfied with the audio performance, double-check the connections and settings of your surround sound system. Make adjustments as necessary and retest the system to ensure optimal sound quality and functionality.
By thoroughly testing your surround sound system, you can ensure that you’ll be able to enjoy the full potential of your audiovisual experience when using the projector. Take the time to fine-tune and adjust your system until you achieve the desired surround sound immersion.
Conclusion
Connecting a surround sound system to a projector can greatly enhance your home entertainment experience. By following the steps outlined in this guide, you can create your own immersive home theater setup and enjoy stunning visuals along with captivating surround sound.
Remember to start by determining the specific requirements of your surround sound system, including the audio source, surround sound receiver, speakers, projector, and necessary cables. Once the requirements are established, proceed to connect the audio source to the surround sound receiver and then the surround sound receiver to the projector.
After making the physical connections, it’s crucial to configure the audio settings on both the surround sound receiver and the projector. Taking the time to properly adjust volume levels, audio formats, and other settings will ensure optimal sound performance.
Finally, don’t forget to test your surround sound system. Play test audio or video sources and carefully assess the sound produced by each speaker. Make any necessary adjustments to achieve a balanced and immersive audio experience.
With these steps completed, you’re ready to sit back, relax, and enjoy your favorite movies, games, and music with the immersive surround sound provided by your projector and surround sound system.
Remember, every surround sound system and projector setup may have unique requirements and settings. Always consult the user manuals for your specific devices and seek further assistance if needed. Enjoy your new audiovisual experience!