Home>Production & Technology>Surround Sound>How To Connect A TV To A Surround Sound Receiver
Surround Sound
How To Connect A TV To A Surround Sound Receiver
Published: December 24, 2023
Learn how to connect a TV to a surround sound receiver and enhance your audio experience. Follow our step-by-step guide and get immersed in surround sound bliss.
(Many of the links in this article redirect to a specific reviewed product. Your purchase of these products through affiliate links helps to generate commission for AudioLover.com, at no extra cost. Learn more)
Table of Contents
- Introduction
- Step 1: Gather the Necessary Equipment
- Step 2: Determine the Audio Output Options on Your TV
- Step 3: Connect the TV to the Surround Sound Receiver Using HDMI
- Step 4: Set the Audio Output Settings on Your TV
- Step 5: Set Up the Surround Sound Receiver
- Step 6: Test the Connection and Enjoy Your Surround Sound System
- Conclusion
Introduction
Welcome to the world of surround sound! If you want to take your TV viewing experience to a whole new level, connecting a surround sound receiver to your TV is the way to go. With surround sound, you can immerse yourself in the audio, making movies, TV shows, and even gaming sessions more enjoyable and realistic.
In this guide, we will walk you through the process of connecting a TV to a surround sound receiver. Whether you’re a tech enthusiast or a beginner, we’ve got you covered. By the end of this article, you will have a clear understanding of how to set up your own home theater system.
But before we dive into the details, let’s talk about what a surround sound system is and why it’s so popular.
A surround sound system is designed to reproduce audio in a way that simulates the experience of being surrounded by sound. It uses multiple speakers strategically placed around the room to create an immersive audio environment. By distributing the sound across different channels, surround sound systems can deliver a more realistic and engaging audio experience.
From explosions booming behind you to subtle whispers in your ear, surround sound can transform the way you experience movies, TV shows, and games. It adds depth and dimension to the audio, enhancing the overall entertainment value.
Now that you have a basic understanding of surround sound, let’s get started with the step-by-step process of connecting your TV to a surround sound receiver. Keep in mind that the exact steps may vary depending on the specific models of your TV and surround sound receiver, but the general principles will remain the same.
Step 1: Gather the Necessary Equipment
Before you can connect your TV to a surround sound receiver, you will need to gather a few key pieces of equipment. Here’s what you’ll need:
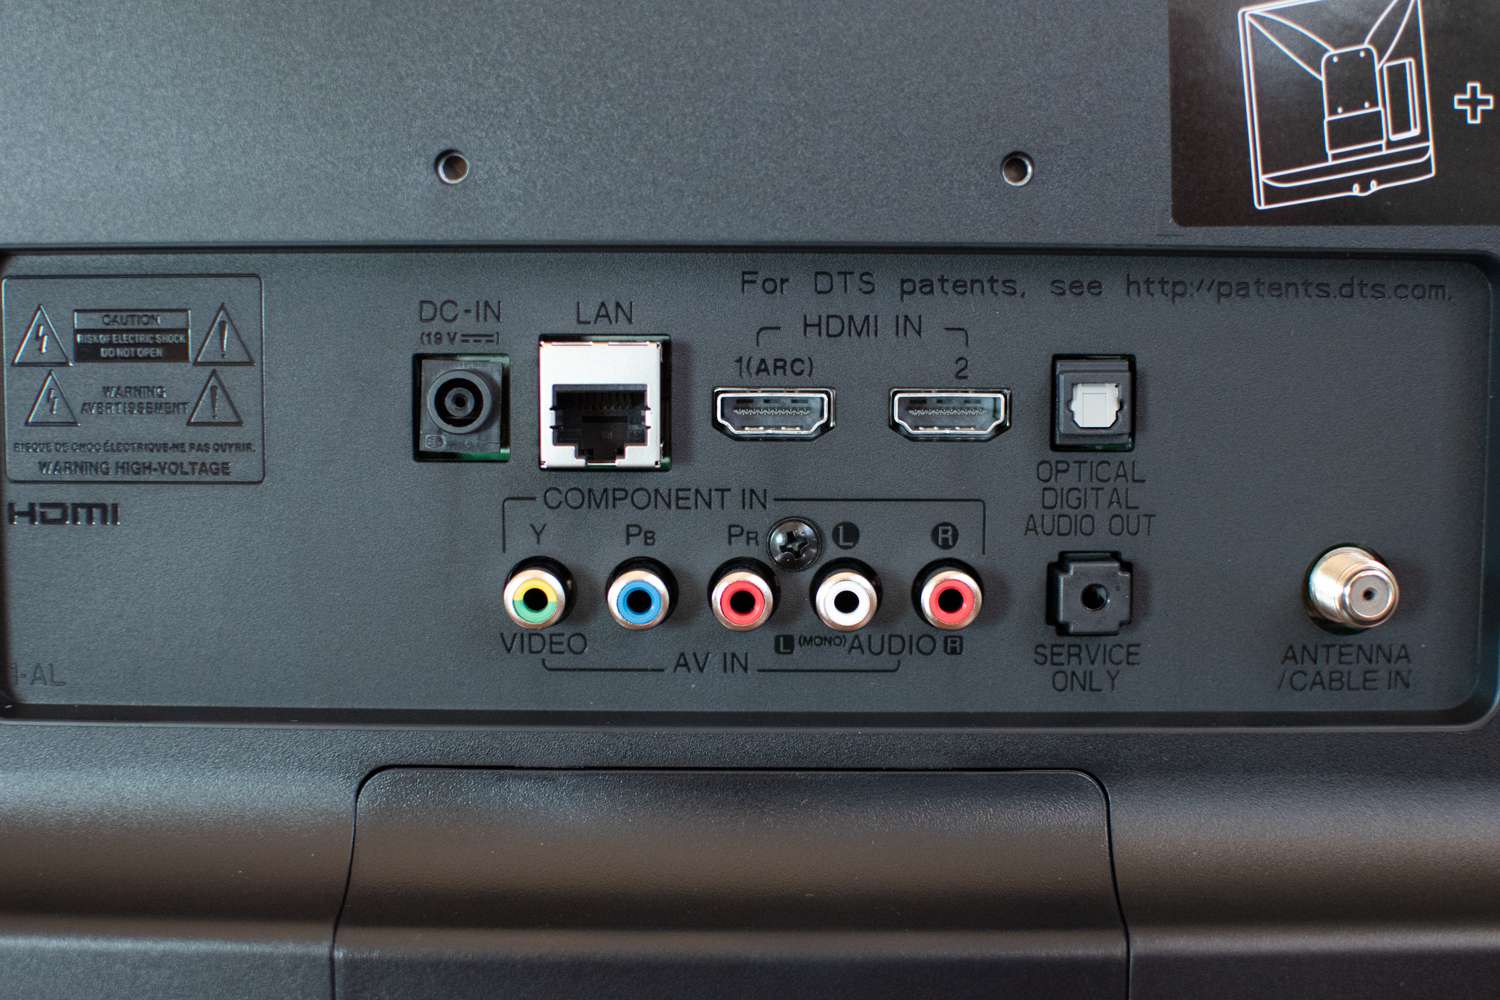
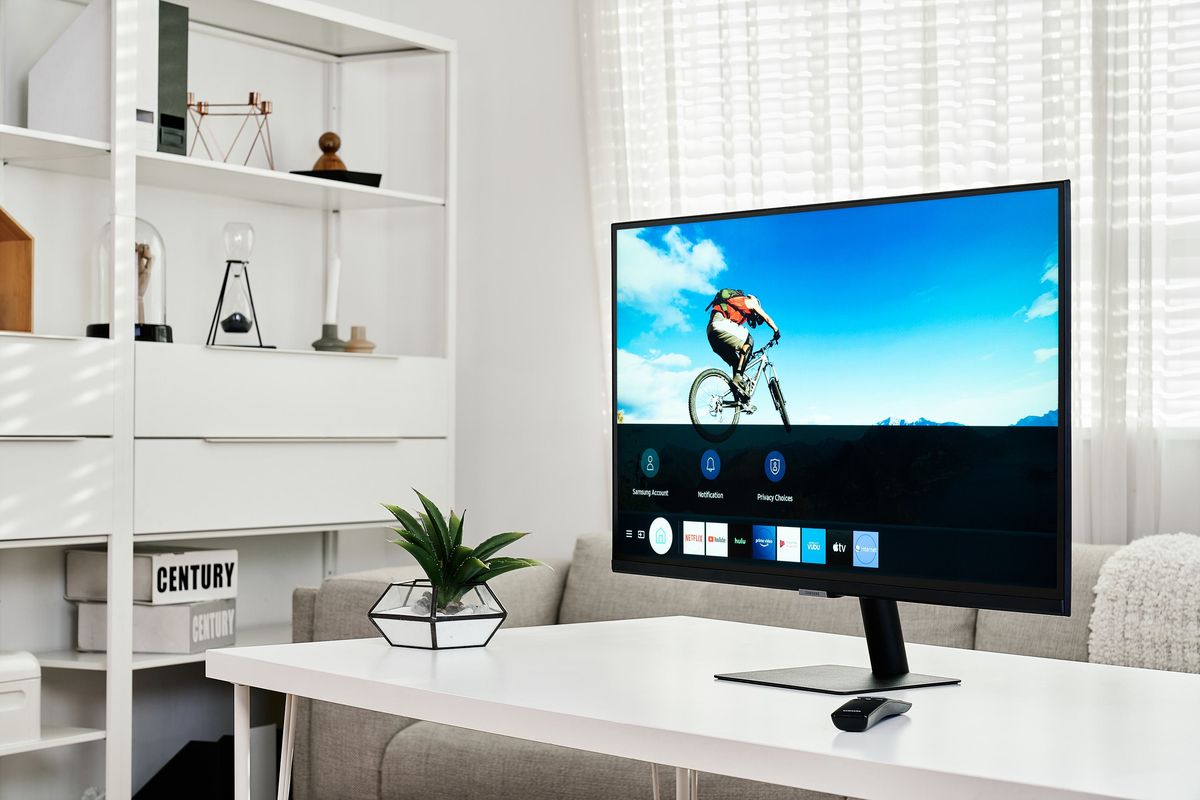
- A TV – Make sure you have a television with audio output options. Most modern TVs come equipped with audio output ports, such as HDMI ARC (Audio Return Channel) or optical audio.
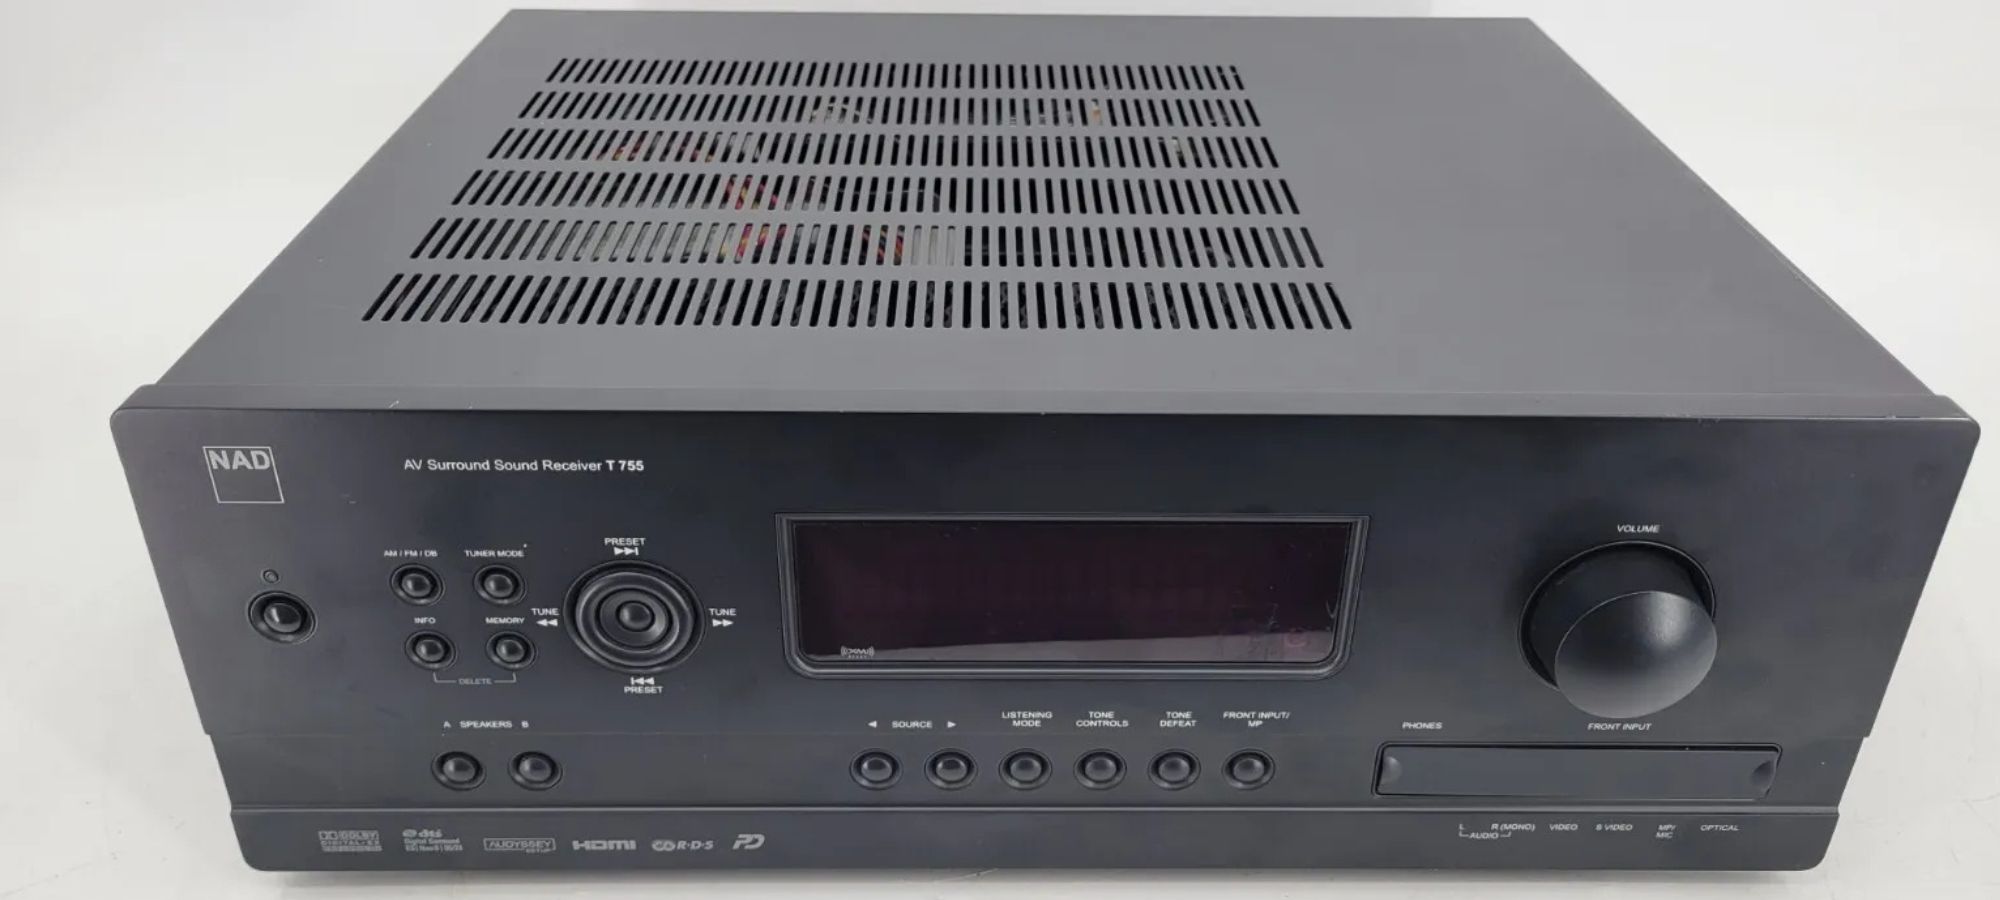
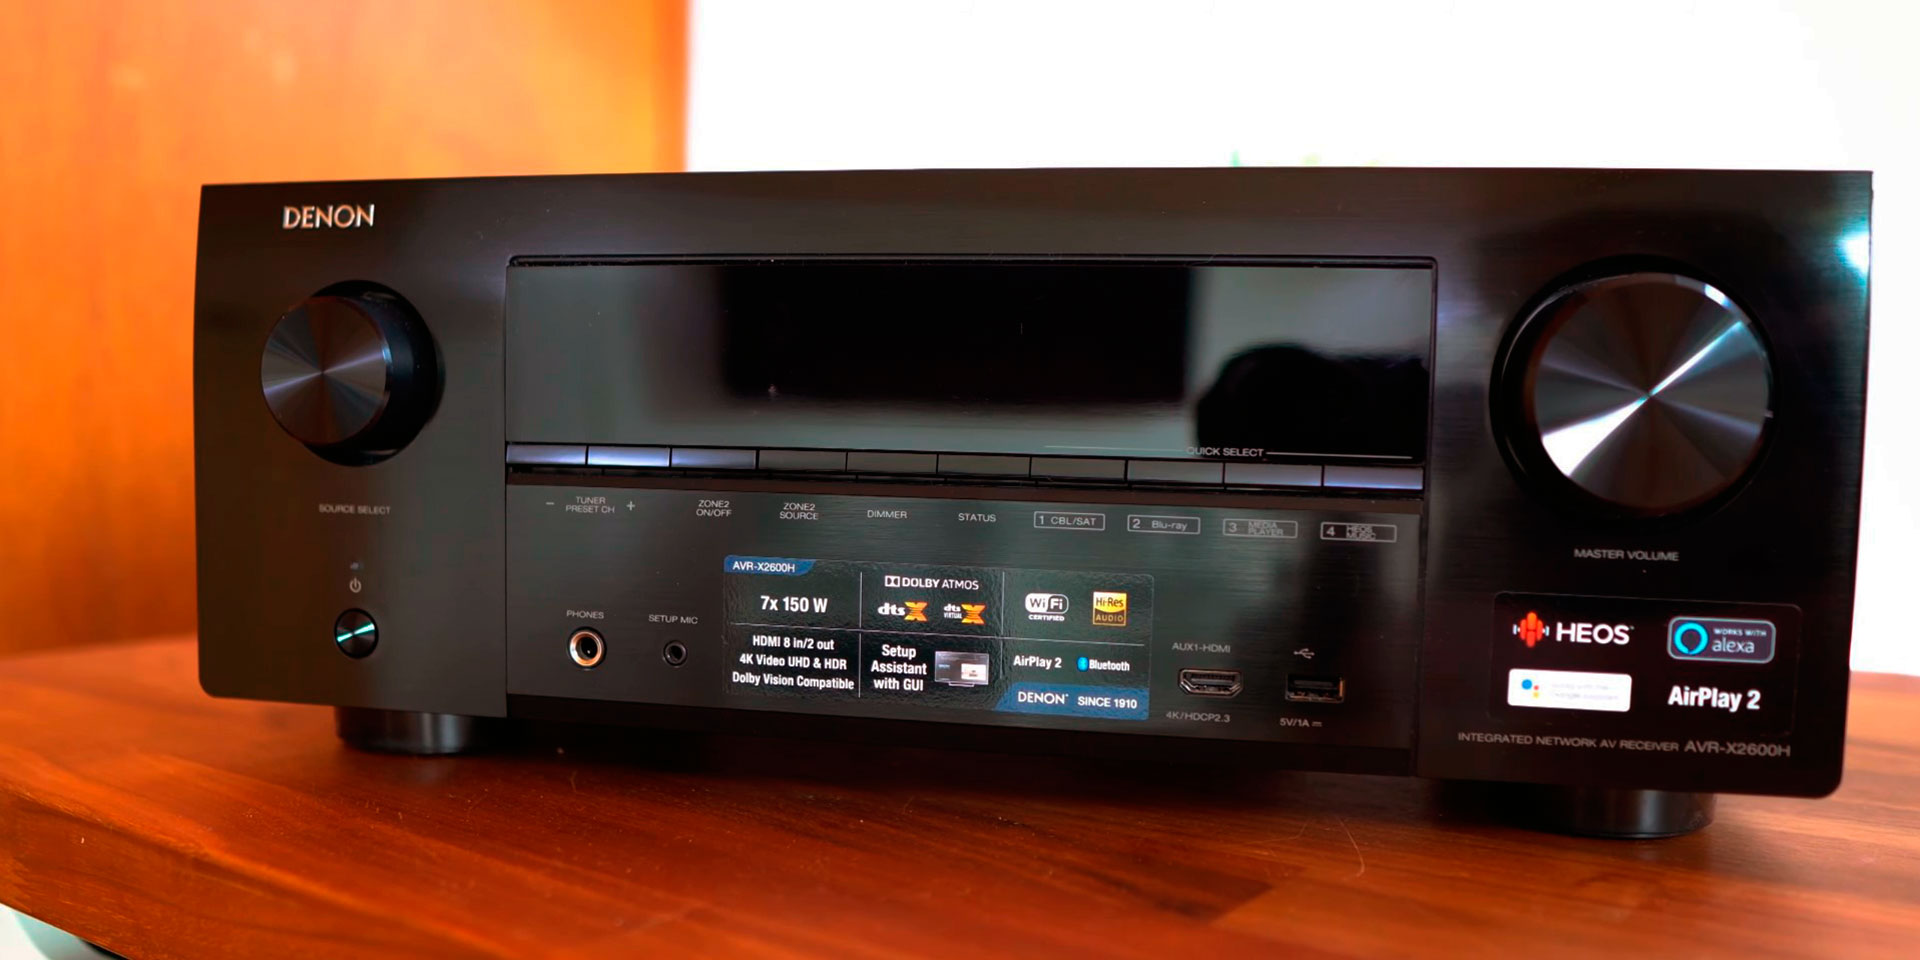
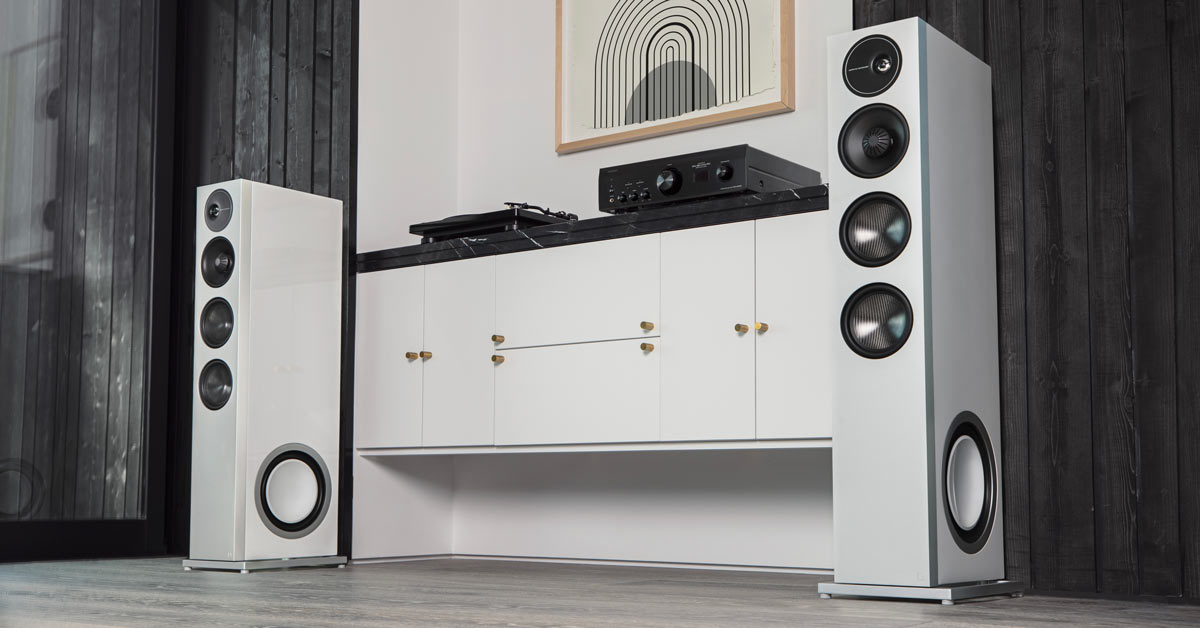
- A Surround Sound Receiver – This is the heart of your home theater system. It’s the device that processes and amplifies the audio signals from your TV and distributes them to the speakers. Look for a receiver that supports the audio formats you desire, such as Dolby Digital or DTS.
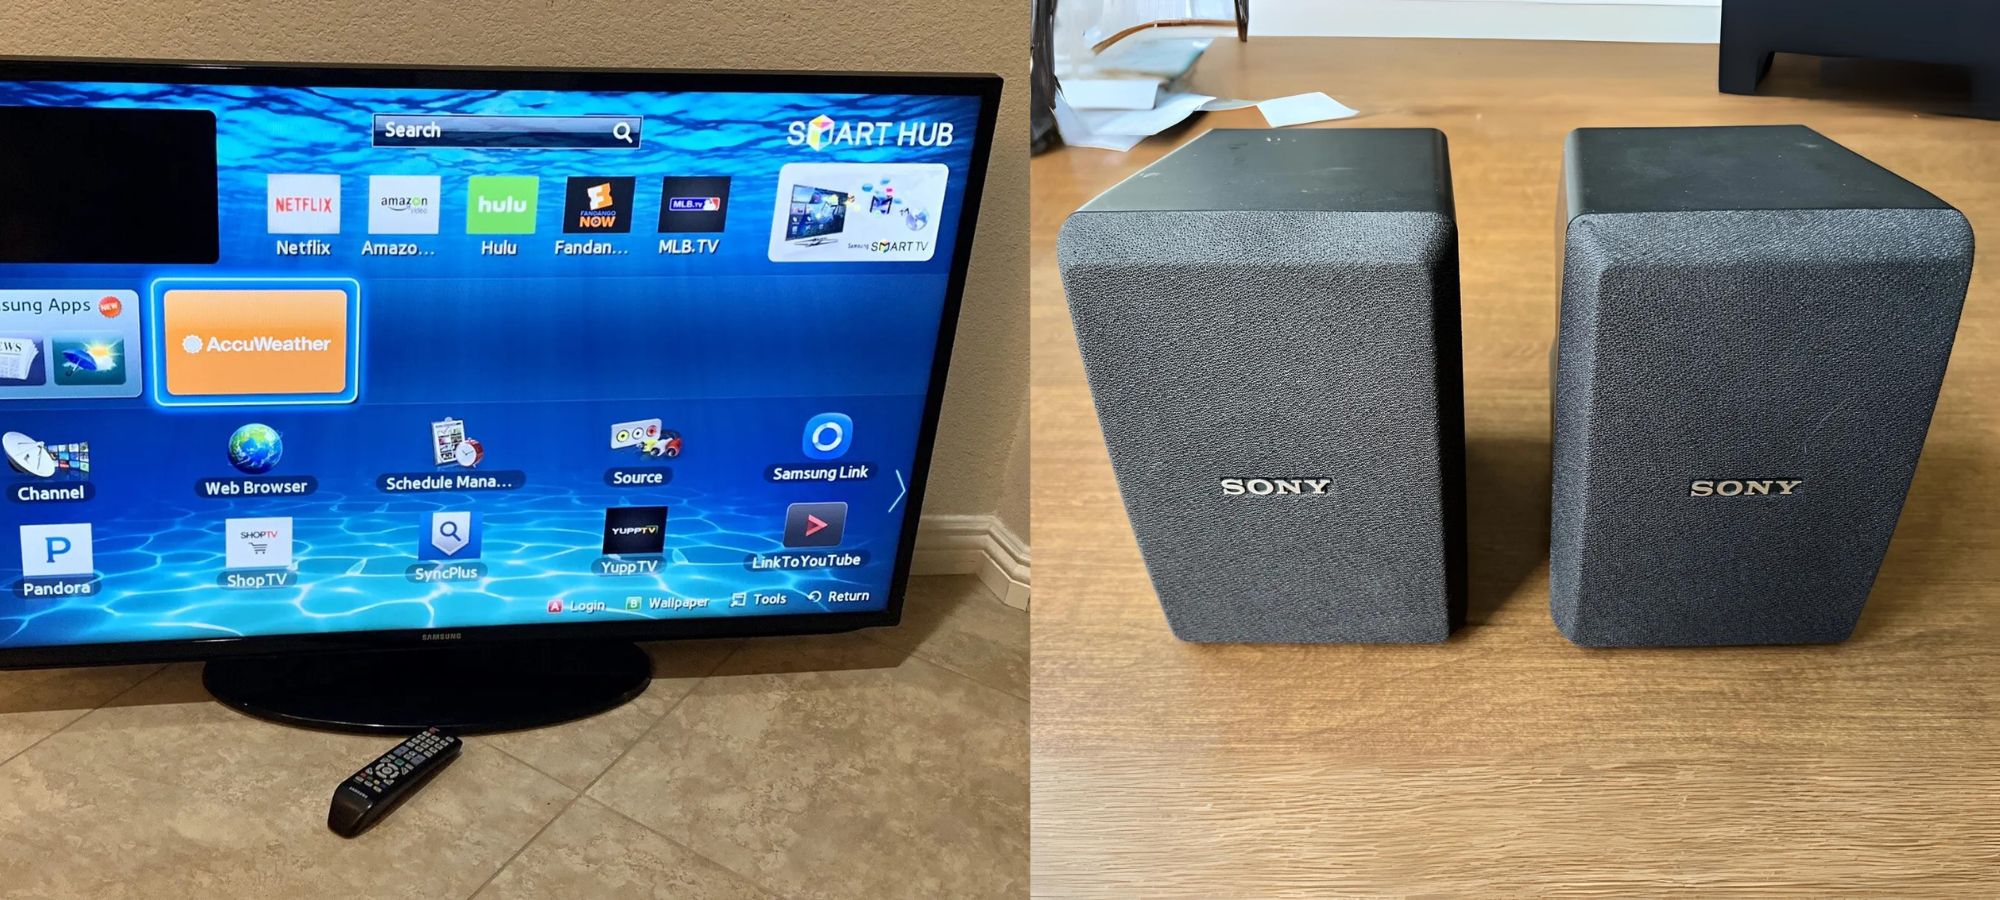
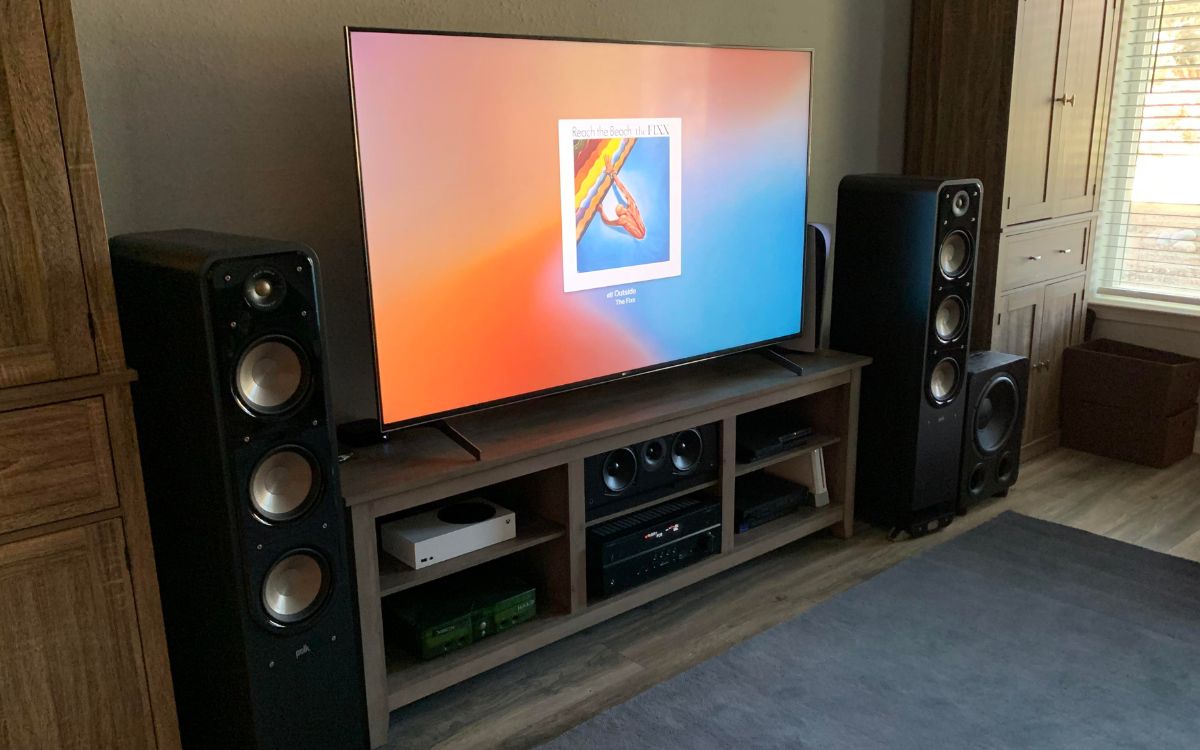
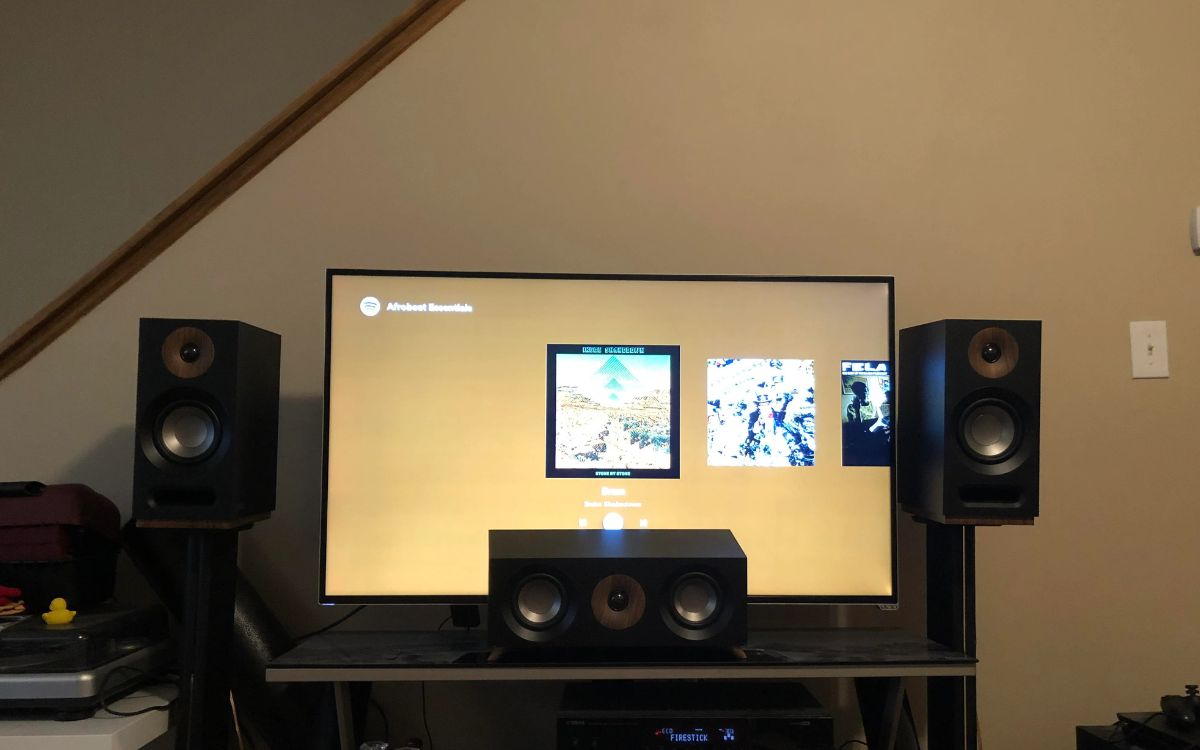
- Speaker System – A surround sound system typically consists of multiple speakers, including front speakers, rear speakers, a center speaker, and a subwoofer. The number and configuration of the speakers will depend on your personal preferences and the size of your room.
- Audio Cables – You’ll need cables to connect the TV to the surround sound receiver. The type of cable will depend on the audio output options available on your TV. Common options include HDMI, optical audio, and RCA cables.
- Remote Control – Make sure you have the remote control for your surround sound receiver handy. You’ll need it to navigate menus, adjust settings, and control the audio levels.
Once you have gathered all the necessary equipment, you’re ready to move on to the next step: determining the audio output options on your TV.
Step 2: Determine the Audio Output Options on Your TV
Before you can connect your TV to a surround sound receiver, it’s important to identify the audio output options available on your TV. Different TVs have different audio output options, so knowing which ones your TV supports will help you choose the appropriate method of connection.
Here are some common audio output options you may find on your TV:
- HDMI ARC (Audio Return Channel) – HDMI ARC is a feature that allows audio to be sent back from the TV to the surround sound receiver through the same HDMI cable that is used for video. This is a popular and convenient option, as it eliminates the need for additional audio cables.
- Optical Audio – Optical audio, also known as Toslink, uses a fiber optic cable to transmit digital audio signals from the TV to the surround sound receiver. It provides high-quality audio and is commonly found on both older and newer TVs.
- RCA – RCA (Red and White) audio cables are a more traditional option for connecting audio devices. Many TVs still have RCA audio output jacks, which allow you to connect to the surround sound receiver using RCA cables.
- 3.5mm Headphone Jack – Some TVs may have a 3.5mm headphone jack that can be used as an audio output. You can connect your TV to the surround sound receiver using a 3.5mm to RCA adapter cable.
To determine which audio output options are available on your TV, refer to the user manual or look for the audio output ports on the back or side of the TV. It’s also a good idea to check the TV’s settings menu for audio output options.
Once you have identified the audio output options on your TV, you can proceed to the next step: connecting the TV to the surround sound receiver using the appropriate method.
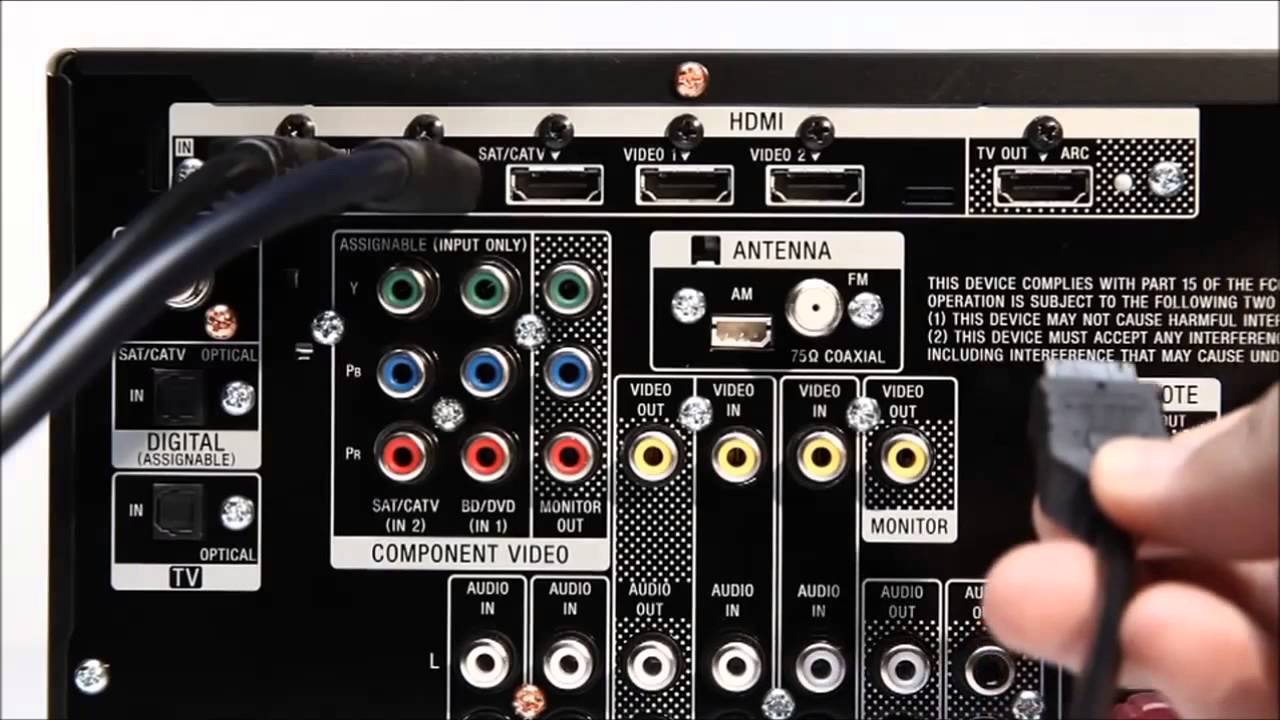
Step 3: Connect the TV to the Surround Sound Receiver Using HDMI
Connecting your TV to the surround sound receiver using HDMI is one of the easiest and most common methods. HDMI connections provide both high-quality audio and video signals in a single cable.
Here’s how to do it:
- Locate the HDMI ARC (Audio Return Channel) port on your TV. It is usually labeled as “ARC” or identified with an HDMI symbol that includes an upward arrow. Note that not all HDMI ports on your TV support ARC, so make sure you connect to the designated ARC port.
- Connect one end of the HDMI cable to the HDMI ARC port on your TV.
- Locate the HDMI ARC port on your surround sound receiver. It is usually labeled as “ARC” or “HDMI Out” and may be color-coded or marked with an arrow pointing towards the TV.
- Connect the other end of the HDMI cable to the HDMI ARC port on your surround sound receiver.
- Power on your TV and surround sound receiver.
- Switch the input source on your TV to the HDMI port connected to the surround sound receiver.
By connecting your TV to the surround sound receiver using HDMI ARC, the audio signals from your TV will be sent to the surround sound receiver, allowing you to enjoy immersive sound through your speaker system. HDMI ARC also enables you to control the volume of the surround sound system using the TV remote, providing seamless integration.
Once the HDMI connection is established, you can proceed to the next step: setting the audio output settings on your TV.
Step 4: Set the Audio Output Settings on Your TV
After connecting your TV to the surround sound receiver using HDMI, you will need to configure the audio output settings on your TV. This step is crucial to ensure that the audio is correctly routed to the surround sound system.
Here’s how to set the audio output settings on your TV:
- Access the settings menu on your TV. This can typically be done by pressing the “Menu” button on your TV remote.
- Navigate to the audio settings section. The location and naming of this section may vary depending on your TV’s brand and model.
- Select the audio output option that corresponds to the HDMI port you connected to the surround sound receiver. This option is often labeled as “HDMI ARC” or “Audio Out.”
- Make sure that the audio output is set to “Auto” or “Bitstream” to ensure that the surround sound receiver receives the correct audio format.
- Save and exit the settings menu.
By selecting the appropriate audio output option and format, you are instructing your TV to send the audio signals to the connected surround sound receiver. This ensures that the surround sound system receives the audio feed, allowing you to enjoy high-quality sound output from your speakers.
Once you have set the audio output settings on your TV, you can move on to the next step: setting up the surround sound receiver.
Step 5: Set Up the Surround Sound Receiver
With your TV and surround sound receiver connected, it’s time to set up the surround sound receiver to ensure optimal audio performance. The setup process may vary depending on the specific model of your receiver, so refer to the user manual for detailed instructions. However, here are some general steps to guide you:
- Power on the surround sound receiver.
- Access the setup menu on the receiver. This can usually be done by pressing the “Setup” or “Menu” button on the receiver’s remote control.
- Navigate to the audio settings or speaker setup section.
- Select the appropriate speaker configuration based on your speaker system. This includes the number of front speakers, rear speakers, center speaker, and subwoofer.
- Configure the speaker distance and level settings. This involves specifying the distance of each speaker from the primary listening position and adjusting the volume levels to achieve a balanced sound output.
- Enable any additional features or audio modes supported by your surround sound receiver, such as Dolby Atmos or DTS:X.
- Save the settings and exit the setup menu.
Properly setting up the surround sound receiver ensures that the audio signals are distributed accurately to the speakers, creating an immersive and balanced soundstage. Take the time to fine-tune the speaker settings to match your preferences and the acoustics of your room.
Once you have completed the setup process, you’re almost there! The next step involves testing the connection to ensure everything is working correctly.
Step 6: Test the Connection and Enjoy Your Surround Sound System
Now that you have connected your TV to the surround sound receiver and completed the setup process, it’s time to test the connection and start enjoying the immersive sound experience provided by your surround sound system.
Here’s what you need to do:
- Play a movie, TV show, or any audio source on your TV.
- Ensure that the audio output from your TV is set to the connected surround sound receiver.
- Adjust the volume on both the TV and the surround sound receiver to a comfortable level.
- Listen carefully to the audio coming from the speakers and make sure that the audio is spatially distributed correctly. For example, sounds coming from the left side of the screen should be played through the left speakers.
- If necessary, make minor adjustments to the speaker levels or settings on the surround sound receiver to achieve the desired audio experience.
By testing the connection and checking the audio output, you can ensure that the surround sound system is working properly and providing the immersive audio experience you desired.
Once you are satisfied with the connection and audio performance, sit back, relax, and enjoy the enhanced audio experience that your surround sound system offers. Whether you’re watching movies, playing video games, or enjoying your favorite TV shows, the surround sound system will elevate your entertainment to a whole new level.
Congratulations! You have successfully connected your TV to a surround sound receiver and set up your own home theater system. Now, sit back and immerse yourself in the captivating sound experience.
Remember, should you need any further assistance or have any questions, you can always refer to the user manuals of your TV and surround sound receiver or consult with the manufacturer’s customer support. Enjoy the surround sound experience!
Conclusion
Connecting your TV to a surround sound receiver opens up a world of immersive audio that enhances your entertainment experience. By following the step-by-step guide provided in this article, you can easily set up your own home theater system and enjoy high-quality audio in the comfort of your own living room.
We started by gathering the necessary equipment, including a TV, surround sound receiver, speaker system, audio cables, and a remote control. Then, we determined the audio output options on your TV, such as HDMI ARC, optical audio, RCA, or a 3.5mm headphone jack.
Next, we connected the TV to the surround sound receiver using HDMI, which provides both audio and video signals in a single cable. This simplifies the setup process and ensures high-quality audio transmission.
After that, we set the audio output settings on your TV to direct the audio signals to the connected surround sound receiver. This ensures that the audio is correctly routed and allows you to enjoy the full potential of your speakers.
We then proceeded to set up the surround sound receiver by configuring the speaker settings, distances, and levels for optimal sound reproduction. This step is essential in creating a balanced soundstage that immerses you in the audio experience.
Finally, we tested the connection and urged you to enjoy the immersive sound experience created by your surround sound system. From impressive explosions to subtle whispers, a surround sound system adds depth and dimension to your entertainment, making movies, TV shows, and gaming sessions more engaging and realistic.
Remember, the specific steps and settings may vary depending on your TV and surround sound receiver models, so refer to their user manuals for more detailed instructions if needed.
Now, turn on your favorite movie or show, grab some popcorn, and immerse yourself in the unparalleled audio experience provided by your newly connected TV and surround sound system. Sit back, relax, and enjoy the cinematic sound right in your own living room!