Home>Production & Technology>Surround Sound>How To Connect Surround Sound Speakers To Receiver
Surround Sound
How To Connect Surround Sound Speakers To Receiver
Modified: January 22, 2024
Learn how to easily connect your surround sound speakers to your receiver and enjoy immersive audio experience. Follow our step-by-step guide for a seamless setup.
(Many of the links in this article redirect to a specific reviewed product. Your purchase of these products through affiliate links helps to generate commission for AudioLover.com, at no extra cost. Learn more)
Table of Contents
- Introduction
- Step 1: Determine the Speaker Placement
- Step 2: Ensure Compatibility between the Speakers and the Receiver
- Step 3: Gather the Necessary Cables and Wires
- Step 4: Connect the Speakers to the Receiver
- Step 5: Configure the Speaker Settings on the Receiver
- Step 6: Test the Surround Sound System
- Conclusion
Introduction
Welcome to the immersive world of surround sound! If you’re a true audio enthusiast, you know that a surround sound system can take your audio experience to the next level. Imagine being able to hear every whisper, every explosion, and every note with incredible clarity and depth, as if you were right in the middle of the action. Whether you’re a movie buff, a gamer, or simply someone who appreciates high-quality audio, connecting surround sound speakers to a receiver is an essential step in creating the ultimate home entertainment setup.
In this article, we’ll guide you through the process of connecting surround sound speakers to a receiver. We’ll cover everything from determining the ideal speaker placement to configuring the speaker settings on your receiver. By following these steps, you’ll be able to set up your surround sound system like a pro and start enjoying a truly immersive audio experience in no time.
Before we dive into the technical details, it’s important to understand the basics. A surround sound system consists of multiple speakers placed strategically around a room to create a three-dimensional audio environment. The speakers work in harmony with a receiver, which acts as the central brain of the system, processing audio signals and distributing them to the appropriate speakers.
Now that you have a general understanding of what surround sound is, let’s move on to the first step: determining the speaker placement.
Step 1: Determine the Speaker Placement
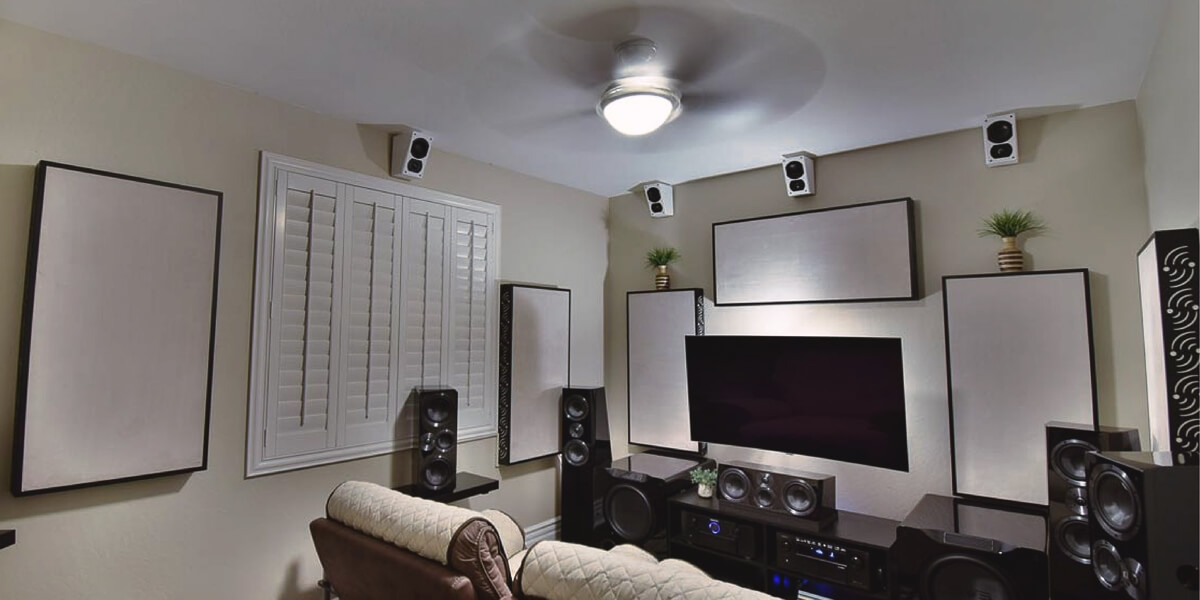
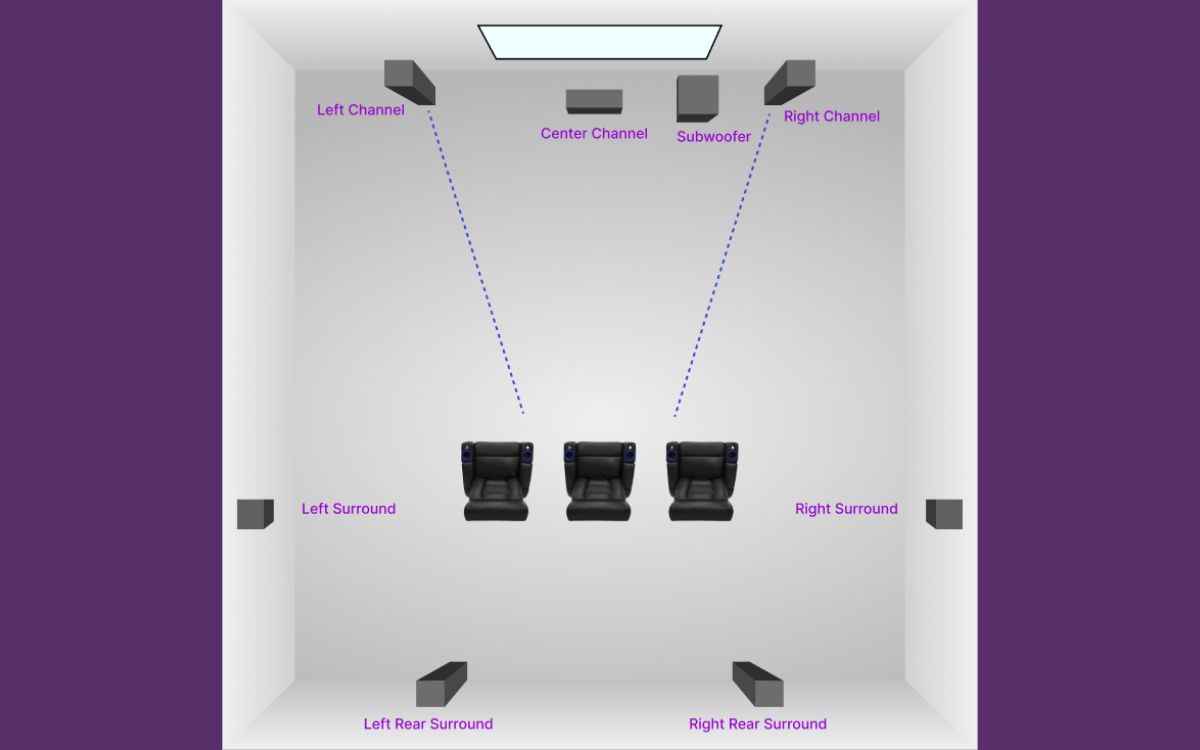
Proper speaker placement is crucial for achieving optimal surround sound performance. The goal is to create an immersive audio experience where sound comes from all directions, replicating the way it would naturally occur in real life. Here are some key considerations to keep in mind when determining the placement of your surround sound speakers:
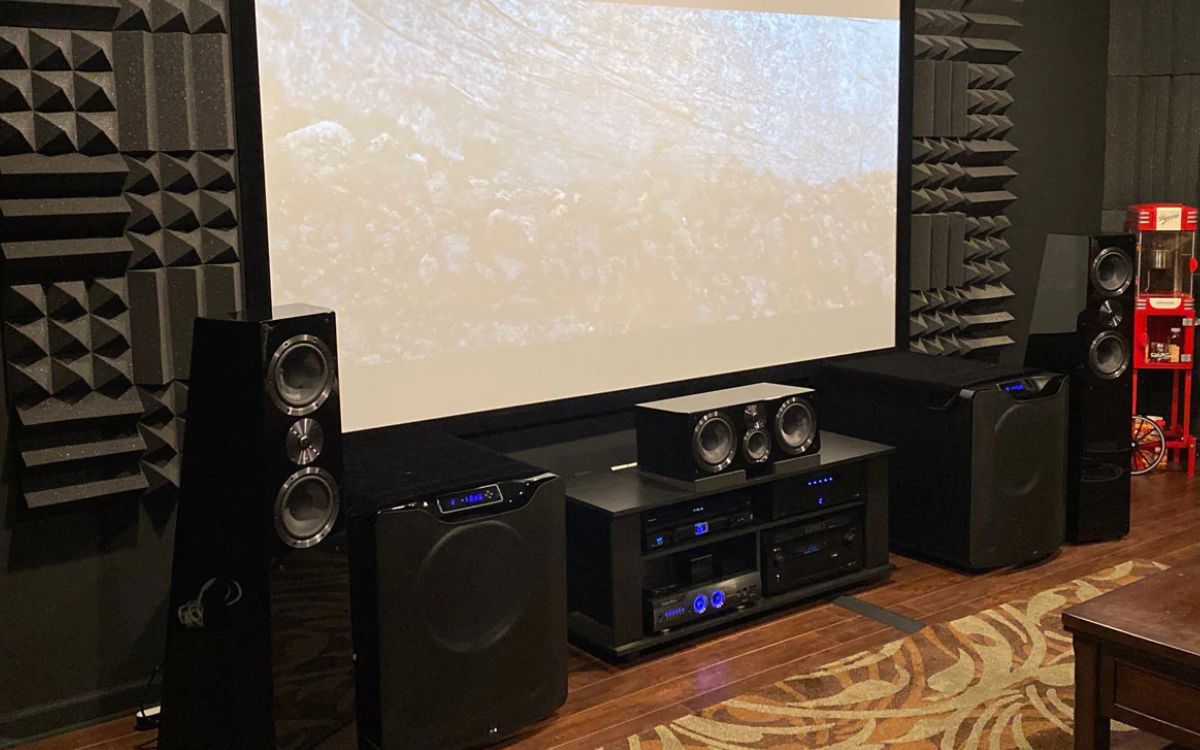
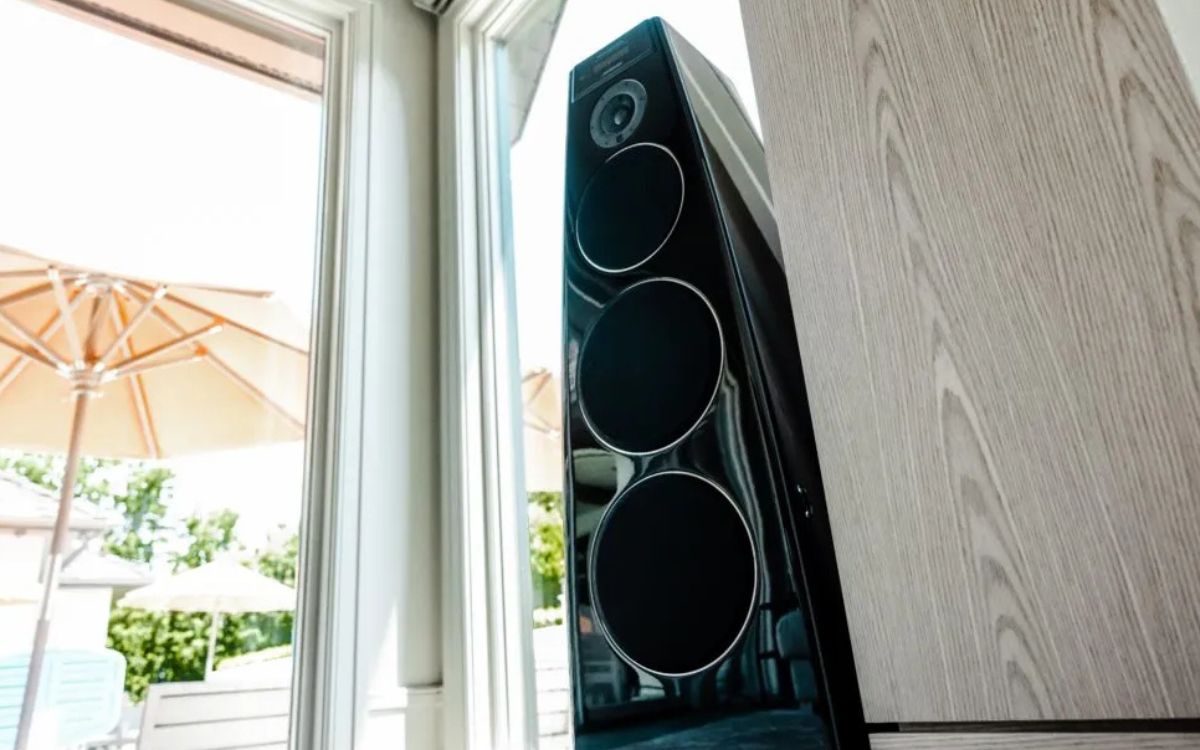
- Front Speakers: The front speakers are typically placed on either side of the TV or screen, facing the listening area. Depending on your setup, you can choose either floor-standing speakers or bookshelf speakers. Make sure they are positioned at ear level and angled towards the listening area for the best sound projection.
- Center Speaker: The center speaker plays a critical role in reproducing dialogue and on-screen audio. It should be positioned directly above or below the TV or screen, facing the listener. This ensures clear and accurate audio localization, especially for dialogue-heavy content.
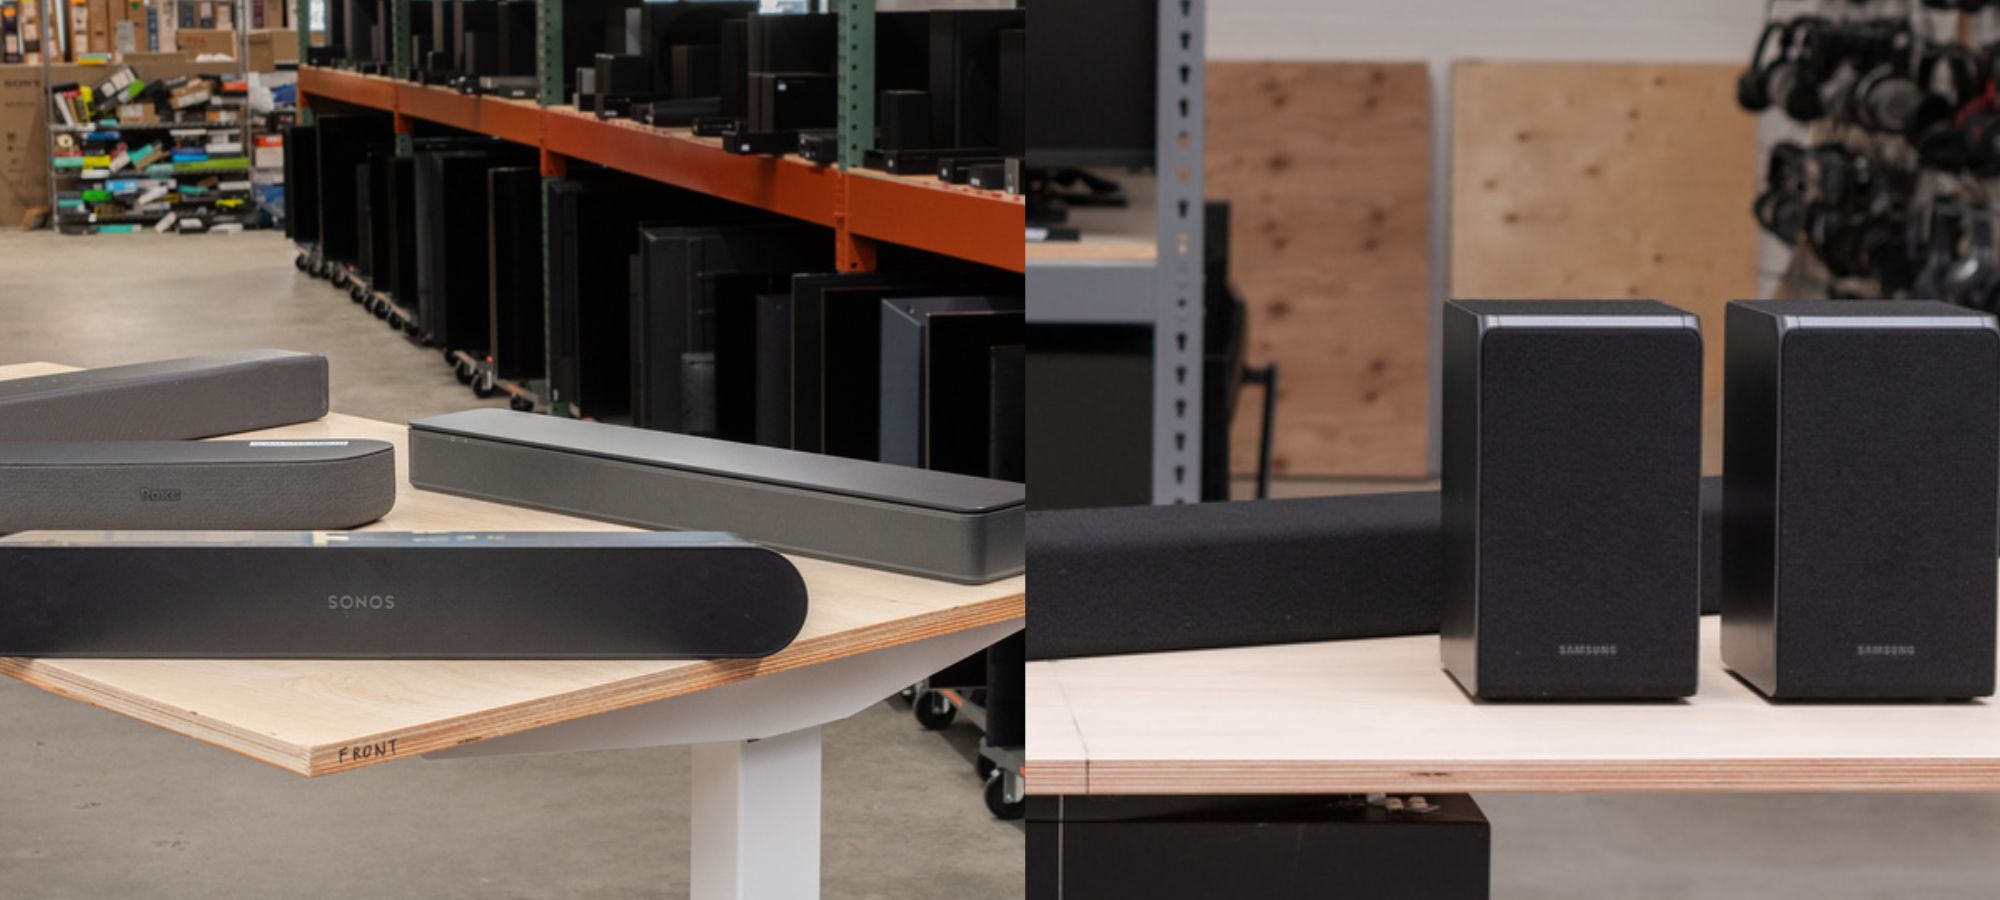
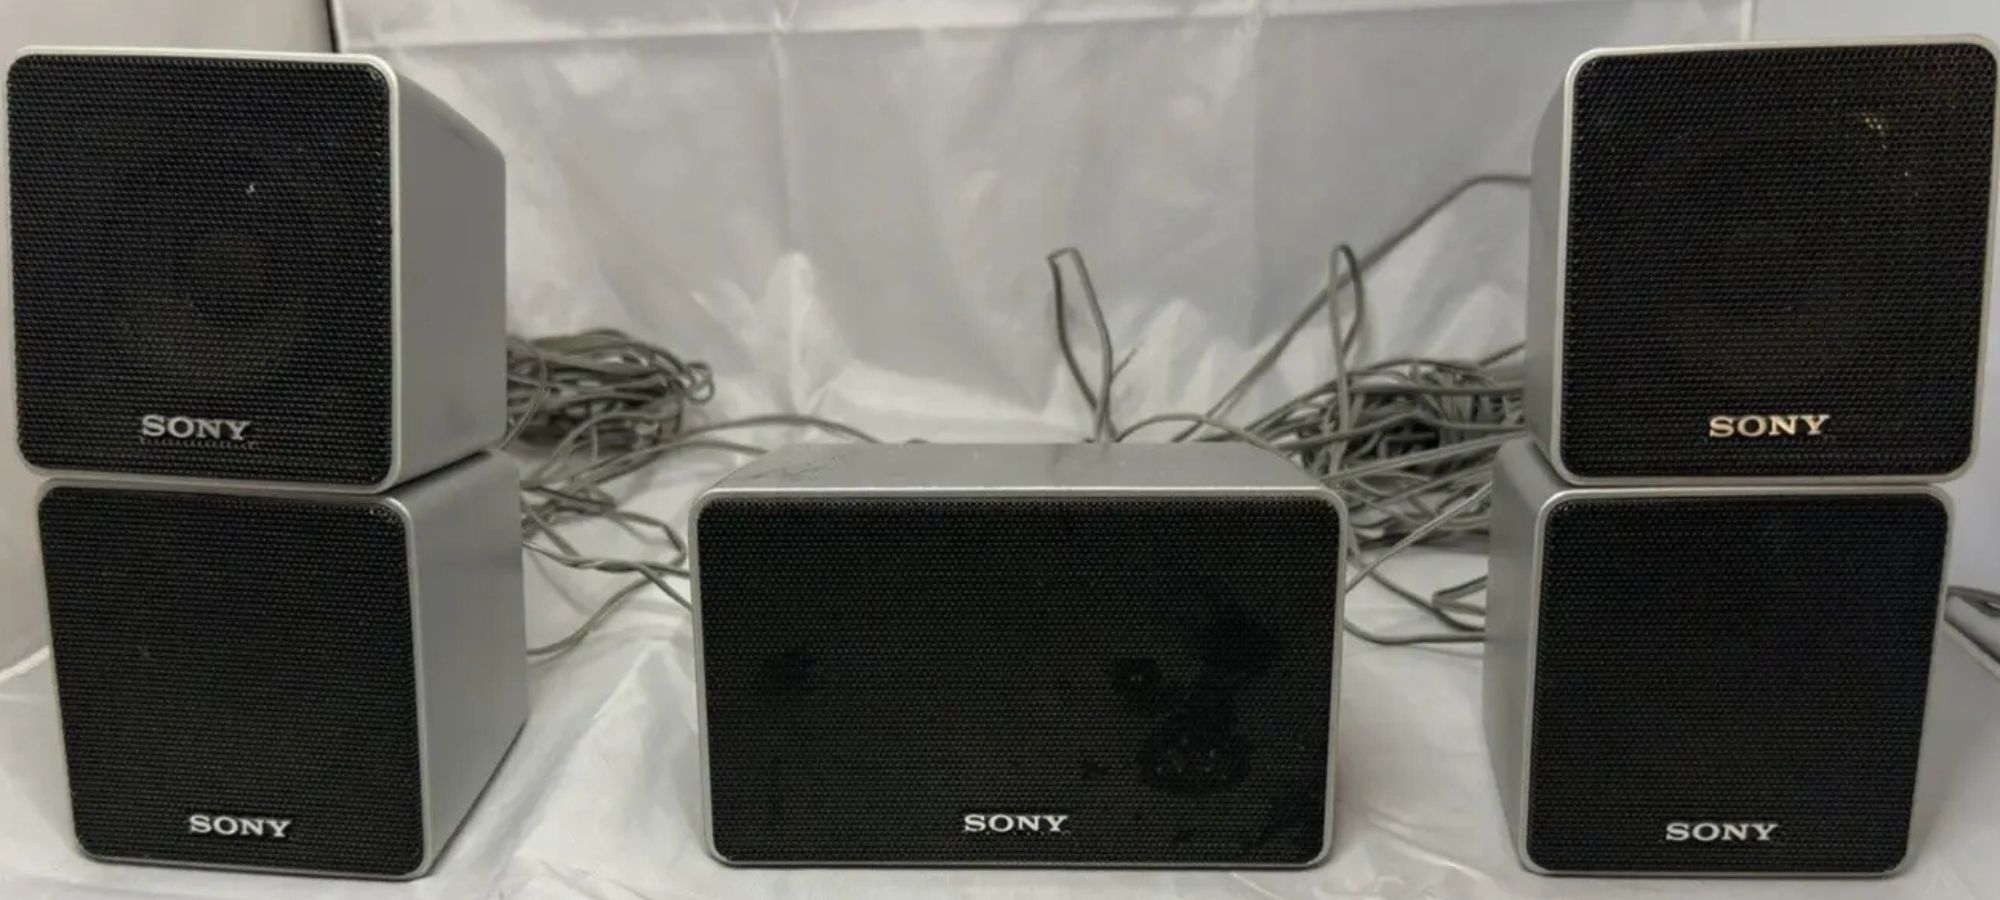
- Surround Speakers: The surround speakers are responsible for creating the sense of ambiance and spatial audio. They are usually placed to the sides or slightly behind the listening area. Aim to position them at ear level, facing the listener, for an immersive surround sound experience.
- Subwoofer: The subwoofer produces deep bass sounds, adding depth and impact to the overall audio experience. Due to its omni-directional nature, the placement of the subwoofer is less critical. Experiment with different locations in the room to find the spot that provides the best low-frequency response.
Keep in mind that the size and layout of your room will also play a role in determining the ideal speaker placement. Take into account any obstructions or furniture that may affect the sound dispersion. Additionally, consider investing in speaker stands or mounts to ensure secure and precise positioning.
Once you have determined the optimal speaker placement, it’s time to move on to the next step: ensuring compatibility between the speakers and the receiver.
Step 2: Ensure Compatibility between the Speakers and the Receiver
Before connecting your surround sound speakers to the receiver, it’s crucial to ensure compatibility between the two. This includes verifying that the speaker impedance, power handling, and the receiver’s capabilities are a suitable match. Here are the key factors to consider:
- Impedance: Speaker impedance refers to the electrical resistance offered by the speakers to the amplifier in the receiver. It is typically measured in ohms. Make sure that the speaker impedance matches or falls within the acceptable range specified by the receiver. Mismatched impedance can lead to poor sound quality or even damage to the speakers or receiver.
- Power Handling: Each speaker has a power handling capacity, which indicates the maximum amount of power it can handle without distorting the audio. Check the power handling specifications of your speakers and ensure that the receiver’s power output is compatible. Overpowering or underpowering the speakers can result in audio distortion, speaker damage, or even receiver malfunction.
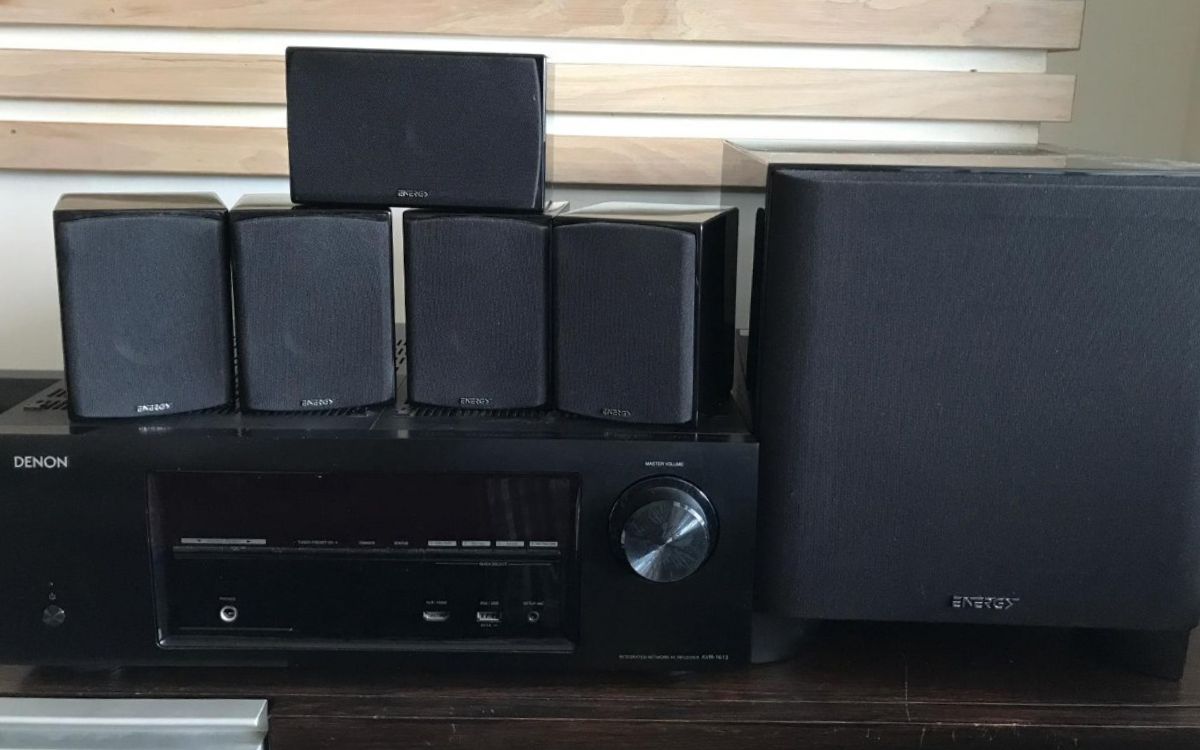
- Channel Support: Consider the number of channels supported by your receiver and the corresponding speaker setup you plan to use. Common setups include 5.1, 7.1, or even more advanced configurations. Ensure that your receiver has enough channels to accommodate the number of speakers you intend to connect.
- Connectivity: Check the available connectivity options on both the receiver and the speakers. Ensure that the receiver has the necessary audio outputs for the speaker connections, either through speaker wire terminals or dedicated speaker binding posts. Similarly, ensure that the speakers have compatible input connectors for a secure and reliable connection.
Consult the user manuals or specifications sheets of both the speakers and the receiver to gather accurate information about their compatibility. If you are unsure about any compatibility issues, consider seeking professional advice or contacting the manufacturers for guidance.
Once you have verified compatibility, you can move on to the next step: gathering the necessary cables and wires for the connection.
Step 3: Gather the Necessary Cables and Wires
Now that you have ensured compatibility between your speakers and the receiver, it’s time to gather the necessary cables and wires for the connection. The specific cables you’ll need depend on the speaker and receiver type, as well as the available connectivity options. Here are some common cables used in a surround sound setup:
- Speaker Wire: Speaker wire is essential for connecting the speakers to the receiver. It carries the audio signal from the receiver to the speakers. Make sure to choose a high-quality speaker wire with the appropriate gauge for your speakers. Thicker wire is typically preferred for longer cable runs or higher power handling speakers.
- HDMI Cable: HDMI cables are commonly used for audio and video connectivity. If your receiver and the audio sources (such as a Blu-ray player or gaming console) support HDMI, it is recommended to use HDMI cables for a single cable solution to transmit both audio and video signals.
- Optical Cable: Optical cables, also known as TOSLINK or SPDIF cables, transmit digital audio signals. They are commonly used for audio connectivity between the receiver and sources like a DVD player or TV. If your receiver or audio sources have optical outputs, you may require an optical cable for the connection.
- RCA Cables: RCA cables consist of red and white connectors and are used for analog audio connections. They are commonly used to connect audio sources without digital output options to the receiver. If your receiver or audio sources have RCA connectors, make sure to have appropriate RCA cables on hand.
- Subwoofer Cable: If you have a separate subwoofer, you may need a subwoofer cable to connect it to the receiver. Subwoofer cables are specifically designed for transmitting low-frequency audio signals.
It is important to choose high-quality cables to ensure optimal audio performance and minimize signal loss or interference. Additionally, consider the length of the cables needed to reach your desired speaker placement and allow for flexibility in positioning.
Now that you have gathered the necessary cables and wires, you’re ready for the next step: connecting the speakers to the receiver.
Step 4: Connect the Speakers to the Receiver
With all the cables and wires in hand, it’s time to connect your surround sound speakers to the receiver. Follow these step-by-step instructions to ensure a proper and secure connection:
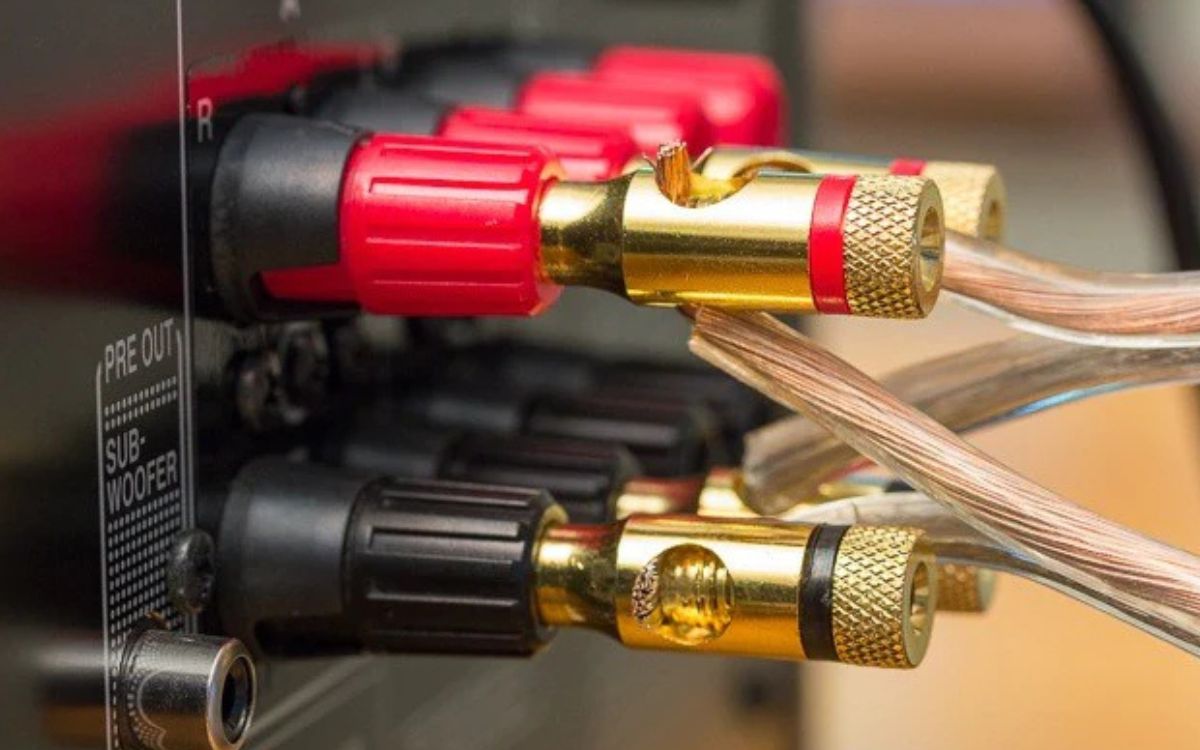
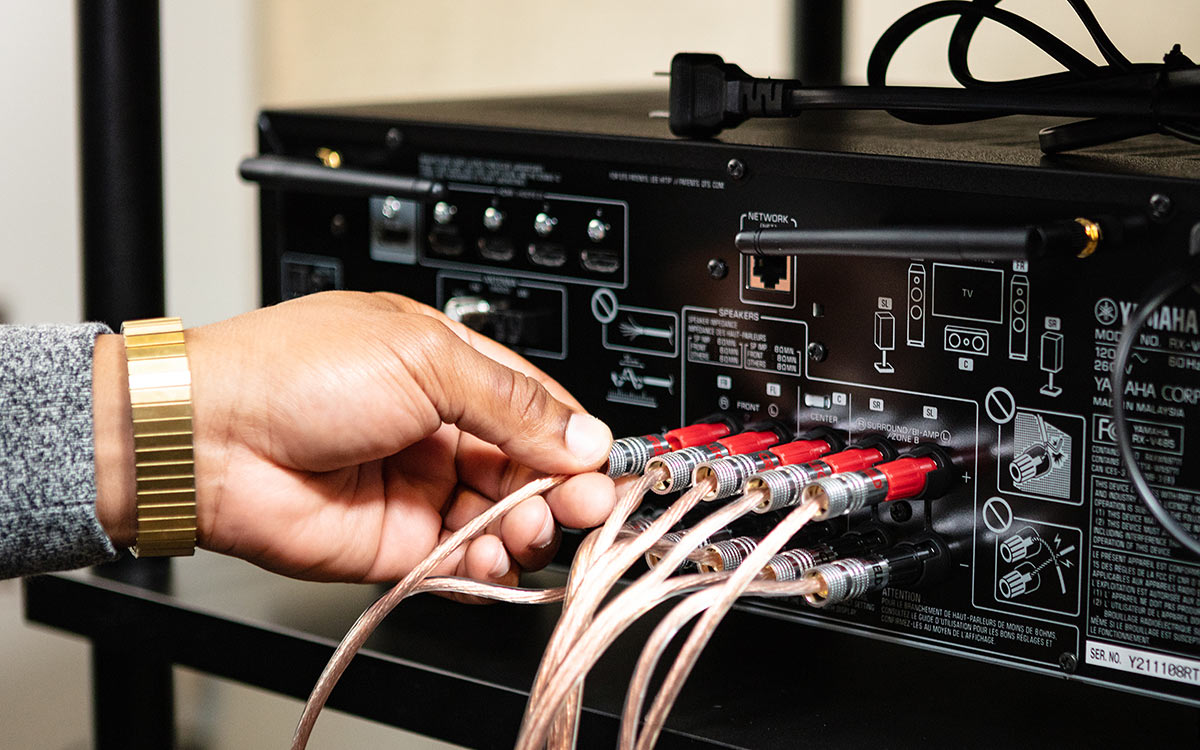
- Identify Speaker Terminals: Take a look at the back of your receiver and locate the speaker terminals. They are usually labeled with letters such as “L” for left, “R” for right, “C” for center, “SL” for surround left, “SR” for surround right, and “SW” for subwoofer. Make note of these labels as they will help you correctly connect the speakers.
- Prepare the Speaker Wire: Strip off a small portion of insulation from the end of the speaker wire, exposing the metal strands. It’s best to use a wire stripper or a utility knife for this task. Twist the strands together to prevent any loose ends that could cause a poor connection.
- Connect the Speaker Wire: Starting with the front left speaker, insert the exposed wire into the corresponding speaker terminal on the receiver. Most receivers have binding posts or spring clips to secure the wire. If using binding posts, unscrew the knob or cap, insert the wire, and tighten the knob. If using spring clips, simply insert the wire into the clip and ensure a firm connection. Repeat this process for each speaker, matching the appropriate wire to the corresponding speaker terminal.
- Polarity Matters: Pay attention to the polarity of the speaker wire. Each wire has a positive (+) and a negative (-) side. It’s crucial to maintain consistency across all the speakers. Typically, the positive side is marked with a red stripe or a “+” symbol. Ensure that the positive wire is connected to the positive terminal on both the speaker and the receiver, and do the same for the negative wire.
- Secure the Connections: After connecting all the speaker wires, double-check that each connection is secure. Give the wires a gentle tug to make sure they are firmly attached to the speaker terminals. Loose connections can result in audio distortion or intermittent sound.
- Connect the Subwoofer: If you have a separate subwoofer, connect it to the designated subwoofer output on the receiver using a subwoofer cable. Ensure a secure connection on both ends, and make sure the subwoofer is powered on and properly positioned in the room for optimal bass response.
- Verify the Connections: Before powering on the system, double-check all the connections to ensure accuracy. Ensure that each speaker is connected to the correct terminal and that there are no loose wires or crossed connections.
Once you have successfully connected all the speakers and verified the connections, you’re ready to move on to the next step: configuring the speaker settings on the receiver.
Step 5: Configure the Speaker Settings on the Receiver
Now that you have connected your speakers to the receiver, it’s time to configure the speaker settings to ensure optimal sound performance. Most receivers provide built-in menus and settings that allow you to customize the audio output based on your specific speaker setup. Here’s how you can configure the speaker settings:
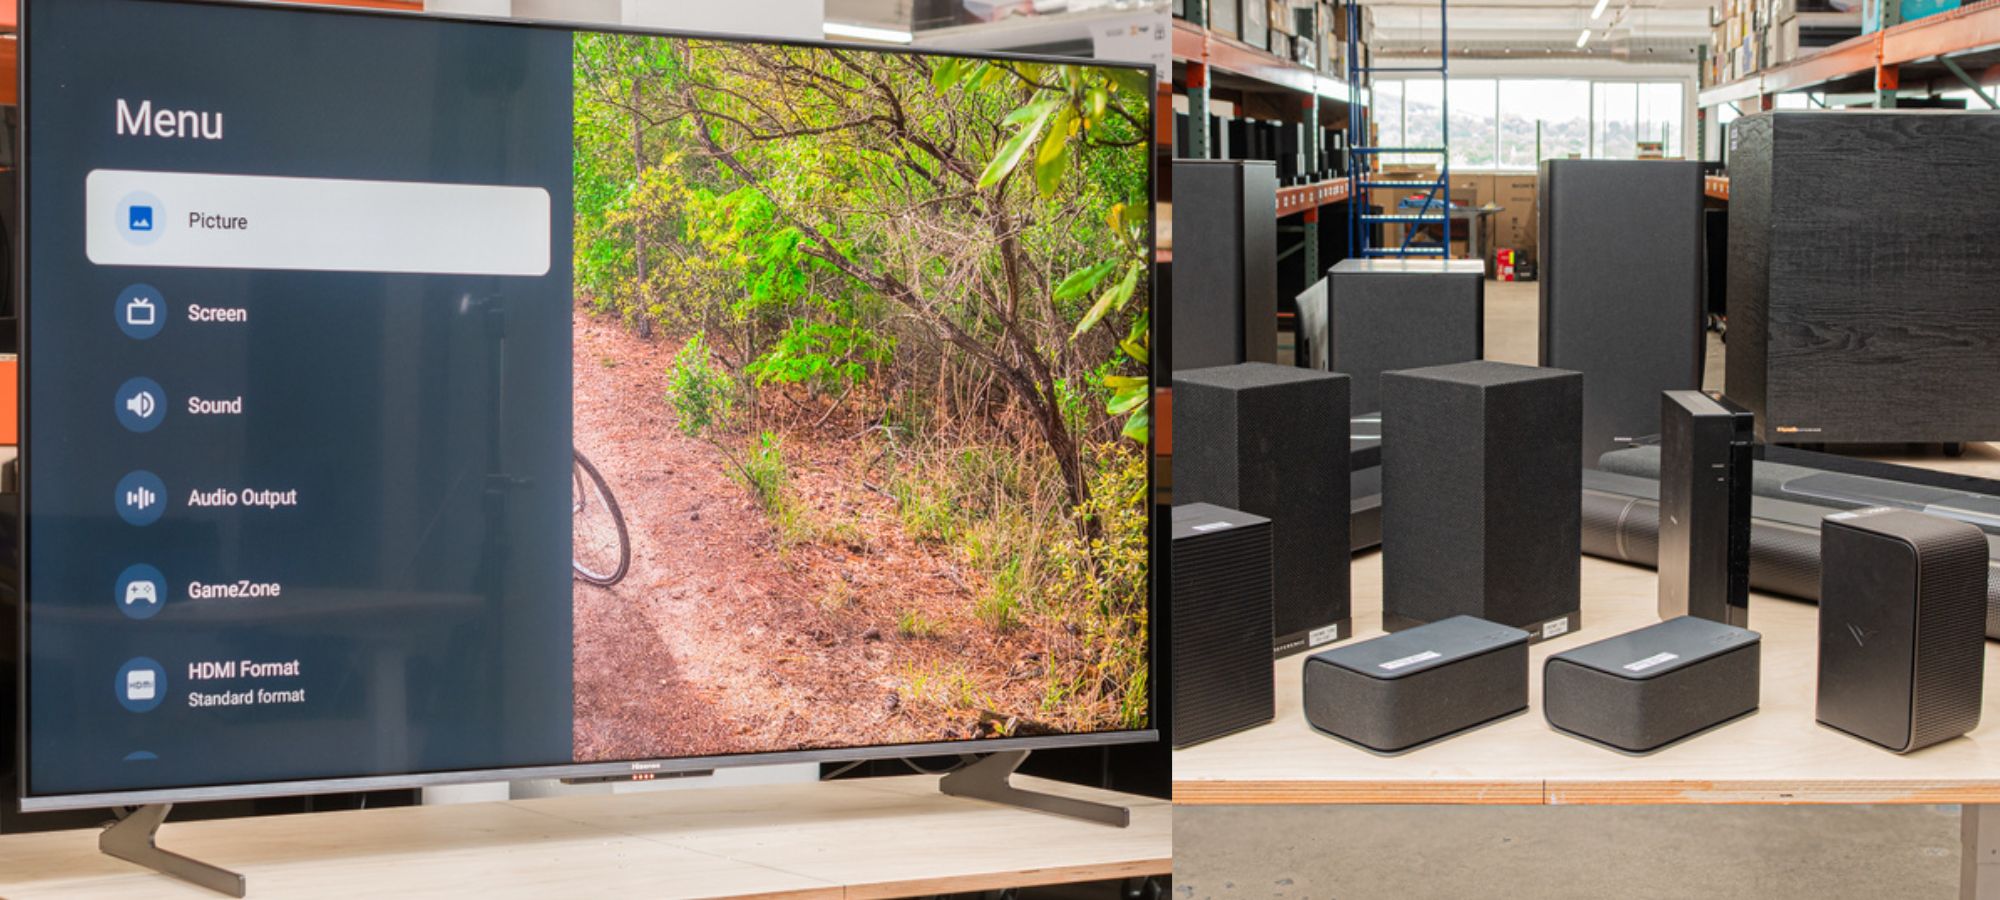
- Access the Receiver’s Menu: Turn on your receiver and access its menu system. This can usually be done using the remote control or the front panel of the receiver. Consult the user manual if you are unsure how to access the menu.
- Select Speaker Setup: Look for the “Speaker Setup” or “Audio Settings” options within the menu. This is where you can configure the specific settings related to your surround sound speakers.
- Configuring Speaker Size and Distance: In the speaker setup menu, you’ll typically find options to specify the size of each speaker (e.g., small, medium, or large) and the distance between each speaker and the listening position. Enter the appropriate values based on your speaker placement and room dimensions.
- Enable the Subwoofer: If you’re using a separate subwoofer, make sure to enable it in the speaker setup menu. This will ensure that the low-frequency bass signals are directed to the subwoofer for a more balanced sound experience.
- Adjust Channel Levels: Most receivers allow you to individually adjust the volume levels of each speaker within the speaker setup menu. Use a test tone or your own judgment to balance the sound levels and ensure consistent audio across all speakers.
- Additional Audio Enhancements: Depending on your receiver model, you may have access to additional audio enhancements such as room correction, equalizer settings, or surround sound modes. Explore these options and adjust them to your preferences for a more tailored audio experience.
- Save and Apply Settings: After configuring all the desired speaker settings, save the changes and exit the menu. Some receivers may require you to perform a calibration or measurement process to optimize the sound based on your room’s acoustics. Follow the on-screen prompts or refer to the user manual for specific instructions.
Configuring the speaker settings on your receiver allows you to fine-tune the audio output to suit your specific surround sound setup. Take your time to experiment with different settings and listen to how they impact the sound quality. Once you’re satisfied with the speaker configuration, you’re ready for the final step: testing the surround sound system.
Step 6: Test the Surround Sound System
With everything set up and configured, it’s time to test your surround sound system to ensure that all speakers are functioning properly and delivering the desired audio experience. Follow these steps to conduct a comprehensive test:
- Select Test Content: Choose a piece of audio or video content that is known for its surround sound effects. This can be a movie scene, a music track, or a video game with immersive sound design. Opt for content that utilizes all the speakers in your setup to fully assess their performance.
- Start Playback: Play the selected content on your audio source device, such as a Blu-ray player, streaming device, or gaming console. Ensure that the audio output is set to the appropriate surround sound format, such as Dolby Digital or DTS.
- Listen for Audio Distribution: As the content plays, pay close attention to each speaker in your surround sound setup. Listen for proper audio distribution and localization. The front speakers should provide clear and distinct soundstage, while the surround speakers should immerse you in ambient sounds and effects. The center speaker should deliver clear dialogue, and the subwoofer should provide deep and punchy bass.
- Assess Sound Balance: Evaluate the balance between all the speakers. The volume levels should be well-matched, with no one speaker overpowering the others. Adjust the channel levels on your receiver if necessary to achieve a harmonious audio balance.
- Test Surround Sound Effects: Throughout the test, listen for specific surround sound effects, such as sounds moving from one speaker to another, panning effects, and directional audio cues. These effects help create a realistic and immersive audio experience.
- Make Fine-Tuning Adjustments: If you notice any inconsistencies or issues during the test, make small adjustments to the speaker placement, configuration settings, or channel levels as needed. Repeat the testing process until you are satisfied with the overall audio performance.
- Enjoy Your Surround Sound System: Once you are confident that your surround sound system is operating optimally, sit back and enjoy your immersive audio experience. Whether you’re watching movies, playing games, or simply listening to music, your surround sound system will enhance your overall entertainment enjoyment.
Regularly test and fine-tune your surround sound system to adapt to different content and to ensure the highest audio quality. By following these steps and conducting periodic tests, you can maximize the performance of your surround sound system and immerse yourself in a truly captivating audio experience.
Congratulations! You have successfully set up and tested your surround sound system. Enjoy your favorite movies, games, and music in stunning surround sound!
Conclusion
Congratulations on successfully connecting your surround sound speakers to a receiver! You’ve taken a significant step toward transforming your home entertainment experience into an immersive audio journey. By following the steps outlined in this article, you have learned how to determine speaker placement, ensure compatibility between speakers and the receiver, gather necessary cables and wires, connect the speakers, configure the speaker settings, and test the surround sound system.
Proper speaker placement is key to achieving optimal audio performance, so take the time to position the speakers correctly in your room. Remember to consider the size, power handling, and connectivity options of both the speakers and the receiver to ensure compatibility. Gathering high-quality cables and wires, such as speaker wire, HDMI, optical, RCA, and subwoofer cables, is essential for a reliable and efficient sound transmission.
Connecting the speakers to the receiver requires attention to detail. Identifying the speaker terminals, preparing and connecting the wires correctly, and securing the connections will ensure proper sound reproduction. Additionally, configuring the speaker settings on the receiver, including speaker size, distance, and channel levels, allows you to fine-tune the audio output to your preferences.
Finally, testing the surround sound system with appropriate content will help you assess the performance of each speaker and achieve the ideal audio balance. Listen for audio distribution, surround sound effects, and sound balance to optimize your system further, making adjustments as needed.
With your surround sound system set up and tested, you are now ready to enjoy a truly immersive audio experience. Whether you’re watching your favorite movies, playing intense video games, or listening to music, you will be transported into a world of rich, detailed, and captivating sound.
Remember, the joy of surround sound is not just about the technicalities—it’s about the emotions it evokes and the immersive experiences it creates. So sit back, relax, and immerse yourself in the audio magic of your surround sound system. Happy listening!