Home>Production & Technology>Surround Sound>How To Hook Up Surround Sound Speakers Without A Receiver
Surround Sound
How To Hook Up Surround Sound Speakers Without A Receiver
Modified: February 18, 2024
Learn how to connect surround sound speakers without a receiver and enjoy immersive audio at home. Setup guide for hooking up surround sound speakers without using a receiver.
(Many of the links in this article redirect to a specific reviewed product. Your purchase of these products through affiliate links helps to generate commission for AudioLover.com, at no extra cost. Learn more)
Table of Contents
Introduction
Welcome to the world of surround sound! Whether you’re a movie enthusiast, a gaming aficionado, or a music lover, having a surround sound system can elevate your audio experience to new heights. Surround sound speakers provide an immersive and dynamic audio environment that makes you feel like you’re right in the middle of the action. But what if you don’t have a receiver?
In this article, we’ll explore how to hook up surround sound speakers without a receiver, providing you with a simple and cost-effective solution to enjoy surround sound without the need for additional equipment.
Traditionally, a surround sound system consists of a receiver that acts as the central hub for all audio sources and controls. The receiver decodes the audio signals and distributes them to multiple speakers positioned strategically around the room, creating an enveloping sound experience. However, purchasing a receiver can be expensive, especially if you’re on a budget.
But fear not! There are alternative methods to set up your surround sound speakers without a receiver. With a few essential pieces of equipment and some simple steps, you can achieve a quality surround sound experience at a fraction of the cost.
In the following sections, we’ll guide you through the process of setting up your surround sound speakers without a receiver. We’ll cover the required equipment, the step-by-step setup process, connecting the speakers to audio sources, adjusting sound settings, and troubleshooting common issues that may arise. So, let’s get started!
Understanding Surround Sound Speakers
Before we dive into the setup process, let’s take a moment to understand the basics of surround sound speakers. Surround sound systems are designed to create a three-dimensional audio experience, where sound comes from different directions, immersing you in the action.
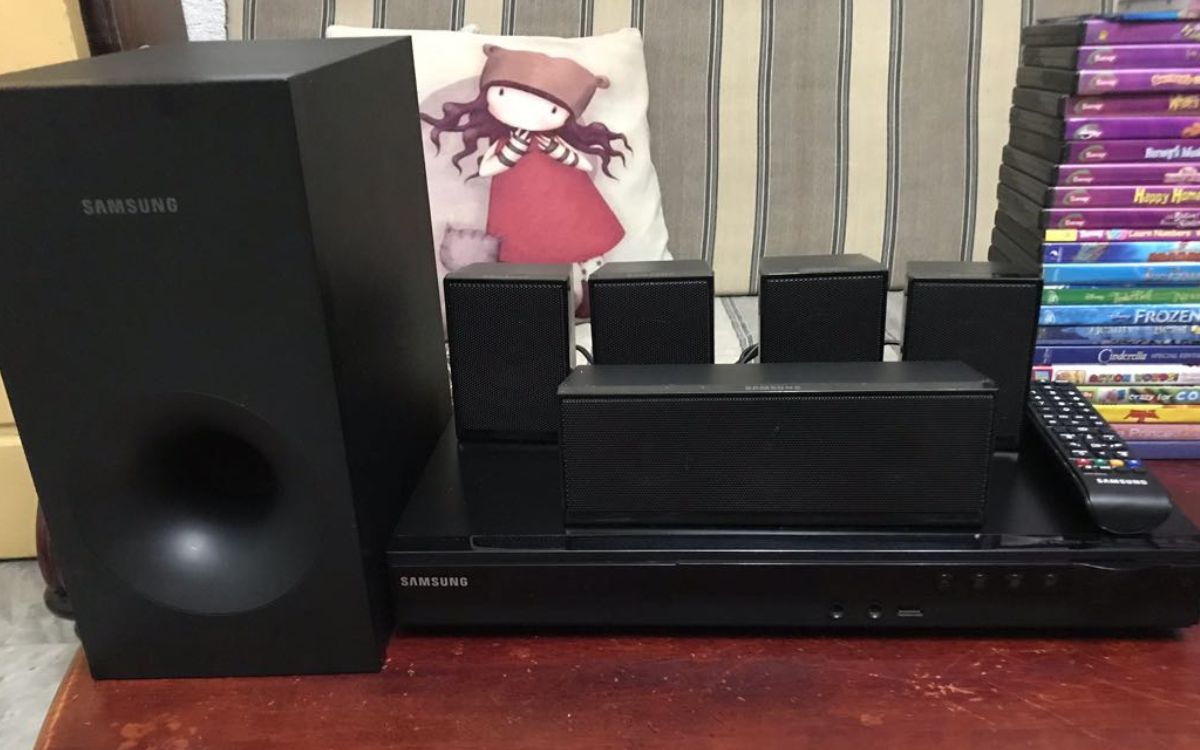
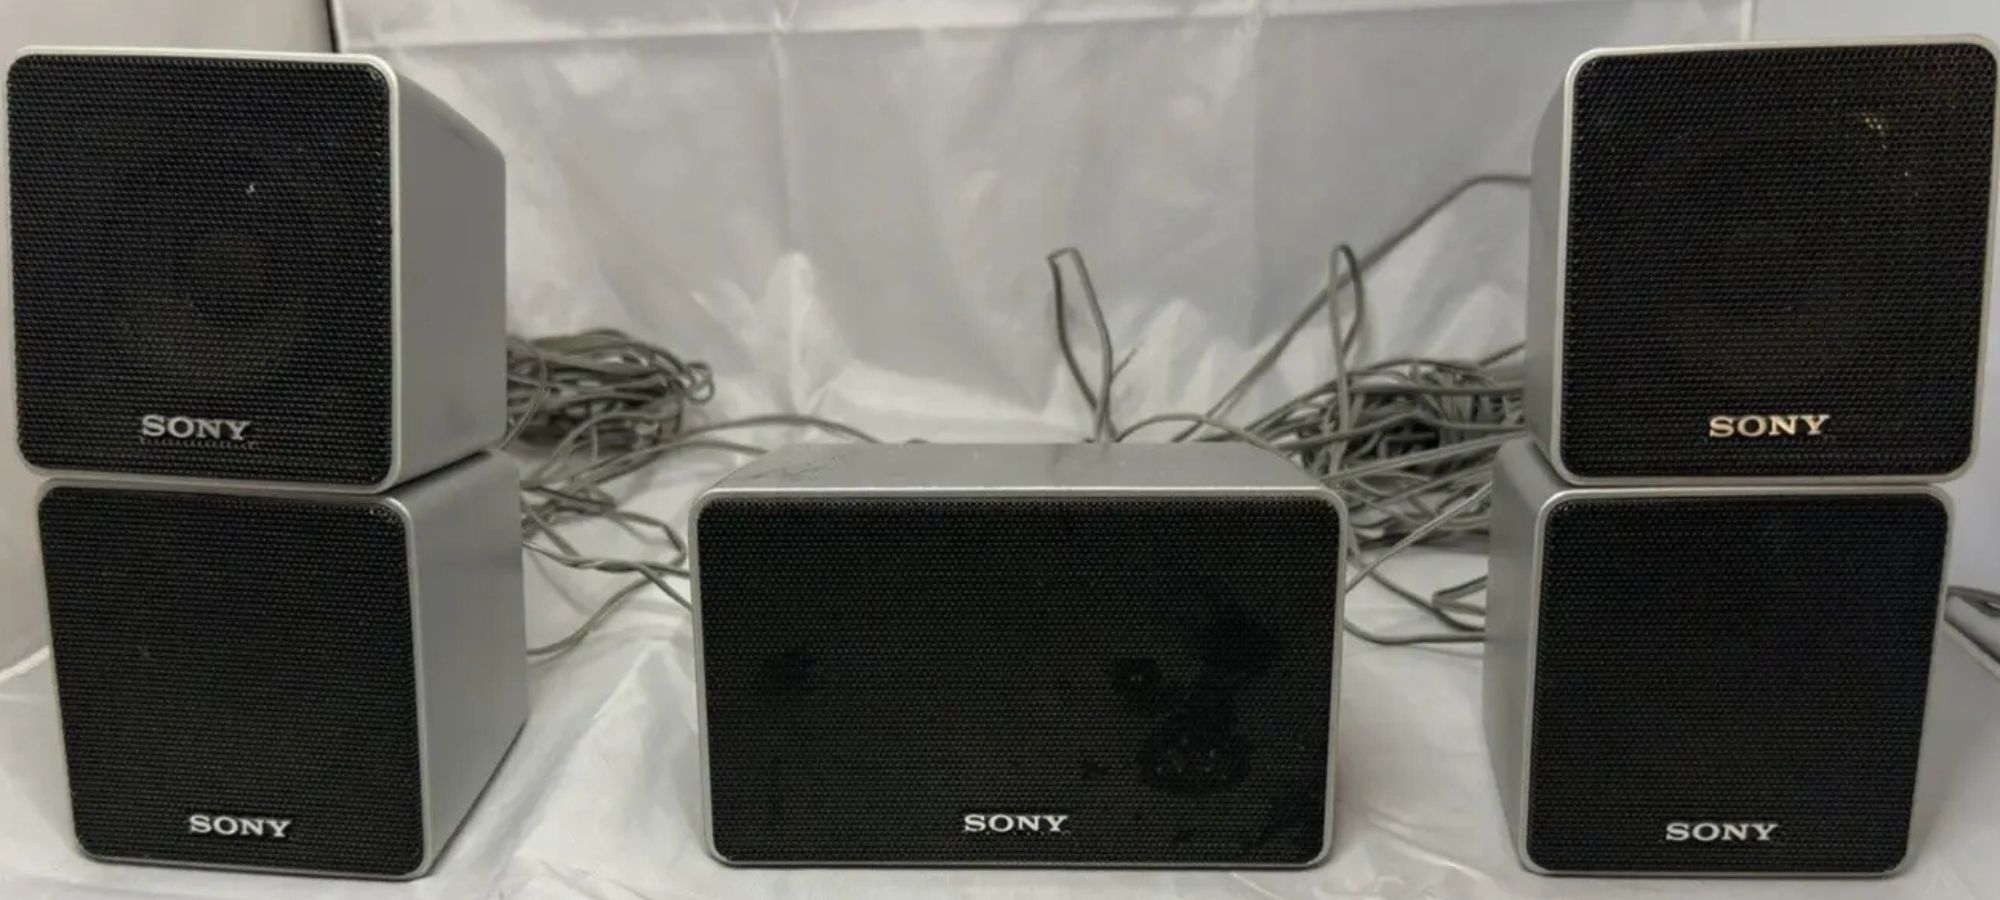
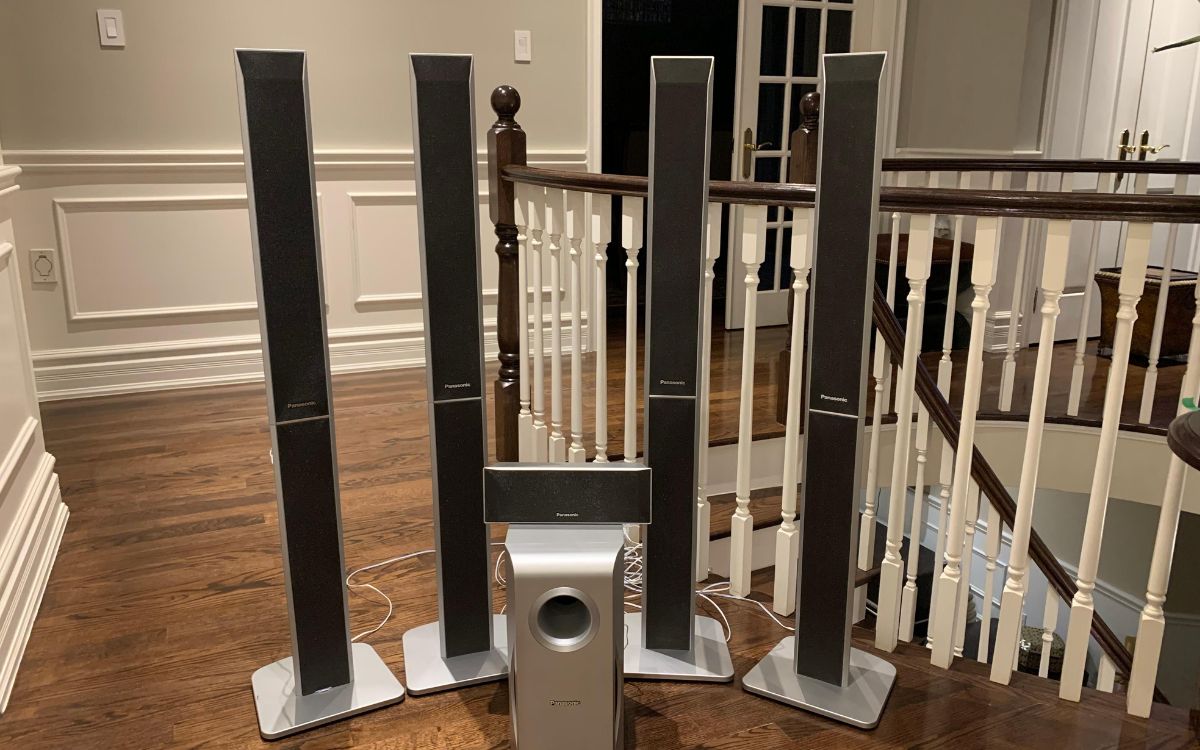
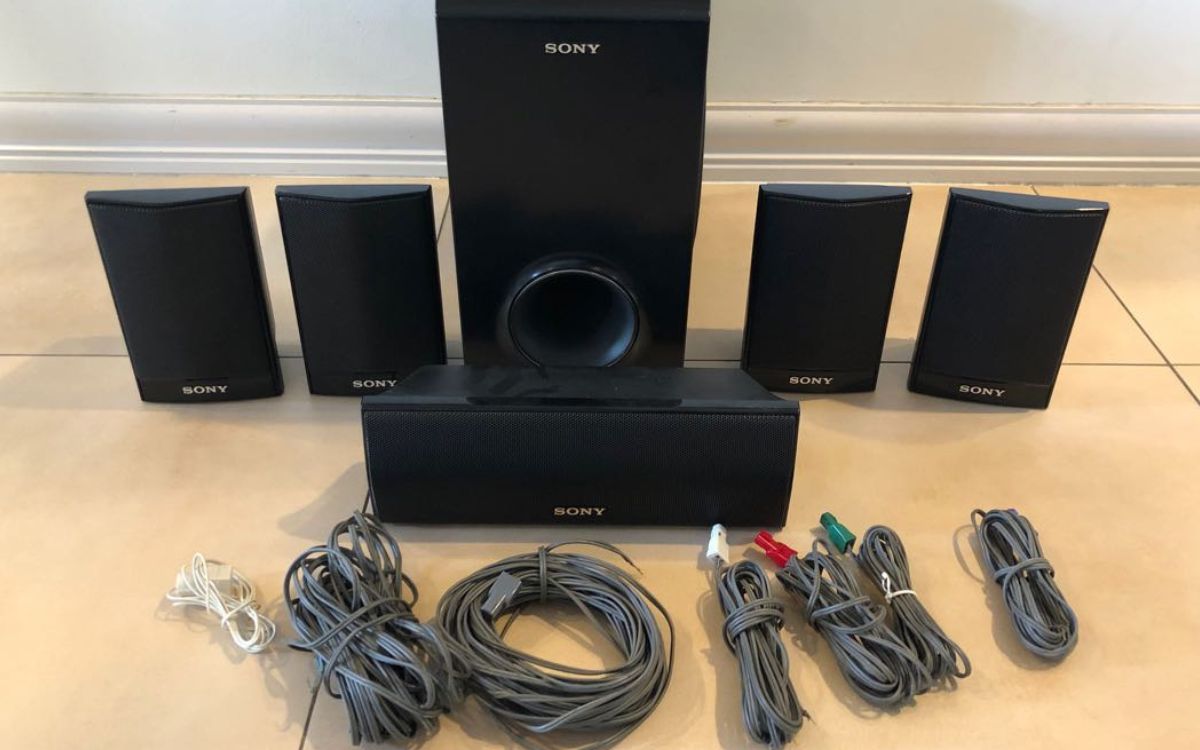
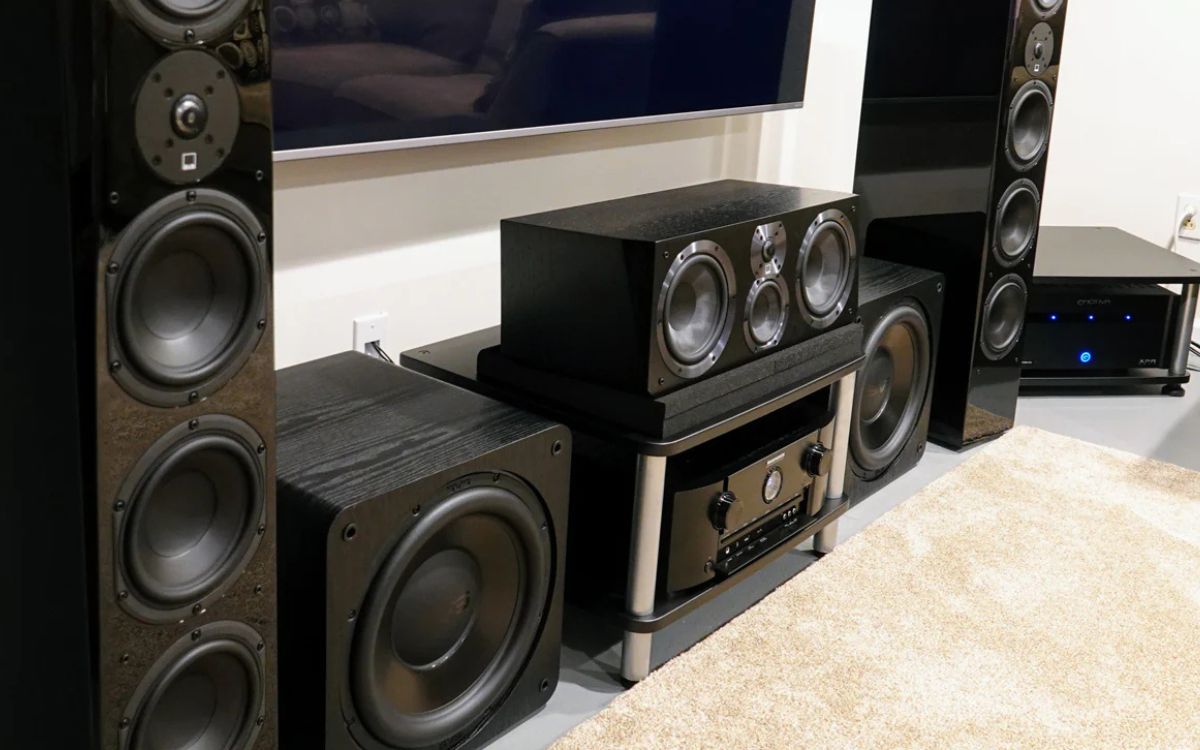
Typically, a surround sound system consists of multiple speakers strategically placed around the room. The most common configuration is a 5.1 system, which includes five main speakers and a subwoofer. The main speakers are positioned to the front left, center, and right of the room, while the surround speakers are placed to the rear left and right. The subwoofer handles the low-frequency sound and is usually placed on the floor.
The main speakers are responsible for reproducing most of the audio, including dialogue, music, and sound effects. The center speaker plays a crucial role in delivering clear and focused dialogue, while the front left and right speakers provide a wider stereo soundstage. The surround speakers add depth and dimension to the audio experience, immersing you in ambient sounds and creating a sense of space.
In addition to the 5.1 setup, there are more advanced configurations, such as 7.1 and 9.1, which feature additional surround speakers for an even more enveloping sound experience. However, for the purpose of this article, we’ll focus on the basic 5.1 setup.
Understanding the role and placement of each speaker is essential for achieving optimal sound quality. Proper speaker placement ensures that the audio is balanced and well-distributed throughout the room. Consider factors such as the size and shape of your room, the distance between the speakers, and the optimal listening position when positioning your surround sound speakers.
It’s also worth mentioning that there are different types of surround sound technologies available, such as Dolby Digital and DTS. These technologies encode and decode audio signals to deliver high-quality surround sound. Most audio sources, such as Blu-ray players, gaming consoles, and streaming devices, support these formats, allowing you to enjoy immersive soundtracks and realistic sound effects.
Now that we have a basic understanding of surround sound speakers, let’s move on to the equipment you’ll need to set up your system without a receiver.
Required Equipment
Setting up surround sound speakers without a receiver requires a few essential pieces of equipment. While you may not need to invest in a receiver, you’ll still need some devices to amplify and distribute the audio signals. Here’s a list of the necessary equipment:
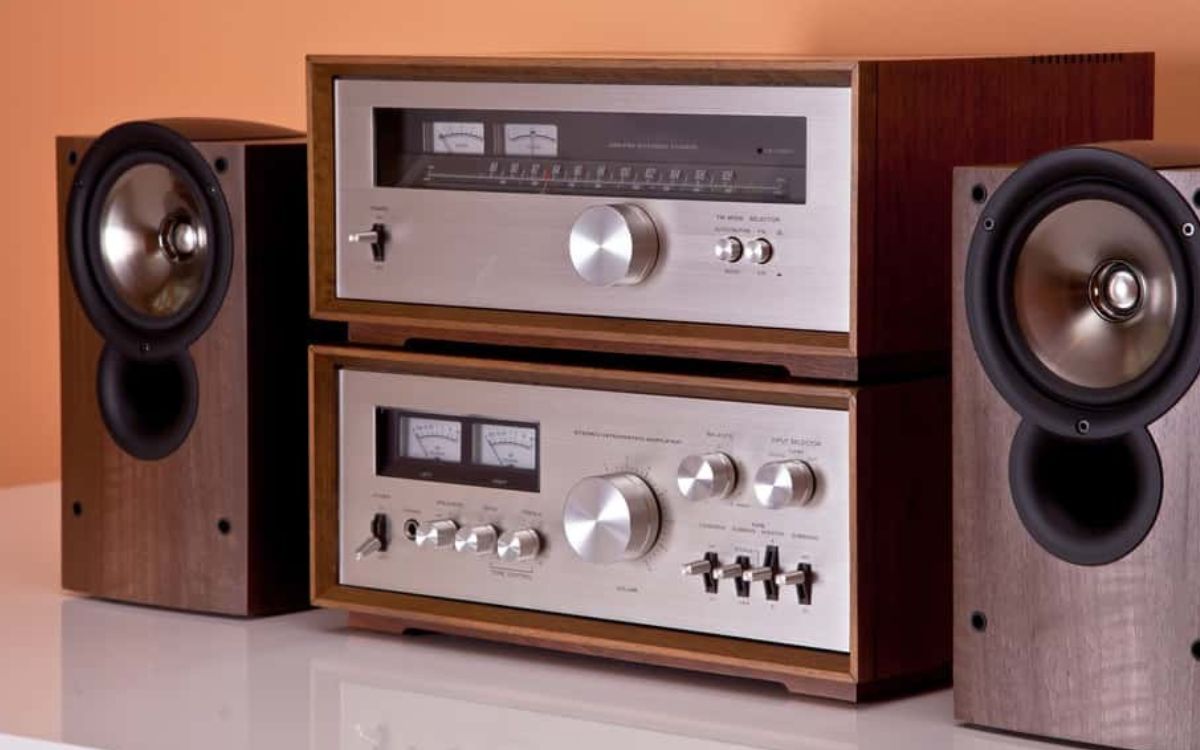
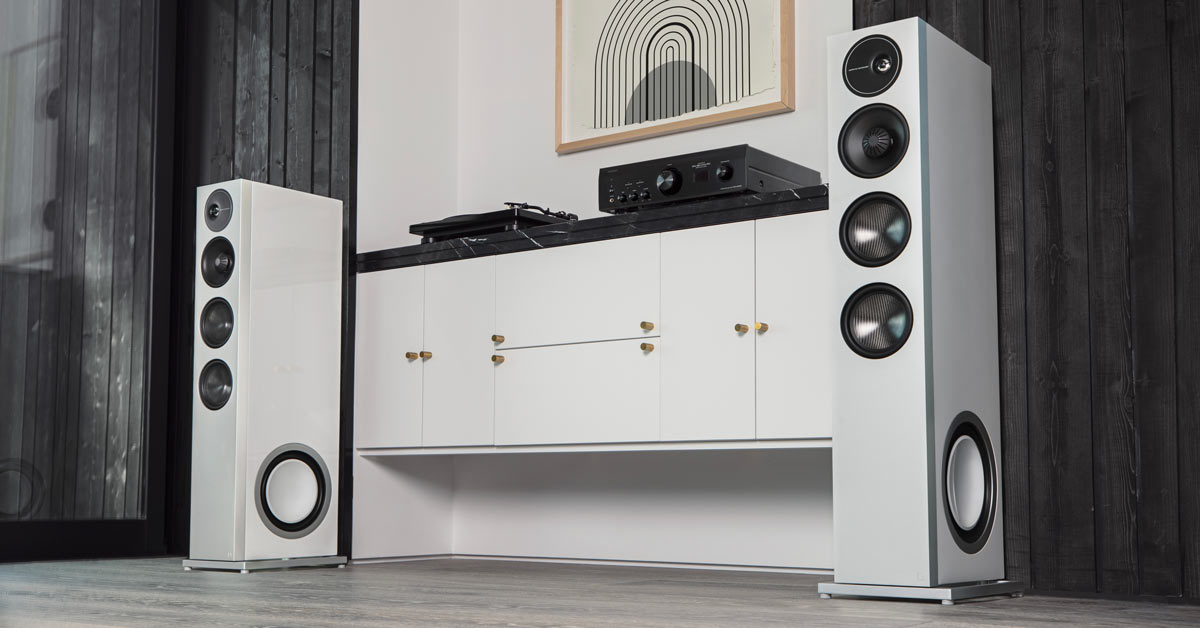
- Amplifier or AV Receiver: While we said you could set up surround sound without a receiver, you’ll still need an alternative device to amplify the audio signals and control the volume. An amplifier or an AV receiver with preamp outputs and separate power amplifiers for each speaker channel would be ideal for this setup. This device will serve as the central hub for your audio sources and the amplifier for your speakers.
- Surround Sound Speakers: Of course, you can’t have a surround sound system without the speakers themselves. Invest in a quality set of surround sound speakers that includes the main speakers (front left, center, and right), surround speakers (rear left and right), and a subwoofer. Make sure the speakers are compatible with your amplifier or AV receiver.
- Audio Sources: Decide which devices you’ll be using to play audio through your surround sound system. This can include a Blu-ray player, gaming console, streaming device, or TV. Ensure that these devices have audio output options that can be connected to your amplifier or AV receiver.
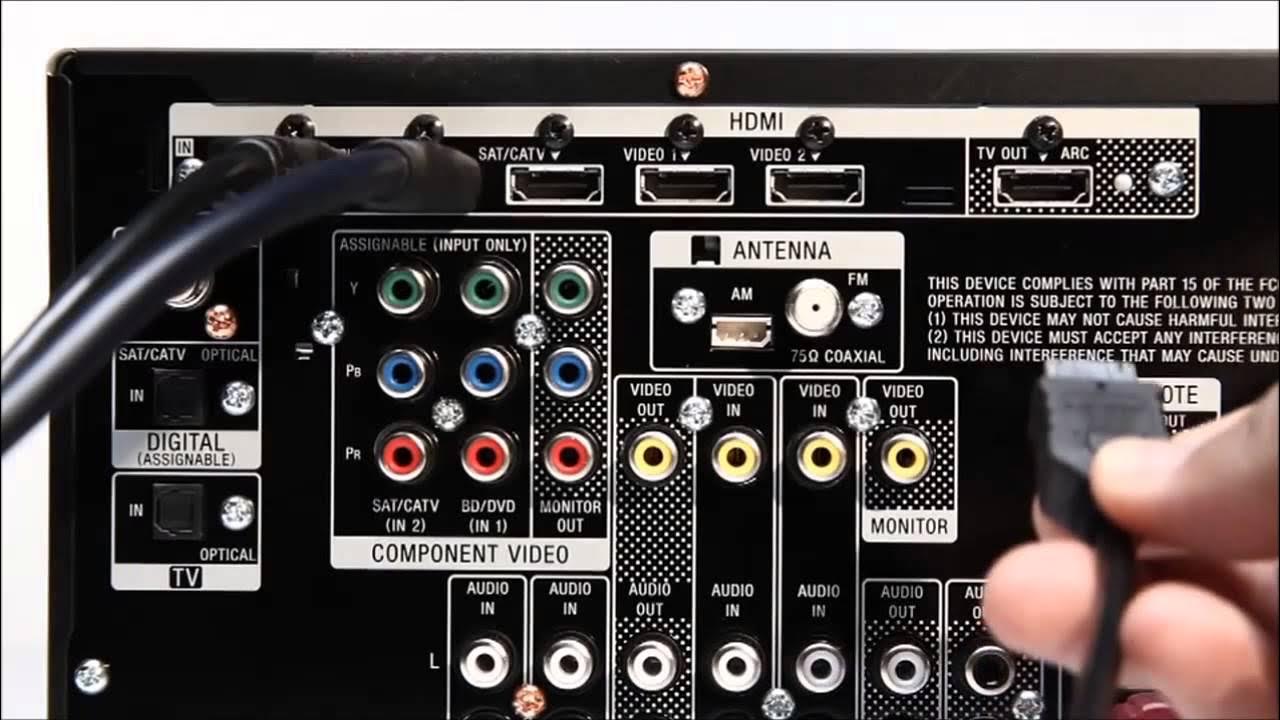
- Audio Cables: You’ll need various audio cables to connect your audio sources to the amplifier or AV receiver. HDMI cables are commonly used for high-definition audio transmission, while optical or coaxial cables can also be used for digital audio signals. RCA cables may be necessary for analog audio sources.
- Speaker Wire: Properly connect your speakers to the amplifier or AV receiver using speaker wire. Ensure that the wire is long enough to reach each speaker and that it is suitable for carrying audio signals without any significant signal loss.
- Power Cords: Don’t forget to have an adequate number of power cords to supply power to your amplifier or AV receiver, as well as to your speakers and other audio sources.
With these essential pieces of equipment, you’ll have everything you need to set up your surround sound speakers without a receiver. In the next section, we’ll guide you through the step-by-step process of setting up the speakers in your desired configuration.
Setting Up the Surround Sound Speakers
Now that you have all the necessary equipment, it’s time to set up your surround sound speakers. Follow these step-by-step instructions to properly position and connect your speakers:
- Identify the optimal listening position: Determine the ideal spot in your room where you’ll be sitting and enjoying the surround sound experience. This will help you position the speakers for optimal audio dispersion.
- Front speakers: Place the front left, center, and right speakers in front of your listening position. The front center speaker should be centered above or below your TV or projection screen, while the front left and right speakers should be equidistant from the center speaker and angled towards your listening position.
- Surround speakers: Position the rear left and right surround speakers to the sides or slightly behind your listening position. These speakers should be angled towards your listening position to create a sense of envelopment.
- Subwoofer: Place the subwoofer in a corner of the room or near the front speakers. This will help distribute low-frequency sound throughout the space. Experiment with different placements to find the spot that provides the best bass response.
- Connect the speakers: Use the appropriate speaker wire to connect each speaker to the corresponding speaker output on your amplifier or AV receiver. Ensure that the positive (+) and negative (-) terminals on the speakers and the receiver/amplifier are correctly connected to maintain proper audio polarity.
- Position the amplifier or AV receiver: Place your amplifier or AV receiver in a central location near your audio sources and within reach of the speaker wires. Make sure to leave some space for ventilation to prevent overheating.
- Connect the audio sources: Use the appropriate audio cables to connect your audio sources, such as a Blu-ray player or gaming console, to the corresponding inputs on your amplifier or AV receiver. HDMI cables are commonly used for high-definition audio, while optical or coaxial cables are suitable for digital audio signals.
- Power up the system: Plug in the power cords for your amplifier or AV receiver, speakers, and audio sources. Switch on the devices, and you should now have your surround sound system up and running.
Remember to consult the user manuals for your specific equipment for any additional instructions or configuration settings. Now that your surround sound speakers are set up, let’s move on to connecting them to your audio sources in the next section.
Connecting the Surround Sound Speakers to Audio Sources
With your surround sound speakers set up, it’s time to connect them to your audio sources, such as a Blu-ray player, gaming console, or streaming device. Follow these steps to route audio signals from your sources to the speakers:
- Identify the audio outputs on your sources: Locate the audio outputs on your audio sources. These can be HDMI, optical, coaxial, or analog RCA outputs. Ensure that you have the necessary cables to connect these outputs to your amplifier or AV receiver.
- Connect the audio sources to the amplifier or AV receiver: Use the appropriate audio cables to connect the audio outputs of your sources to the corresponding inputs on your amplifier or AV receiver. For example, if your source has an HDMI output, connect it to an HDMI input on your amplifier or AV receiver. Repeat this step for each audio source.
- Configure the audio settings on your sources: Access the audio settings on your audio sources and ensure that the output is set to the appropriate format for surround sound, such as Dolby Digital or DTS. This will allow your amplifier or AV receiver to properly decode the audio signals for the surround sound speakers.
- Assign the speakers: Using the settings on your amplifier or AV receiver, assign the appropriate channels to each speaker. This ensures that the audio signals are correctly distributed to the respective speakers in your surround sound system. Consult the user manual of your amplifier or AV receiver for guidance on assigning speakers.
- Test your setup: Play audio from your sources to test the surround sound system. Make sure that the audio is coming from the correct speakers and that they are properly balanced. Adjust the volume and settings as needed to optimize the audio experience.
By connecting your audio sources to the amplifier or AV receiver, you can now enjoy surround sound audio through your setup. Whether you’re watching a movie, playing a game, or listening to music, the immersive audio experience provided by your surround sound speakers will enhance your enjoyment.
In the next section, we’ll explore how to adjust the sound settings to further optimize your surround sound experience.
Adjusting the Sound Settings
After setting up your surround sound speakers and connecting them to your audio sources, it’s important to adjust the sound settings to ensure the best possible audio experience. Follow these steps to fine-tune the sound settings:
- Access your amplifier or AV receiver’s settings: Use the remote control or front panel of your amplifier or AV receiver to access the settings menu. Consult the user manual for specific instructions on how to navigate and adjust the settings.
- Speaker distance adjustment: Measure the distance between each speaker and your listening position. Enter these measurements into the settings menu so that the amplifier or AV receiver can optimize the audio output based on the speaker distances. This helps create a more accurate and balanced surround sound experience.
- Channel level adjustment: Adjust the volume levels of each speaker to ensure that they are balanced. The amplifier or AV receiver may have an auto-calibration feature that can measure the output of each speaker and adjust the levels accordingly. Alternatively, you can manually adjust the levels using the settings menu. Listen to audio and make fine adjustments until the sound is well-balanced.
- Equalization (EQ) settings: Many amplifiers or AV receivers have EQ settings that allow you to adjust the sound frequencies to suit your preference and the acoustic properties of your room. Experiment with the EQ settings to enhance the bass, treble, or overall sound quality according to your liking.
- Surround sound modes: Explore the different surround sound modes available on your amplifier or AV receiver. These modes can simulate different listening environments or enhance specific audio effects. Choose the mode that best suits your content and preference. Common modes include Dolby Surround, DTS Neural:X, and All Channel Stereo.
- Additional features: Depending on your amplifier or AV receiver, there may be additional features to enhance your audio experience. These can include dialog enhancement, night mode, dynamic range compression, and room correction software. Take some time to explore these features and see how they can improve your listening experience.
Remember that adjusting sound settings is a personal preference, and what sounds great to one person may not be ideal for another. It’s a good idea to experiment with different settings, listen to various types of content, and make adjustments until you achieve the desired audio experience.
Now that you’ve adjusted the sound settings, you’re all set to enjoy your surround sound speakers to their fullest potential. However, sometimes issues may arise that can affect the performance of your system. In the next section, we’ll discuss some common troubleshooting tips to help you address any potential problems.
Troubleshooting Common Issues
While setting up and fine-tuning your surround sound system, you may encounter some common issues. Here are a few troubleshooting tips to help you address these problems:
- No sound from speakers: Check all the connections between your speakers, amplifier or AV receiver, and audio sources to ensure they are securely plugged in. Verify that the speakers and the amplifier or AV receiver are powered on. Make sure the correct audio source is selected on your amplifier or AV receiver.
- Imbalanced sound: If you’re experiencing imbalanced sound, check the channel level settings on your amplifier or AV receiver. Ensure that each speaker is set to an appropriate level. If needed, go through the speaker distance adjustment process to optimize the audio output based on the actual distances between the speakers and your listening position.
- Poor bass response: If you find that your system lacks bass or the bass is distorted, check the placement of your subwoofer. Experiment with its position by moving it closer to walls or corners to maximize bass response. Adjust the low-frequency settings on your amplifier or AV receiver to optimize the subwoofer performance.
- Audio sync issues: If you notice a delay between the audio and video, adjust the audio delay settings on your amplifier or AV receiver. This will help synchronize the audio with the visuals. Alternatively, you can check if your audio source has a built-in audio delay adjustment feature.
- Audio dropouts: If you experience intermittent audio dropouts, check the connections between your audio sources and your amplifier or AV receiver. Ensure that all cables are firmly plugged in and that there are no loose connections. Consider using high-quality cables to minimize signal loss.
- Audio distortion at high volume: If the sound becomes distorted or clips at high volume levels, it could be due to insufficient power. Check the power capabilities of your amplifier or AV receiver and the power requirements of your speakers. If necessary, consider upgrading to a more powerful amplifier or AV receiver.
If you’re still experiencing issues, consult the user manuals for your equipment for additional troubleshooting tips and solutions. Additionally, reaching out to the manufacturers’ customer support or seeking assistance from audio professionals can help resolve more complicated problems.
By troubleshooting and addressing common issues, you can ensure that your surround sound system delivers the immersive audio experience you desire. In the next section, we’ll wrap up our guide and summarize the key points we’ve covered.
Conclusion
Congratulations! You have successfully learned how to set up and hook up surround sound speakers without a receiver. By following our step-by-step guide, you can enjoy an immersive audio experience at a fraction of the cost of a traditional surround sound system.
We started by understanding the basics of surround sound speakers and the different components involved. We then discussed the necessary equipment you’ll need, including an amplifier or AV receiver, surround sound speakers, audio sources, cables, speaker wire, and power cords.
Next, we walked you through the process of setting up your surround sound speakers, including positioning the speakers correctly for optimal audio distribution and connecting them to your amplifier or AV receiver.
We then explored how to connect your audio sources to the amplifier or AV receiver, ensuring that you can route audio signals to your surround sound speakers effectively. Adjusting the sound settings was the next step, enabling you to fine-tune the audio experience to your liking.
In the troubleshooting section, we provided solutions to common issues that may occur during the setup and operation of your surround sound system. By following these tips, you can overcome obstacles and ensure smooth operation.
Remember, setting up surround sound speakers without a receiver requires a little creativity and resourcefulness. By utilizing an alternative device to amplify the audio signals and implementing proper speaker placement techniques, you can achieve impressive sound quality without breaking the bank.
Now it’s time to sit back, relax, and immerse yourself in the powerful sound of your new surround sound speakers. Whether you’re watching movies, playing games, or listening to your favorite music, the enveloping audio experience will undoubtedly enhance your enjoyment and provide a new level of immersion.
Enjoy the incredible soundscapes and the thrilling audio journey of your surround sound system!