Home>Devices & Equipment>Turntable>How To Connect Pro-Ject Turntable To Sonos
Turntable
How To Connect Pro-Ject Turntable To Sonos
Published: January 18, 2024
Learn how to easily connect your Pro-Ject turntable to Sonos and enjoy high-quality vinyl playback. Step-by-step instructions for a seamless setup.
(Many of the links in this article redirect to a specific reviewed product. Your purchase of these products through affiliate links helps to generate commission for AudioLover.com, at no extra cost. Learn more)
Table of Contents
Introduction
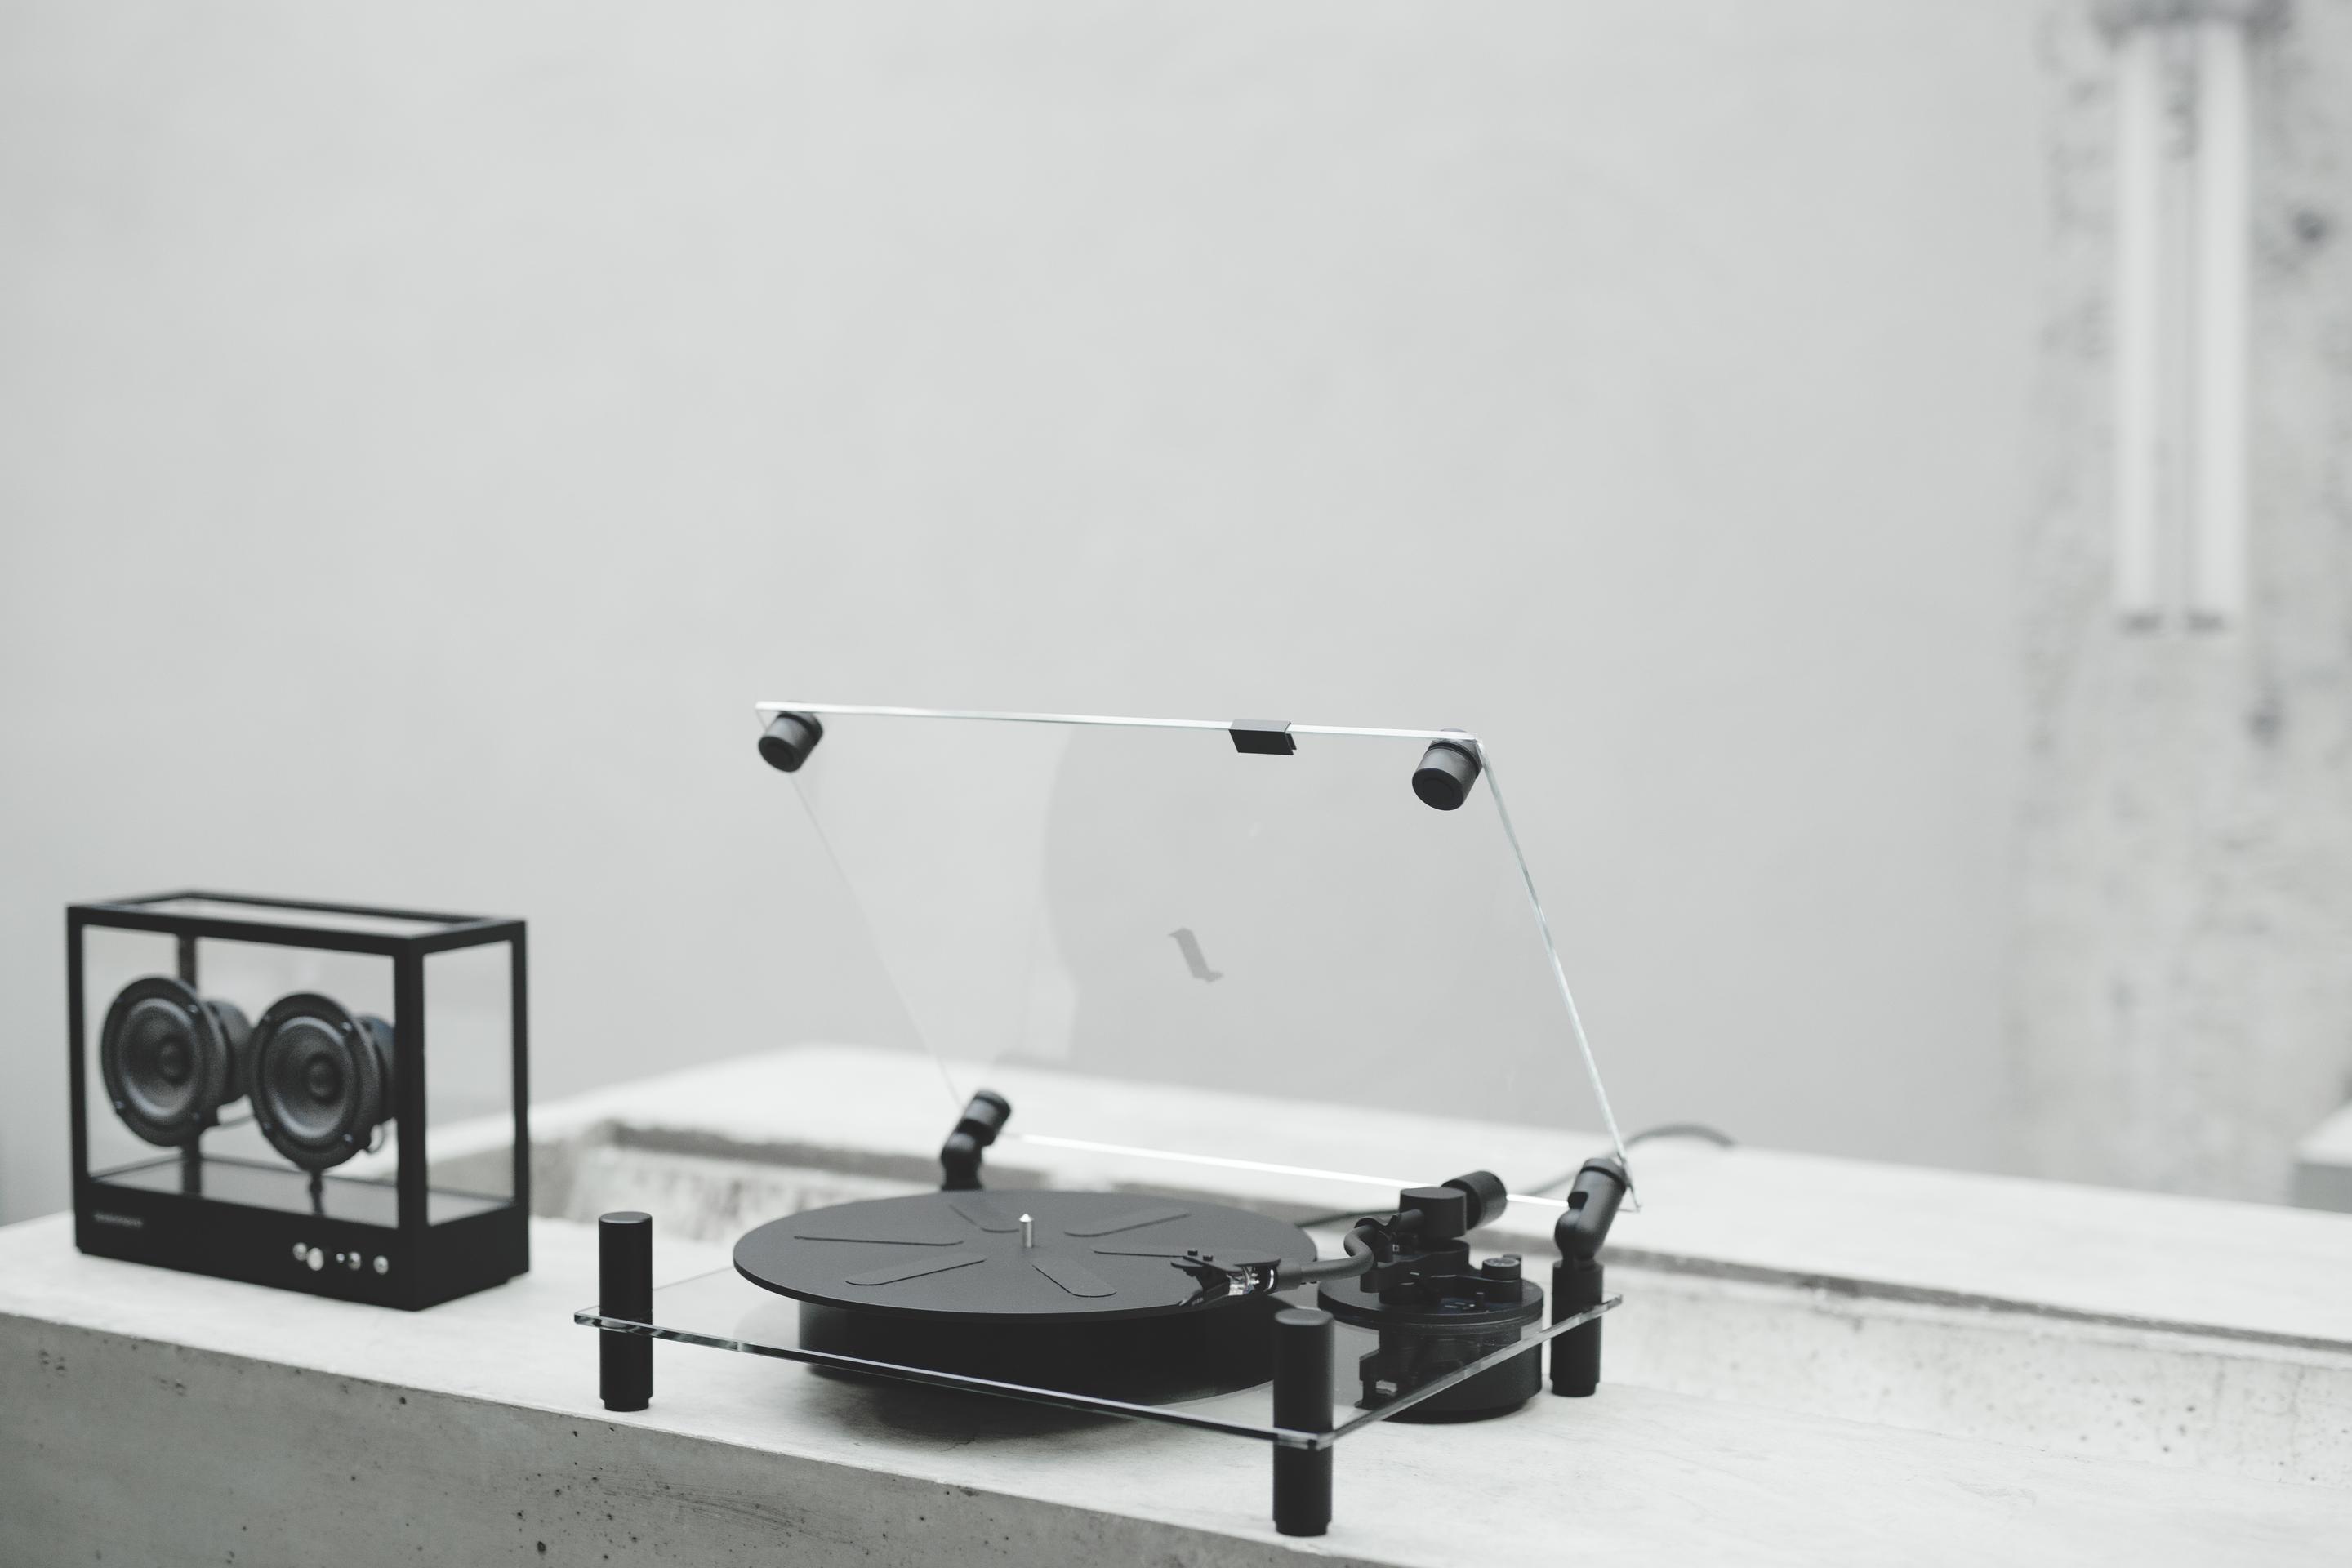
Welcome to the world of vinyl records and high-quality audio! If you are a proud owner of a Pro-Ject turntable and a Sonos sound system, you have the perfect combination for enjoying your vinyl collection with immersive sound. In this article, we will guide you through the process of connecting your Pro-Ject turntable to your Sonos system, allowing you to experience the warm and nostalgic sound of vinyl in any room of your house.
Listening to vinyl records has made a significant comeback in recent years, as more and more music enthusiasts are rediscovering the unique sound and tactile experience that only vinyl can offer. Pro-Ject turntables are renowned for their exceptional audio performance and sleek design, making them a popular choice among audiophiles and casual listeners alike. Sonos, on the other hand, has revolutionized the way we enjoy music by creating a seamless wireless multi-room audio system. By connecting your Pro-Ject turntable to your Sonos system, you can integrate your vinyl collection into your Sonos setup, enabling you to enjoy your favorite records with the convenience and flexibility of Sonos.
In the following sections, we will provide a step-by-step guide on how to connect your Pro-Ject turntable to your Sonos system. Before we dive into the instructions, there are a few prerequisites you should be aware of:
Prerequisites
Before you begin the process of connecting your Pro-Ject turntable to your Sonos system, it is important to ensure that you have the necessary equipment and meet the following prerequisites:
- A Pro-Ject turntable: Make sure you have a Pro-Ject turntable that is compatible with your Sonos system. Although most Pro-Ject turntables can be connected to Sonos, it is always a good idea to check the manufacturer’s specifications or consult with their customer support.
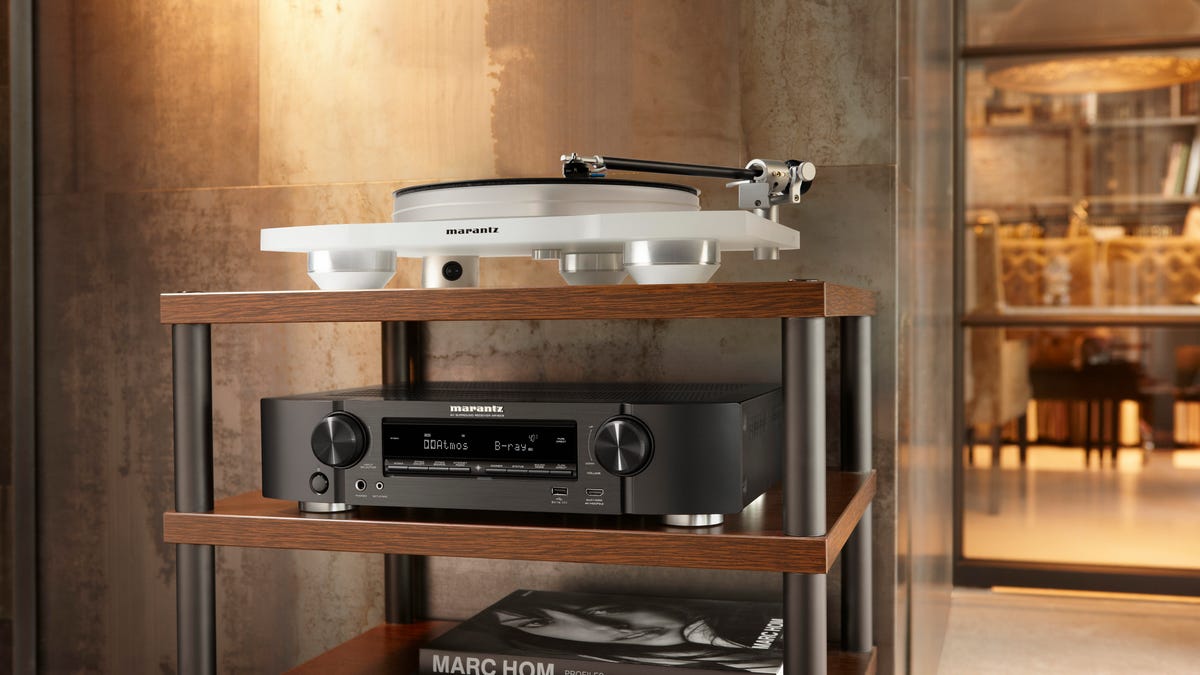
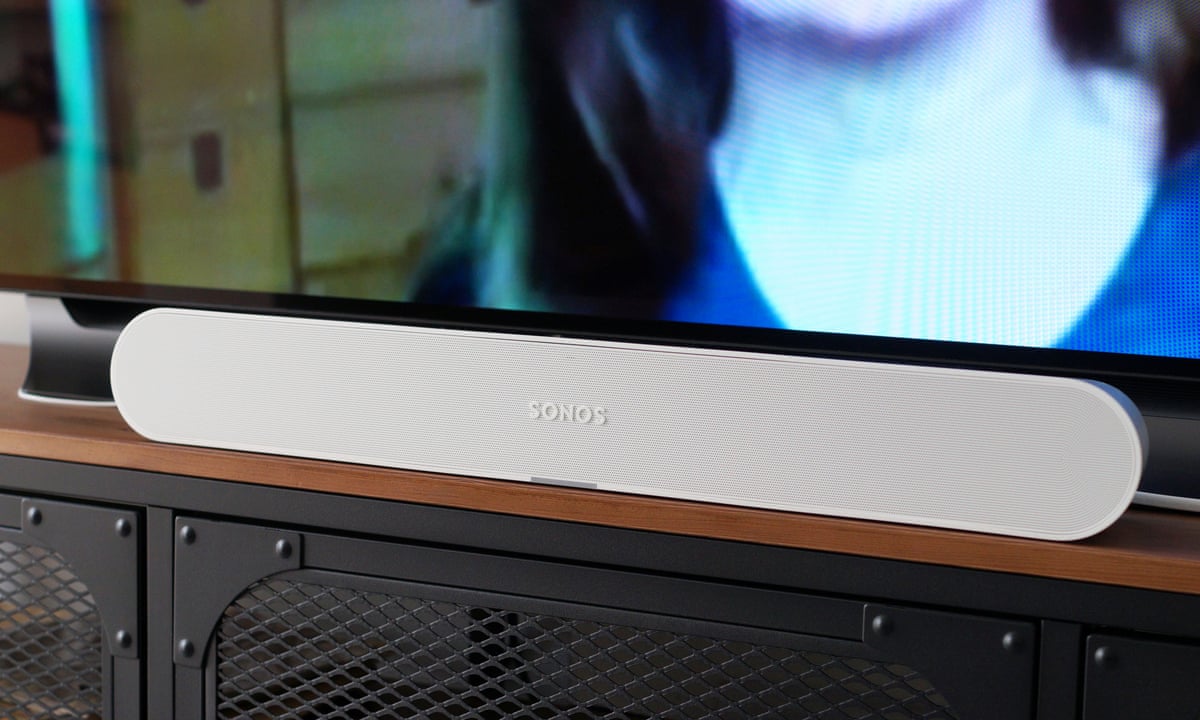
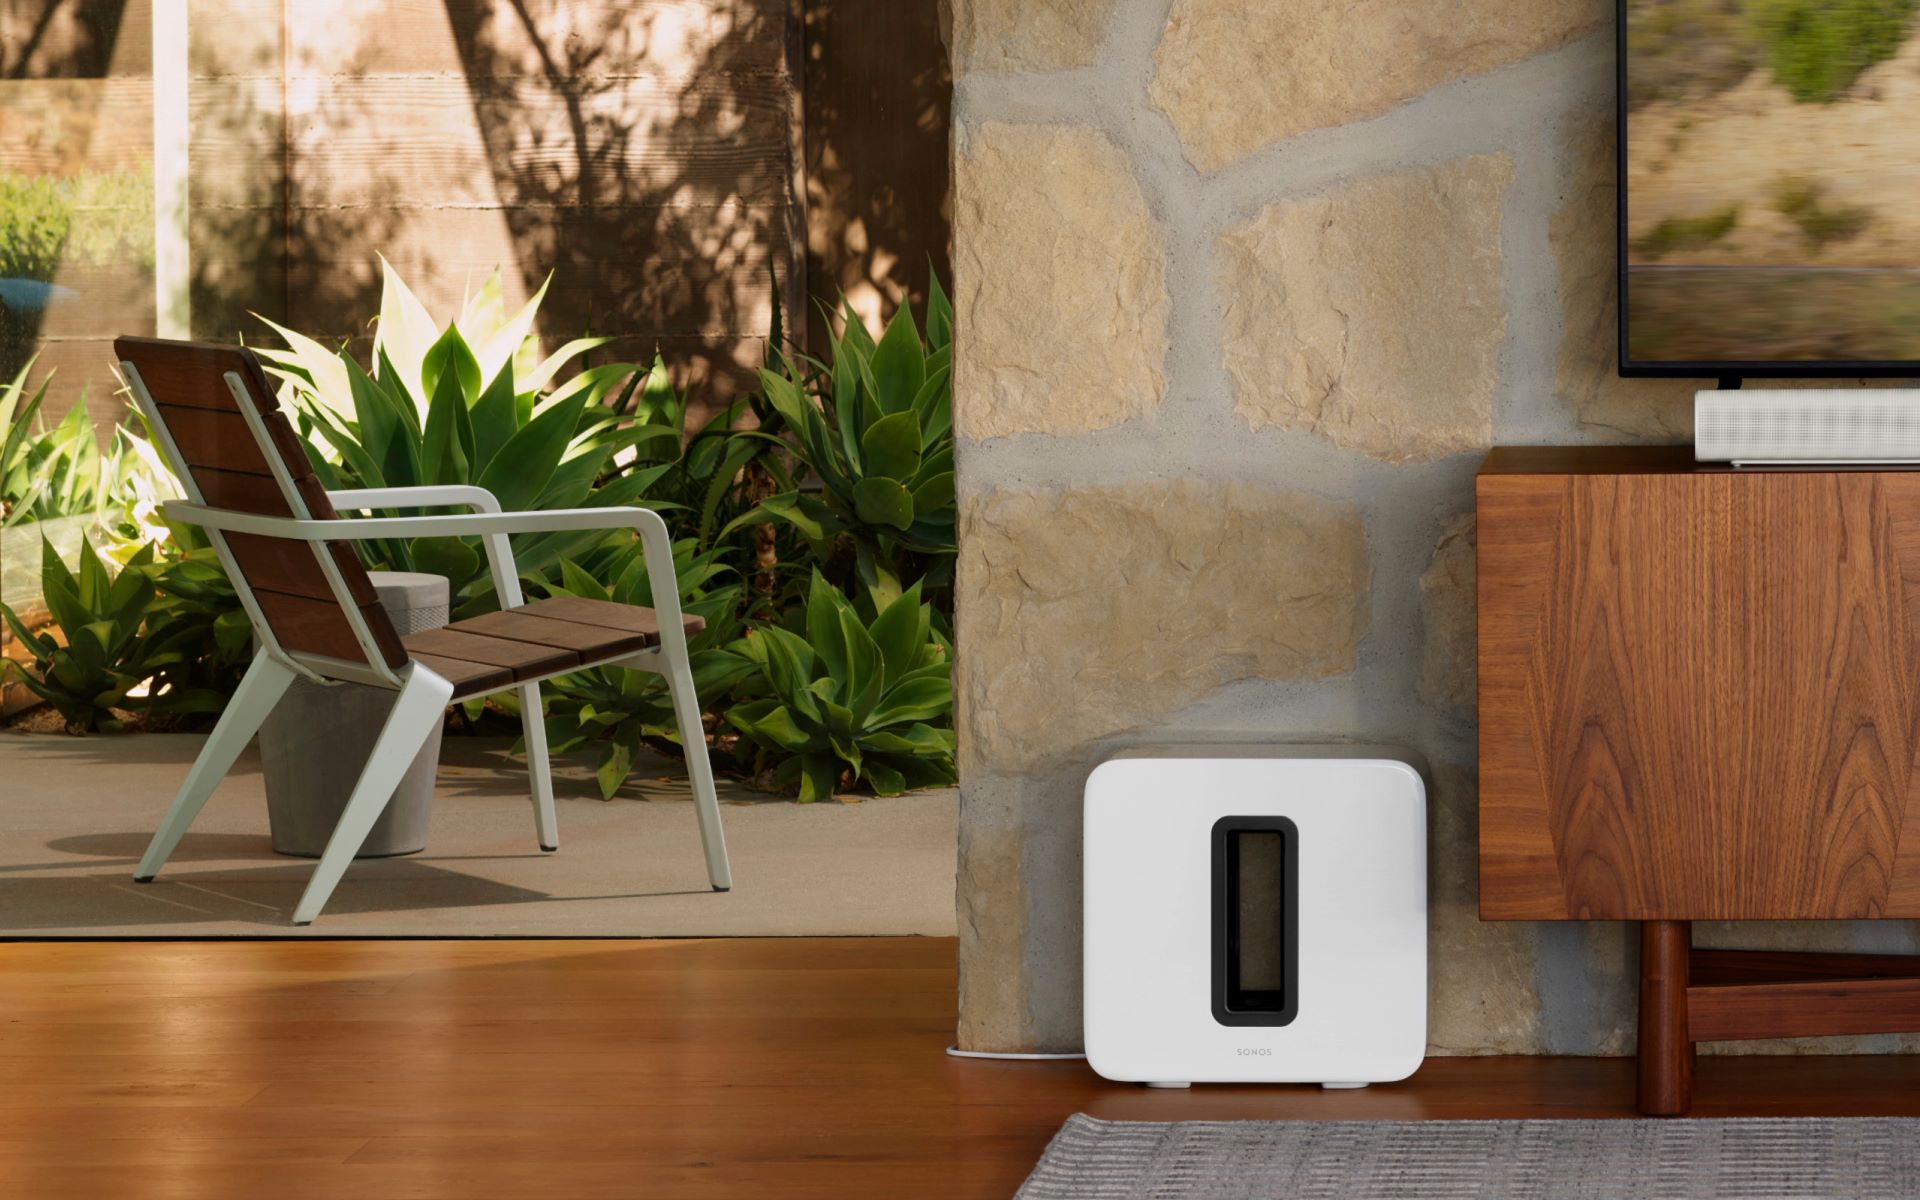
- A Sonos system: You will need a Sonos sound system to connect your Pro-Ject turntable. This can include Sonos speakers, Sonos Connect, or Sonos Amp. Make sure your Sonos system is set up and connected to your home network.
- Wired or wireless connection: You have the option to connect your Pro-Ject turntable to your Sonos system either via a wired or wireless connection. If you opt for a wired connection, ensure that you have the necessary cables, such as RCA cables or a phono preamp if required. If you prefer a wireless connection, make sure your Pro-Ject turntable has built-in wireless capabilities or is compatible with wireless transmitters.
- A stable internet connection: Since Sonos operates over your home network, it is essential to have a stable and reliable internet connection for seamless audio streaming. Ensure that your Wi-Fi network is running smoothly and that all necessary updates are performed on your Sonos devices.
- The Sonos app: Make sure you have the Sonos app installed on your smartphone or tablet. The app allows you to control your Sonos system, manage your music library, and set up new devices.
Once you have met these prerequisites, you are ready to start the process of connecting your Pro-Ject turntable to your Sonos system. As we walk you through the steps, keep in mind that the specific instructions may vary depending on the model of your Pro-Ject turntable and your Sonos system. It is always a good practice to consult the user manuals and support documents provided by the manufacturers for detailed instructions tailored to your specific setup.
Step 1: Gather the Required Equipment
Before you can begin the process of connecting your Pro-Ject turntable to your Sonos system, you will need to gather the necessary equipment. Here is a list of the items you will need:
- Pro-Ject turntable: Ensure that you have your Pro-Ject turntable ready. Make sure it is in good working condition and properly set up.
- Sonos sound system: Whether you have Sonos speakers, Sonos Connect, or Sonos Amp, ensure that your Sonos system is powered on and connected to your home network.
- Audio cables: Depending on the type of connection you choose, you may need audio cables to connect your Pro-Ject turntable to your Sonos system. If your Pro-Ject turntable has a built-in preamp, you can use RCA cables. However, if your turntable does not have a preamp, you will need a phono preamp and RCA cables.
- Wireless transmitter (optional): If you prefer a wireless connection between your Pro-Ject turntable and your Sonos system, you may need a wireless transmitter that is compatible with both devices. Check the specifications of your turntable and Sonos system to ensure compatibility.
- Power cables: Make sure you have the necessary power cables and adapters to connect your Pro-Ject turntable and Sonos system to a power source.
- Smartphone or tablet: You will need a device with the Sonos app installed to control your Sonos system and configure the settings.
Once you have gathered all the necessary equipment, you are ready to move on to the next step: setting up your Pro-Ject turntable.
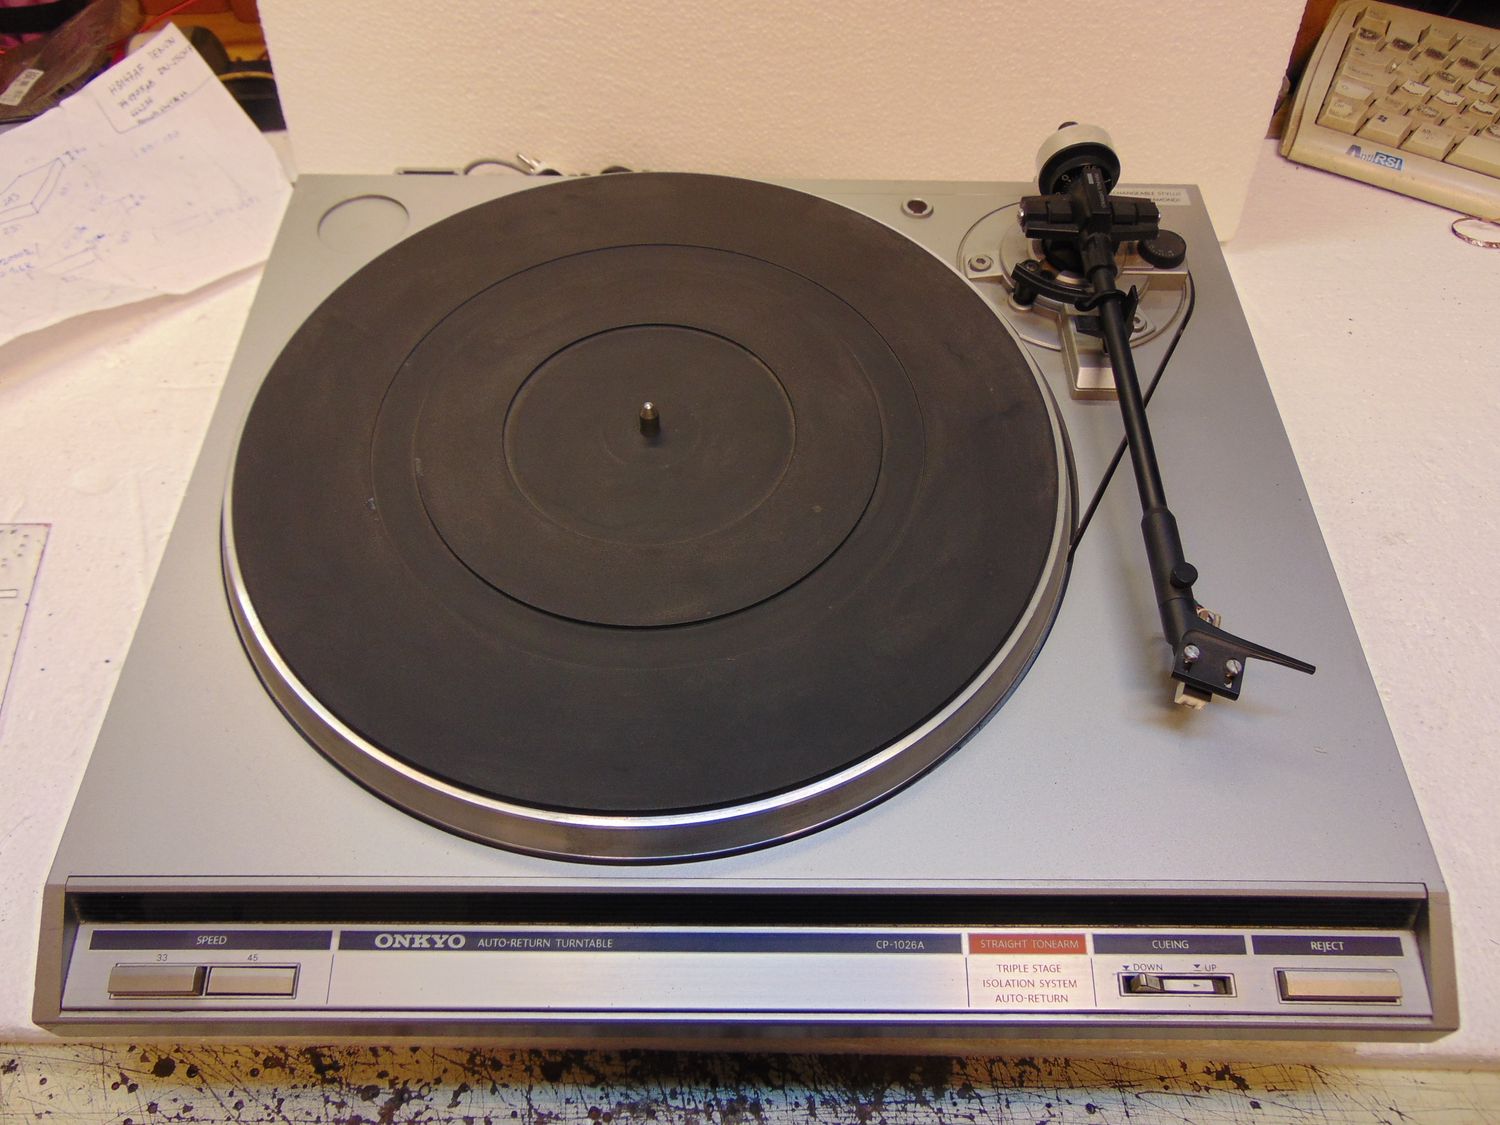
Step 2: Set Up the Pro-Ject Turntable
Now that you have gathered all the required equipment, it’s time to set up your Pro-Ject turntable. Here are the steps to follow:
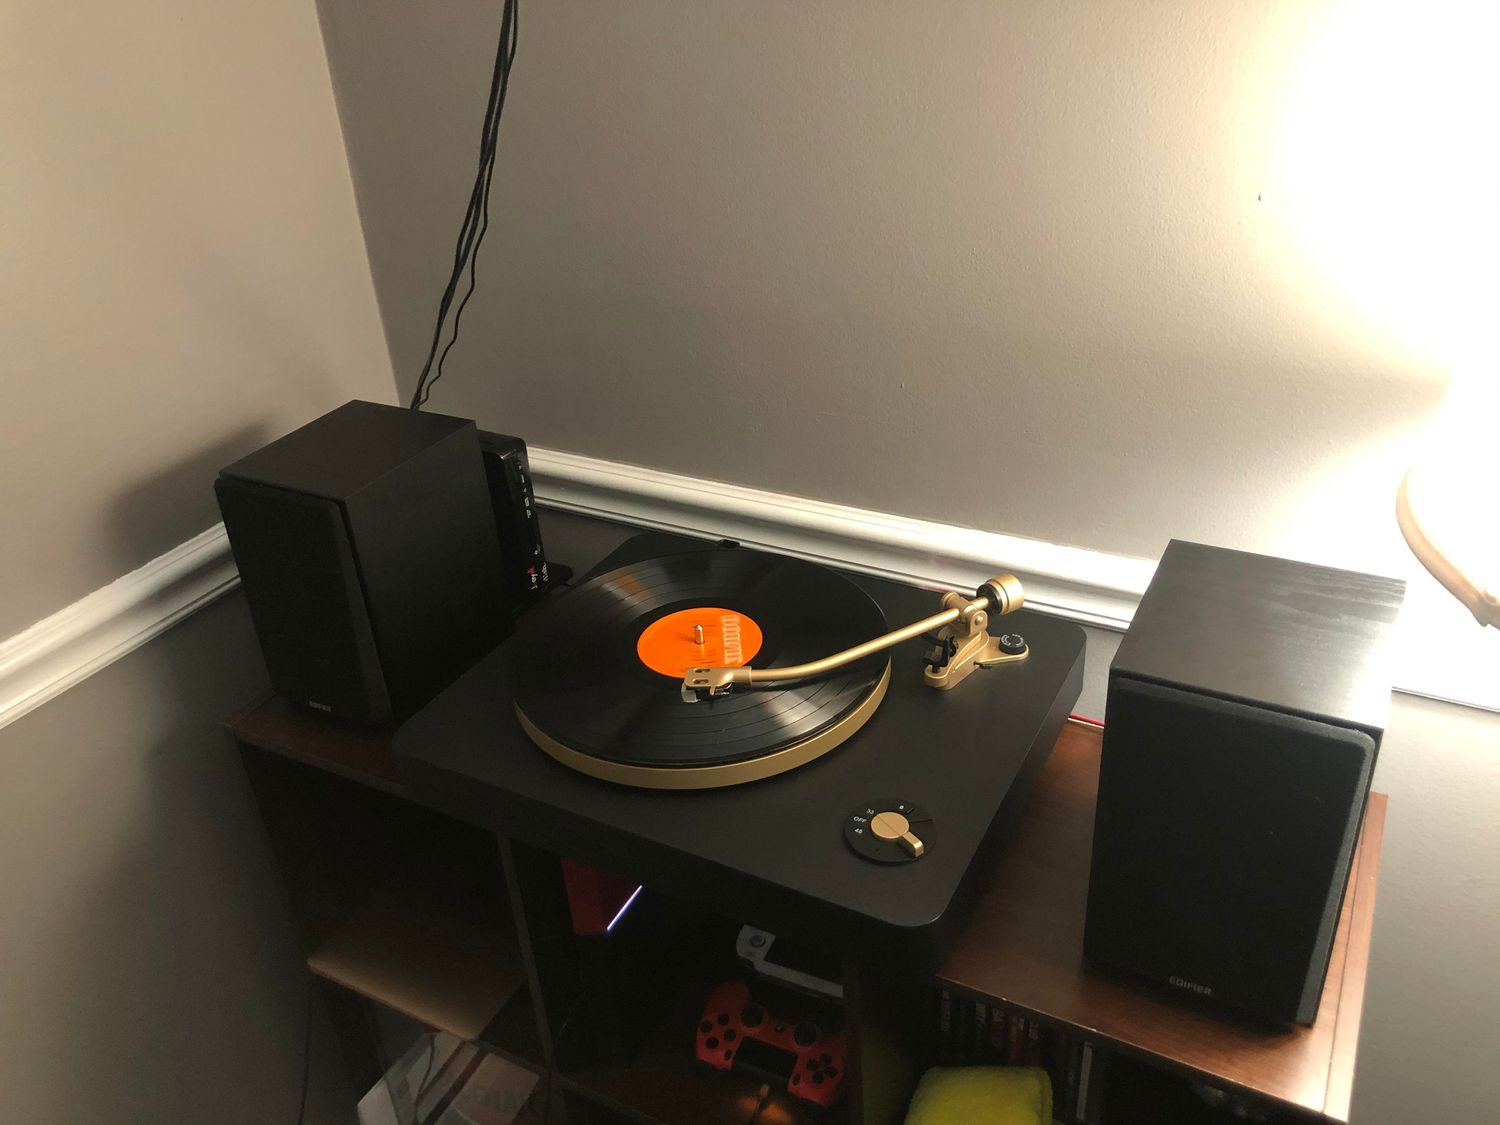
- Choose a suitable location: Find a stable and level surface for your turntable. It is important to place it on a surface that minimizes vibrations and ensures the needle stays in contact with the record.
- Remove any protective covers: If your Pro-Ject turntable came with a protective cover or packaging, carefully remove it to reveal the turntable platter and tonearm.
- Attach the platter: Place the platter onto the turntable spindle and ensure it fits securely. Refer to the manufacturer’s instructions for any specific steps required.
- Attach the drive belt (if applicable): Some Pro-Ject turntables have a belt-drive mechanism. If your turntable uses a drive belt, carefully attach it around the motor pulley and the platter. Consult your user manual for the correct belt placement.
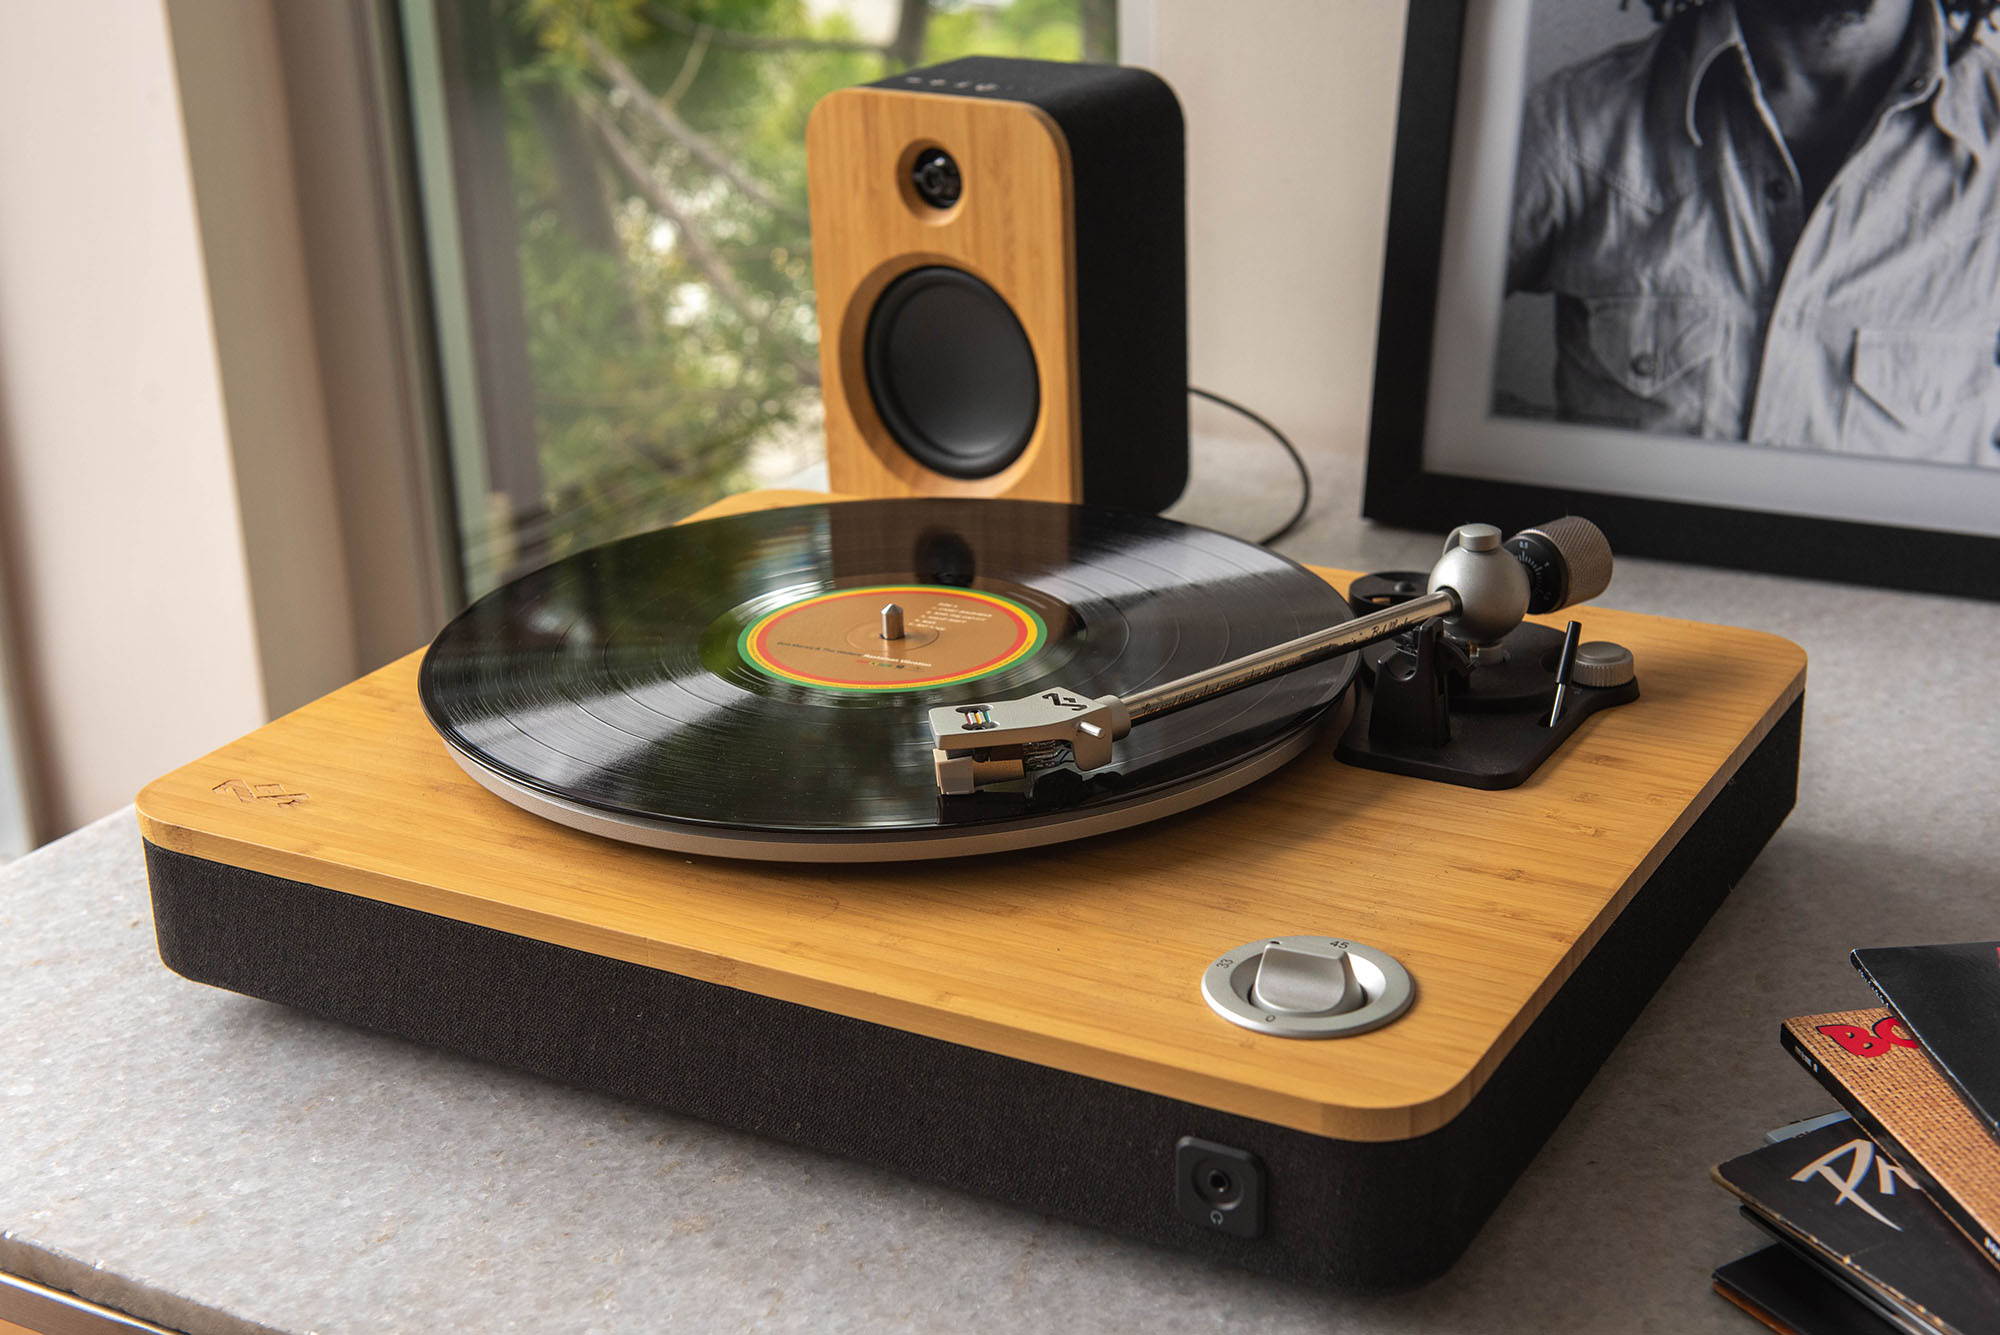
- Balance the tonearm: To ensure proper tracking and playback, you’ll need to balance the tonearm. This can typically be done by adjusting a counterweight located at the back of the tonearm. Consult your user manual for instructions on how to properly balance the tonearm.
- Install the cartridge: Attach the cartridge to the headshell of the tonearm, following the manufacturer’s instructions. Make sure it is securely attached and aligned according to the recommended tracking force and azimuth settings.
- Adjust tracking force and anti-skate: Fine-tune the tracking force and anti-skate settings on your turntable to ensure optimal performance and prevent tracking errors. These settings can typically be adjusted using dials or knobs on the turntable. Again, refer to your user manual for specific instructions.
- Connect the turntable to a preamp (if required): Depending on your Pro-Ject turntable model, you may need to connect it to a phono preamp before connecting it to your Sonos system. If your turntable has a built-in preamp, skip this step.
- Power on the turntable: Plug in the power cable of your Pro-Ject turntable and power it on.
Once you have completed these steps, your Pro-Ject turntable should be properly set up and ready to be connected to your Sonos system. In the next step, we will guide you through the process of connecting the turntable to Sonos.
Step 3: Connect the Pro-Ject Turntable to the Sonos System
With your Pro-Ject turntable set up, it’s time to connect it to your Sonos system. Depending on your chosen connection method, follow the steps below:
Wired Connection:
- If your Pro-Ject turntable has a built-in preamp:
- Locate the RCA output jacks on your turntable.
- Connect one end of the RCA cables to the turntable’s output jacks.
- Connect the other end of the RCA cables to the input jacks of your Sonos speaker, Sonos Connect, or Sonos Amp.
- If your Pro-Ject turntable requires an external phono preamp:
- Connect one end of the RCA cables to the turntable’s output jacks.
- Connect the other end of the RCA cables to the input jacks of the phono preamp.
- Connect one end of another pair of RCA cables to the output jacks of the phono preamp.
- Connect the other end of the RCA cables to the input jacks of your Sonos speaker, Sonos Connect, or Sonos Amp.
- Power on your Sonos system and ensure it is connected to your home network.
Wireless Connection:
- If your Pro-Ject turntable has built-in wireless capabilities:
- Refer to the manufacturer’s instructions on how to enable and set up the wireless connection on your turntable.
- If your Pro-Ject turntable does not have built-in wireless capabilities:
- Ensure your wireless transmitter is plugged in and powered on.
- Connect the transmitter to the output jacks of your turntable using RCA cables.
- Pair the wireless transmitter with your Sonos speaker, Sonos Connect, or Sonos Amp following the manufacturer’s instructions.
- Power on your Sonos system and ensure it is connected to your home network.
Once you have completed the connection steps, your Pro-Ject turntable should now be connected to your Sonos system. However, before you start enjoying your vinyl records, it is crucial to perform a test to ensure the turntable and Sonos connection is working correctly.
Step 4: Test the Turntable and Sonos Connection
After connecting your Pro-Ject turntable to your Sonos system, it’s important to test the connection to ensure everything is working as expected. Follow these steps to test the turntable and Sonos connection:
- Open the Sonos app on your smartphone or tablet.
- Navigate to the “Browse” or “Music” section in the app.
- Select the Sonos device to which your Pro-Ject turntable is connected.
- Locate and select the input source associated with your turntable.
- Place a vinyl record on the turntable platter and gently lower the tonearm onto the record.
- Make sure the audio is coming through the Sonos speaker or speakers connected to your Sonos system. Adjust the volume as needed.
- Listen for any distortions, skips, or other audio issues. If you encounter any problems, review your setup and make necessary adjustments.
- Test different records to ensure consistent playback and audio quality.
During the testing phase, pay attention to the sound quality, as well as any potential synchronization issues between the turntable and the Sonos system. If you experience any problems, make sure all connections are secure and properly configured.
After successfully testing the turntable and Sonos connection, you can now sit back, relax, and enjoy your vinyl collection streamed through your Sonos system. Discover the joy of immersing yourself in the warm and rich sound of vinyl, enhanced by the convenience and flexibility of Sonos multi-room audio.
Remember to properly maintain and care for your Pro-Ject turntable and Sonos system to ensure optimal performance and longevity. Clean your vinyl records regularly, keep the turntable dust-free, and perform maintenance tasks as recommended by the manufacturers.
With your Pro-Ject turntable seamlessly integrated into your Sonos setup, you can now appreciate the timeless charm of vinyl records, while enjoying the modern conveniences of wireless audio streaming. So, grab your favorite record, sit back, and let the music take you on a truly immersive journey.
Conclusion
Congratulations! You have successfully connected your Pro-Ject turntable to your Sonos system, allowing you to enjoy the unparalleled sound quality of your vinyl records through the convenience and versatility of Sonos. By following the step-by-step instructions in this guide, you have unlocked a whole new level of audio enjoyment in your home.
Connecting your Pro-Ject turntable to Sonos opens up a world of possibilities. You can now easily incorporate your vinyl collection into your Sonos multi-room audio system, playing your favorite records in any room of your house. Whether you want to relax with soothing jazz in the living room or get the party started with upbeat rock in the kitchen, your vinyl records can now be part of the Sonos experience.
Remember to take care of your Pro-Ject turntable and Sonos system to ensure optimal performance. Regularly clean your vinyl records, keep your turntable dust-free, and perform routine maintenance tasks as recommended by the manufacturers.
Now, sit back, relax, and immerse yourself in the nostalgic warmth and depth of sound that only vinyl records can provide. Rediscover your favorite albums and explore new musical horizons, all while enjoying the seamless integration and convenience of Sonos.
We hope this guide has been helpful in connecting your Pro-Ject turntable to your Sonos system. Enjoy the journey of vinyl playback and let the music transport you to a world of sonic bliss.
Happy listening!