Home>Devices & Equipment>Turntable>How To Connect Turntable To Marantz Receiver
Turntable
How To Connect Turntable To Marantz Receiver
Modified: January 22, 2024
Learn how to easily connect your turntable to a Marantz receiver and enjoy high-quality sound. Follow our step-by-step guide for seamless setup and enjoy your vinyl collection with a superior audio experience.
(Many of the links in this article redirect to a specific reviewed product. Your purchase of these products through affiliate links helps to generate commission for AudioLover.com, at no extra cost. Learn more)
Table of Contents
Introduction
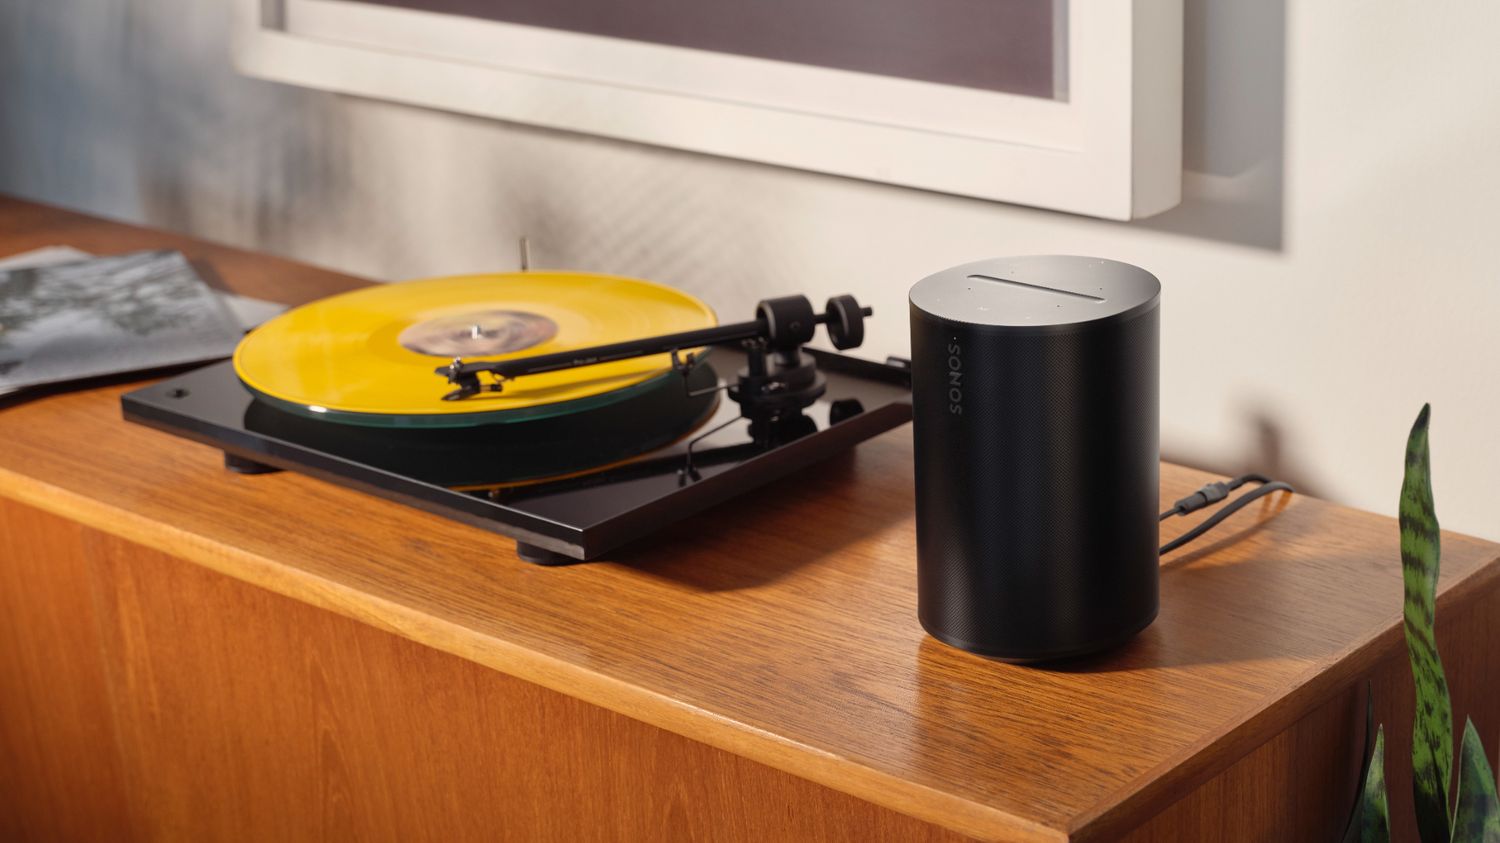
Turntables have experienced a resurgence in popularity in recent years, drawing music enthusiasts back to the warm, rich sound of vinyl records. If you own a turntable and a Marantz receiver, you may be wondering how to connect the two for an optimal listening experience. In this article, we will guide you through the process of connecting your turntable to a Marantz receiver, ensuring that you can enjoy your vinyl collection with the high-quality audio that Marantz is known for.
Marantz receivers are revered in the audio community for their superior sound quality and innovative features. Whether you have a vintage Marantz model or one of the newer ones, the process of connecting a turntable remains relatively similar. By following these steps, you’ll be able to set up your turntable and enjoy your vinyl records in no time.
Before we dive into the step-by-step process, it’s important to note that the specific connections and settings may vary depending on the model of your Marantz receiver. Make sure to consult the user manual or manufacturer’s website for any model-specific instructions or troubleshooting tips.
Now, let’s get started and connect your turntable to your Marantz receiver, so you can fully immerse yourself in the world of vinyl playback!
Step 1: Gather the necessary equipment
Before you begin connecting your turntable to your Marantz receiver, it’s crucial to ensure you have all the necessary equipment on hand. Here’s a checklist of the items you’ll need:
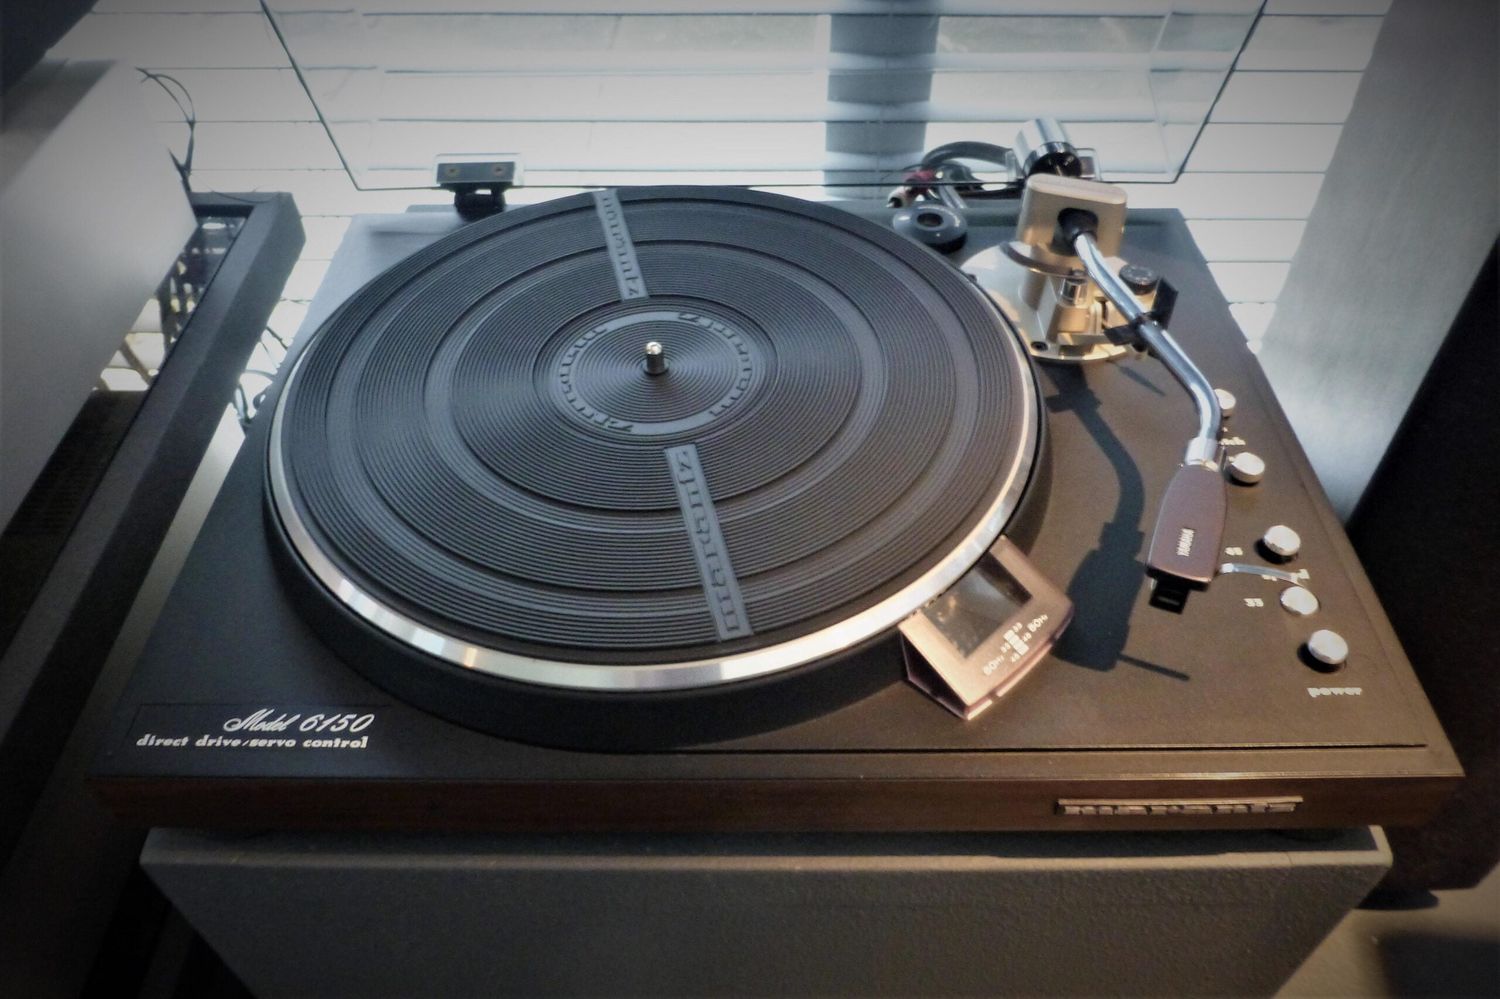
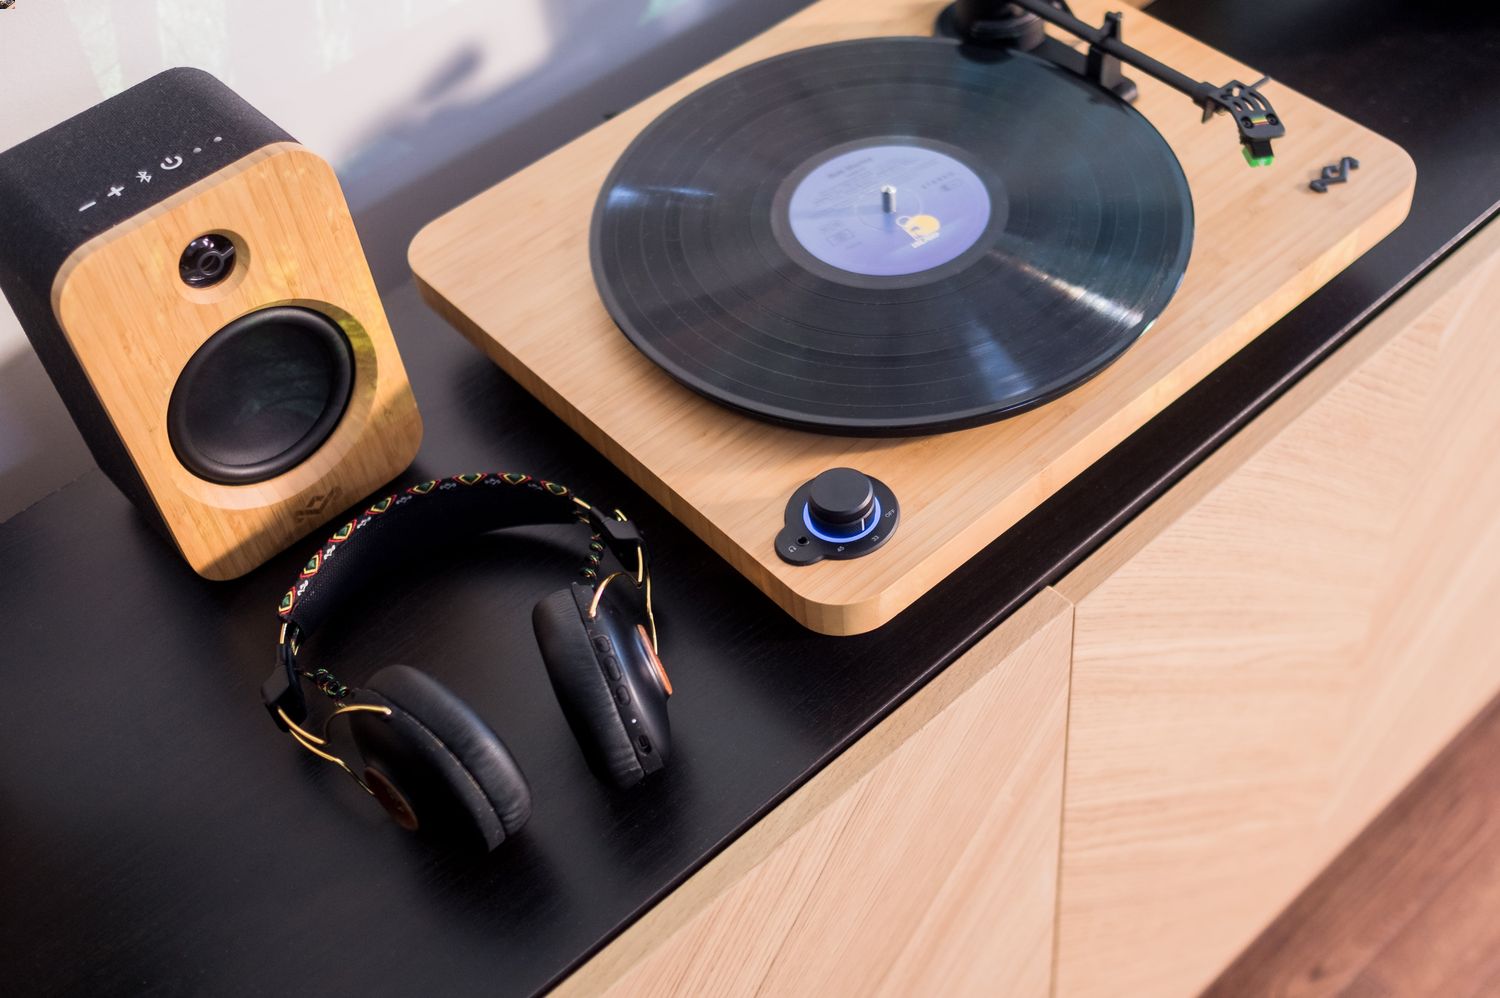
- A turntable: This is the central component of your vinyl setup. Ensure that your turntable is in good working condition and has a built-in phono preamp if your Marantz receiver doesn’t have a dedicated phono input.
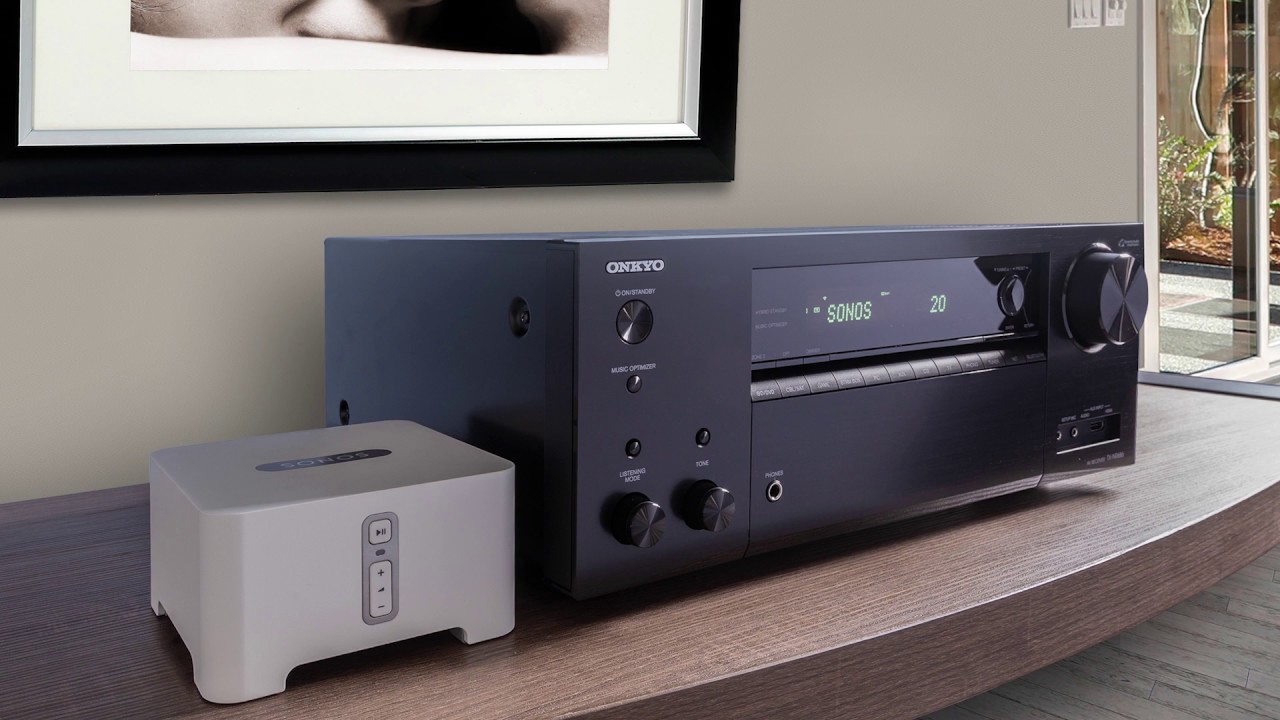
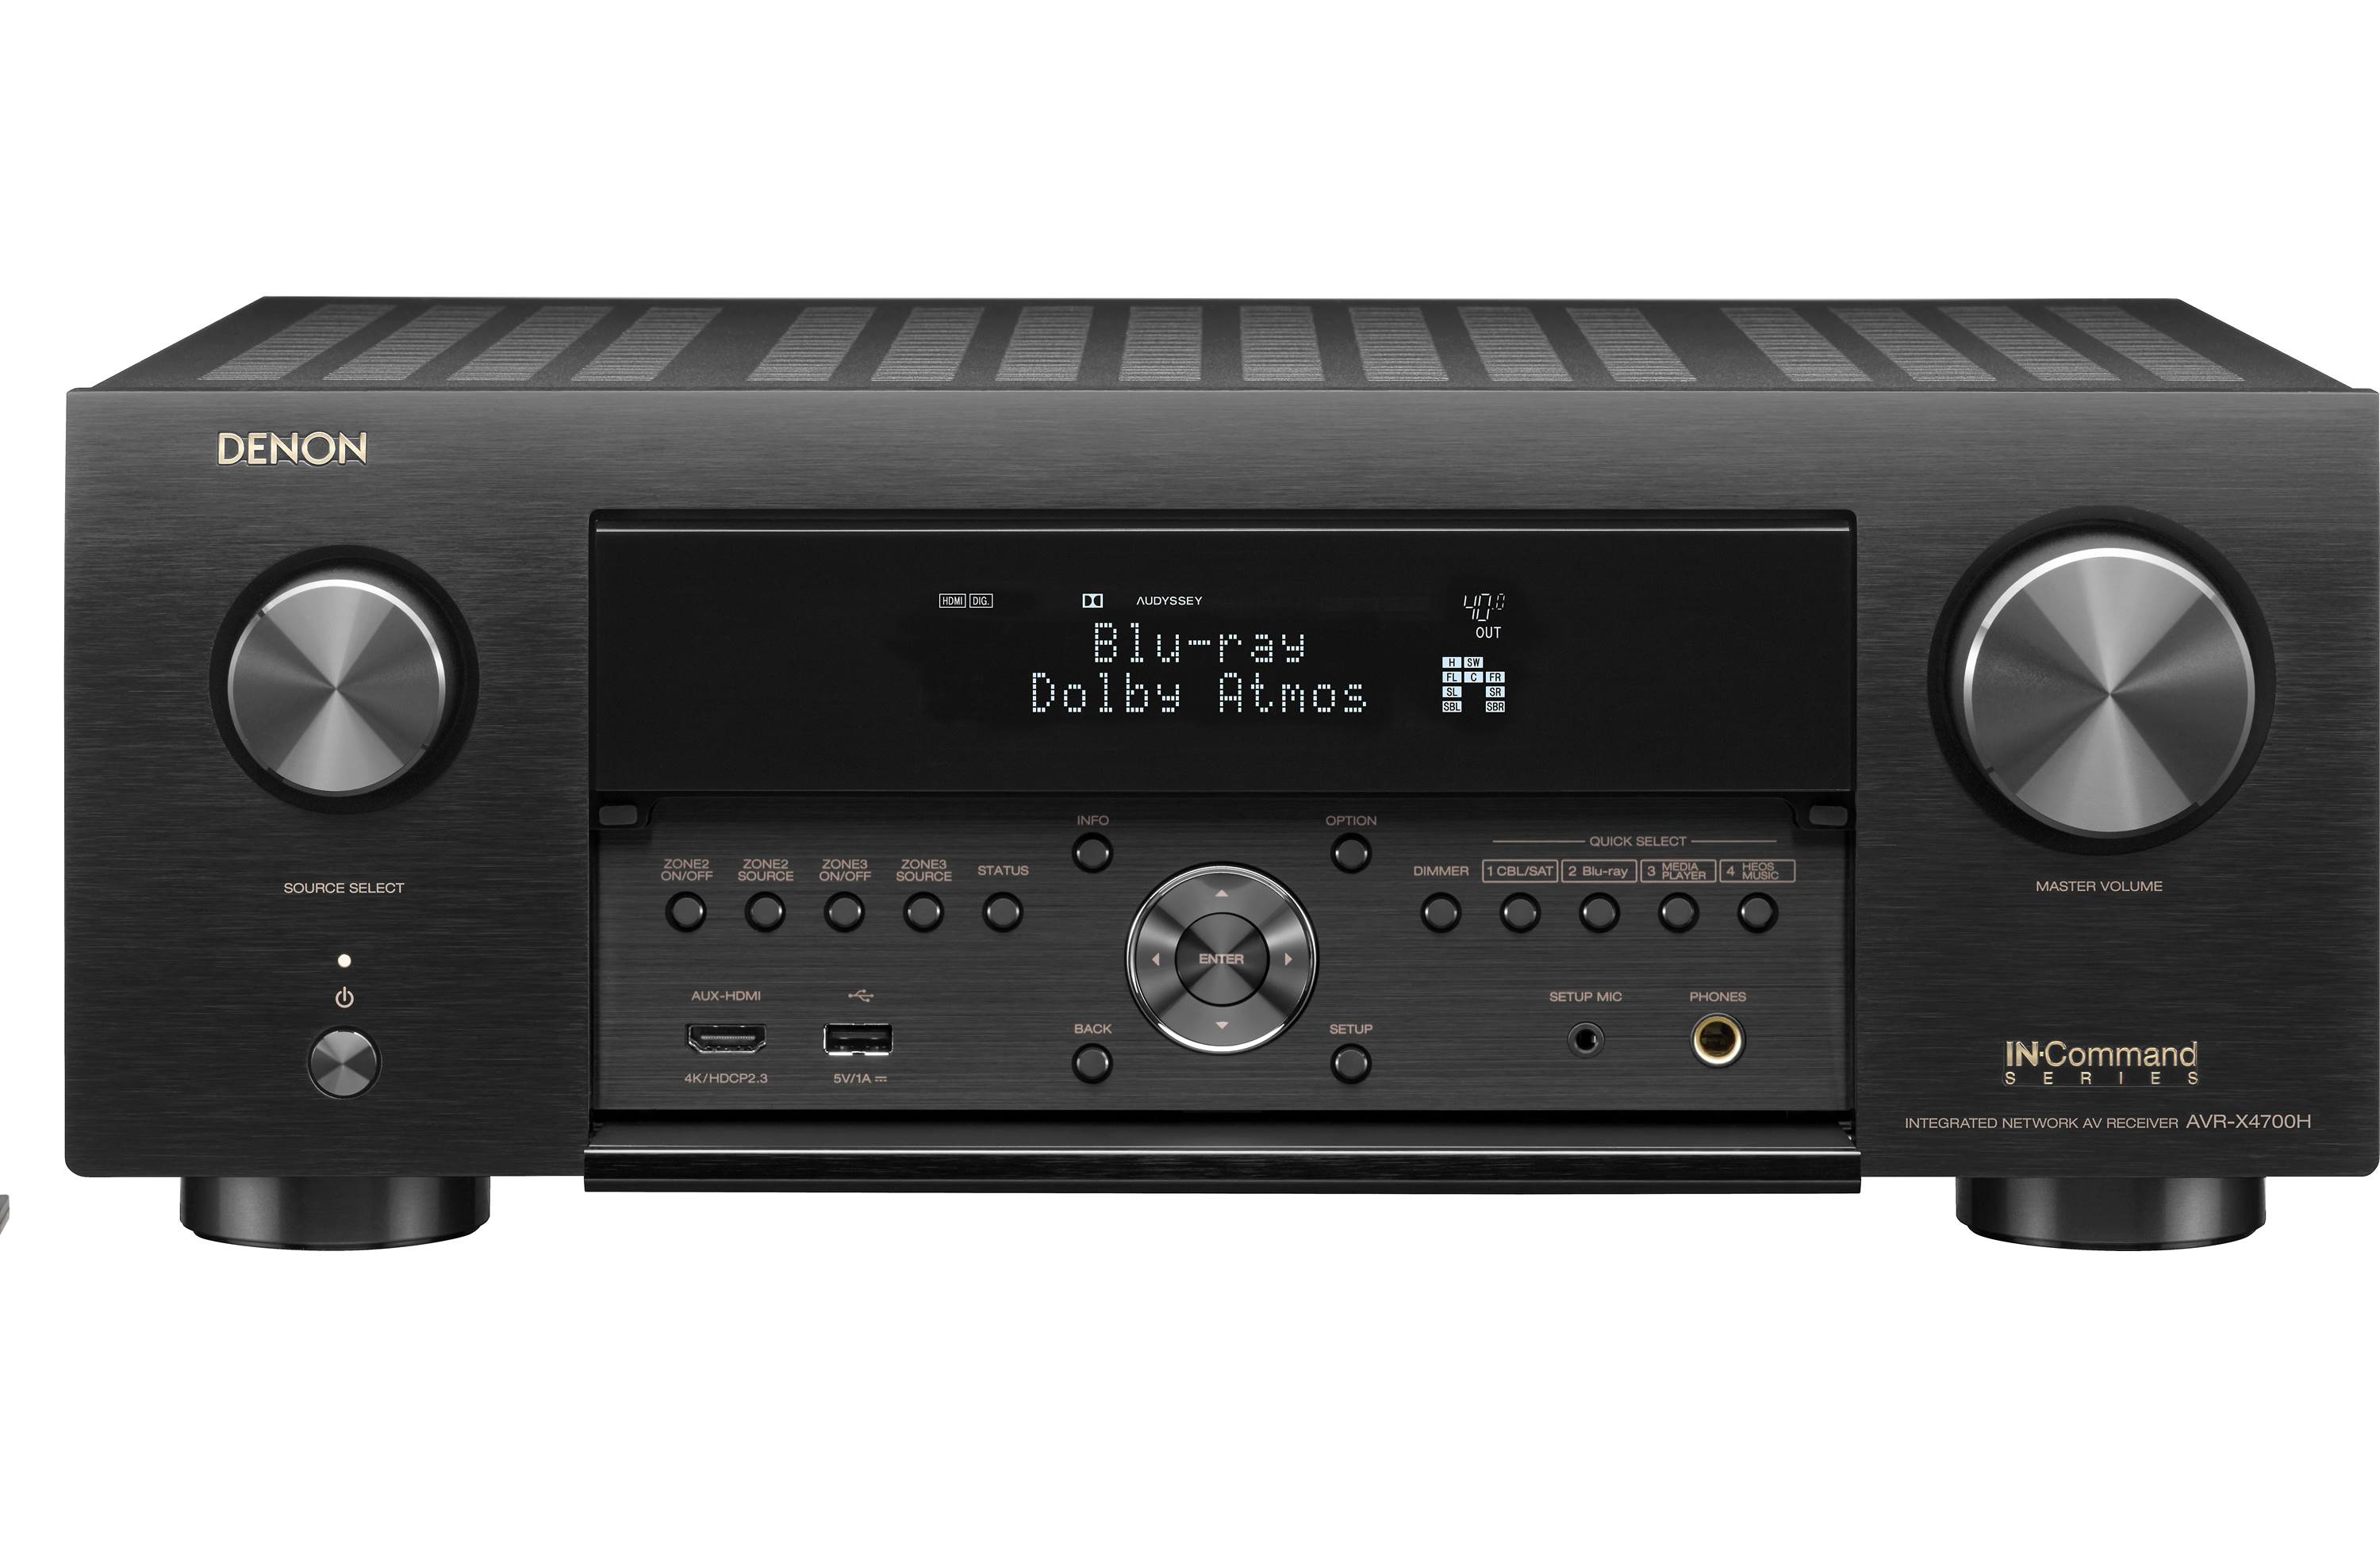
- A Marantz receiver: Choose a model that suits your needs and has the necessary input options for connecting a turntable. Look for the “phono” or “turntable” input to ensure compatibility.
- An RCA cable: This is used to connect the turntable to the receiver. Make sure the cable is of good quality to minimize signal loss and interference.
- A ground wire (if necessary): Some turntables require a separate ground wire to reduce humming or buzzing noises. Check if your turntable has a designated grounding terminal and ensure you have the appropriate wire.
- Speaker cables: These are required to connect your Marantz receiver to your speakers. Choose cables that are the appropriate length and gauge for your setup.
- Your favorite vinyl records: Of course, you’ll need some records to play on your newly connected turntable!
Once you’ve gathered all the necessary equipment, you’re ready to move on to the next step: identifying the input options on your Marantz receiver.
Step 2: Identify the input options on the Marantz receiver
Before connecting your turntable to the Marantz receiver, it’s important to familiarize yourself with the input options available on the receiver. Marantz receivers typically have a variety of input ports located on the back panel.
Here are the common input options you may find on a Marantz receiver:
- Phono input: This input is specifically designed for connecting a turntable. It has a built-in phono preamp that amplifies the low-level signal produced by the turntable’s cartridge.
- Line-level input: This input is intended for connecting devices like CD players, media players, or any other audio source that outputs line-level signals. If your turntable doesn’t have a built-in phono preamp, you’ll need to use a line-level input.
- AUX input: Also known as auxiliary input, this is a versatile input option that can be used to connect various audio sources, including a turntable.
Take a close look at the back panel of your Marantz receiver and locate the phono input or any other applicable input options mentioned above. It’s important to identify the correct input port to ensure proper connectivity and audio signal processing.
Once you’ve identified the input options on your Marantz receiver, you’re ready to move on to the next step: setting up your turntable.
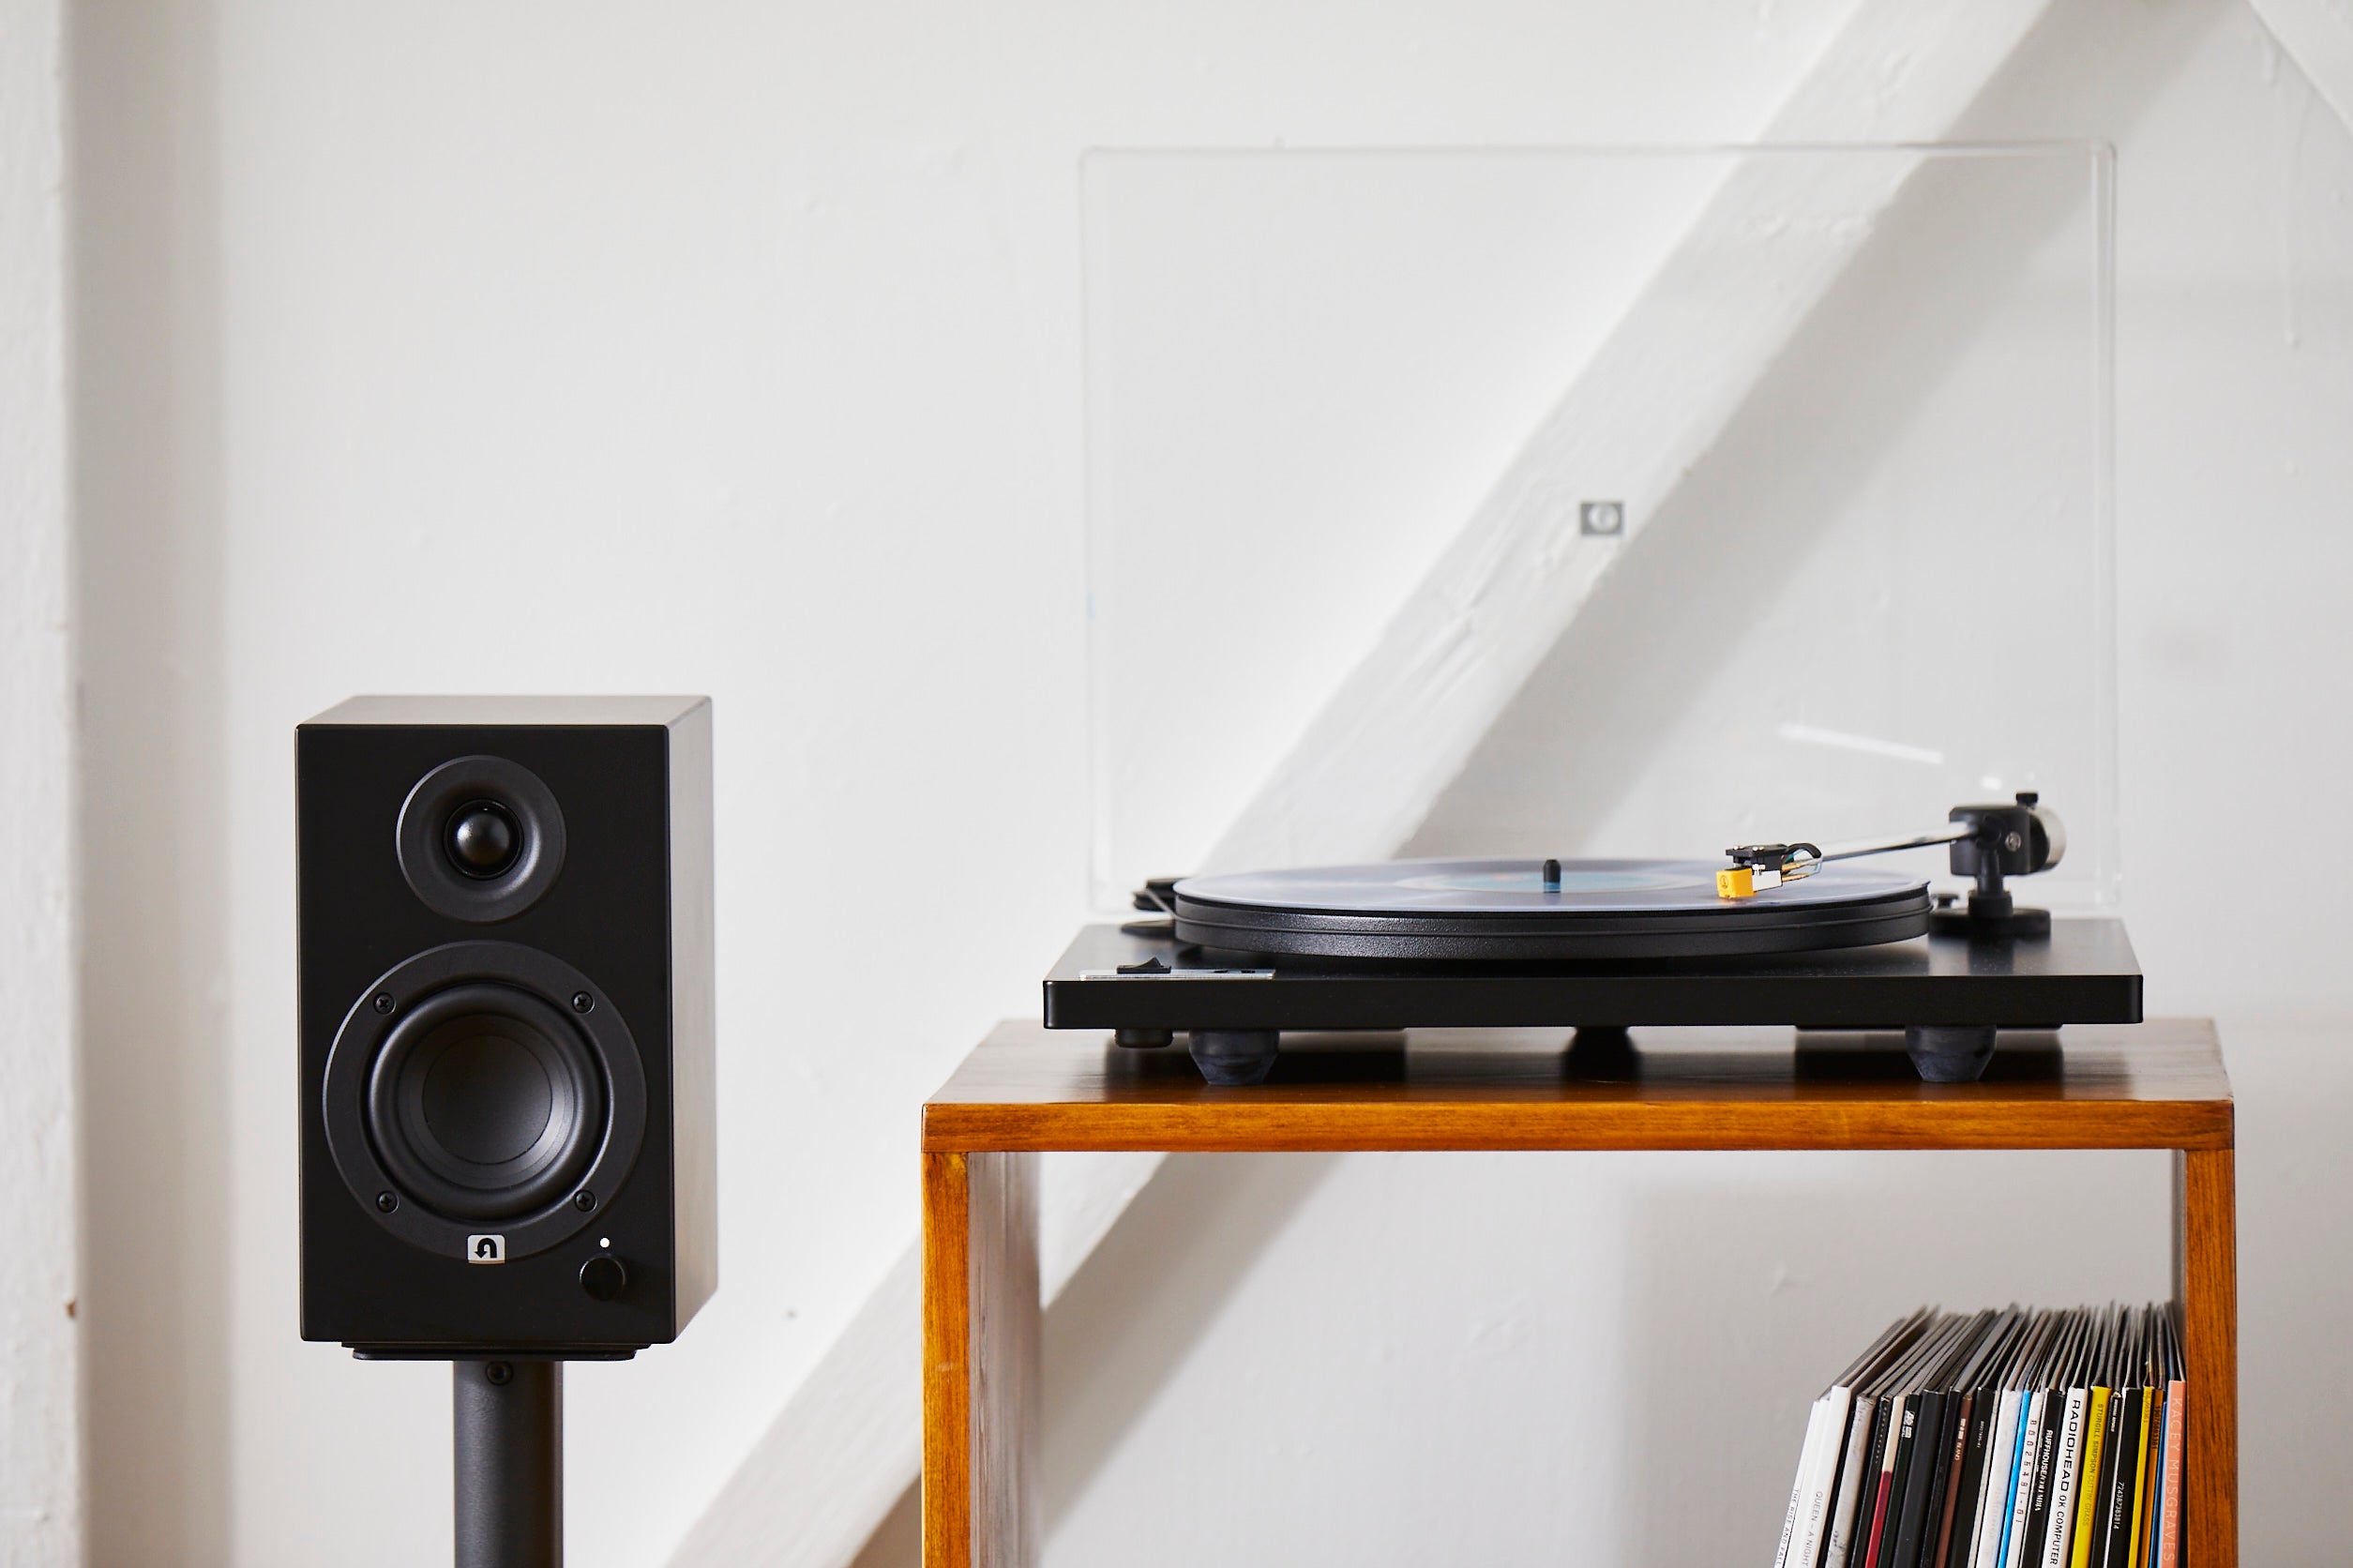
Step 3: Set up the turntable
Now that you’ve gathered your equipment and identified the input options on your Marantz receiver, it’s time to set up your turntable. Follow these steps to ensure a proper setup:
- Choose a suitable location: Find a sturdy and level surface for your turntable. Avoid placing it near speakers or any other sources of vibration to prevent interference and maintain the best possible sound quality.
- Position the turntable: Place the turntable on the chosen surface and ensure it is stable. Make sure the dust cover is closed to protect the turntable’s components when not in use.
- Install the cartridge: If your turntable doesn’t come with a pre-installed cartridge, carefully mount the cartridge according to the manufacturer’s instructions. Be gentle to avoid damaging the delicate stylus.
- Set the tracking force: Adjust the tracking force of the tonearm according to the manufacturer’s specifications for your cartridge. This ensures optimal tracking and helps to prevent excessive wear on your records.
- Balance the tonearm: Use the tonearm’s counterweight to balance it properly. This helps to maintain proper stylus tracking and prevent excessive wear on the stylus and records.
- Connect the ground wire (if necessary): If your turntable has a separate ground wire, connect it to the grounding terminal on your Marantz receiver to reduce unwanted hum or interference.
- Remove any protective covers: Before connecting the turntable to the receiver, make sure to remove any protective covers or stickers from the cartridge and tonearm. These are usually installed to protect the components during shipping.
By following these steps, you’ll be able to set up your turntable correctly and ensure that it is ready to be connected to your Marantz receiver. Once the turntable is set up, you can move on to the next step: connecting the turntable to the Marantz receiver.
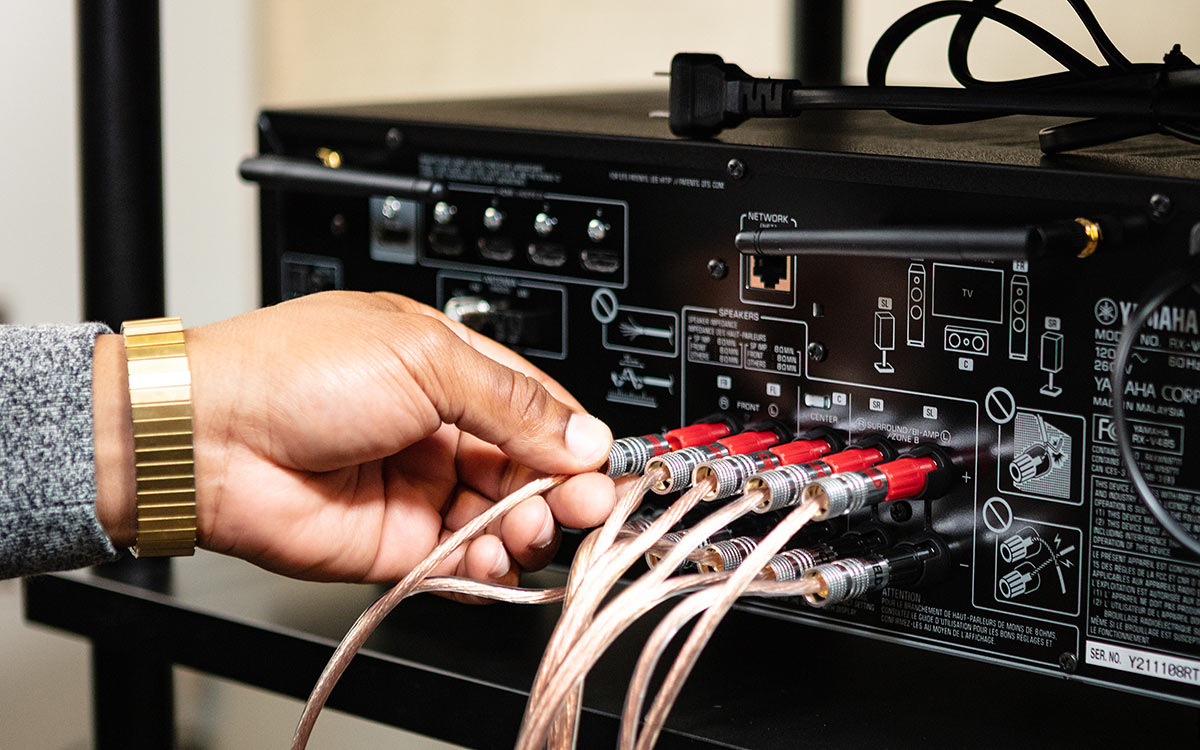
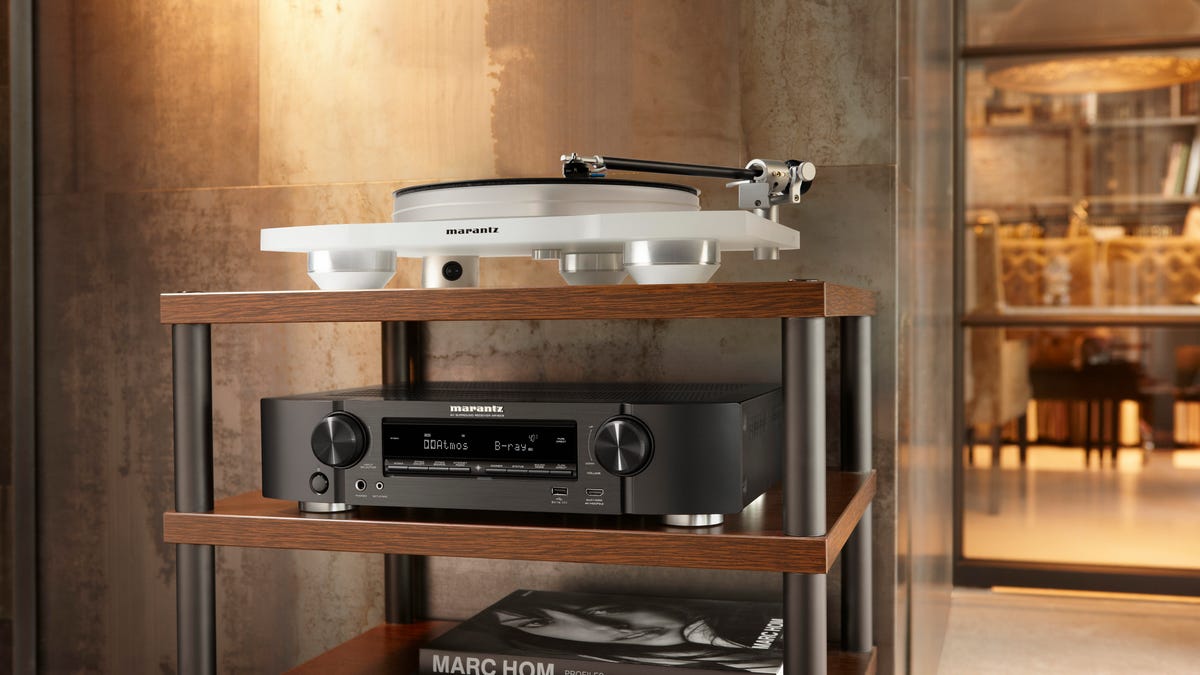
Step 4: Connect the turntable to the Marantz receiver
Now that your turntable is properly set up, it’s time to connect it to your Marantz receiver. Follow these steps to ensure a proper connection:
- Locate the RCA output on your turntable: Most turntables have RCA output jacks, which are typically color-coded red (right channel) and white (left channel). These jacks carry the audio signals from the turntable to the receiver.
- Connect the RCA cable: Take one end of the RCA cable and insert the red and white plugs into the corresponding RCA output jacks on the turntable. Make sure the plugs are securely inserted to ensure proper audio signal transmission.
- Identify the phono input on your Marantz receiver: Locate the phono input on the back panel of your Marantz receiver. It is usually labeled as “phono” or “turntable”.
- Connect the RCA cable to the receiver: Take the other end of the RCA cable and insert the red and white plugs into the corresponding phono input jacks on the Marantz receiver. Again, ensure that the plugs are securely inserted.
- Connect the ground wire (if necessary): If your turntable has a separate ground wire, connect it to the grounding terminal on your Marantz receiver. This helps to reduce unwanted hum or interference.
Once the RCA cable and ground wire (if applicable) are connected, you have successfully connected your turntable to your Marantz receiver. The audio signal from the turntable will now be amplified and processed by the receiver, allowing you to enjoy your vinyl records with the superior sound quality that Marantz is known for.
Before moving on to the next step, it’s important to ensure that all connections are secure and tight. Loose connections can result in poor audio quality or intermittent sound. Once you have confirmed that the connections are secure, you can proceed to the next step: adjusting the settings on your Marantz receiver.
Step 5: Adjust the settings on the Marantz receiver
With your turntable connected to the Marantz receiver, it’s time to adjust the settings to optimize the audio performance. Follow these steps to ensure the best possible sound quality:
- Power on the Marantz receiver: Turn on your receiver by pressing the power button.
- Select the appropriate input source: Using the input selector on the receiver, choose the input source corresponding to the phono input you connected the turntable to.
- Adjust the volume level: Set the volume level on the receiver to a comfortable listening level. It’s recommended to start with a lower volume and gradually increase it to avoid sudden loud noises.
- Check the equalization settings: Some Marantz receivers have options for adjusting the equalization settings specifically for the phono input. Check the user manual or the receiver’s menu settings to see if there are any preset equalization options (such as RIAA) or manual adjustments available. Set the equalization according to your preference or follow the recommended RIAA standard.
- Explore additional audio settings: Depending on your specific model of Marantz receiver, there may be additional audio settings available that can enhance the sound quality. These may include tone control options, audio effects, or other audio processing features. Experiment with these settings to find the sound that suits your taste.
By adjusting these settings on your Marantz receiver, you can fine-tune the audio output to your liking and achieve the best possible sound quality from your turntable setup. Take your time to explore and experiment with the different settings to find the perfect balance for your listening experience.
Once you have adjusted the settings, you’re almost ready to enjoy your vinyl records. But before that, it’s important to test the connection between your turntable and Marantz receiver, which leads us to the next and final step.
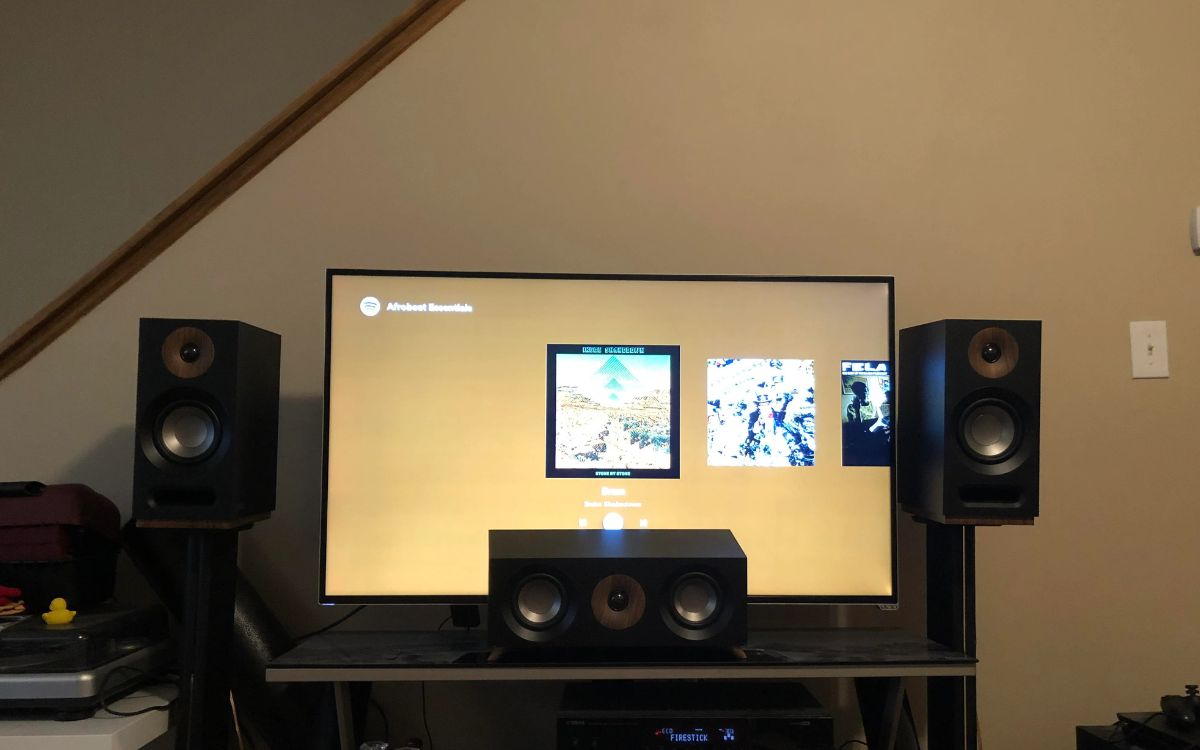
Step 6: Test the connection
After setting up and adjusting the settings on your Marantz receiver, it’s crucial to test the connection between your turntable and the receiver to ensure everything is working correctly. Here’s how you can do it:
- Select a vinyl record: Choose a vinyl record from your collection that you want to play.
- Carefully place the record on the turntable: Gently place the record onto the turntable platter, ensuring it sits properly and is centered.
- Start the turntable: Refer to your turntable’s user manual for instructions on starting the rotation of the platter and engaging the tonearm.
- Turn on the receiver: Ensure that the Marantz receiver is powered on and set to the correct input source.
- Gradually increase the volume: Slowly increase the volume on the receiver and listen for the sound coming from the speakers. If everything is connected properly, you should hear the audio from the vinyl record playing through the speakers.
- Check for clear and balanced sound: Pay attention to the sound quality. It should be clear, balanced, and free from distortions or excessive noise. If there are any issues with the sound, double-check the connections and settings on your turntable and receiver.
- Listen for any unwanted noise: While the record is playing, listen for any unexpected humming, buzzing, or other unwanted noises. These can be indicative of grounding issues or other audio interference. If you do hear such noises, ensure that the ground wire is properly connected and consider troubleshooting if necessary.
If you hear the music playing clearly without any distortions or unwanted noise, congrats! You have successfully connected your turntable to your Marantz receiver and can now enjoy your vinyl collection with high-quality audio.
If you do encounter any issues during the testing phase, refer back to the previous steps to ensure all connections and settings are correct. You may also consult the user manuals for your turntable and Marantz receiver for troubleshooting tips specific to your models.
It’s worth mentioning that regular maintenance and cleaning of your turntable and vinyl records will help maintain optimal sound quality over time. Make sure to keep the stylus clean, handle records with care, and store them in a dust-free environment.
With the connection between your turntable and Marantz receiver tested and verified, you’re now ready to sit back, relax, and indulge in the pleasure of listening to your favorite vinyl records in all their analog glory!
Conclusion
Connecting your turntable to a Marantz receiver allows you to experience the warm, authentic sound of vinyl records with the added benefits of the receiver’s audio processing capabilities. By following the steps outlined in this guide, you can set up and connect your turntable to your Marantz receiver in a seamless and efficient manner.
We began by gathering the necessary equipment, including the turntable, Marantz receiver, RCA cables, and speaker cables. Then, we identified the input options on the Marantz receiver, such as the phono input, line-level input, or AUX input.
Next, we discussed the importance of properly setting up the turntable, including installing the cartridge, balancing the tonearm, and connecting the ground wire if necessary.
In the subsequent steps, we covered how to connect the turntable to the Marantz receiver using RCA cables and how to adjust the settings on the receiver to optimize the audio performance.
Finally, we emphasized the importance of testing the connection between the turntable and receiver to ensure everything is working smoothly. By following these steps and conducting a thorough test, you can ensure a flawless connection and enjoy your vinyl records with the exceptional sound quality that Marantz receivers provide.
Remember to consult the user manual or manufacturer’s website for any model-specific instructions or troubleshooting tips. Regular maintenance of your turntable and vinyl records will also contribute to prolonged enjoyment and optimal performance.
Now that you possess the knowledge and understanding of how to connect your turntable to a Marantz receiver, it’s time to embark on your musical journey. Sit back, relax, and immerse yourself in the unique and nostalgic experience of vinyl playback.