Home>Devices & Equipment>Yamaha>How To Connect Headphones To Yamaha Keyboard
Yamaha
How To Connect Headphones To Yamaha Keyboard
Published: February 6, 2024
Learn how to connect headphones to your Yamaha keyboard and enjoy your music without disturbing others. Find step-by-step instructions and tips for a seamless connection.
(Many of the links in this article redirect to a specific reviewed product. Your purchase of these products through affiliate links helps to generate commission for AudioLover.com, at no extra cost. Learn more)
Table of Contents
Introduction
Welcome to our guide on how to connect headphones to your Yamaha keyboard! Whether you’re a beginner practicing late at night or a seasoned musician looking for a more intimate playing experience, using headphones with your keyboard can be a great solution. By connecting headphones, you can enjoy your music without disturbing others and have a more immersive playing experience.
Yamaha is known for producing high-quality musical instruments, including keyboards, that provide a range of features and excellent sound quality. And luckily, connecting headphones to a Yamaha keyboard is a straightforward process.
In this article, we will walk you through the step-by-step process of connecting headphones to your Yamaha keyboard. We will cover everything from checking the keyboard’s headphone output, selecting the right type of headphones, plugging them in, adjusting the volume, and testing the headphones’ functionality.
So, if you’re ready to embark on a headphone-connected musical journey, let’s dive into the details of connecting headphones to your Yamaha keyboard.
Step 1: Check the Yamaha keyboard’s headphone output
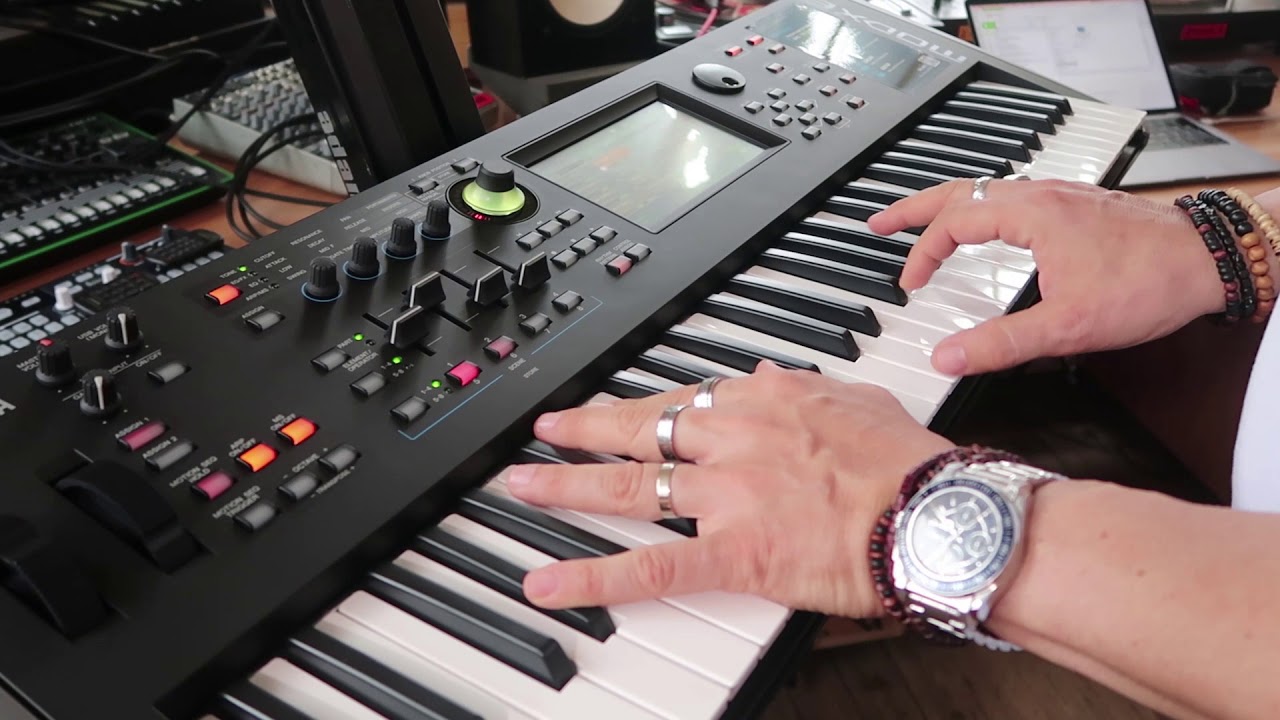
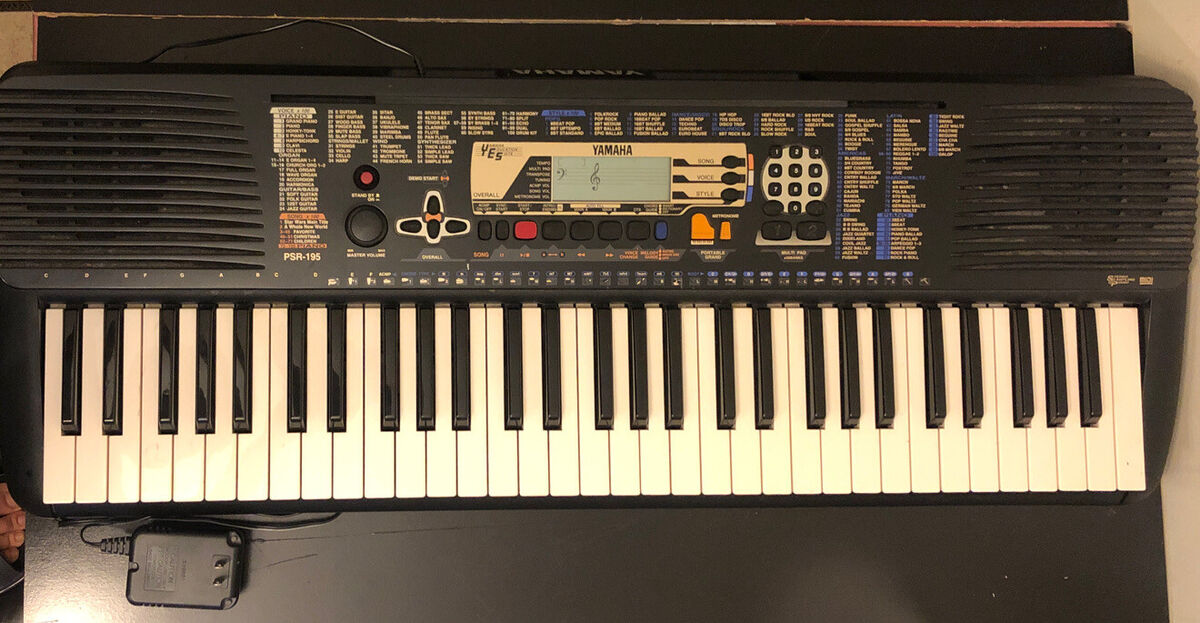
The first step in connecting headphones to your Yamaha keyboard is to locate the headphone output. This is where you’ll connect the headphone jack and channel the audio directly to your headphones.
Most modern Yamaha keyboards have a designated headphone output, typically located on the back or side of the instrument. Look for a small jack labeled “Headphone,” usually accompanied by a headphone icon.
If you’re having trouble finding the headphone output, consult your Yamaha keyboard’s user manual. The manual will provide detailed instructions on locating the headphone jack for your specific keyboard model.
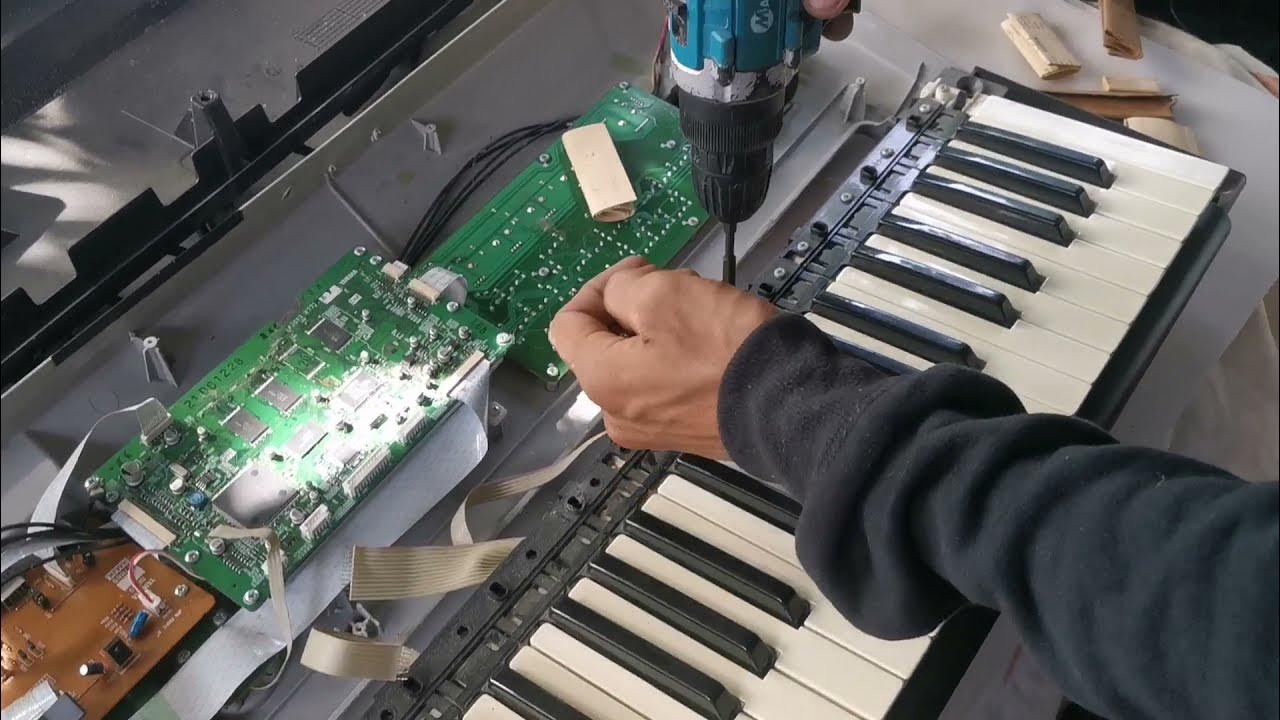
It’s important to note that not all Yamaha keyboards have a built-in headphone output. Older models or more basic keyboards may not include this feature. In such cases, you may need to explore alternative options, such as using an external headphone amplifier or connecting your keyboard to an audio interface with headphone capabilities.
Once you have located the headphone output on your Yamaha keyboard, you’re ready to move on to the next step: selecting the right type of headphones.
Step 2: Select the right type of headphones
Choosing the right type of headphones is crucial for a comfortable and immersive playing experience on your Yamaha keyboard. There are various types of headphones available in the market, each with its unique features and specifications. Here are a few factors to consider when selecting headphones:
- Open-back vs. closed-back headphones: Open-back headphones provide a more natural and spacious sound, allowing ambient noise to seep in. These are great for recording purposes. On the other hand, closed-back headphones offer better sound isolation, making them ideal for practice sessions where you want to minimize distractions.
- Over-ear vs. on-ear headphones: Over-ear headphones completely cover your ears, providing a more immersive sound experience and better noise isolation. On-ear headphones rest on your ears and are generally more portable and lightweight.
- Impedance: The impedance of headphones determines how much power they require to produce sound. Yamaha keyboards typically have a headphone output with sufficient power, so most headphones should work fine. However, if you plan to use high-impedance headphones, you may need to consider using a headphone amplifier to ensure optimal sound quality.
- Cable length and connector type: Consider the length of the headphone cable and the type of connector it has. Make sure it is compatible with your Yamaha keyboard’s headphone output. If you prefer wireless options, you can also explore Bluetooth-enabled headphones.
Keep in mind your personal preference and budget when selecting headphones. It’s always a good idea to try different models and brands to find the one that suits your needs the best. Once you have chosen the perfect pair of headphones, it’s time to move on to the next step: plugging them into your Yamaha keyboard.
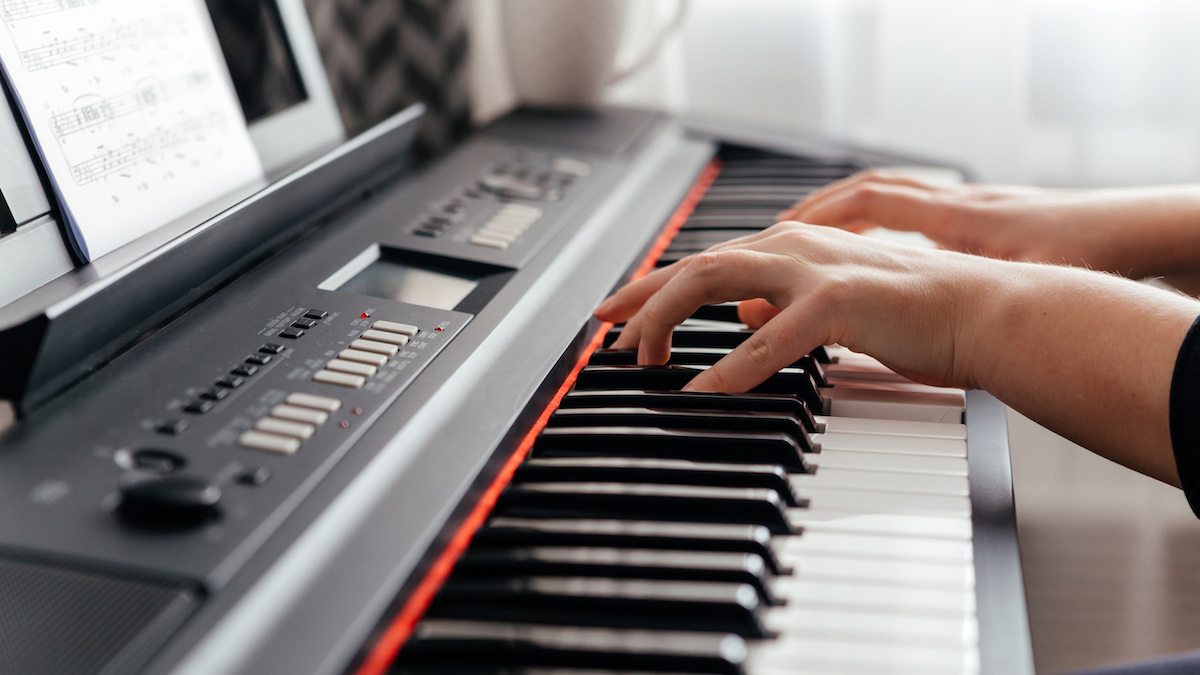
Step 3: Plug in the headphones
Now that you have selected the perfect headphones for your Yamaha keyboard, it’s time to plug them in and start enjoying your music privately. Follow these simple steps to connect your headphones:
- Turn off your Yamaha keyboard: Before connecting the headphones, it’s a good idea to turn off your keyboard to prevent any potential damage or audio interference.
- Locate the headphone output: As mentioned earlier, locate the headphone jack on your Yamaha keyboard. It is usually labeled “Headphone” or represented by a headphone icon.
- Insert the headphone plug: Take the headphone plug and firmly insert it into the headphone output on your keyboard. Make sure the plug is fully inserted to ensure a secure connection.
- Check for a “click” or secure fit: Some headphone jacks may have a locking mechanism or provide an audible “click” when the plug is properly inserted. If you hear or feel this, it means your headphones are securely connected.
Once you have plugged in the headphones, you’re almost ready to start playing. However, before you do, it’s important to adjust the volume to ensure a comfortable listening experience. This brings us to step four: adjusting the volume.
Step 4: Adjust the volume
After plugging in your headphones, it’s essential to adjust the volume to a comfortable level before beginning your Yamaha keyboard session. Here’s how you can do it:
- Turn on your Yamaha keyboard: Make sure your keyboard is powered on, and the headphone plug is securely connected to the headphone output.
- Locate the volume control: Look for the volume control knob or buttons on your Yamaha keyboard. These are typically located on the front panel or near the headphone output.
- Start at a low volume: Begin by setting the volume at a lower level to prevent any sudden loud sounds that could be uncomfortable or damaging to your ears.
- Gradually increase the volume: Slowly increase the volume to your preferred level. Take breaks in between increments to evaluate the sound quality and ensure it’s not too loud.
- Listen for any distortion: As you adjust the volume, pay attention to any distortion or clipping in the audio. If you notice any distortion, reduce the volume slightly to maintain clear and crisp sound.
Remember that everyone’s optimal volume level may vary, so adjust it to your personal preference. It’s crucial to prioritize your hearing health and avoid prolonged exposure to high volumes.
With the volume set to your liking, you’re now ready to put the headphones to the test. Proceed to the next step to ensure the headphones are functioning correctly.
Step 5: Test the headphones
Once you have plugged in and adjusted the volume of your headphones on your Yamaha keyboard, it’s time to test them and ensure they are functioning correctly. Follow these steps to ensure everything is working as expected:
- Select a sound or preset: Turn on your Yamaha keyboard and select a sound or preset to play. This could be a built-in piano sound, an organ sound, or any other instrument sound.
- Play a few notes: Start playing some notes or chords on the keyboard. Listen carefully and pay attention to the quality and clarity of the sound coming through the headphones.
- Check for balance and stereo separation: As you play, make sure to check for balance and stereo separation. You want to ensure that the sound is evenly distributed between the left and right channels, creating a realistic and immersive listening experience.
- Listen for any issues: While playing, listen for any unwanted noise, distortion, or abnormalities in the sound. If you hear crackling, popping, or any other audio issues, double-check the headphone connection and volume level.
- Adjust settings if necessary: If you’re not satisfied with the sound quality or notice any issues, you may need to adjust the settings on your Yamaha keyboard. Refer to the user manual for specific instructions on sound settings and troubleshooting.
It’s always a good idea to experiment with different sounds and presets on your Yamaha keyboard to fully test the capabilities of your headphones. This will also help you familiarize yourself with the sound options available to you when using headphones.
Congratulations! You have successfully connected and tested your headphones with your Yamaha keyboard. Enjoy your music with privacy and immerse yourself in the world of your keyboard’s sounds and melodies.