Home>Devices & Equipment>Turntable>How To Operate Pro-Ject Turntable
Turntable
How To Operate Pro-Ject Turntable
Published: January 19, 2024
Learn how to operate a Pro-Ject turntable with our comprehensive guide. Discover the best techniques and tips for enhancing your vinyl listening experience.
(Many of the links in this article redirect to a specific reviewed product. Your purchase of these products through affiliate links helps to generate commission for AudioLover.com, at no extra cost. Learn more)
Table of Contents
Introduction
Welcome to the world of Pro-Ject turntables, where impeccable sound quality and sleek design meet. Pro-Ject is a renowned brand that has been setting the standard for turntables since its inception. Whether you’re an audiophile or a music lover looking to elevate your listening experience, a Pro-Ject turntable is an excellent choice.
In this article, we will delve into the fascinating world of Pro-Ject turntables and guide you on how to operate and maintain them. From understanding the intricacies of the turntable to setting it up correctly and troubleshooting common issues, we’ve got you covered.
Pro-Ject turntables are known for their attention to detail and precision engineering. They are crafted with the utmost care to ensure optimal sound reproduction and reliable performance. With their innovative features and high-quality components, Pro-Ject turntables deliver a vinyl listening experience that is second to none.
Whether you’re a vinyl enthusiast or a casual listener, operating a Pro-Ject turntable is a breeze. With a few simple steps, you’ll be enjoying your favorite records in no time. But before we dive into the operational aspects, let’s take a closer look at the various components and features of a Pro-Ject turntable.
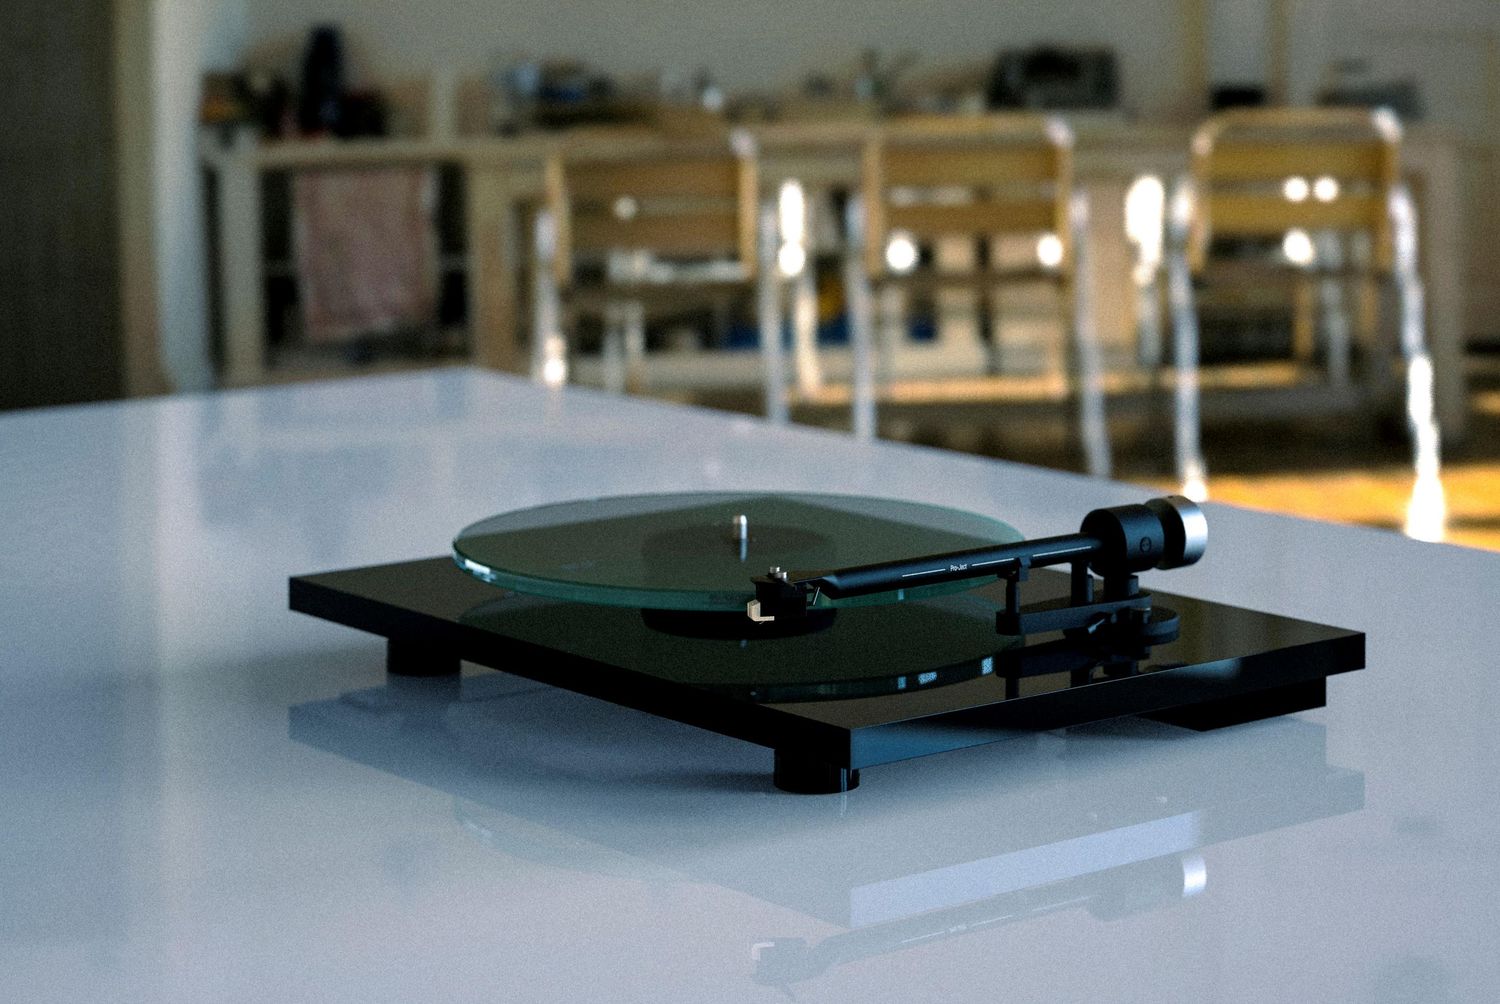
Understanding the Pro-Ject Turntable
A Pro-Ject turntable is a complex piece of audio equipment that consists of various components working together to deliver stunning sound quality. Understanding these components and their functionalities is crucial for operating the turntable effectively.
Let’s start by discussing the main parts of a Pro-Ject turntable:
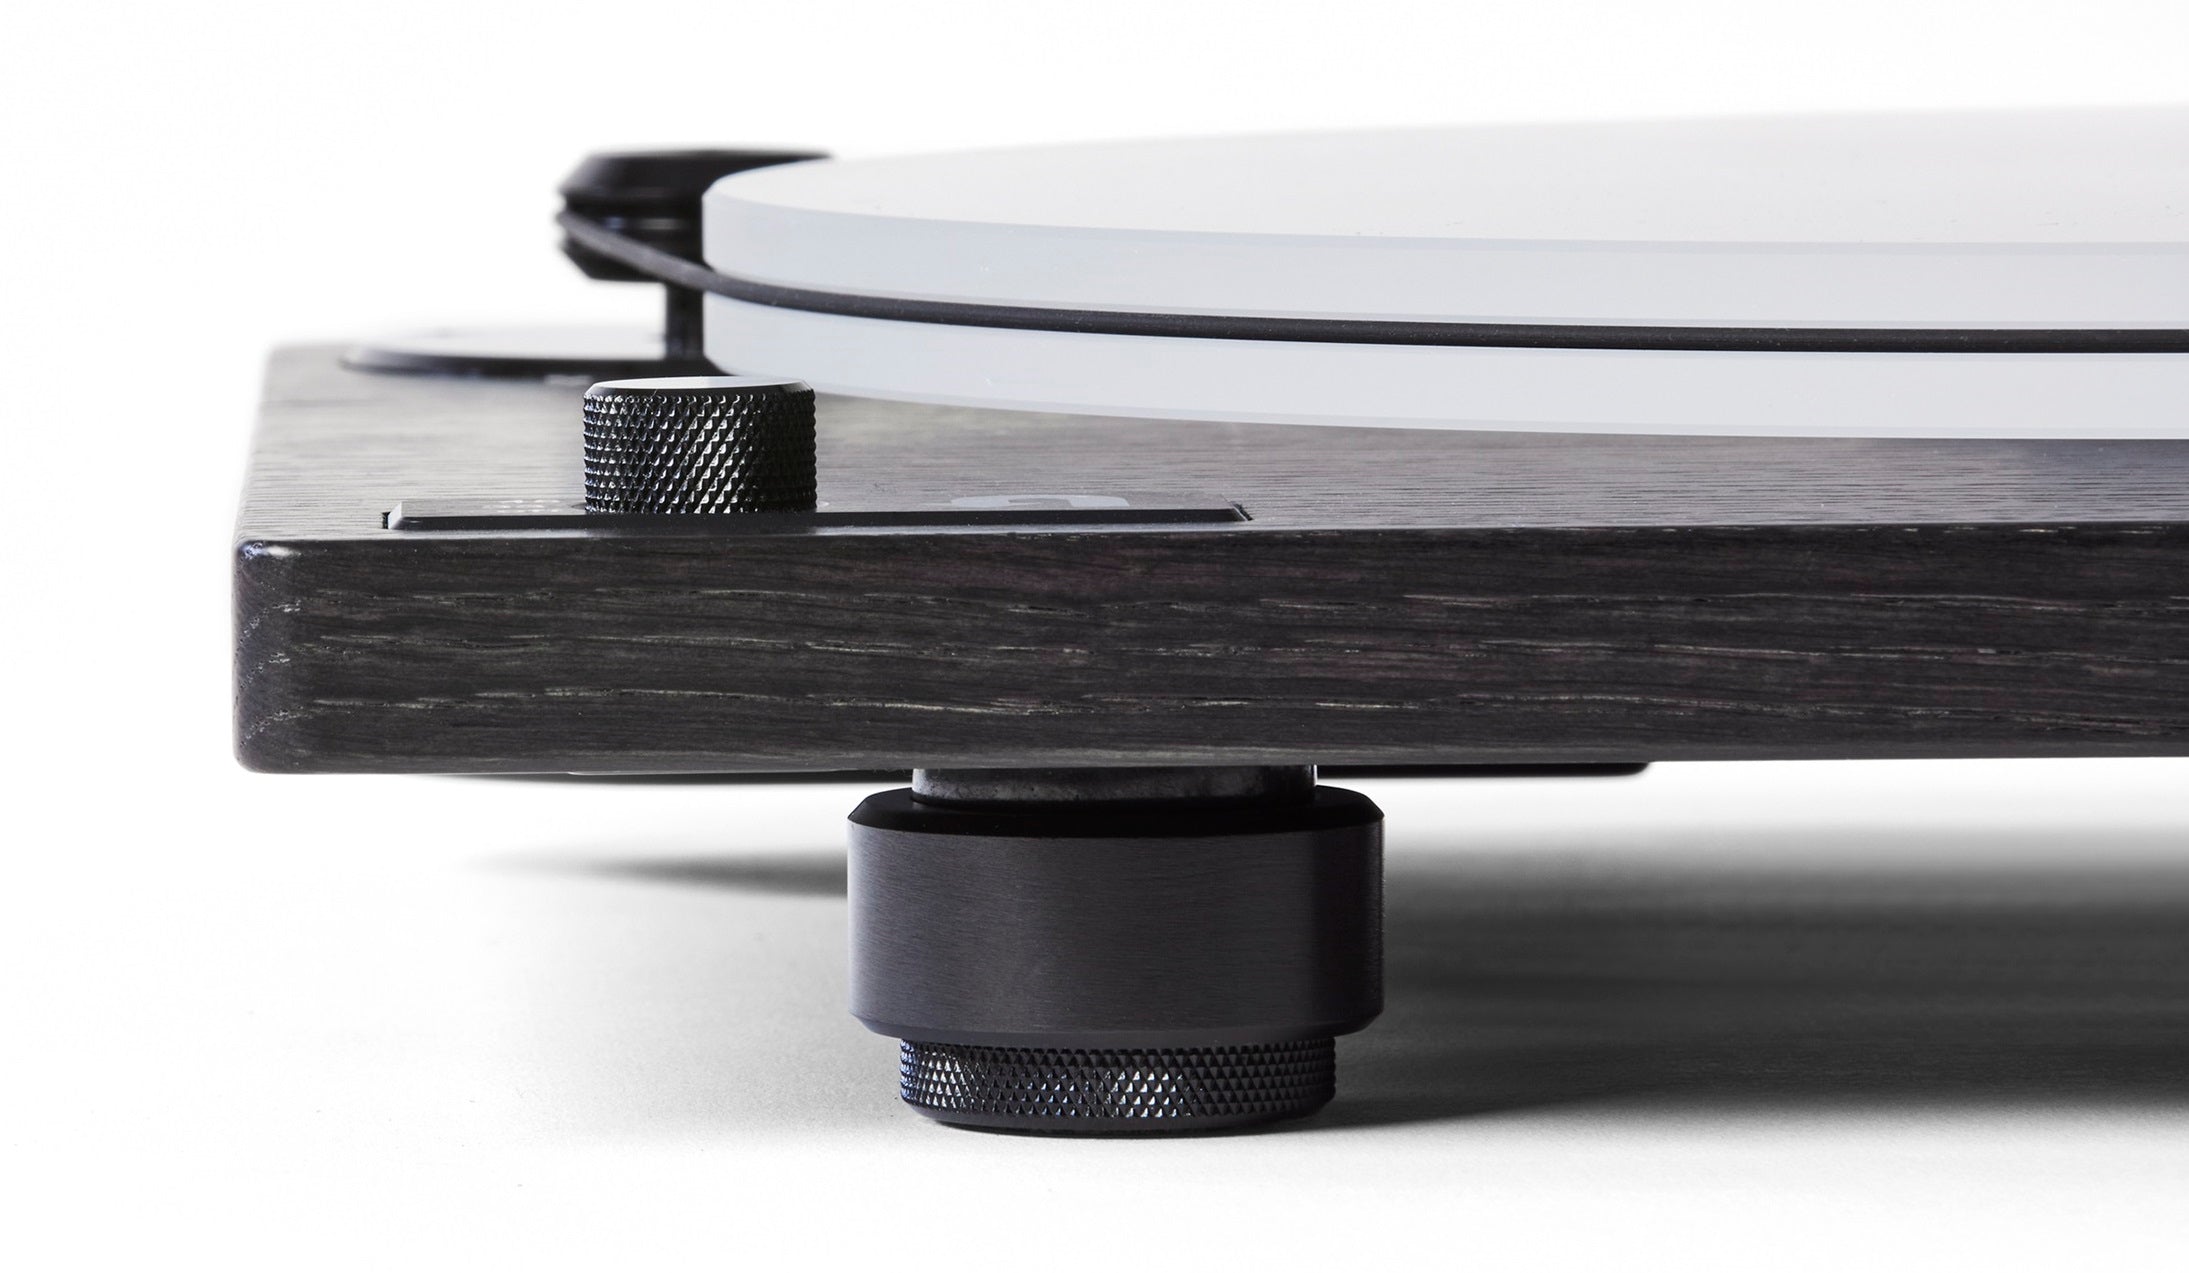
- Plinth: The plinth, also known as the base, provides stability and support for the turntable. It is typically made of high-quality materials like wood or acrylic to reduce vibrations and resonance.
- Platter: The platter is the rotating platform where you place your vinyl records. Pro-Ject turntables often feature heavy platters made of materials like aluminum, glass, or acrylic for improved rotational stability and reduced unwanted noise.
- Tonearm: The tonearm is responsible for accurately tracking the grooves on the vinyl record. It holds the stylus cartridge and moves it across the record’s surface. Pro-Ject turntables are known for their high-quality tonearms that offer precise tracking and minimal distortion.
- Stylus Cartridge: The stylus cartridge is the needle that physically contacts the grooves of the vinyl record. Pro-Ject turntables come with a variety of cartridge options, ranging from entry-level to high-end models, allowing you to choose the one that suits your listening preferences and budget.
- Motor: The motor is responsible for spinning the platter at a consistent speed. Pro-Ject turntables often feature high-quality synchronous or belt-driven motors that provide stable and accurate rotation, minimizing speed fluctuations.
Additionally, Pro-Ject turntables may include features such as adjustable counterweights and anti-skate mechanisms to optimize tracking force and reduce distortion, as well as onboard preamps for convenient connectivity to audio systems.
By familiarizing yourself with these components, you’ll have a better understanding of how a Pro-Ject turntable works and be ready to dive into the setup and operation process.
Setting up the Pro-Ject Turntable
Now that you have a grasp of the key components of a Pro-Ject turntable, it’s time to set it up for optimal performance. Follow these steps to ensure a smooth and hassle-free setup process:
- Choose a stable location: Find a solid, level surface for your turntable. Avoid placing it near speakers or other devices that generate vibrations, as they can affect the sound quality.
- Assemble the turntable: Carefully unpack the turntable and assemble the various components according to the manufacturer’s instructions. Attach the platter, tonearm, and stylus cartridge, ensuring they are securely fastened.
- Adjust the tracking force: Most Pro-Ject turntables allow you to adjust the tracking force of the tonearm. Consult the user manual to determine the optimal tracking force for your specific stylus cartridge and adjust it accordingly using the provided counterweight.
- Set the anti-skate: The anti-skate mechanism helps maintain proper tracking by counteracting the lateral force exerted on the tonearm. Set it to the same value as the tracking force or follow the manufacturer’s recommendations.
- Connect the turntable: Depending on your audio setup, you may need to connect the turntable to an external amplifier or receiver. Pro-Ject turntables offer various connectivity options, including RCA outputs and built-in preamps. Consult the user manual to determine the appropriate connections for your specific setup.
- Ground the turntable: Some Pro-Ject turntables come with a grounding cable to eliminate any potential humming or buzzing caused by grounding issues. Connect the grounding cable to the appropriate terminal on your amplifier or receiver.
- Level the turntable: Use a bubble level to ensure that the turntable is perfectly level. This helps maintain proper tracking and prevents unnecessary wear on the stylus.
- Check the speed: Use a strobe disc or a smartphone app to check whether the turntable is spinning at the correct speed. Adjust the speed if necessary using the speed control knob or belt adjustment mechanism on your Pro-Ject turntable.
Once you’ve completed these steps, your Pro-Ject turntable should be properly set up and ready to deliver exceptional sound quality. Take a moment to familiarize yourself with the turntable’s controls and features before moving on to the next section on operating the turntable.
Connecting the Pro-Ject Turntable
After setting up your Pro-Ject turntable, the next step is to connect it to your audio system or speakers. The specific connections required may vary depending on your setup, but here are the general steps to connect your Pro-Ject turntable:
- Identify the output: Determine the type of output your Pro-Ject turntable has. Most models feature RCA output jacks, which are color-coded as red (right channel) and white (left channel). Some turntables may also have a ground wire for eliminating potential buzzing or humming noise.
- Choose the correct cables: Depending on your audio system, you may need RCA cables or adapters to establish the connection. Make sure the cables are of good quality to minimize interference and ensure optimal sound quality.
- Connect to a phono preamp or receiver: If your Pro-Ject turntable does not have a built-in phono preamp, you’ll need to connect it to an external phono preamp or a receiver with a phono input. Connect the RCA cables from the turntable’s output jacks to the corresponding input jacks on the phono preamp or receiver.
- Connect to a powered speaker: If you have powered speakers with a built-in amplifier, you can connect your Pro-Ject turntable directly to them. In this case, you’ll need RCA to 3.5mm or RCA to RCA cables, depending on the type of input your speakers have.
- Ground the turntable (if necessary): If your Pro-Ject turntable has a grounding wire, connect it to the grounding terminal on your amplifier or receiver. This helps eliminate any potential grounding issues and reduces unwanted noise.
- Power on your audio system: Once all the connections are secure, power on your audio system or speakers. Make sure the volume is set to an appropriate level before playing any music on your Pro-Ject turntable.
Remember to consult the user manual for your Pro-Ject turntable and the accompanying audio equipment for any specific instructions or variations in connection methods. It’s also a good idea to double-check your connections and ensure everything is secure before enjoying your vinyl collection.
Now that your Pro-Ject turntable is properly connected, let’s move on to the next section to learn how to operate it and get the most out of your vinyl listening experience.
Operating the Pro-Ject Turntable
Operating a Pro-Ject turntable is a straightforward process that allows you to enjoy the rich, warm sound of vinyl records. Here are the essential steps to operate your Pro-Ject turntable:
- Select your vinyl record: Choose a vinyl record from your collection that you would like to play. Make sure the record is clean and free from dust or dirt to avoid any interference with the stylus.
- Power on the turntable: Locate the power switch on your Pro-Ject turntable and turn it on. Some models may have a separate power supply that needs to be plugged into an outlet.
- Place the vinyl record on the platter: Gently lift the tonearm and position it over the outer edge of the vinyl record. Lower the tonearm using the cueing lever or by manually guiding it down, being careful not to let the stylus touch the record yet.
- Start the playback: Depending on the model of your Pro-Ject turntable, you may have a manual or automatic start feature. If it’s manual, gently move the tonearm towards the center of the record and lower it onto the vinyl surface. If it’s automatic, press the start button, and the turntable will automatically lower the tonearm onto the record.
- Enjoy the music: Sit back, relax, and immerse yourself in the warm sound of your vinyl record. Adjust the volume on your audio system or speakers to your desired level.
- End the playback: When you’re done listening, gently lift the tonearm from the record using the cueing lever and return it to its resting position. The turntable may have an automatic return feature that lifts the tonearm back to its resting position on its own.
- Power off the turntable: Once you’ve finished using the turntable, power it off using the power switch. Make sure to handle the tonearm and stylus with care to avoid any damage.
It’s important to note that properly caring for your vinyl records and stylus is essential to maintain optimal audio quality. Always handle records by the edges and avoid touching the playing surface. Regularly clean your records and replace the stylus as needed to ensure the best sound reproduction.
By following these steps, you’ll be able to operate your Pro-Ject turntable with ease and enjoy the immersive experience of listening to vinyl records.
Maintaining the Pro-Ject Turntable
Proper maintenance is crucial for preserving the performance and longevity of your Pro-Ject turntable. Here are some essential maintenance tips to ensure that your turntable continues to deliver exceptional sound quality:
- Keep it clean: Regularly clean the dust and dirt off your turntable using a soft, lint-free cloth. Pay attention to areas like the platter, tonearm, and stylus. Avoid using harsh chemicals or abrasive materials that can damage the delicate components.
- Protect it from dust: When not in use, keep your turntable covered to prevent dust from settling on the exposed parts. Use a dust cover or a cloth sleeve to shield your turntable from airborne particles that can affect sound quality.
- Clean your records: Before playing a vinyl record, make sure it is free from dust, dirt, and fingerprints. Use a record cleaning brush or microfiber cloth to gently remove any debris from the surface of the record. You can also invest in a record cleaning machine for a more thorough cleaning process.
- Replace the stylus: Over time, the stylus (needle) on your turntable will wear out and require replacement. Regularly inspect the stylus for signs of wear, such as a worn or bent tip. Consult the manufacturer’s guidelines for the recommended replacement interval, and ensure that you choose a compatible stylus for your turntable.
- Align the cartridge: Proper cartridge alignment is vital for accurate playback and minimizing wear on your records. Consult the turntable’s user manual or seek professional assistance to ensure that the cartridge is correctly aligned to the tonearm.
- Check the belt (if applicable): If your Pro-Ject turntable has a belt-drive mechanism, periodically check the belt for signs of wear or slackness. A loose or damaged belt can affect the rotational stability of the platter. Consult the user manual for instructions on how to properly maintain and replace the belt.
- Regularly lubricate moving parts: Some Pro-Ject turntables may have moving parts or bearings that require lubrication. Consult the user manual for specific recommendations on lubricating these components, and ensure that you use the recommended lubricant in the appropriate amounts.
- Store your records properly: When not in use, store your records in a cool, dry place, ideally in a dedicated record storage unit or protective sleeves. Avoid exposing them to extreme temperatures, moisture, or direct sunlight, as these can damage the vinyl and affect playback quality.
By following these maintenance practices, you can ensure that your Pro-Ject turntable remains in optimal condition, providing you with the best possible sound quality and preserving your vinyl collection for years to come.
Troubleshooting Common Issues
Even with careful maintenance, occasional issues may arise with your Pro-Ject turntable. Here are some common problems you may encounter and steps to troubleshoot them:
- Unstable speed: If your turntable’s speed is fluctuating or not consistent, it may be due to a belt issue or motor malfunction. Check the belt tension and ensure that it is properly aligned on the platter. If the problem persists, consult the user manual for instructions on adjusting the motor or seek professional assistance.
- Poor sound quality: If you notice distortion, skipping, or overall poor sound quality, the issue may be with the cartridge or stylus. Check that the stylus is clean and free from debris. Ensure the cartridge is aligned correctly and securely fastened to the tonearm. If the issue persists, it may be time to replace the stylus or cartridge.
- No sound: If your Pro-Ject turntable is not producing any sound, check the connections between the turntable and your audio system. Ensure the cables are securely plugged in and that the volume on your amplifier or receiver is turned up. If the issue persists, try connecting the turntable to a different audio system to identify if the problem lies with the turntable or the equipment.
- Tonearm not tracking properly: If the tonearm is not properly tracking the grooves or keeps skipping across the record, it may be due to incorrect tracking force or anti-skate settings. Check the tracking force and anti-skate adjustments and make sure they are properly set according to the manufacturer’s recommendations for your cartridge. If the issue continues, it may require further adjustment or professional assistance.
- No power: If your turntable is not powering on, check that the power cable is securely plugged into the turntable and the electrical outlet. If there is still no power, try using a different power outlet or check if the power switch is faulty. If the problem persists, contact the manufacturer or authorized service center for assistance.
Remember, if you are unsure about any troubleshooting steps or encounter an issue that you cannot resolve, it is always best to consult the user manual or contact the manufacturer’s customer support for guidance. They will be able to provide specific troubleshooting steps or recommend authorized service centers for repairs if necessary.
By addressing these common issues and following the recommended troubleshooting steps, you can maintain the optimal performance of your Pro-Ject turntable and continue to enjoy the magic of vinyl playback.
Conclusion
Congratulations! You have now learned how to successfully operate and maintain your Pro-Ject turntable. By understanding its components and setting it up correctly, you can enjoy the immersive experience of vinyl playback and appreciate the exceptional sound quality that Pro-Ject is known for.
Remember to take proper care of your turntable by keeping it clean, protecting it from dust, and regularly maintaining the stylus and other components. By following these maintenance practices, you can ensure that your Pro-Ject turntable continues to deliver optimal performance and longevity.
If you encounter any issues along the way, refer to the troubleshooting section for guidance on common problems and their solutions. Don’t hesitate to reach out to the manufacturer’s customer support or seek professional assistance when needed.
Owning a Pro-Ject turntable is a rewarding experience that allows you to rediscover the joy of vinyl records. Immerse yourself in the warm sound and nostalgic charm that vinyl brings, and create unforgettable music moments.
So go ahead, dust off your favorite vinyl records, place them on the platter, lower the tonearm, and let the music transport you to a world of pure audio bliss. Enjoy your Pro-Ject turntable and happy listening!