Home>Devices & Equipment>Turntable>When To Replace A Needle On A Turntable

Turntable
When To Replace A Needle On A Turntable
Published: January 17, 2024
Learn when it's time to replace the needle on your turntable. Preserve sound quality and enjoy crisp music with our guide on turntable needle replacement.
(Many of the links in this article redirect to a specific reviewed product. Your purchase of these products through affiliate links helps to generate commission for AudioLover.com, at no extra cost. Learn more)
Table of Contents
Introduction
Welcome to the world of turntables, where music comes alive with warm analog sound. A key component of any turntable is the needle, also known as the stylus. This tiny but crucial part is responsible for tracing the grooves on your vinyl records and translating the vibrations into the sweet melodies you hear.
Over time, turntable needles can wear out and lose their ability to accurately track the record grooves. As a result, the sound quality can be compromised, leading to distortion, skipping, or even damage to your precious vinyl collection. Knowing when to replace a needle is essential to ensure optimum performance and the longevity of your turntable.
In this article, we will explore the basics of turntable needles, the signs that indicate the need for replacement, the factors to consider before replacing a needle, and how to properly replace one. So, sit back, put your favorite record on the turntable, and let’s dive in!
Understanding the Basics of Turntable Needles
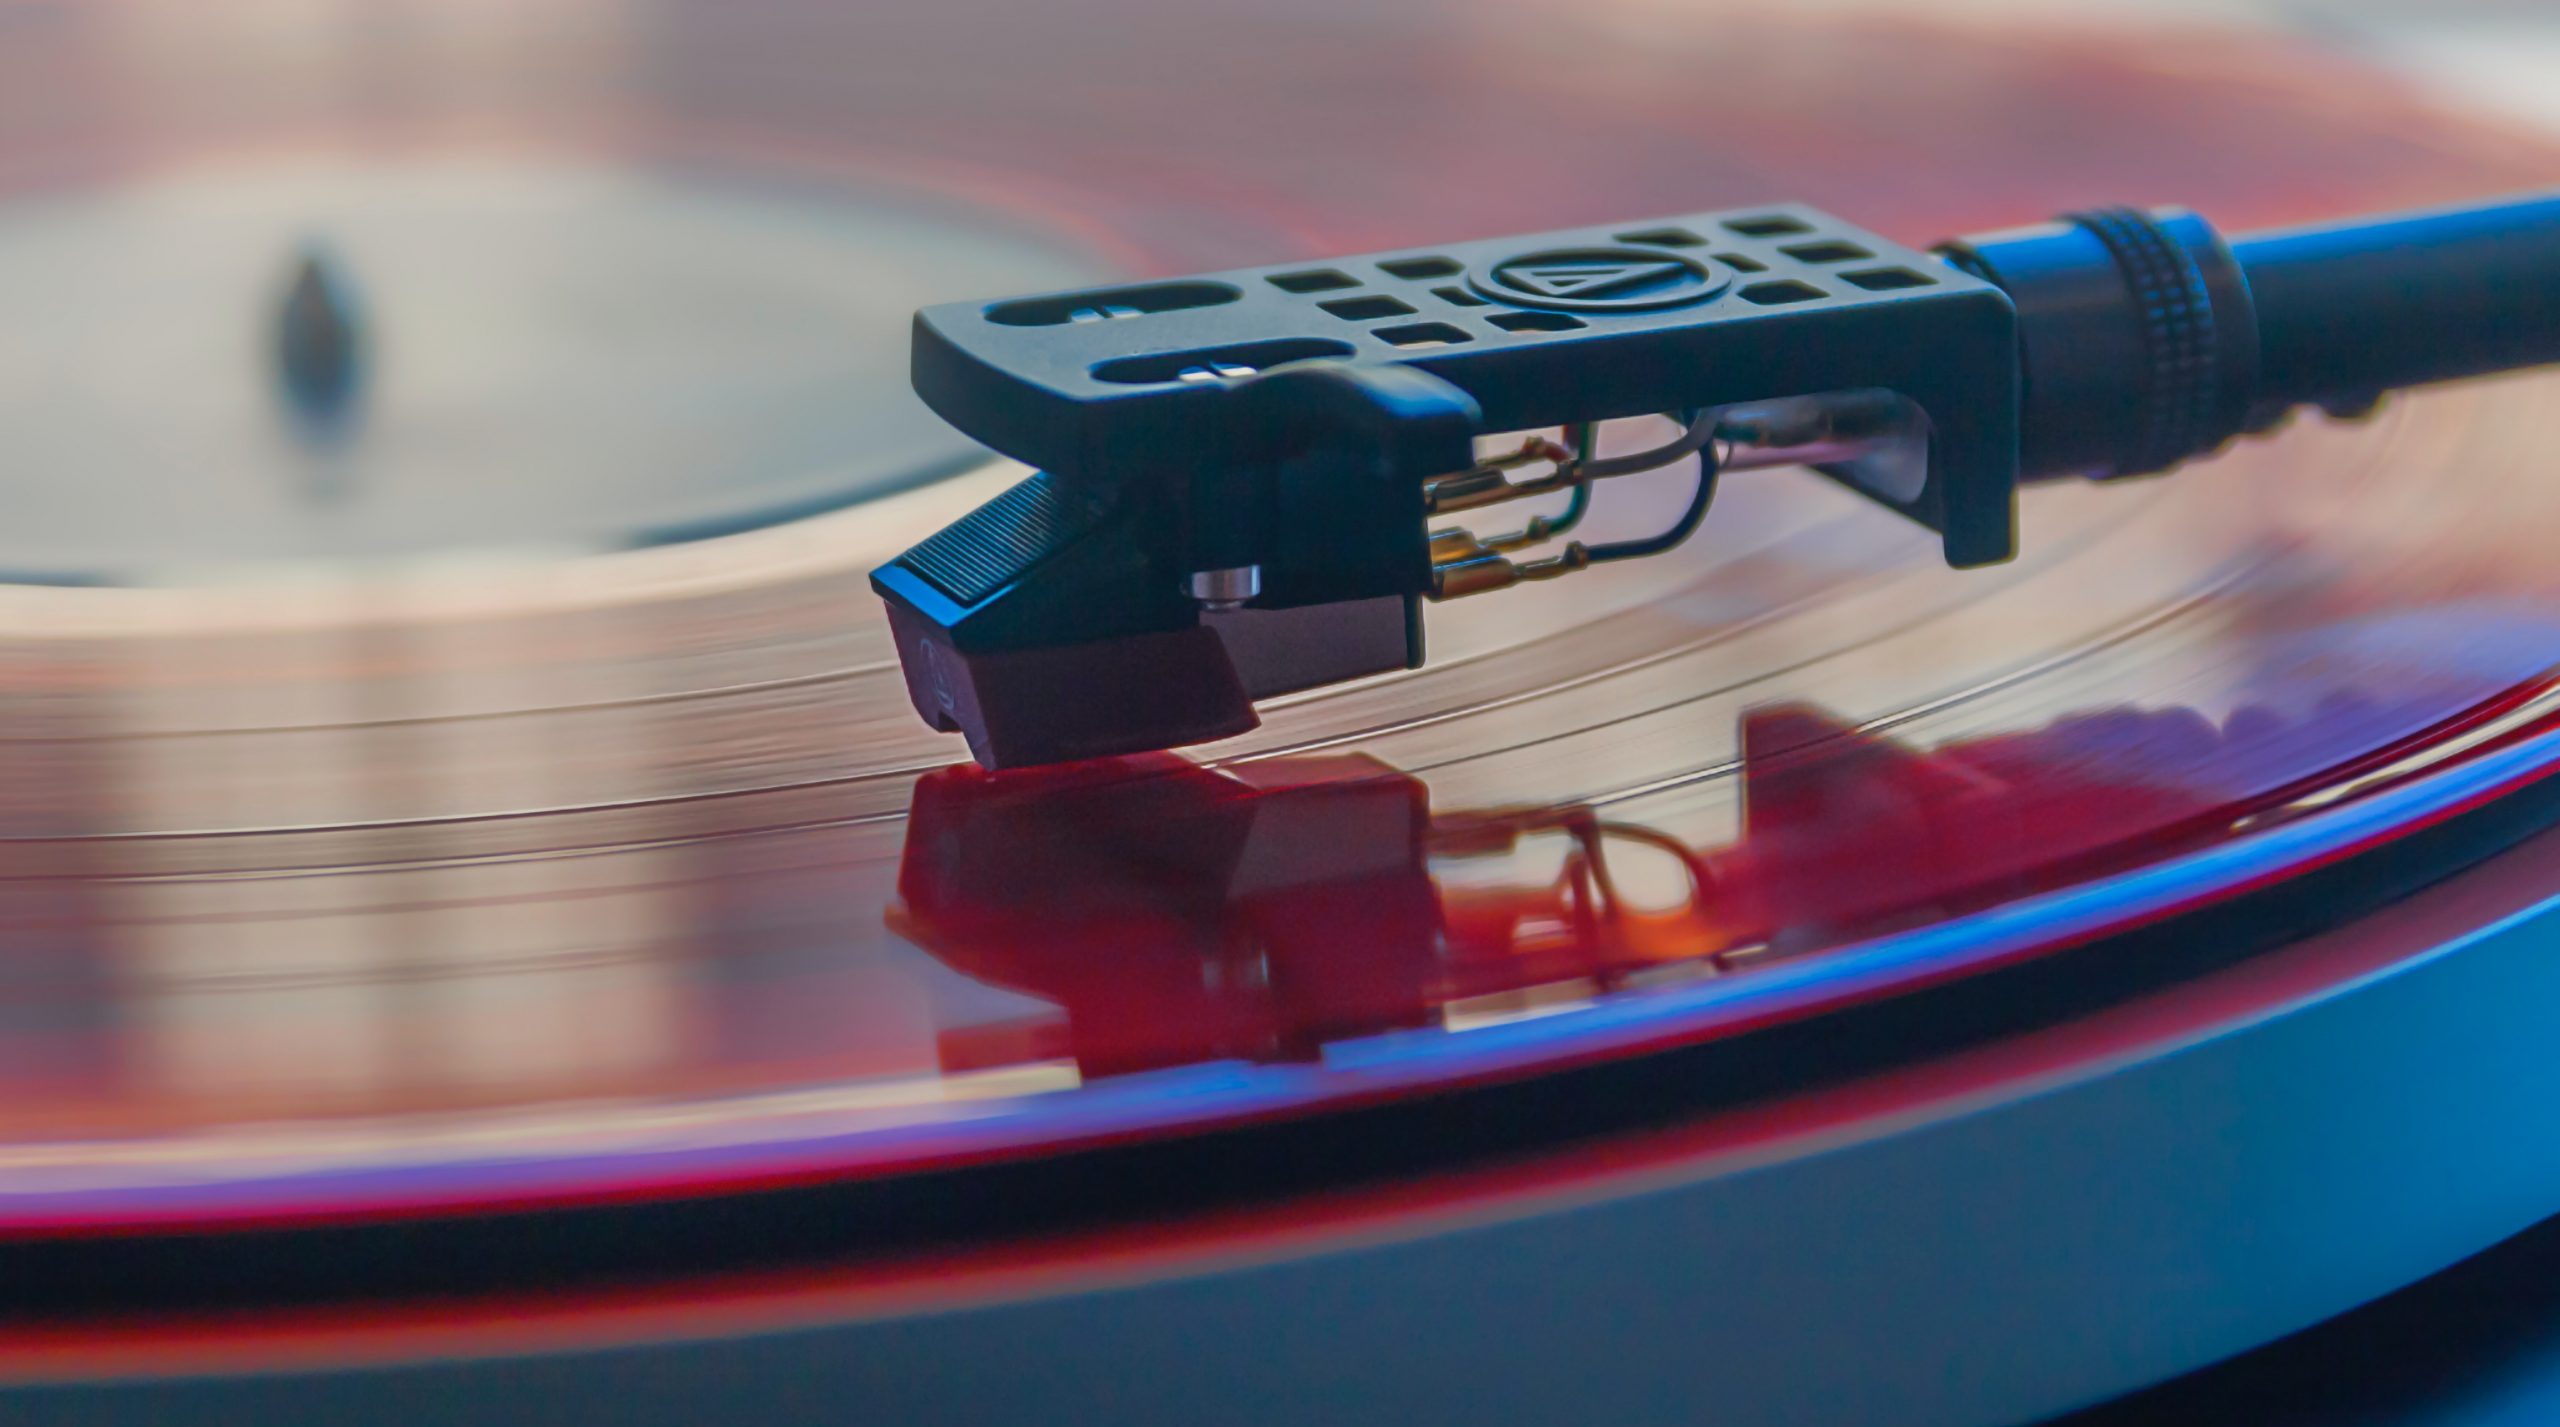
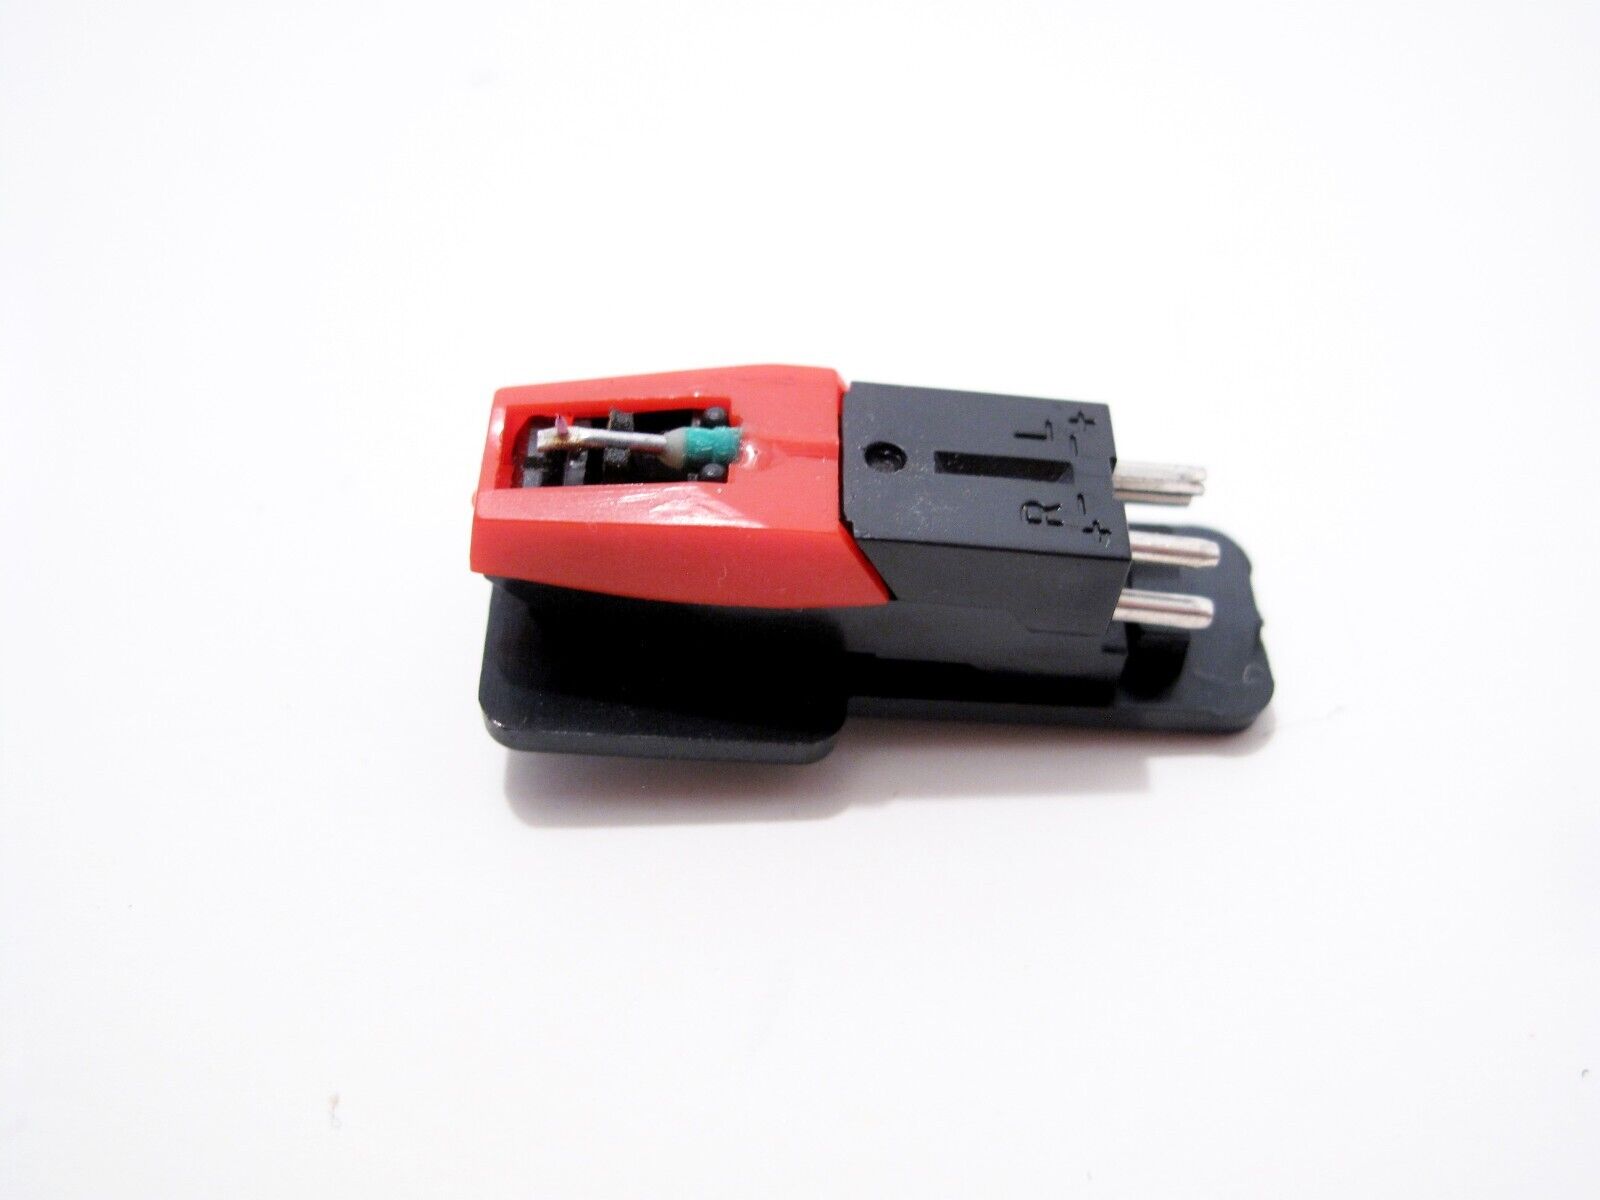
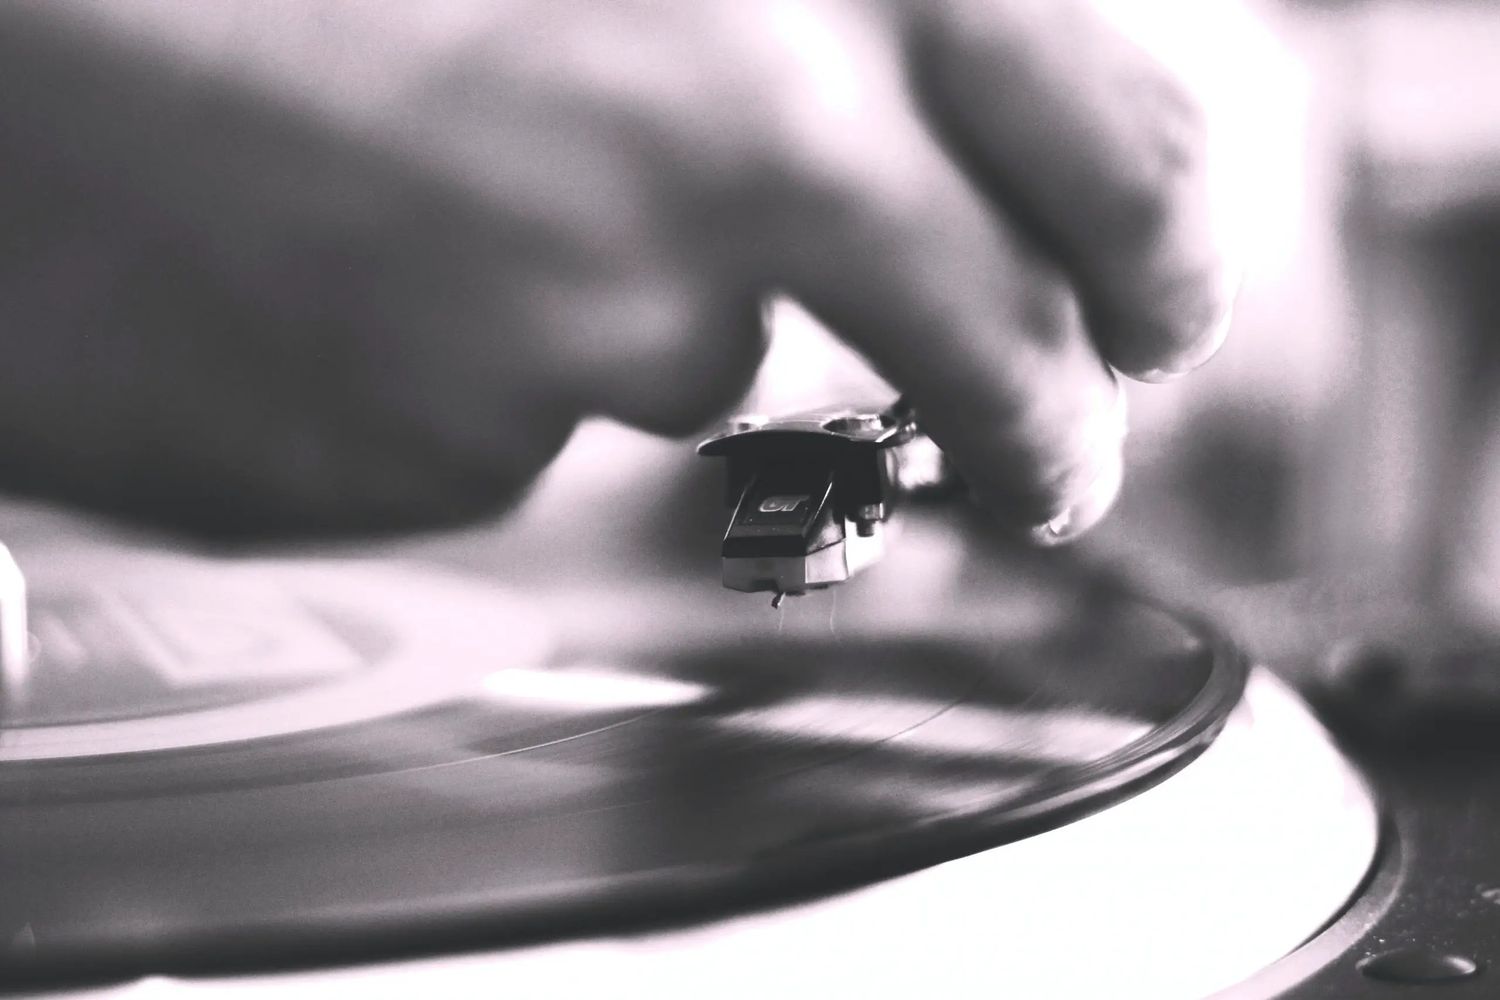
Before we delve into the signs of needle replacement, it’s important to understand the basic anatomy and function of a turntable needle. The needle, or stylus, is a small, diamond-tipped rod that is attached to the tonearm of the turntable. It is designed to make contact with the grooves of the vinyl record, picking up the vibrations as the record rotates.
The stylus acts as a mechanical transducer, converting the kinetic energy of the record’s grooves into electrical signals. These electrical signals are then amplified and sent to the speakers, producing the audio that we can hear. The shape of the needle can vary, with the two most common types being the conical and elliptical shapes.
A conical needle has a rounded tip, making it a more affordable and durable option. It offers good sound performance and can handle various types of records. On the other hand, an elliptical needle has a finer and more precise tip, providing better accuracy and tracking of intricate details in the record grooves. While elliptical needles may offer superior audio quality, they are often more expensive and require careful handling to avoid premature wear.
It’s worth noting that turntable needles can wear out over time due to the constant friction and pressure applied to them while playing records. Additionally, factors such as the type and condition of the records, playing style, and maintenance practices can also impact the lifespan of a needle.
Regular maintenance and cleaning of the needle can help prolong its lifespan and ensure optimal performance. Proper cleaning involves using a soft brush or a specialized cleaning solution to remove dust and debris that may accumulate on the needle. Additionally, avoiding unnecessary drops or mishandling of the turntable can help prevent accidental damage to the delicate needle.
Now that we have a basic understanding of turntable needles, let’s explore the signs that indicate when it’s time to replace a worn-out needle.
Signs that Indicate the Need for Replacement
As with any mechanical component, turntable needles have a limited lifespan. Over time, they can wear down or become damaged, resulting in a decline in sound quality and potential harm to your vinyl records. Here are some signs that indicate the need for a needle replacement:
- Distorted Sound: If you notice distorted or fuzzy sound while playing your records, it could be a sign that your needle is worn out. Over time, the needle tip can become dull or damaged, which leads to inaccurate tracking of the grooves and subsequently, poor audio reproduction.
- Skipping or Jumping: A needle that is reaching the end of its lifespan may struggle to maintain proper contact with the grooves, resulting in frequent skipping or jumping of the stylus across the record. This can be frustrating and can potentially cause significant damage to the record itself.
- Excessive Background Noise: If you notice an increase in background noise, such as pops, crackles, or hissing, it may be a sign that your needle is deteriorating. The worn-out tip can pick up more noise from the record surface, leading to a noisier listening experience.
- Inconsistent Tracking: A worn-out needle may have difficulty tracking consistently throughout the entire record. You may notice fluctuations in volume or changes in sound quality as the stylus struggles to maintain proper alignment with the grooves.
- Visual Wear and Tear: Take a close look at your needle under good lighting. If you observe any visible signs of wear, such as a flattened or damaged tip, it’s a clear indication that a replacement is in order.
It’s important to pay attention to these signs and address them promptly to prevent further damage to your records. Playing records with a worn-out needle can lead to permanent groove damage, jeopardizing the sound quality and reducing the lifespan of your precious vinyl collection.
Next, we’ll discuss some factors to consider before replacing a turntable needle to ensure you make the right choice.
Factors to Consider before Replacing a Needle
When it comes to replacing a turntable needle, there are a few important factors that you should consider to ensure you make the right choice. Here are some key factors to keep in mind:
- Compatibility: Not all turntable needles are created equal. It’s essential to check the compatibility of the replacement needle with your specific turntable model. Different turntables require different types of needles, so make sure to consult your turntable’s user manual or contact the manufacturer for guidance.
- Quality: The quality of the replacement needle can significantly impact the sound performance and the lifespan of your records. Look for reputable brands or manufacturers that are known for producing high-quality needles. Investing in a reliable and durable needle can ensure optimal sound reproduction and protect your precious vinyl collection.
- Tip Shape: Consider the shape of the needle tip when choosing a replacement. As mentioned earlier, conical and elliptical tips are the most common options. Conical tips are more affordable and suitable for general listening, while elliptical tips offer better accuracy and tracking for audiophiles seeking superior sound quality.
- Budget: Replacement needles come in a range of prices, so it’s important to consider your budget. While it can be tempting to choose the cheapest option available, keep in mind that a higher-quality needle may provide better performance and longevity. It’s often worth investing a little more for a reliable and durable replacement needle.
- Installation: Consider your level of comfort and experience with installing turntable needles. Some needles require calibration or specific installation techniques. If you’re unsure or uncomfortable with the installation process, it may be best to seek assistance from a professional or consult the manufacturer for guidance.
By taking these factors into account, you can ensure that the replacement needle is compatible with your turntable, offers good quality and value for your budget, and is installed correctly for optimal performance.
Now that you’ve considered these factors, let’s move on to the next section, where we’ll discuss how to properly replace a turntable needle.
How to Properly Replace a Turntable Needle
Replacing a turntable needle may seem daunting, but with the right knowledge and careful handling, it can be a straightforward process. Follow these steps to ensure you properly replace your turntable needle:
- Gather the necessary tools: Before starting, make sure you have the required tools for the task. This typically includes a replacement needle/stylus, a small screwdriver, and possibly a pair of tweezers for delicate handling.
- Power off and disconnect the turntable: To avoid any accidents or damage to the turntable, switch it off and unplug it from the power source.
- Remove the old needle: Carefully locate and remove the existing needle or stylus by gently pulling it straight out of the cartridge. You may need to use tweezers to get a good grip on the needle without touching the delicate parts.
- Align the new needle: Take your new needle or stylus and examine its alignment. There may be markings or indicators that will help you align it correctly with the cartridge. Follow the manufacturer’s instructions to ensure proper positioning.
- Insert the new needle: Once the new needle is properly aligned, carefully insert it into the cartridge, making sure it fits securely but without excessive force. It should slide in smoothly without any resistance.
- Secure the needle: Depending on your turntable model, there may be a locking mechanism or a screw to secure the needle in place. Use a small screwdriver to tighten or lock the needle assembly, ensuring it is firmly in place.
- Reconnect and test: Once the new needle is securely installed, reconnect the turntable to the power source. Put on a record and test the playback to ensure the new needle is tracking properly and producing clear sound. Make any necessary adjustments to the tracking force as recommended by the manufacturer.
It’s important to note that each turntable model may have slight variations in the needle replacement process, so it’s always best to consult your specific turntable’s user manual for detailed instructions.
Lastly, let’s conclude this article with a summary of what we’ve discussed.
Conclusion
Turntable needles are a vital component of any vinyl playback system, ensuring accurate tracking and delivering the rich analog sound that makes vinyl records so beloved. Knowing when to replace a turntable needle is essential to maintain optimal sound quality and protect your valuable record collection.
In this article, we have explored the basics of turntable needles, the signs that indicate the need for replacement, and the factors to consider before purchasing a new needle. We’ve also provided a step-by-step guide on how to properly replace a turntable needle.
By understanding the anatomy and function of turntable needles, you can appreciate the importance of maintaining a well-functioning needle. Recognizing the signs of wear and tear, such as distorted sound, skipping, excessive background noise, inconsistent tracking, or visual wear, can prompt you to take action and replace the needle in a timely manner.
When it comes to selecting a replacement needle, it’s crucial to consider factors like compatibility, quality, tip shape, budget, and installation requirements. By taking these factors into account, you can ensure a suitable replacement that offers optimal sound performance and longevity.
Remember, proper handling and installation are crucial to preserve the integrity of both the turntable and the new needle. Following the recommended steps and consulting your turntable’s user manual will help ensure a successful needle replacement process.
So, if you notice any of the signs discussed in this article or if you want to enhance your vinyl listening experience, it might be time to give your turntable some TLC and replace the needle. By doing so, you’ll continue enjoying your favorite records with the utmost clarity and fidelity.
Happy spinning!

