Home>Devices & Equipment>Wearing and Fitting Earbuds
Devices & Equipment
Wearing and Fitting Earbuds
Modified: 3 October 2026
Table of Contents
How to wear earbuds for a secure, stay-put fit
Understanding how to wear earbuds starts with knowing how to make earbuds stay in your ear. The most effective method is usually the simplest: experiment with the included silicone tips, because a loose seal not only lets the earbud slip free but also robs you of bass and lets in ambient noise, so trying a larger or smaller tip is the first fix before assuming a hardware fault.
For stability during runs or workouts, it helps to wear earbuds with ear wings by hooking the flexible fin into the upper curve of your ear so it anchors against movement. The wingtip should face upward, and a gentle rotation backward locks it into the concha without creating pressure points.
If you need to keep Samsung earbuds from falling out, insert them with the wingtip oriented skyward and then twist the body until it rests comfortably, following the natural angle of your ear canal. On supported Galaxy Buds models, you can verify the seal by opening the Galaxy Wearable app, tapping Earbuds settings, and running the Earbud fit test.
Finally, a simple adjustment in how you wear earbuds properly makes a surprising difference with stem-style designs. Gently pull the top of your ear up and back while inserting the tip, then rotate the stem so it points toward your mouth rather than dangling straight down.
Understanding fit, seal, and earbud types
Getting a proper earbud seal transforms the listening experience from thin and distant to rich and immersive, requiring a deliberate technique rather than just pushing the tip into your ear. A correct fit should feel secure without causing pressure, and you will know the seal is working when bass frequencies suddenly become fuller and the outside world quiets down noticeably. If the sound still feels hollow or you find yourself constantly nudging the bud back into place, the tip size or insertion angle is likely wrong, not the hardware itself.
Understanding the proper fit for Beats earbuds starts with Apple's recommended motion: insert the bud and then rotate it downward until it locks into a stable, acoustic seal. On models like the Beats Fit Pro, Powerbeats Fit, and Powerbeats Pro 2, you can confirm this seal objectively by running the Ear Tip Fit Test in your iPhone's Settings menu after tapping the name of your connected Beats and ensuring Automatic Ear Detection is on, or inside the Beats app on Android by tapping the device icon, then My Beats, ensuring Automatic Ear Detection is on, and scrolling to Ear Tip Fit Test.
If you want to understand the distinct design behind monitor-grade earphones, you should first read "IEM earbud basics" to learn how their housings are shaped to sit deeper and more flush within the outer ear, often routing the cable up and over the back of the ear to eliminate tugging and microphonic noise.
When you need to wear radio earpiece accessories for clear communication, the same principles apply: an acoustic tube or custom mold must seal gently against the ear canal to deliver intelligible audio without the piece shifting during movement.
Wearing specific earbud models correctly
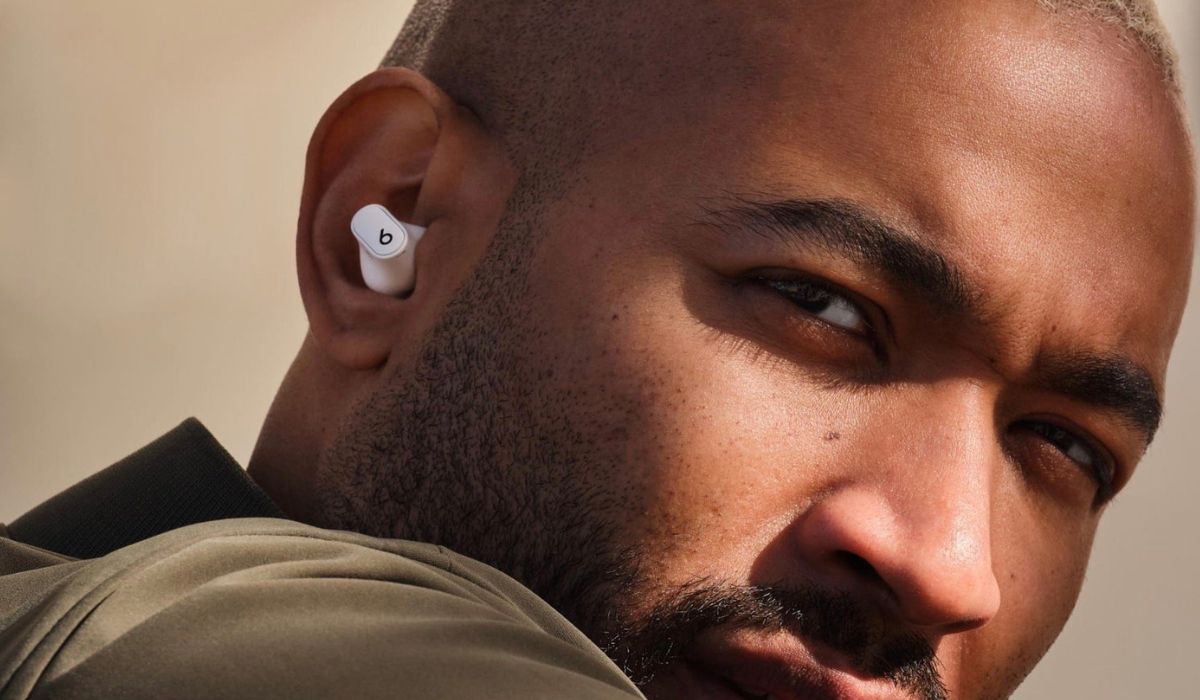
When you put on Beats earbuds, Apple’s guidance centers on achieving consistent skin contact for optimal sound performance, including active noise cancellation and transparency modes. Wiping the eartips and your ears dry before insertion makes a measurable difference in both comfort and long-term durability. The key insight for beats earbuds how to wear effectively is that the initial placement is only half the process. A gentle rotation after inserting the tip can help lock the housing into the concha and deepen the acoustic seal. This is the same principle that gives the bass its weight.
For Bose QuietComfort Earbuds II and QuietComfort Ultra Earbuds, the official insertion sequence starts with placing the eartip gently at the canal opening while noting the R or L marking. Then you rotate the body slightly backward until the stability band tucks securely against the upper ridge of your ear without forcing it. Rotating too far back or forward can degrade microphone and audio quality, so small adjustments matter. You can verify the result inside the Bose app by opening the Settings menu from the upper-right corner and running the Earbud Seal Test found in the How To Wear section. If the test reports a poor seal, switching to a different size eartip or stability band, both included in the Fit Kit, is the recommended fix.
These model-specific techniques also apply to several other popular earbuds that share a similar in-ear design language. The following guides walk through the insertion angles, twist motions, and fit-check steps for each one, so you can select the set that matches what is currently in your ears.
You wear JBL earbuds by inserting the housing and adjusting until the nozzle feels secure in your ear canal. Any included wingtip should press gently against the upper concha to prevent the earbud from loosening during a run or workout. You wear Apple earbuds with the stem pointing down along your jawline and the speaker grille aimed directly into the canal. You wear Bose QC earbuds by placing the eartip at the canal entrance and rotating the body rearward until the stability band finds its natural resting spot against the ridge of your ear. You wear Skullcandy Jib True wireless earbuds by inserting the nozzle into the canal and adjusting until the body sits flush with your ear’s bowl.
Adjusting volume and sound output
Once your earbuds are seated with a reliable seal, the next step is dialing in the output level. Raising the system volume on your phone is the most direct method. A few software settings can quietly cap your loudness without you realizing it.
On an iPhone, the first place to check is Settings > Sounds & Haptics > Headphone Safety. The Reduce Loud Audio toggle can clamp the maximum output. Turning it off or lowering the limit often restores the headroom you were missing. You can also swipe into Control Center and drag the volume slider while audio is playing. You can tap the Hearing icon to see the real-time decibel level.
For AirPods 2 and later, AirPods Max, AirPods Pro, Apple EarPods with 3.5 mm Headphone Plug or Lightning Connector, and Beats 360 running iOS or iPadOS 14 and later, the Headphone Accommodations feature can amplify soft sounds and adjust certain frequencies. It is not a universal boost for every connected headset. If you need to make Apple earbuds louder on a call or while listening to a playlist, confirming that the eartips are clean and fully inserted often resolves perceived quietness before adjusting any software.
When you turn up volume on Skullcandy earbuds, the same principle applies. Start with the physical buttons on the buds or neckband. Then check your phone’s Bluetooth volume sync and any third-party equalizer apps that might be attenuating the signal.
Identifying what you're buying
Before you buy or unbox, it helps to know exactly what you are holding. If you picked up the new Apple earbuds, you are likely looking at a pair of AirPods, EarPods, or Beats earphones, which Apple’s support pages group together as the current earphone families. The name on the box tells you which fit system and tips to expect. Beats earphones with silicone tips, such as the Beats Fit Pro and Powerbeats Pro 2, include a built-in fit test that checks your seal without guesswork. On an iPhone you run it from Settings after tapping your device’s name near the top, while Android users open the Beats app and look under My Beats. Knowing the price of Beats earbuds helps you weigh features against budget, though official support pages do not list pricing. Once you have the right model in hand, matching the ear tip size to your ears is what turns a loose, tinny listen into a stable, full-range experience.