Home>Production & Technology>Audio Cable>How To Connect Optical Audio Cable Samsung
Audio Cable
How To Connect Optical Audio Cable Samsung
Modified: January 22, 2024
Learn how to connect an optical audio cable to your Samsung device and enjoy high-quality audio. Find easy step-by-step instructions and troubleshoot common issues.
(Many of the links in this article redirect to a specific reviewed product. Your purchase of these products through affiliate links helps to generate commission for AudioLover.com, at no extra cost. Learn more)
Table of Contents
- Overview of Optical Audio Cable
- Step 1: Check your Samsung Device Compatibility
- Step 2: Purchase an Optical Audio Cable
- Step 3: Connect the Optical Audio Cable to your Samsung Device
- Step 4: Connect the other end of the Optical Audio Cable to the Audio Receiver
- Step 5: Configure Audio Settings on your Samsung Device
- Step 6: Test the Connection
- Troubleshooting Common Issues
- Conclusion
Overview of Optical Audio Cable
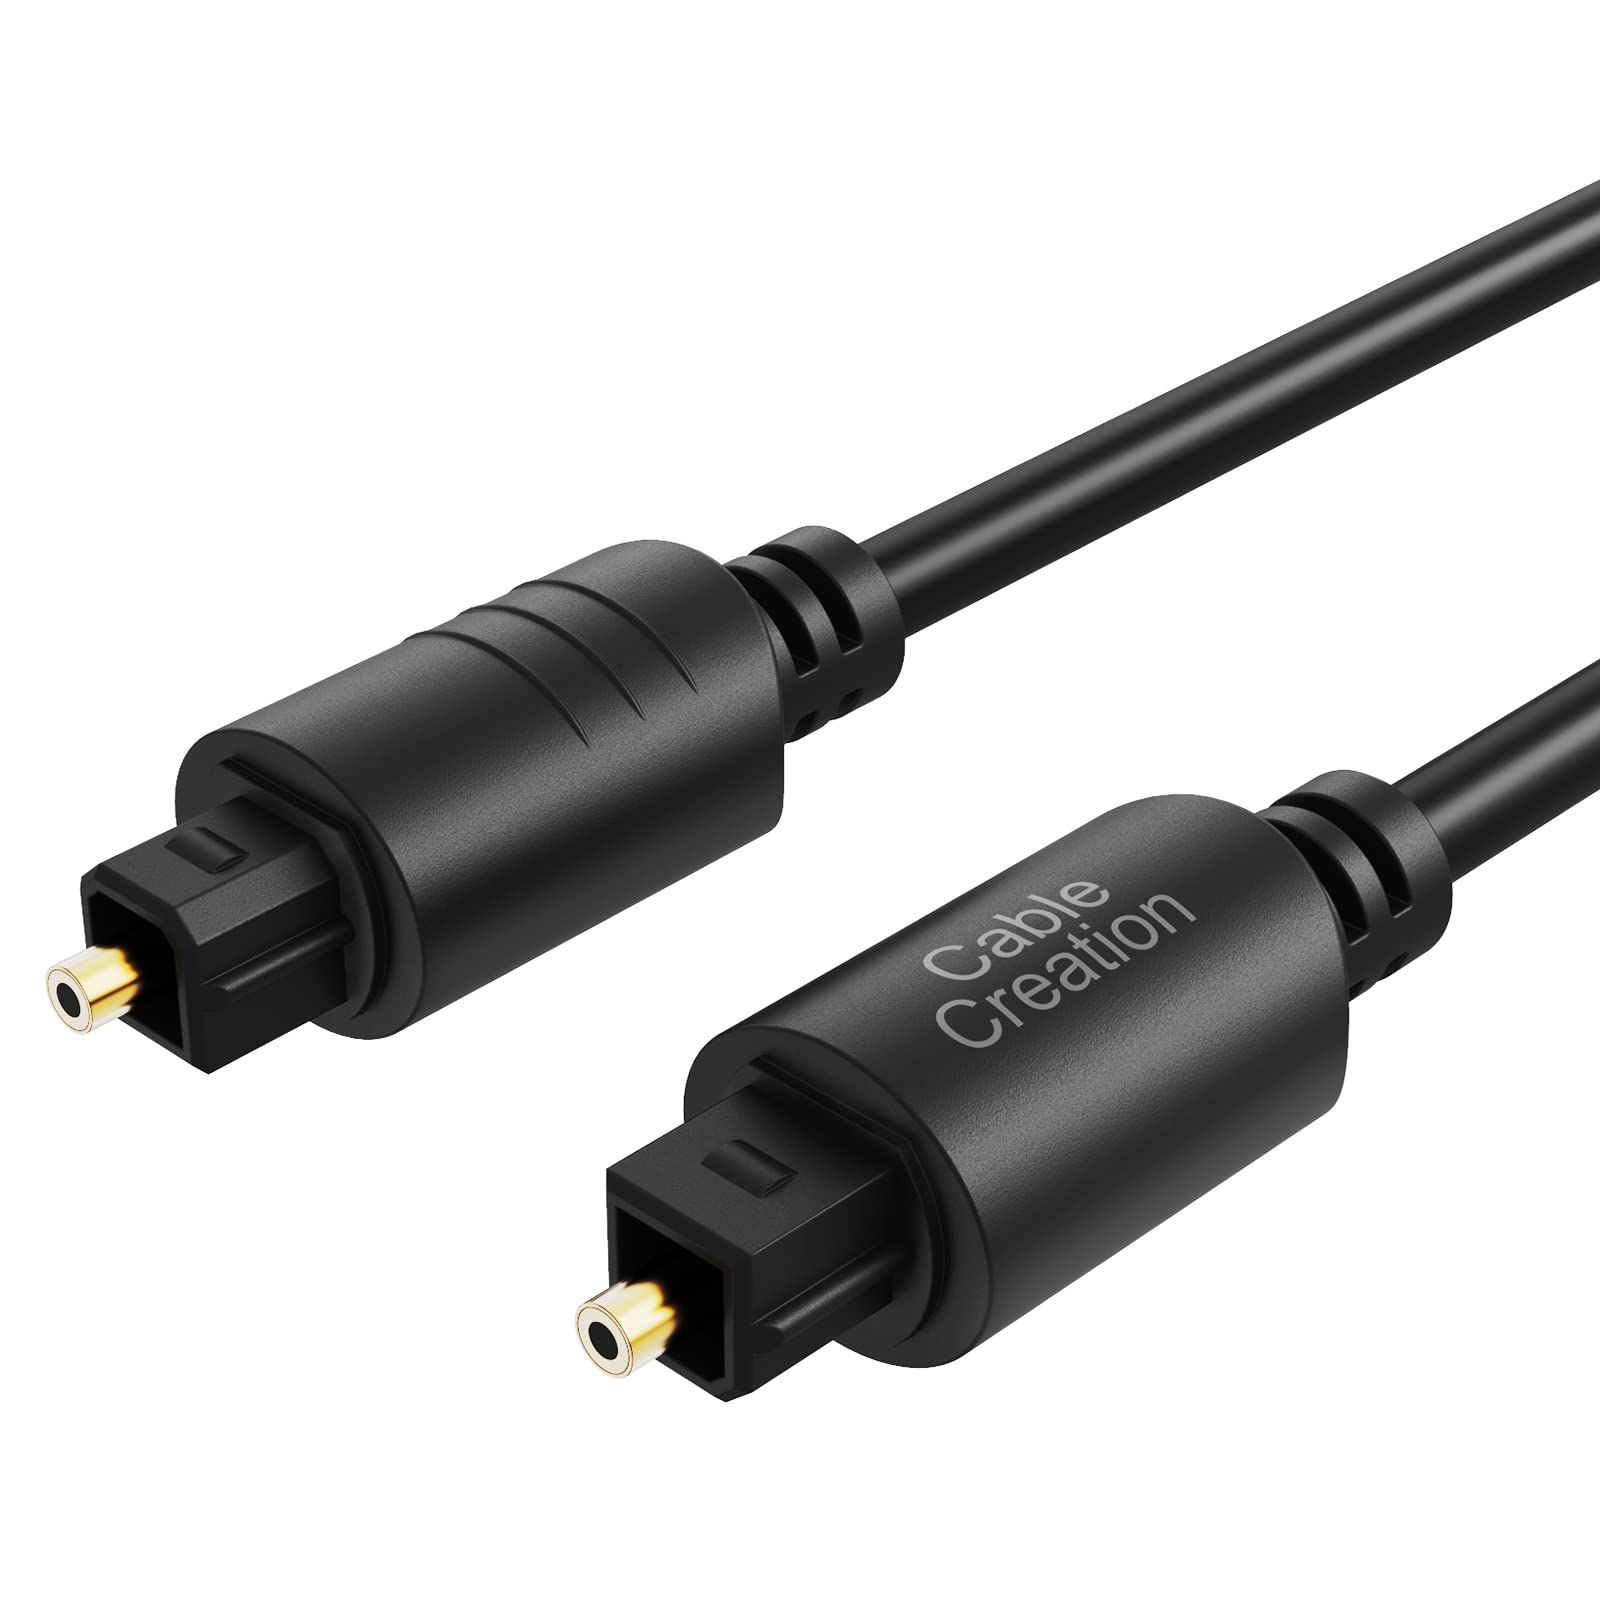
An optical audio cable, also known as a Toslink cable or a digital audio cable, is a type of audio connection that uses light signals to transmit high-quality audio between devices. It is widely used in home theater systems, soundbars, gaming consoles, and other audio devices to deliver superior sound performance.
The main advantage of an optical audio cable is its ability to transmit digital audio signals without any loss or interference. Unlike traditional analog cables, which can be susceptible to noise and signal degradation, optical cables ensure a clean and reliable audio transfer. This makes them ideal for transmitting surround sound, high-definition audio, and other audio formats with utmost clarity.
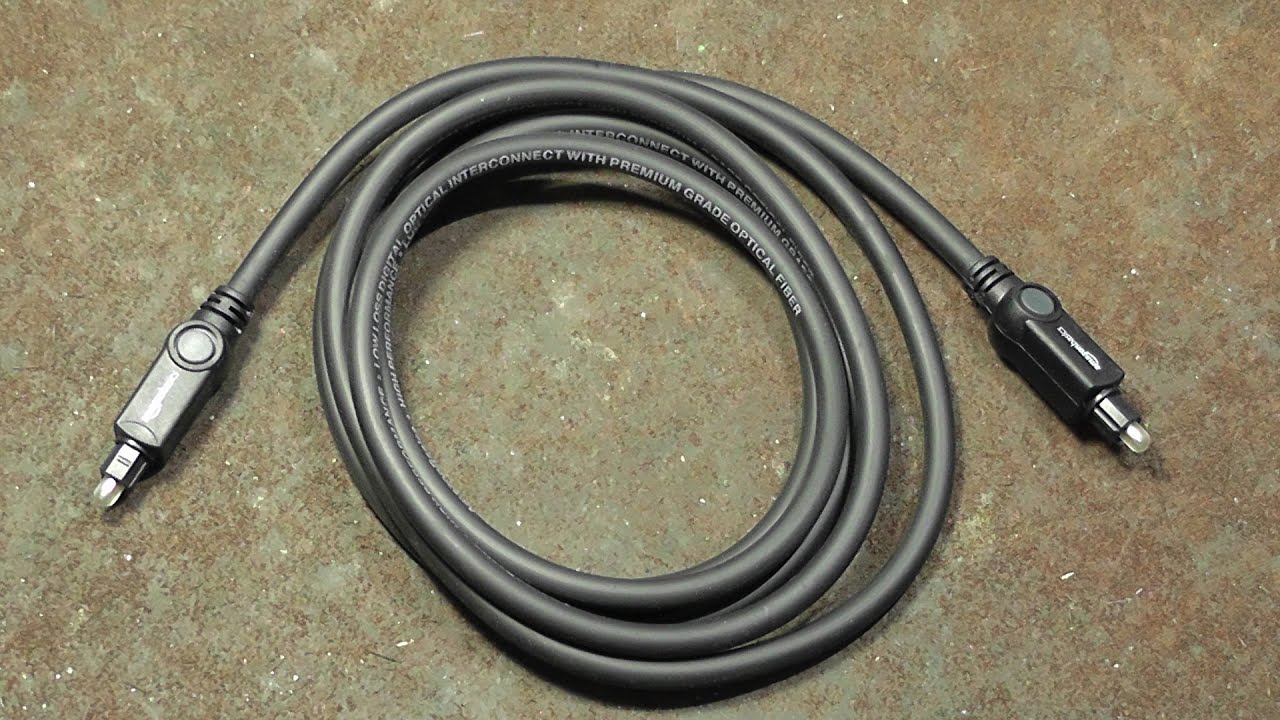
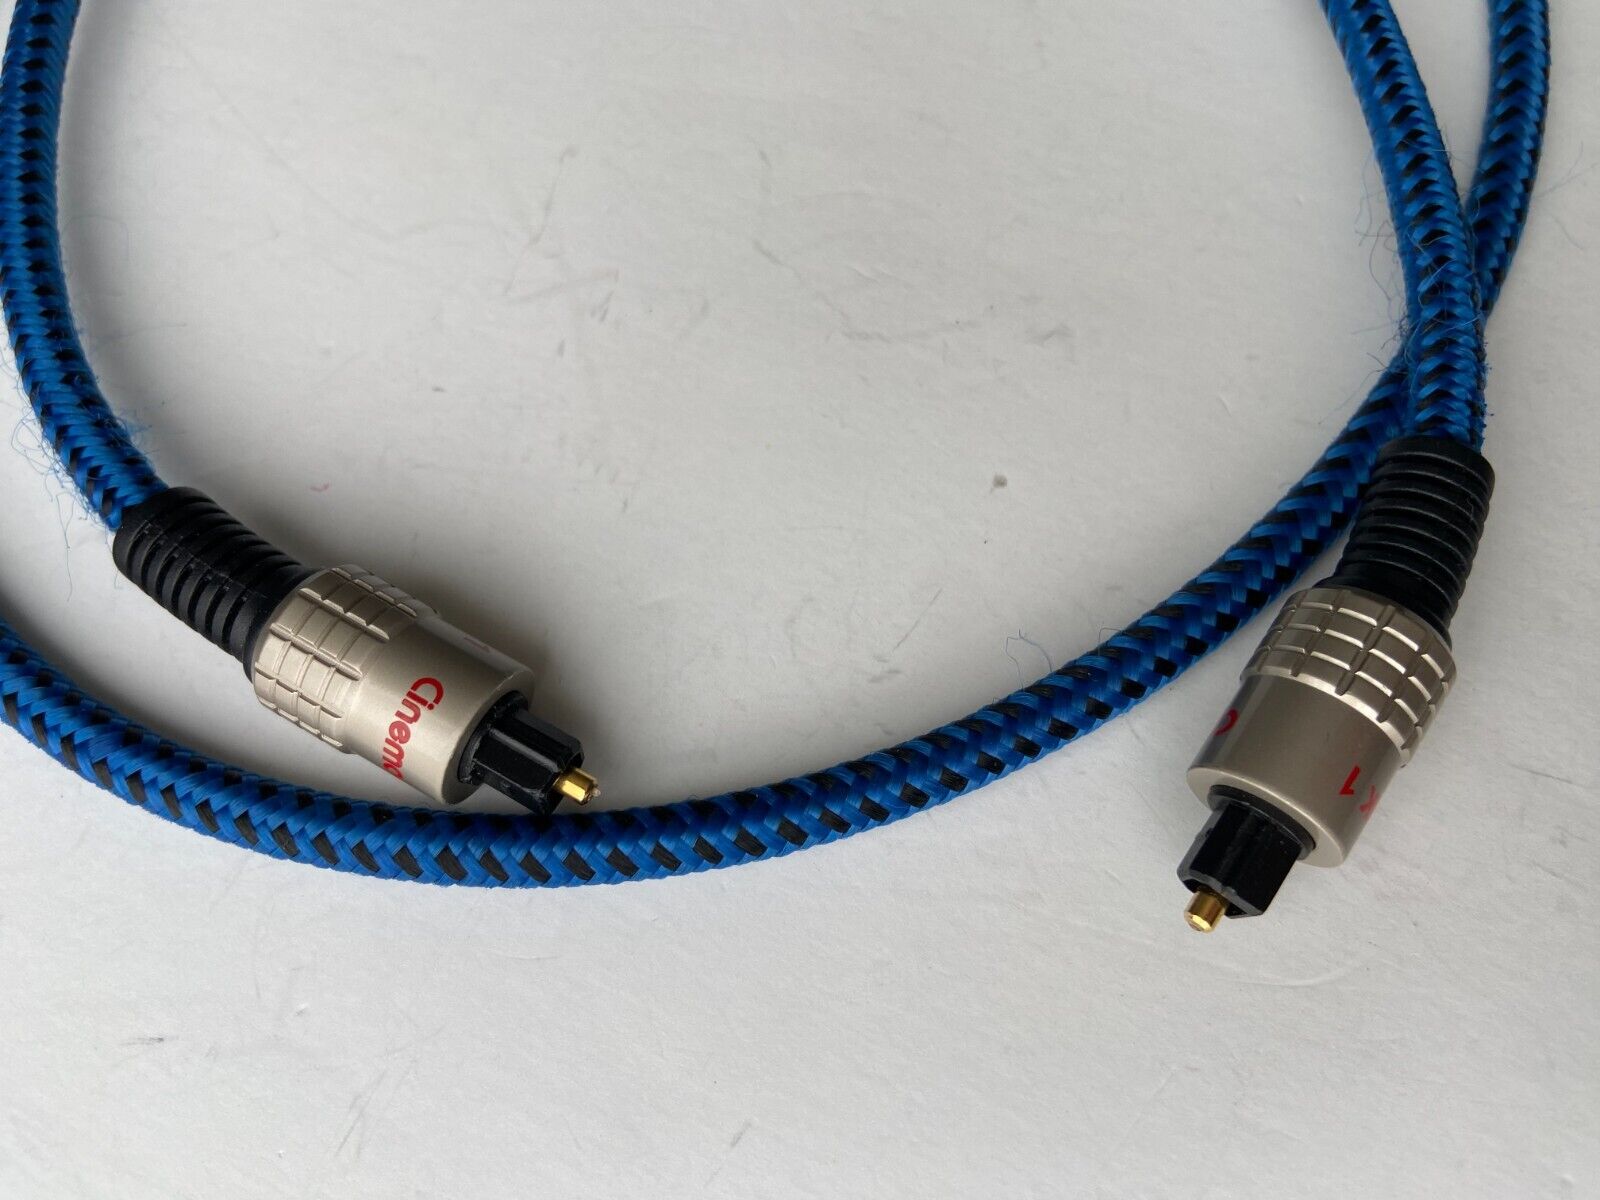
Optical audio cables consist of a slender fiber optic cable encased in a protective sheath. The cable’s core is made of glass or plastic fibers that transmit the audio signal as beams of light. At each end of the cable, you will find connectors that are typically equipped with a protective cap to prevent damage to the fragile fiber optic core.
One of the notable features of optical audio cables is their compatibility with various audio formats, including Dolby Digital, DTS, and PCM. This makes them a versatile choice for connecting different audio devices that support these formats.
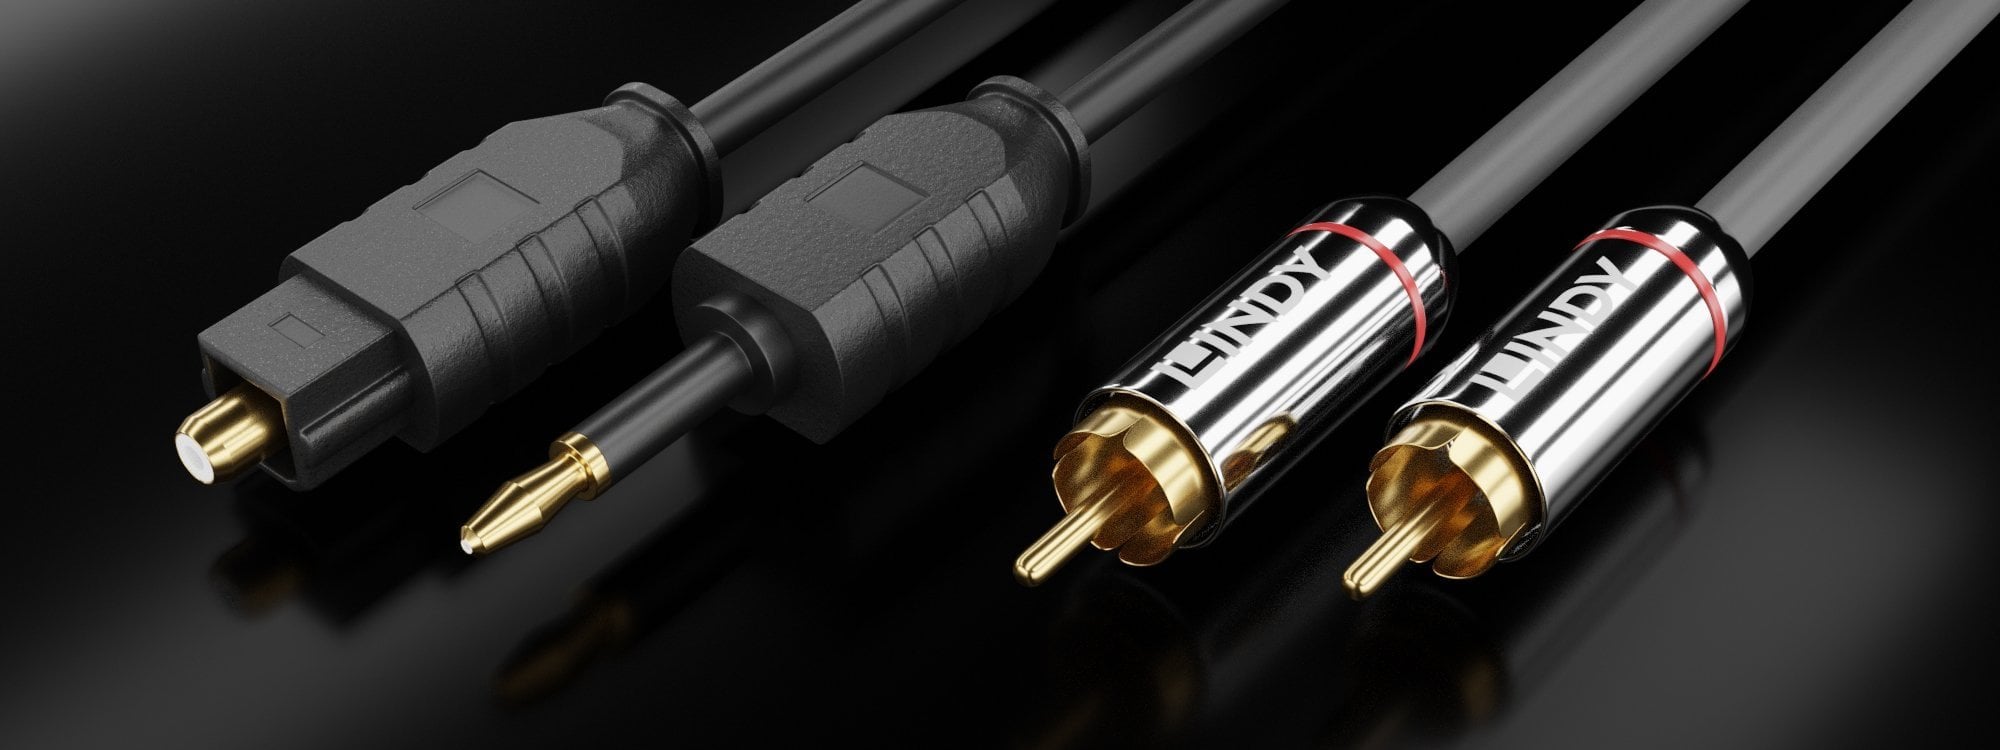
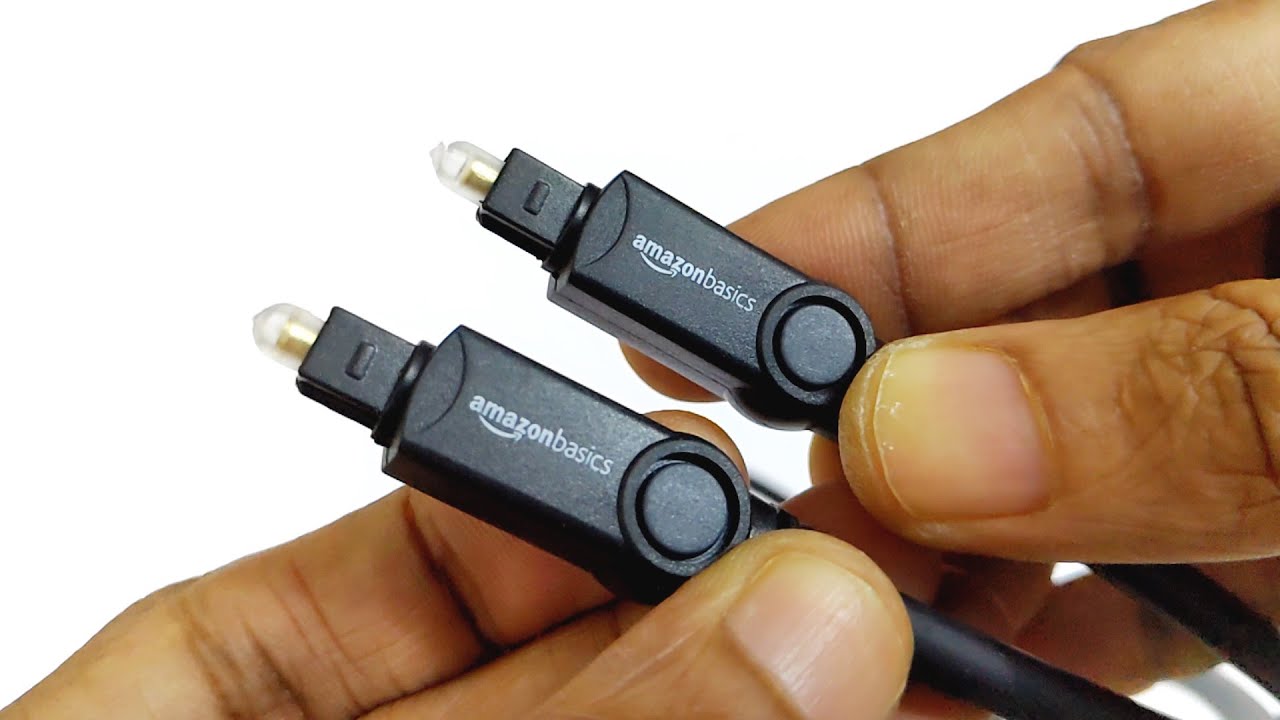
Most modern audio equipment, including flat-screen TVs, Blu-ray players, audio receivers, and gaming consoles, are equipped with optical audio input/output ports. These ports commonly use a square-shaped connector with a protruding plastic bulb, which is where the optical cable is inserted.
Overall, an optical audio cable is a reliable and efficient solution for connecting audio devices and enjoying high-quality audio. Its ability to transmit digital audio signals with minimal loss and interference makes it a popular choice among audio enthusiasts and home theater enthusiasts.
Step 1: Check your Samsung Device Compatibility
Before connecting an optical audio cable to your Samsung device, it is essential to ensure that your device has an optical audio output or input port. This will allow you to establish a seamless audio connection with other compatible devices.
The compatibility of optical audio connections can vary depending on the model and year of your Samsung device. To determine if your Samsung device supports optical audio, you can follow these steps:
- Refer to the user manual: The user manual that came with your Samsung device should contain detailed information about its audio connectivity options. Look for sections or diagrams that mention optical audio or digital audio connections.
- Check the device specifications online: If you don’t have access to the user manual or prefer a quick search, you can visit the official Samsung website or refer to online product listings. Look for the specifications section, where you will find details about the audio ports and connectivity options available on your device.
- Inspect the device itself: Examine the back or side panels of your Samsung device for audio ports. The optical audio port may be labeled as “Optical,” “Toslink,” or “Digital Audio Out.” It typically resembles a small square or rectangular port with a transparent or black cover.
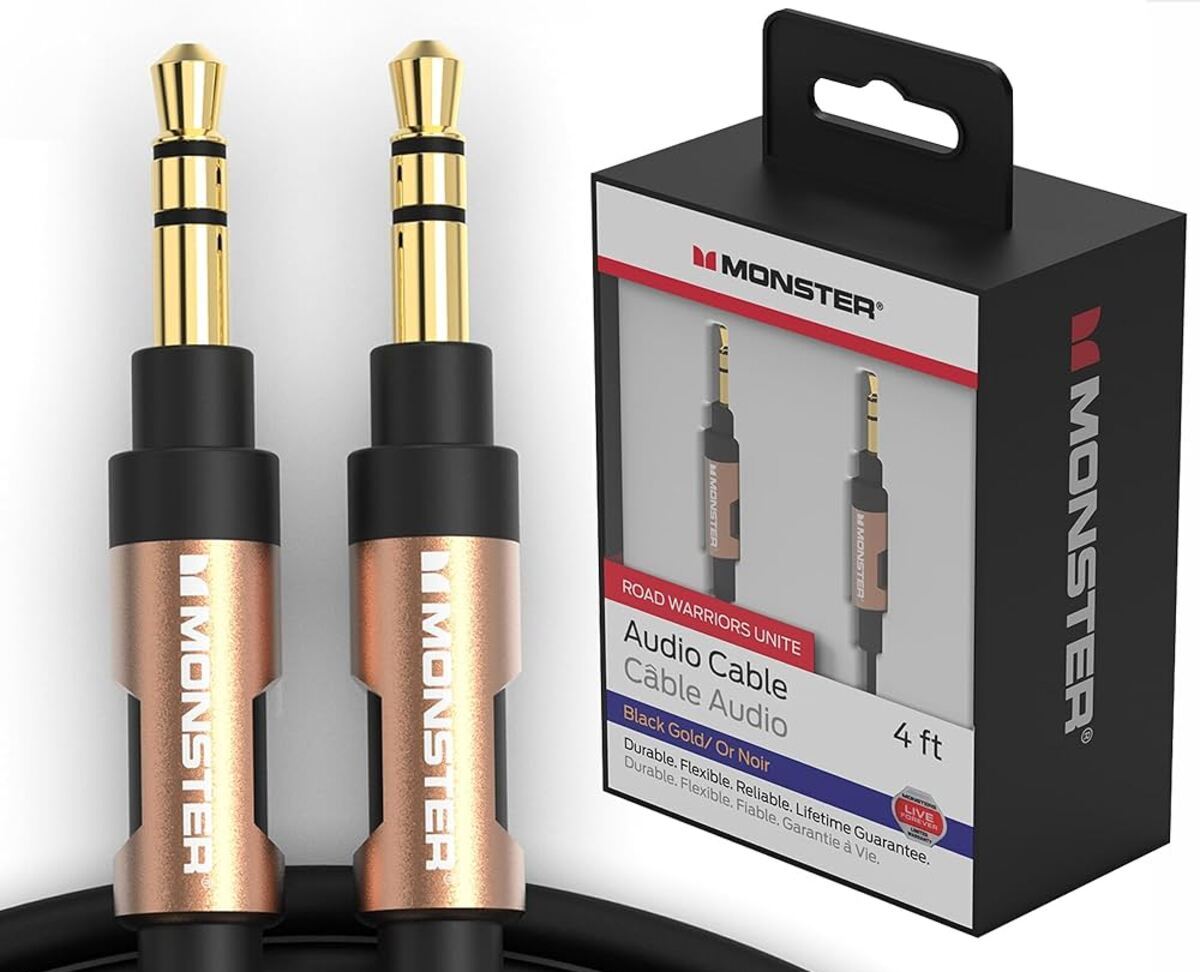
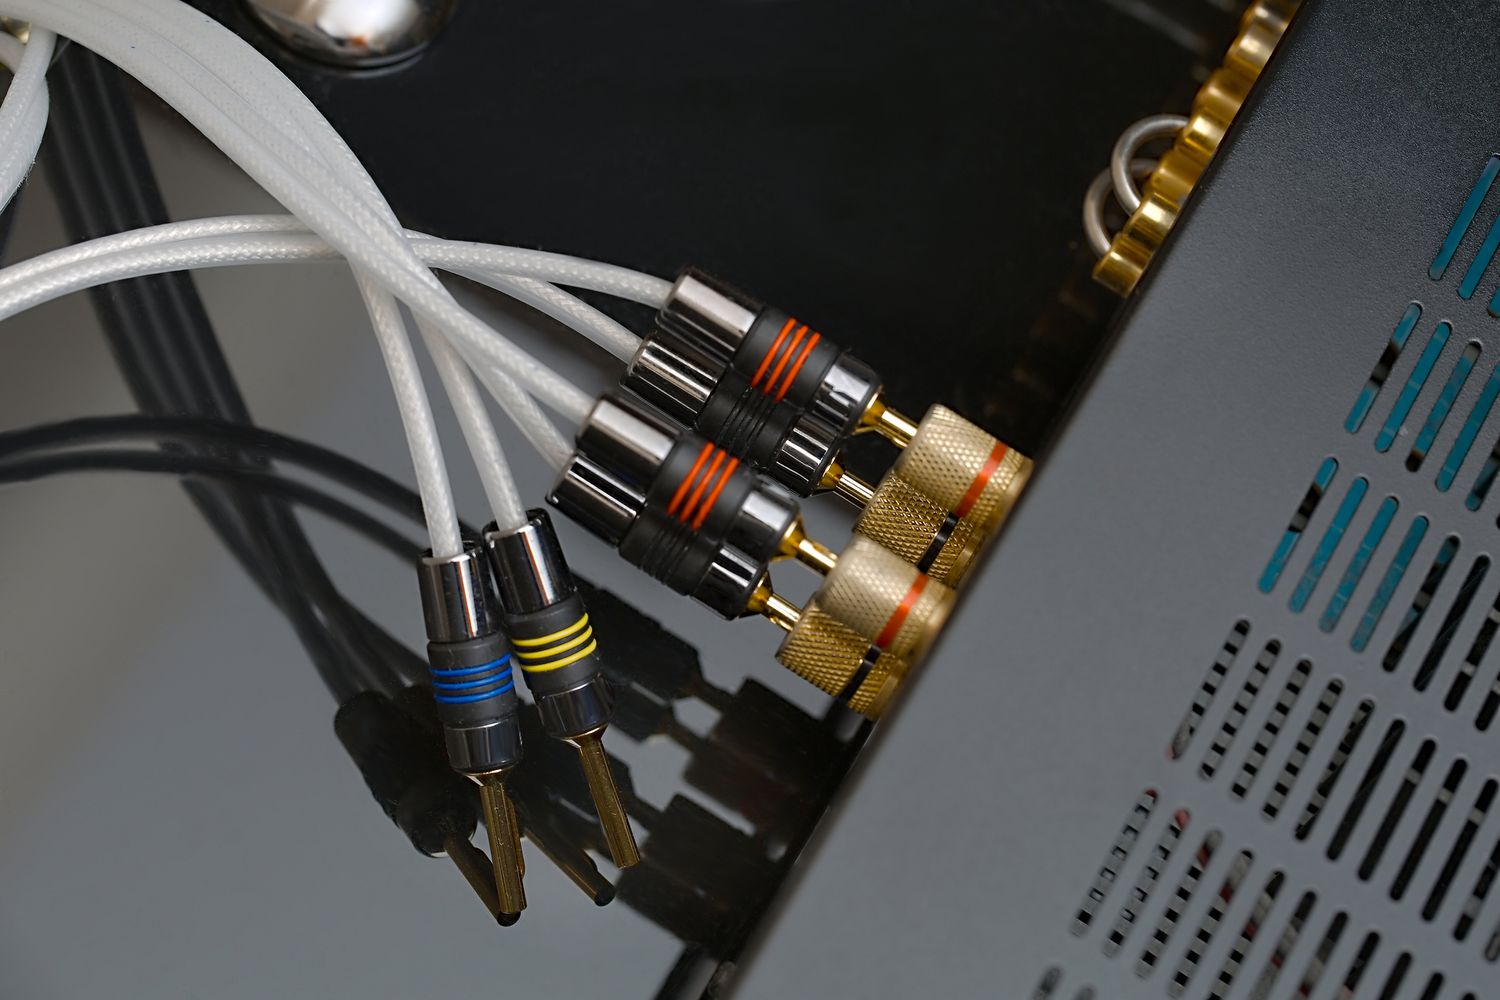
If you are unable to find an optical audio port on your Samsung device, it may not support this connection type. In such cases, you might consider alternative audio connection options, such as HDMI, RCA, or 3.5mm audio cables, depending on the available ports on your device.
It is important to note that while most newer Samsung devices feature optical audio ports, some older or budget models may not have this capability. Therefore, it’s crucial to confirm the compatibility of your specific device before proceeding with the connection process.
Once you have determined that your Samsung device supports optical audio, you can proceed to the next step of purchasing the appropriate optical audio cable for your setup.
Step 2: Purchase an Optical Audio Cable
After confirming the compatibility of your Samsung device with an optical audio connection, the next step is to purchase a high-quality optical audio cable. When selecting a cable, there are a few factors to consider to ensure optimal performance:
- Cable length: Determine the length of the cable you will need based on the distance between your Samsung device and the audio receiver or other compatible device. It is recommended to choose a cable that is slightly longer than necessary to allow for flexibility in positioning your devices.
- Construction quality: Look for a cable with a durable and well-insulated design. The cable should have a sturdy connector and a protective sheath to prevent damage to the fragile fiber optic core.
- Connectors: Ensure that the cable you choose has the appropriate connectors to fit the optical audio ports on your Samsung device and the receiving device. Most optical audio cables feature a square-shaped connector with a protruding plastic bulb, commonly known as a Toslink connector.
- Brand reputation: Opt for reputable brands or well-reviewed products to ensure reliable performance and longevity. Reading customer reviews and checking for warranty coverage can give you a better understanding of the cable’s quality and durability.
Optical audio cables are widely available in electronics stores, online marketplaces, and even department stores. Prices can vary based on brand, length, and construction quality, so consider your budget and specific requirements when making a purchase.
Additionally, it may be worth considering purchasing a spare optical audio cable, especially if you have multiple devices or plan to expand your audio setup in the future. Having a backup cable can be useful in case of any cable damage or if you decide to rearrange your devices.
Once you have acquired the optical audio cable, you are now ready to proceed to the next step of connecting it to your Samsung device.
Step 3: Connect the Optical Audio Cable to your Samsung Device
Now that you have obtained the optical audio cable, it’s time to connect it to your Samsung device. Follow these steps to establish the connection:
- Locate the optical audio output port on your Samsung device. It is typically labeled as “Optical,” “Toslink,” or “Digital Audio Out.” The port will usually have a small square or rectangular shape with a transparent or black cover.
- Remove the protective cover from the optical audio cable’s connector. Be mindful not to touch the exposed fiber optic core to avoid any potential damage.
- Align the connector of the optical audio cable with the optical audio output port on your Samsung device. Ensure that the connector is inserted straight and fully into the port.
- Gently push the connector into the port until it clicks into place. This indicates that the cable is securely connected to the Samsung device. Do not force the connector or apply excessive pressure, as this may cause damage to the port or the cable.
- If you have multiple optical audio output ports on your Samsung device, make sure to select the correct port based on your audio setup requirements. Refer to your device’s user manual or consult online resources for guidance if needed.
Once the optical audio cable is connected to your Samsung device, you are now ready to establish the audio connection with the audio receiver or another compatible device. Proceed to the next step to complete the setup.
Step 4: Connect the other end of the Optical Audio Cable to the Audio Receiver
After successfully connecting the optical audio cable to your Samsung device, the next step is to connect the other end of the cable to the audio receiver or another compatible device that will be receiving the audio signal. Follow these steps to complete the connection:
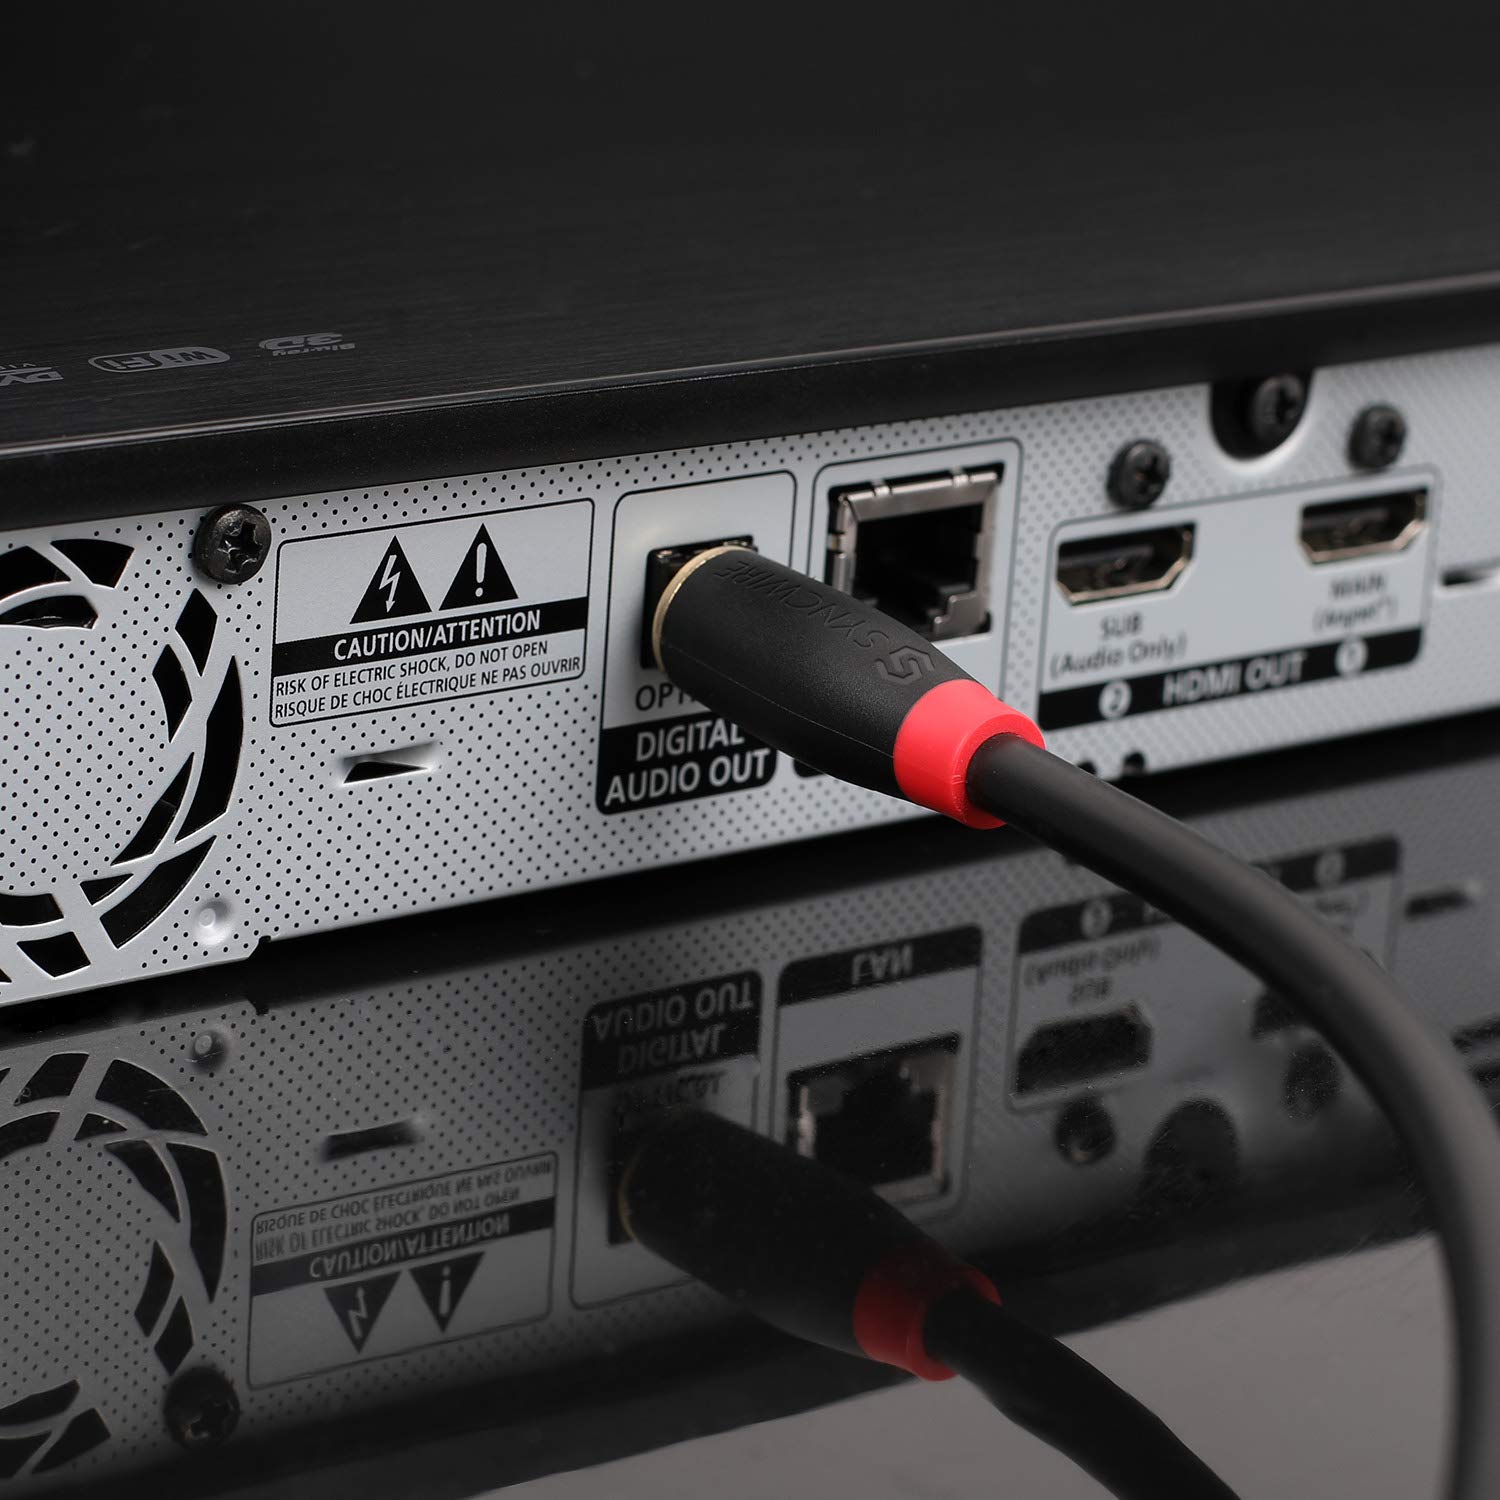
- Locate the optical audio input port on your audio receiver or the device you want to connect to. Similar to the optical audio output port on your Samsung device, it is typically labeled as “Optical,” “Toslink,” or “Digital Audio In.” The port will usually have a small square or rectangular shape with a transparent or black cover.
- Remove the protective cover from the connector of the optical audio cable’s other end.
- Align the connector of the optical audio cable with the optical audio input port on your audio receiver or device. Ensure that the connector is inserted straight and fully into the port.
- Gently push the connector into the port until it clicks into place. Just like before, avoid applying excessive force or pressing at an angle that could cause damage to the port or cable.
- If you have multiple optical audio input ports on your audio receiver or device, select the appropriate port based on your audio setup requirements. Consult the device’s user manual or online resources if you need guidance.
Once the optical audio cable is securely connected to both your Samsung device and the audio receiver or receiving device, you have successfully established the audio connection. The optical cable’s light signals will now transmit high-quality digital audio from your Samsung device to the connected device.
With the audio receiver or receiving device powered on, you can proceed to the next step of configuring the audio settings on your Samsung device to ensure the proper output of sound.
Step 5: Configure Audio Settings on your Samsung Device
After connecting the optical audio cable between your Samsung device and the audio receiver or receiving device, it’s important to configure the audio settings on your Samsung device to ensure that the audio output is correctly routed through the optical connection. Follow these steps to configure the audio settings:
- Turn on your Samsung device and access the settings menu. Depending on the model, you can usually do this by pressing the “Menu” or “Settings” button on the remote control or through the device’s on-screen display.
- Navigate to the audio settings or sound settings section. The exact location of this menu may vary depending on your Samsung device’s model and software interface.
- Within the audio settings menu, locate the “Audio Output” or “Sound Output” option. Select this option to choose the audio output mode.
- From the available audio output options, select “Optical” or “Toslink” to route the audio through the optical audio connection.
- Once you have selected the optical audio output, you may have additional settings to adjust, such as the audio format or surround sound settings. These settings will vary depending on your specific Samsung device and the capabilities of your audio receiver or receiving device.
- Make any desired adjustments to the audio format or surround sound settings, taking into consideration the capabilities of your audio system and personal preferences.
- Save the changes and exit the settings menu.
By configuring the audio settings on your Samsung device to utilize the optical audio output, you ensure that the audio signal is correctly transmitted through the optical cable to your audio receiver or receiving device. This allows you to enjoy high-quality sound without any loss or interference.
Once the audio settings are configured, you can proceed to the final step of testing the connection to verify that the audio is working properly.
Step 6: Test the Connection
After connecting the optical audio cable and configuring the audio settings, it’s crucial to test the connection to ensure that the audio is properly transmitted from your Samsung device to the audio receiver or receiving device. Follow these steps to test the connection:
- Power on your Samsung device, audio receiver, and any other connected devices, such as speakers or soundbars.
- Select a media source or content that you want to play on your Samsung device, such as a movie, music, or a test tone.
- Adjust the volume settings on both your Samsung device and the audio receiver or connected device to an appropriate level.
- Play the selected media and listen for the audio output from your speakers or headphones. Ensure that the sound is clear, balanced, and free from any distortion or anomalies.
- Verify that the audio is being routed through the optical audio connection by checking the audio receiver or connected device’s display or settings menu.
- If you encounter any issues or inconsistencies with the audio output, double-check the cable connections and ensure they are secure. Also, refer back to the previous steps to confirm that the audio settings are properly configured on both your Samsung device and the audio receiver or receiving device.
- If necessary, consult the user manuals or online support resources for your Samsung device, audio receiver, or other connected devices for troubleshooting tips specific to your setup.
By testing the connection and verifying the audio output, you can ensure that the optical audio cable is functioning correctly and delivering high-quality sound from your Samsung device to the connected audio system.
If the audio is working as expected, you have successfully completed the setup process for the optical audio connection. If any issues persist, check for any compatibility issues, faulty cables, or possible device malfunctions that may require further investigation or professional assistance.
With the connection successfully tested, you can now enjoy immersive audio and a superior sound experience through the optical audio connection on your Samsung device.
Troubleshooting Common Issues
While setting up an optical audio connection between your Samsung device and the audio receiver or receiving device is generally straightforward, you may encounter some common issues along the way. Here are a few troubleshooting tips to help you resolve these issues:
- No audio output: If you’re not hearing any audio through the optical connection, check the cable connections to ensure they are securely plugged in at both ends. Also, verify that the audio settings on your Samsung device and the audio receiver or receiving device are properly configured for the optical audio connection.
- Audio dropouts or intermittent sound: If you experience issues with the audio dropping out or intermittent sound, it could be due to a loose or damaged cable. Ensure that the optical audio cable is securely connected at both ends and try a different cable if possible. Additionally, check for any blockages or obstacles that could be interfering with the line of sight between the cable ends.
- Poor audio quality or distortion: If the audio quality is poor or distorted, it could be due to cable damage, improper connection, or compatibility issues. Try reseating the cable at both ends and inspect it for any signs of damage. If possible, test the connection using a different optical audio cable to see if the issue persists. Also, make sure that the audio settings on your Samsung device and the audio receiver or receiving device are set to the appropriate audio format and sampling rate for optimal performance.
- Noisy or static-filled audio: If you encounter noisy or static-filled audio, it could be a result of interference from other electronic devices. Try moving any potential sources of interference, such as routers, wireless devices, or power cables, away from the optical audio cable. Additionally, ensure that the cable is not bent or twisted excessively, as this can affect signal quality.
- No audio from specific channels or audio formats: If you’re not getting audio from specific channels or audio formats, it could be due to compatibility issues. Ensure that both your Samsung device and the audio receiver or receiving device support the audio format you are trying to play. Check the user manuals or online resources for information on supported audio formats and make sure your devices are updated to the latest firmware versions if applicable.
If you have exhausted the troubleshooting tips mentioned above and are still experiencing issues, you may want to consult the user manuals or reach out to the manufacturers’ customer support for further assistance. They will be able to provide you with more specific troubleshooting guidance based on your specific devices and setup.
By following these troubleshooting tips, you can overcome common issues and enjoy a seamless audio experience through your optical audio connection.
Conclusion
Connecting an optical audio cable to your Samsung device can greatly enhance your audio experience by delivering high-quality, clear, and immersive sound. By following the steps outlined in this guide, you can establish a reliable and efficient audio connection with an audio receiver or other compatible devices.
Starting with checking the compatibility of your Samsung device, to purchasing a suitable optical audio cable, and connecting it to your device and audio receiver, each step is essential in establishing a successful connection. Configuring the audio settings on your Samsung device, testing the connection, and troubleshooting common issues ensure that you can enjoy superior audio performance without any disruptions.
Remember to always refer to the user manual of your Samsung device and the audio receiver for specific instructions and recommendations. Additionally, consider seeking assistance from customer support or online resources if you encounter difficulties or have further questions.
With the optical audio cable properly connected and configured, you can indulge in a premium audio experience while watching movies, playing games, or listening to your favorite music. The clear and accurate sound delivered through the optical audio connection will elevate your entertainment and immerse you in a world of captivating audio.
Now, go ahead and enjoy the enhanced sound quality that optical audio brings to your Samsung device, and immerse yourself in a truly immersive audio experience!