Home>Devices & Equipment>Yamaha>How To Use Yamaha DX7
Yamaha
How To Use Yamaha DX7
Modified: February 20, 2024
Learn how to use the Yamaha DX7 synthesizer and create amazing sounds. Get tips, tutorials, and step-by-step guides for mastering the Yamaha DX7.
(Many of the links in this article redirect to a specific reviewed product. Your purchase of these products through affiliate links helps to generate commission for AudioLover.com, at no extra cost. Learn more)
Table of Contents
Introduction
Welcome to the world of Yamaha DX7! Whether you are a musician, producer, or simply a fan of electronic music, the Yamaha DX7 is an iconic synthesizer that has been widely acclaimed for its revolutionary sound and powerful capabilities. In this article, we will explore the various features of the Yamaha DX7, learn how to set it up, understand its controls and buttons, program sounds, create patches, use built-in effects, connect it to external devices, and troubleshoot common issues.
The Yamaha DX7, released in 1983, was a game-changer in the world of synthesizers with its digital sound generation. It was the first commercially successful synthesizer to use frequency modulation (FM) synthesis, a technique that allowed for the creation of complex and evolving sounds. The DX7 quickly gained popularity and became a staple in the music industry, shaping the sound of countless hit songs across multiple genres.
With its distinctive electric piano, bells, and bass sounds, the DX7 has left an indelible mark on the music of the 1980s. Even today, it continues to be sought after by musicians and producers for its unique timbres and expressive capabilities.
Whether you are a beginner or an experienced user, this article aims to provide you with a comprehensive guide on how to use the Yamaha DX7 to its fullest potential. So, let’s dive in and explore the fascinating world of the Yamaha DX7!
Overview of Yamaha DX7
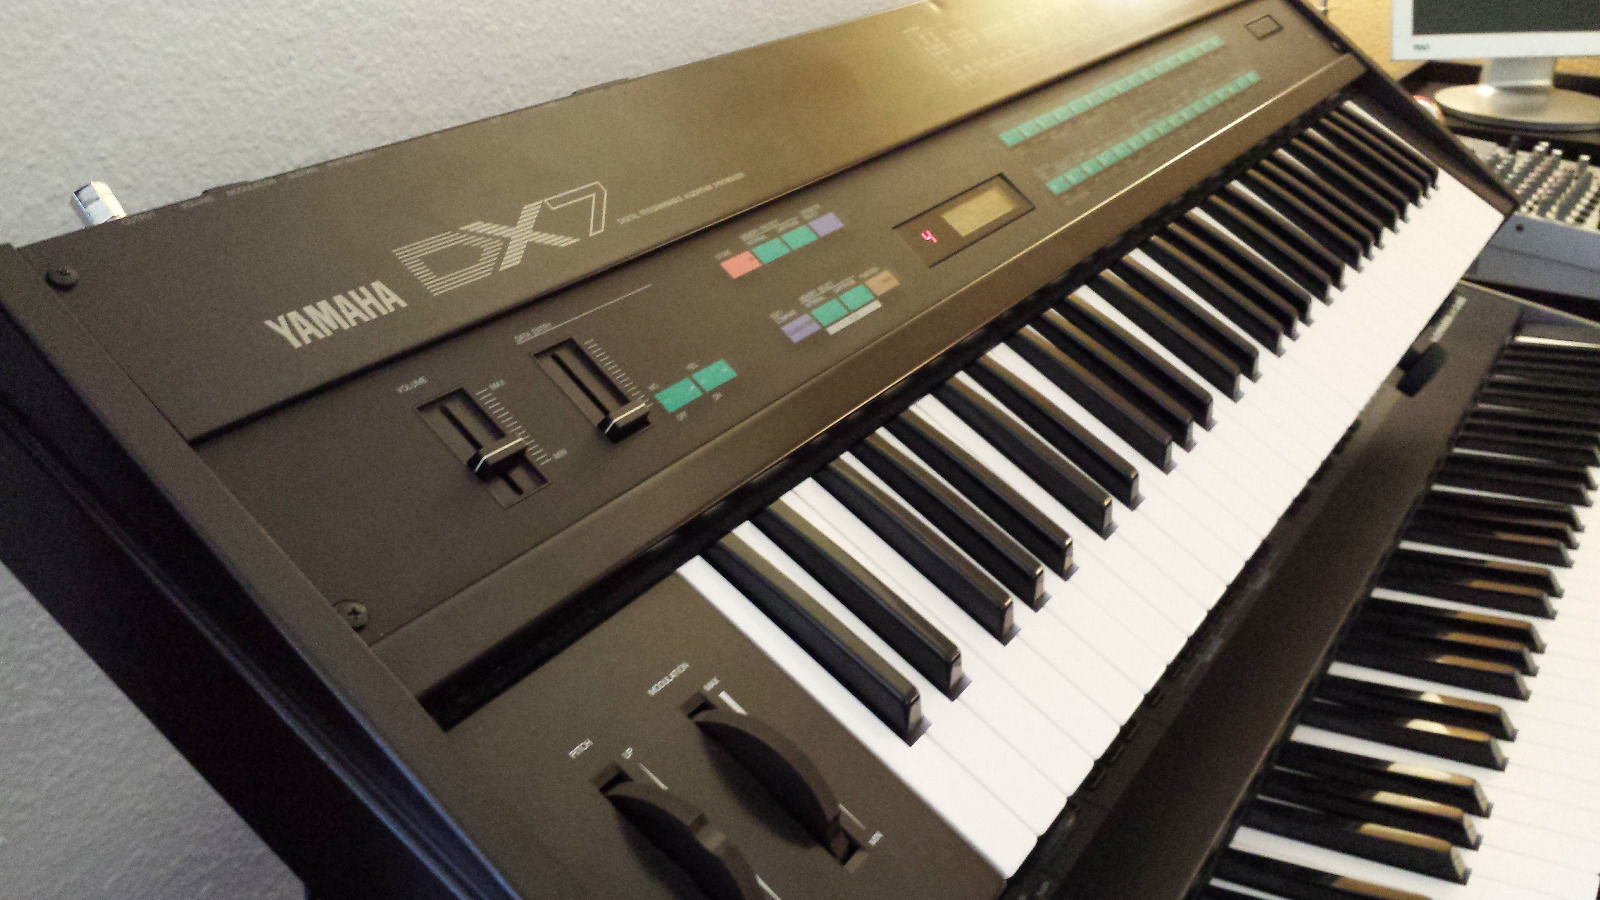
The Yamaha DX7 is a 61-key, velocity-sensitive synthesizer that revolutionized the music industry when it was released in 1983. It was the first commercially successful synthesizer to implement digital technology and frequency modulation (FM) synthesis.
FM synthesis is a technique that uses mathematical algorithms to modulate one sound source with another, resulting in complex and unique timbres. The DX7 featured six operators, each capable of generating a specific waveform, and the ability to combine them in various configurations to create a wide range of sounds.
One of the standout features of the Yamaha DX7 is its ability to produce realistic acoustic instrument sounds, such as pianos, brass, strings, and bells. Its electric piano sound, in particular, became synonymous with the music of the 1980s and is still highly sought after today.
The DX7 also introduced the concept of patch memory, allowing users to store and recall their custom-created sounds. It had 32 patch memory slots, with each patch containing six operators and various modulation parameters. This gave musicians the flexibility to experiment and create their own unique sound palettes.
In terms of connectivity, the Yamaha DX7 featured multiple inputs and outputs, including MIDI (Musical Instrument Digital Interface) ports for communicating with other MIDI-equipped devices. This made it possible to integrate the DX7 into larger music production setups and control external synthesizers and sequencers.
Although the Yamaha DX7 was initially known for its complexity and steep learning curve, it quickly became a staple in many studios and live performances around the world. Its impact on the music industry cannot be overstated, as it opened up new possibilities for sound design and paved the way for future digital synthesizers.
Today, the Yamaha DX7 remains a classic and sought-after synthesizer among musicians, producers, and collectors alike. Its distinctive and versatile sound continues to inspire and shape the music of various genres, making it a timeless piece of musical history.
Setting Up the Yamaha DX7
Setting up your Yamaha DX7 is a straightforward process that requires a few simple steps. Here’s a guide to help you get started:
- Power On: Begin by plugging in the power cable to the Yamaha DX7 and connecting it to a power outlet. Turn on the power switch located at the back of the synthesizer.
- Audio Connection: Connect the audio output of the DX7 to your audio interface, mixer, or amplifier. You can use either the stereo output or the individual outputs for a more versatile setup.
- MIDI Connection: If you intend to control the DX7 with an external MIDI controller or connect it to other MIDI devices, you’ll need to establish the MIDI connection. Use a standard MIDI cable to connect the MIDI OUT port of the DX7 to the MIDI IN port of your MIDI interface or other MIDI devices.
- Adjusting Volume Settings: Set the volume of your DX7 and any connected audio devices to an appropriate level. You can use the volume knob on the DX7 itself or adjust the levels on your mixer or audio interface.
- Tuning: Before you begin playing, it’s important to tune your Yamaha DX7. Press the FUNCTION button, navigate to the TUNE option, and follow the instructions in the user manual for precise tuning calibration.
Once you have completed these steps, your Yamaha DX7 is ready to be played and enjoyed. Make sure to consult the user manual for any specific instructions or additional setup requirements based on your specific needs. With the DX7 set up, you can now start exploring its vast sound capabilities and create music that pushes the boundaries of electronic soundscapes.
Understanding the Controls and Buttons
The Yamaha DX7 is equipped with a variety of controls and buttons that allow you to shape and manipulate its sound. Understanding these controls is essential for unlocking the full potential of your DX7. Let’s take a closer look at them:
- Power Switch: This switch is located at the back of the DX7 and is used to turn the synthesizer on and off. Make sure it is in the “on” position to power up your DX7.
- Volume Knob: The volume knob controls the overall output level of the DX7. Turning it clockwise increases the volume, while turning it counterclockwise decreases it. Use this knob to balance the volume with other instruments or desired sound levels.
- Function Buttons: The function buttons, located on the front panel, provide access to various functions and settings of the DX7. They allow you to navigate through the menu, select options, and access advanced features.
- Display Screen: The DX7 features a small LCD display screen that provides visual feedback and information about the selected options and parameters. It allows you to see the current patch name, parameters, and other relevant settings.
- Bank/Number Buttons: These buttons let you navigate through the different banks and patch numbers of the DX7. They allow you to select and recall specific patches or sounds during performance or sound design.
- Parameter Knobs: The DX7 has a row of six parameter knobs that correspond to the six operators in FM synthesis. These knobs control various parameters such as envelope settings, frequency ratios, and modulation amounts. Use them to shape and customize the sound according to your preferences.
- Modulation and Pitch Bender Wheels: The modulation wheel allows you to apply modulation effects to the sound in real-time, such as vibrato or tremolo. The pitch bender wheel, on the other hand, allows you to bend the pitch of the notes dynamically for expressive playing.
- Data Entry Slider: The data entry slider is used to select and adjust numerical values and parameters in the DX7. By sliding it up or down, you can navigate through the available options and make precise adjustments to the selected parameter.
- Other Controls: The DX7 also features additional controls like the sustain pedal input, headphone output, MIDI connectors, and various buttons for accessing utility functions and settings.
These controls and buttons, combined with the menu navigation and patch memory system, provide you with complete control over the sound of the Yamaha DX7. Take some time to familiarize yourself with them, experiment with different settings, and explore the sonic possibilities that this iconic synthesizer has to offer.
Programming Sounds on the Yamaha DX7
One of the most exciting aspects of the Yamaha DX7 is the ability to program and create your own unique sounds. By understanding the principles of FM synthesis and exploring the various parameters, you can sculpt truly captivating and expressive sounds. Here’s a step-by-step guide on how to program sounds on the Yamaha DX7:
- Select a Basic Algorithm: The DX7 offers a range of built-in algorithms that determine how the six operators interact with each other. Experiment with different algorithms to find a starting point for your sound design.
- Adjust Operator Parameters: Each operator has its own set of parameters, including the waveform, frequency ratio, envelope settings, and modulation amounts. Play around with these parameters to shape the timbre and character of each operator.
- Create Envelopes: Envelopes control how the sound evolves over time. There are envelopes for the amplitude, frequency, and other parameters. Adjust the attack, decay, sustain, and release stages to achieve the desired shape and dynamics for your sound.
- Add Modulation: FM synthesis thrives on modulation. Experiment with different modulation sources and destinations to create movement and complexity in your sound. Use the modulation matrix to assign operators as modulators or carriers and adjust the modulation depth to achieve the desired effect.
- Refine and Tweak: Fine-tune each operator’s settings, carefully listening to how they interact with one another. Make incremental adjustments to achieve the desired balance and tonal characteristics.
- Save Your Patch: Once you are happy with your sound design, save your patch to one of the available patch memory slots. Give it a memorable name, so you can recall it easily in the future.
Remember, programming sounds on the Yamaha DX7 can be a process of exploration and experimentation. Start with a basic idea and let your creativity guide you. Take the time to listen and understand how each parameter affects the overall sound. With practice, you’ll develop a deep understanding of FM synthesis and be able to create a wide range of unique and captivating sounds on your Yamaha DX7.
Creating and Editing Patches
With the Yamaha DX7, you have the opportunity to create and edit patches to suit your musical vision. Whether you want to tweak existing presets or start from scratch, here’s a guide on how to create and edit patches on the Yamaha DX7:
- Select a Blank Patch: To create a new patch, start by selecting an empty patch slot or one that you wish to overwrite. Use the bank and number buttons to navigate through the patch memory and find an available location.
- Adjust Operator Parameters: Each operator in the DX7 has various parameters that determine its sound. Experiment with different waveforms, frequency ratios, and envelope settings to shape the tone and character of each operator.
- Set Algorithm and Feedback: The algorithm determines how the operators are connected and interact with one another. Explore different algorithms to find the most suitable one for your desired sound. Additionally, you can introduce feedback to add complexity and richness to the sound.
- Tweak Envelope Settings: Envelopes control how the sound evolves over time. Adjust the attack, decay, sustain, and release stages to shape the dynamics and contour of your sound. Fine-tune these parameters to achieve the desired expressiveness.
- Assign Modulation Sources and Destinations: Modulation adds movement and depth to your sound. Use the modulation matrix to assign operators as modulators or carriers and adjust the modulation depth. Experiment with different modulation sources and destinations to create interesting and evolving textures.
- Experiment and Listen: As you tweak the parameters, take the time to listen carefully to the changes in sound. Pay attention to how each adjustment affects the overall character and timbre. Don’t be afraid to experiment and trust your ears.
- Save Your Patch: Once you are satisfied with your edits, save your custom patch to a memory slot. Assign a memorable name to easily recall it in the future.
Editing patches on the Yamaha DX7 allows you to personalize the sound and make it truly your own. Whether you want to create unique synth leads, lush pads, or complex textures, the DX7 offers a powerful platform for your sonic explorations. Take the time to dive into the various parameters and unleash your creativity to craft patches that inspire and captivate.
Using the Built-in Effects
The Yamaha DX7 comes equipped with a range of built-in effects that can enhance and shape your sounds. These effects allow you to add richness, depth, and character to your patches. Here’s a guide on how to use the built-in effects on the Yamaha DX7:
- Chorus: The DX7 features a chorus effect that adds a sense of movement and richness to your sound. You can adjust the depth and rate of the chorus to create a subtle shimmer or a more pronounced modulation effect.
- Reverb: The reverb effect in the DX7 adds spaciousness and ambiance to your sounds. It simulates the reverberation of a physical space and can be adjusted to achieve anything from subtle room reflections to large hall reverberation.
- Delay: The delay effect in the DX7 allows you to add echoes to your sound. You can adjust the delay time, feedback, and level to create rhythmic patterns or atmospheric textures.
- EQ: The EQ (equalizer) effect lets you shape the frequency response of your sound. You can boost or cut specific frequency ranges to emphasize or reduce certain elements of the sound, such as bass or treble.
- Flanger: The flanger effect creates a distinctive sweeping sound by combining two identical signals and modulating the phase difference between them. It adds a unique character and can be adjusted for different intensities and speeds.
To use the effects on the Yamaha DX7, follow these steps:
- Access the Effects Menu: Press the FUNCTION button and navigate to the menu where the effects parameters are located. Consult the user manual for precise instructions on accessing the effects menu.
- Select the Desired Effect: Choose the effect you want to use from the available options in the menu.
- Adjust the Parameters: Once the effect is selected, use the data entry slider or knobs to adjust the parameters of the effect. This may include depth, rate, time, feedback, or other relevant settings.
- Apply the Effect: Enable the effect by selecting the appropriate option in the menu. You should now hear the effect being applied to your sound.
- Experiment and Fine-tune: Take the time to experiment with different effect settings and combinations. Listen closely to how the effects transform your sound. Adjust the parameters to achieve the desired result.
Using the built-in effects on the Yamaha DX7 can elevate your sound design and add a professional touch to your patches. From subtle enhancements to bold transformations, these effects allow you to create unique and captivating sounds that stand out. Have fun exploring the possibilities and let your creativity soar.
Connecting the Yamaha DX7 to External Devices
The Yamaha DX7 offers various connectivity options that allow you to integrate it with external devices such as MIDI controllers, audio interfaces, and amplifiers. These connections open up a world of possibilities for performance, recording, and sound expansion. Here’s a guide on how to connect the Yamaha DX7 to external devices:
- MIDI Connection: The MIDI ports on the Yamaha DX7 allow you to connect it to other MIDI-enabled devices such as synthesizers, sequencers, and computers. Use a standard MIDI cable to connect the MIDI OUT port of the DX7 to the MIDI IN port of the external device.
- Control the DX7 with a MIDI Controller: If you have a MIDI controller, you can use it to play and control the Yamaha DX7. Connect the MIDI OUT port of the MIDI controller to the MIDI IN port of the DX7 using a MIDI cable. This allows you to use the keyboard and other controls of the MIDI controller to interact with the DX7.
- Audio Connection: Connect the audio output of the Yamaha DX7 to an audio interface, mixer, or amplifier. You can use either the stereo output or the individual outputs for a more versatile setup. Use balanced audio cables, such as TRS or XLR cables, for optimal audio quality.
- External Sound Processing: If you want to process the sound of the DX7 through external effects processors or plugins, you can connect the audio output of the DX7 to the input of the effects processor or audio interface. Then, connect the output of the effects processor or audio interface back to the input of your sound system or audio interface.
- Synchronization with MIDI Clock: The Yamaha DX7 can be synchronized with other MIDI devices using MIDI Clock. This allows you to keep everything in sync when recording or performing with multiple devices. Connect the MIDI OUT of the master device to the MIDI IN of the DX7 to ensure that the DX7 follows the timing of the master device.
By connecting the Yamaha DX7 to external devices, you can expand its capabilities, explore new sonic territories, and integrate it seamlessly into your music production setup. Experiment with different connections, explore MIDI functionality, and unleash the full potential of your Yamaha DX7.
Troubleshooting Common Issues
While the Yamaha DX7 is a reliable and high-quality synthesizer, you may encounter some common issues during your usage. Here are a few troubleshooting tips to help you resolve these issues:
- No Sound Output: If you’re not getting any sound output from your DX7, first check that all cable connections are secure. Ensure that the volume is turned up, both on the DX7 itself and any connected audio devices. Also, verify that the correct audio output is selected on your audio interface or mixer.
- No Power: If your DX7 is not turning on, check the power cable connection and make sure it is securely plugged into a power outlet. Confirm that the power switch on the back of the DX7 is turned on. If the problem persists, try using a different power outlet or power cable.
- Stuck or Unresponsive Keys: If you encounter stuck or unresponsive keys, carefully inspect the affected area for any debris or obstructions. Gently clean the keys with a soft cloth and some isopropyl alcohol. If the issue persists, it may require professional servicing to address any mechanical or electrical faults.
- Software or Parameter Issues: If you’re experiencing software glitches or parameter issues, consider performing a factory reset on your DX7. This will revert all settings back to the original factory defaults. Consult the user manual for instructions on how to perform a factory reset. Remember to back up any custom patches or settings before initiating a reset.
- MIDI Communication Problems: If you’re having difficulties with MIDI communication between the DX7 and other devices, ensure that the MIDI cables are connected correctly and functioning properly. Check the MIDI channel settings on both the DX7 and the receiving device to ensure they are set to the same channel. Additionally, verify that MIDI cables are not plugged into the Through port if it’s not intended for routing MIDI messages.
- Unusual Sounds or Noise: If you encounter unusual sounds or noise coming from your DX7, first make sure that all connections are secure and that there are no loose cables. If the issue persists, it may be related to internal circuitry or component issues, which should be addressed by a qualified technician.
If you continue to experience issues with your Yamaha DX7 that are not resolved by these troubleshooting steps, it is recommended to consult the user manual or get in touch with Yamaha customer support for further assistance. They will be able to provide specialized guidance and solutions specific to your situation.
Remember, regular maintenance and care can go a long way in preventing and minimizing potential issues. Keep your DX7 clean, protect it from extreme temperatures and humidity, and handle it with care to ensure years of reliable performance and enjoyment.
Conclusion
The Yamaha DX7 is a legendary synthesizer that has shaped the sound of music over the years. With its iconic FM synthesis engine, extensive sound-shaping capabilities, and versatile connectivity options, the DX7 continues to be a favorite among musicians and producers.
In this article, we explored various aspects of the Yamaha DX7, including an overview of its features, setting it up, understanding its controls and buttons, programming sounds, creating and editing patches, using the built-in effects, connecting it to external devices, and troubleshooting common issues.
By understanding the intricacies of FM synthesis, experimenting with different parameters, and utilizing the extensive features of the DX7, you can unlock a world of sonic possibilities and create unique and captivating sounds. Whether you’re looking for vintage electric piano tones, lush pads, experimental textures, or anything in between, the DX7 has the tools to bring your musical ideas to life.
Remember to consult the user manual and explore online resources to further expand your knowledge and understanding of the Yamaha DX7. Connect with the DX7 community, share your experiences, and learn from other users to enhance your skills and explore new creative avenues.
With creativity, patience, and a thorough understanding of the Yamaha DX7, you’ll be able to create music that pushes boundaries and stands out from the crowd. So, dive into the world of the Yamaha DX7 and let your imagination soar!