Home>Events & Info>Playback>How To Change Playback Speed Windows Media Player
Playback
How To Change Playback Speed Windows Media Player
Modified: January 22, 2024
Learn how to change the playback speed in Windows Media Player. Adjust the speed to suit your preference easily with step-by-step instructions.
(Many of the links in this article redirect to a specific reviewed product. Your purchase of these products through affiliate links helps to generate commission for AudioLover.com, at no extra cost. Learn more)
Table of Contents
Introduction
Windows Media Player is a popular media player that allows you to play various audio and video files on your Windows computer. One of the useful features of Windows Media Player is the ability to change the playback speed of media files. Whether you want to speed up a video for quick viewing or slow down an audio file for better comprehension, adjusting the playback speed can greatly enhance your media playback experience.
In this article, we will guide you through the process of changing the playback speed in Windows Media Player. We’ll walk you step-by-step through the process, making it easy for you to control the playback speed of your media files.
Before we dive into the steps, it’s important to note that not all versions of Windows Media Player have the playback speed control feature. Typically, this feature is available in Windows Media Player versions 11 and later. If you have an older version of Windows Media Player installed on your computer, you might need to upgrade to a more recent version to access the playback speed control.
Now without further ado, let’s jump into the process of changing the playback speed in Windows Media Player.
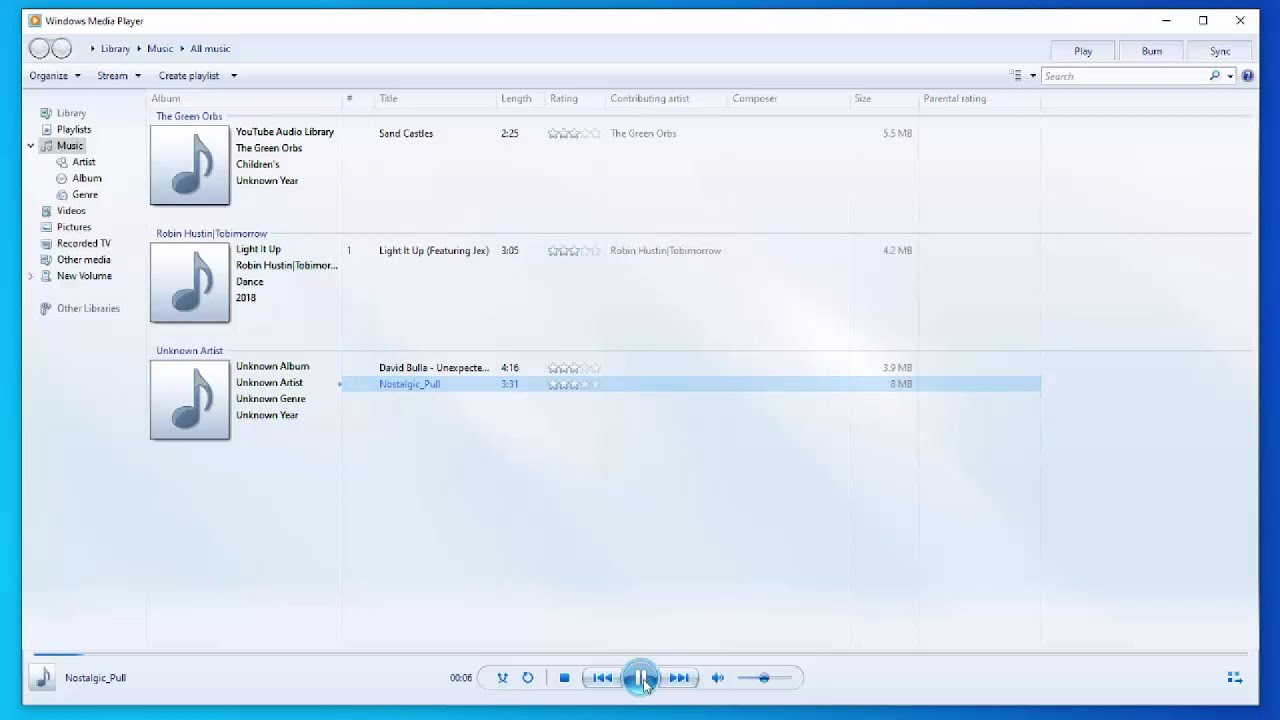
Step 1: Open Windows Media Player
The first step to changing the playback speed in Windows Media Player is to open the application. Here’s how you can do it:
- Click on the “Start” button on your desktop and type “Windows Media Player” in the search bar.
- From the list of search results, click on the “Windows Media Player” application to open it. Alternatively, you can also find the Windows Media Player shortcut in your “Start” menu or on your taskbar.
Once you have opened Windows Media Player, you will see the interface with various options and controls.
If you don’t have Windows Media Player installed on your computer, you can download it from the official Microsoft website. Simply search for “Windows Media Player download” and follow the instructions to install it on your system.
Now that you have successfully opened Windows Media Player, we can move on to the next step of changing the playback speed of your media files.
Step 2: Select the media file you want to play
After opening Windows Media Player, the next step is to select the media file that you want to play and adjust the playback speed for. Follow these simple steps to select your desired media file:
- Click on the “File” tab located at the top-left corner of the Windows Media Player interface.
- In the dropdown menu, click on “Open” or use the keyboard shortcut “Ctrl + O” to open the file explorer.
- Navigate to the location where your media file is stored, such as your “Documents” or “Downloads” folder.
- Once you have located the media file, click on it to select it, and then click on the “Open” button at the bottom-right corner of the file explorer window.
Windows Media Player will now load and play the selected media file. You will see the video or hear the audio, depending on the type of file you have selected.
If you have a collection of media files organized in Windows Media Player’s library, you can also select a file from there. Simply click on the “Library” tab located at the top-left corner of the interface, and then browse through your media library to find the file you want to play.
Now that you have selected the media file you want to play, it’s time to move on to the next step and access the playback controls to adjust the speed.
Step 3: Access the playback controls
Once you have selected the media file you want to play, the next step is to access the playback controls in Windows Media Player. These controls will allow you to adjust the playback speed of your media file. Here’s how you can access the playback controls:
- Make sure the media file is currently playing in Windows Media Player.
- Look for the playback controls at the bottom of the Windows Media Player interface.
- The playback controls typically include buttons for play, pause, stop, forward, and rewind.
To access the additional playback options, including the playback speed control, follow these steps:
- Right-click anywhere on the playback controls area.
- A context menu will appear with a list of options.
- From the context menu, hover over the “Enhancements” option.
- A sub-menu will appear with various enhancement options.
- Select the “Play speed settings” option from the sub-menu.
By following these steps, you will now have access to the playback speed settings in Windows Media Player.
Alternatively, if you prefer using keyboard shortcuts, you can press “Ctrl + Shift + G” to directly access the “Play speed settings” menu.
Now that you have accessed the playback controls and settings, we can move on to the next step and adjust the playback speed according to your preference.
Step 4: Adjust the playback speed
Now that you have accessed the playback speed settings in Windows Media Player, it’s time to adjust the playback speed of your media file. Follow these steps to change the playback speed:
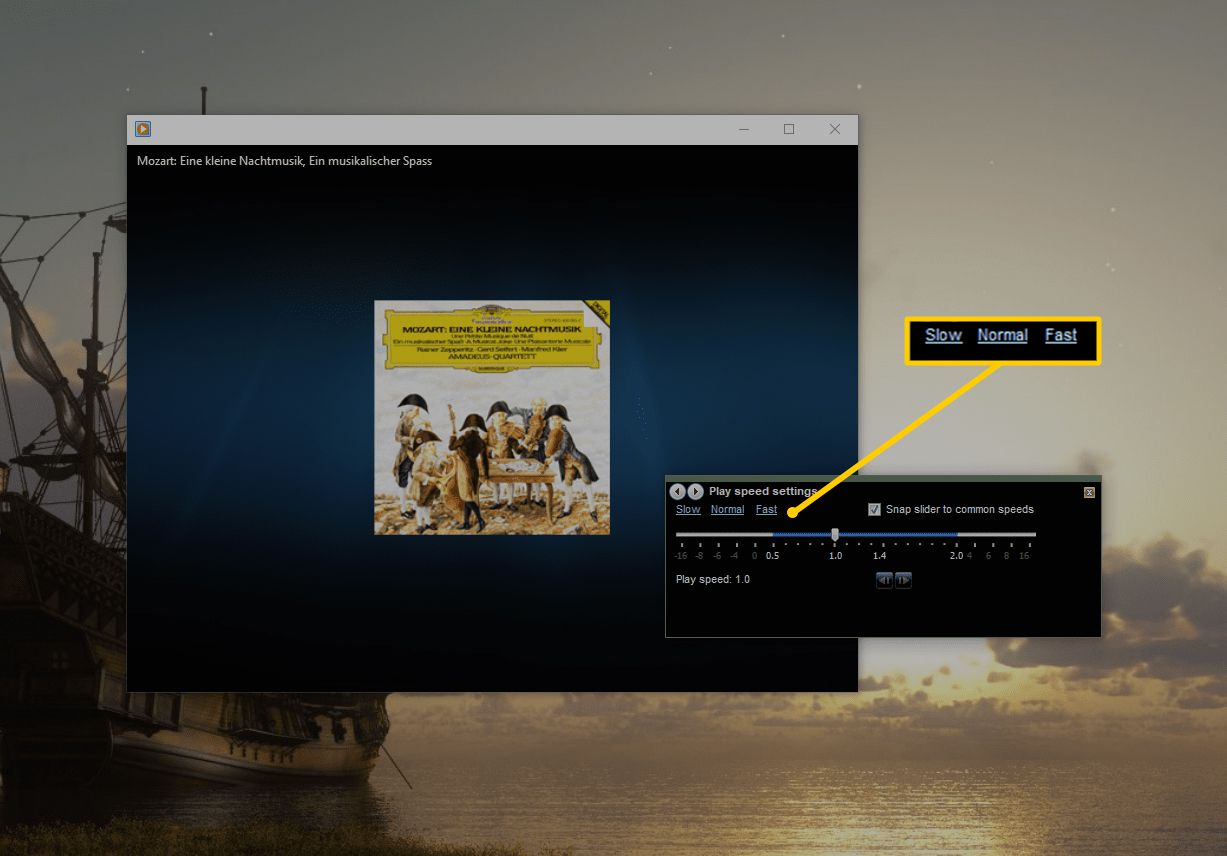
- In the “Play speed settings” menu, you will see a slider labeled “Speed.”
- Drag the slider to the right to increase the playback speed. Moving it towards the left will decrease the speed.
- As you move the slider, you will see the speed value change accordingly.
- The speed value is represented as a multiplier, where 1.0x is the normal playback speed.
- You can adjust the speed to values like 0.5x (half the original speed), 1.5x (1.5 times faster), or even higher or lower depending on your preference.
While adjusting the playback speed, you can listen to or watch the media file to find the speed that suits your needs. Experiment with different speed settings until you find the desired playback speed.
It’s worth noting that changing the playback speed may affect the audio pitch in some cases. Higher playback speeds might result in a higher-pitched sound, while slower speeds can lower the pitch of the audio. Keep this in mind when adjusting the speed, especially for audio files where the pitch might be crucial.
Once you are satisfied with the playback speed adjustment, you can proceed to the next step to test the new speed and experience the changes in your media file.
Step 5: Test the new playback speed
After adjusting the playback speed in Windows Media Player, it’s important to test the new speed to ensure it meets your requirements. Follow these steps to test the new playback speed:
- Resume playing the media file in Windows Media Player by clicking the “Play” button on the playback controls.
- As the file is playing, observe the changes in the playback speed.
- Listen to the audio or watch the video to determine if the new speed is suitable.
- If necessary, pause the playback and adjust the speed again using the steps mentioned in the previous section.
- Repeat this process until you achieve the desired playback speed.
During the testing phase, pay attention to factors like clarity, readability, comprehension, and overall enjoyment of the media content. Depending on the type of media file, certain speeds may provide a better experience than others.
If you are testing the playback speed for a video file, ensure that the video remains smooth and free from any distortion or choppiness. If you are testing the speed for an audio file, ensure that the audio remains clear and easy to understand, without any noticeable loss in quality.
By thoroughly testing the new playback speed, you can make informed adjustments and find the optimal speed for your media file.
Once you are satisfied with the new playback speed and have confirmed that it enhances your media playback experience, you can move on to the next step to learn how to restore the default playback speed.
Step 6: Restore default playback speed
If you want to revert the playback speed back to its default setting in Windows Media Player, follow these simple steps:
- Access the “Play speed settings” menu again by right-clicking on the playback controls area.
- In the menu, you will see the playback speed slider that you previously adjusted.
- Drag the slider back to the center position, which represents the default playback speed of 1.0x.
- Alternatively, you can also click on the “Reset speed to normal” option in the “Play speed settings” menu to instantly restore the speed to its default value.
Once you have reset the playback speed, the media file will play back at its original speed in Windows Media Player.
It’s important to note that restoring the default speed will undo any adjustments you made, erasing the changes you previously made to the playback speed.
If you wish to adjust the speed again after restoring the default setting, you can follow the steps mentioned earlier in this article.
Congratulations! You have successfully learned how to change the playback speed in Windows Media Player and how to restore it to its default setting. This feature enables you to tailor your media playback experience to your preferences and needs, whether you want to speed up a video for quick viewing or slow down an audio file for better comprehension.
Now you can enjoy your media files at the desired playback speed and have a more personalized and immersive media experience in Windows Media Player.
Conclusion
Changing the playback speed in Windows Media Player allows you to have greater control over your media playback experience. Whether you need to speed up a video for quick scanning or slow down an audio file for better comprehension, adjusting the playback speed can significantly enhance your overall experience.
In this article, we walked you through the step-by-step process of changing the playback speed in Windows Media Player. From opening the application, selecting the media file, and accessing the playback controls to adjusting the speed and testing the changes, we covered everything you need to know.
Remember to explore and experiment with different playback speeds to find the setting that suits your preferences and needs. Pay attention to factors like clarity, comprehension, and overall enjoyment of the media content as you test different speeds.
If at any point you wish to revert to the default playback speed, we provided simple instructions on how to restore it to the original setting.
By utilizing the playback speed feature in Windows Media Player, you can personalize your media playback experience and tailor it to your liking. Whether you’re watching videos, listening to music, or playing audio files, adjusting the playback speed can provide you with greater flexibility and convenience.
Now, armed with the knowledge and steps provided in this article, go ahead and explore the possibilities of changing the playback speed in Windows Media Player. Enjoy your media files at the perfect speed that best suits your needs and preferences!