Home>Events & Info>Playback>How To Pin Playback Devices To Windows 10 Taskbar
Playback
How To Pin Playback Devices To Windows 10 Taskbar
Modified: January 22, 2024
Learn how to pin your favorite playback devices to the Windows 10 taskbar for easy access and control. Streamline your audio experience with this simple guide.
(Many of the links in this article redirect to a specific reviewed product. Your purchase of these products through affiliate links helps to generate commission for AudioLover.com, at no extra cost. Learn more)
Table of Contents
Introduction
Windows 10 offers a variety of convenient features that allow users to personalize their desktop and streamline their workflow. One such feature is the ability to pin playback devices to the taskbar, providing quick and easy access to audio settings. Whether you frequently switch between headphones, speakers, or other audio output devices, pinning playback devices to the taskbar can save you time and effort.
In this article, we will explore three methods to pin playback devices to the Windows 10 taskbar. These methods will cater to different preferences and user interface preferences, allowing you to choose the one that suits your workflow best. By following these simple steps, you can ensure that your desired playback devices are just a click away, improving your overall audio experience on your Windows device.
So, without further ado, let’s dive into the details of each method and learn how to pin playback devices to the taskbar in Windows 10!
Method 1: Pinning Playback Devices through the System Tray
The system tray, located in the bottom-right corner of the Windows 10 desktop, is home to various icons and shortcuts for easy access to system settings. Pinning your playback devices to the system tray ensures that they are always within reach, allowing you to quickly switch between them whenever necessary.
Here are the steps to pin playback devices through the system tray:
- Locate the speaker icon in the system tray. It is usually positioned on the far right.
- Right-click on the speaker icon to open a context menu.
- In the context menu, select “Sounds” or “Open Sound settings” to launch the Sound settings window.
- In the Sound settings window, navigate to the “Playback” tab.
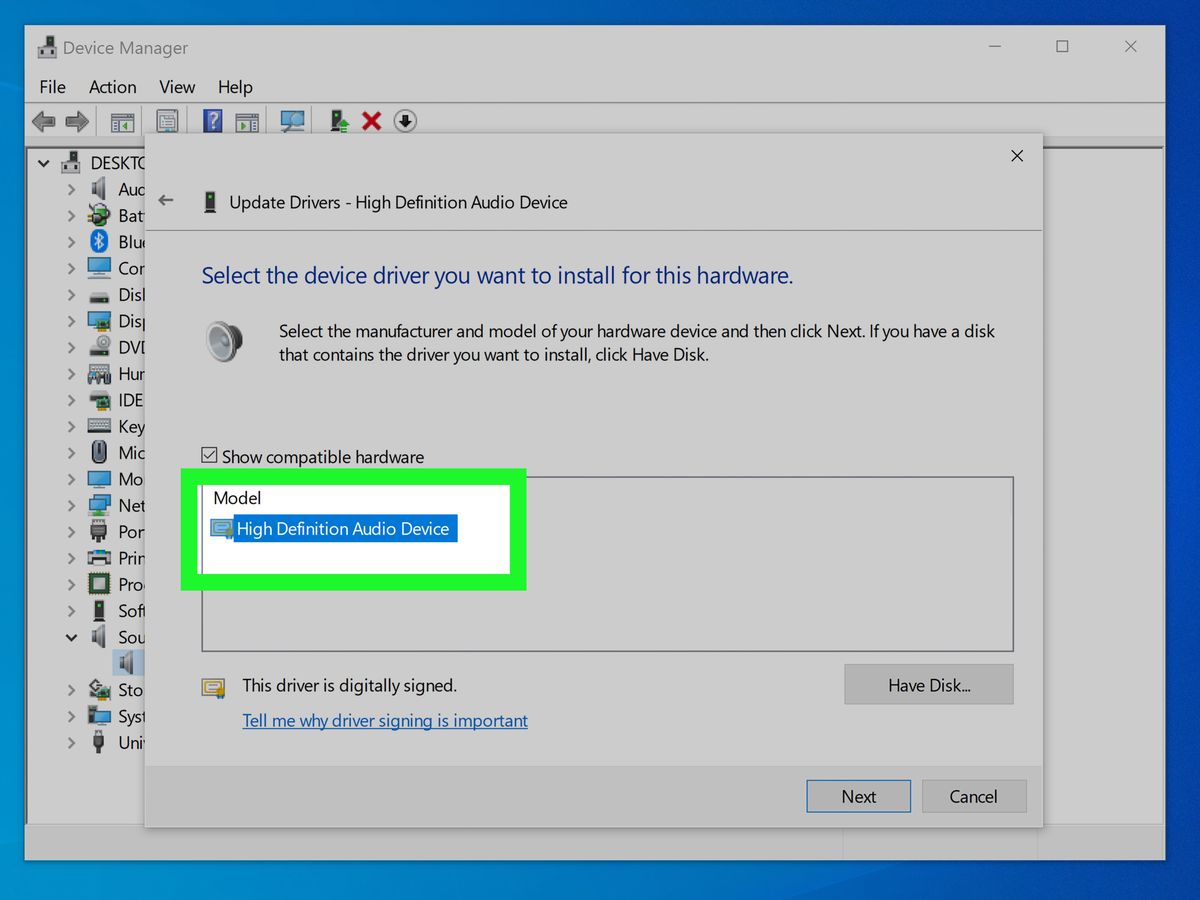
- Find the playback device you wish to pin to the taskbar and right-click on it.
- In the context menu, select “Create Shortcut.”
- A prompt will appear asking if you want to create a shortcut on the desktop. Click “Yes” to proceed.
- Once the shortcut is created, you can close the Sound settings window.
- Locate the shortcut on your desktop and right-click on it.
- Select “Pin to taskbar” from the context menu.
And that’s it! You have successfully pinned your playback device to the taskbar through the system tray. Now, whenever you need to switch between audio output devices, simply click the device’s icon on the taskbar, and the corresponding sound settings window will open, allowing you to manage your preferred playback settings with ease.
Method 2: Pinning Playback Devices through the Sound Settings
If you prefer a more direct approach to pinning playback devices, you can utilize the Sound settings in Windows 10. This method allows you to access the playback devices directly from the taskbar, eliminating the need to go through the system tray context menu. Here’s how you can do it:
- Right-click anywhere on the empty space on the taskbar.
- In the context menu that appears, hover over the “Taskbar” option and click on “Taskbar settings.”
- The Taskbar settings window will open. Scroll down and search for the “Notification area” section.
- Click on the “Select which icons appear on the taskbar” link.
- A new window will open, displaying a list of available icons. Scroll down and locate the “Volume” icon.
- Toggle the switch next to the “Volume” icon to turn it on.
- Once the “Volume” icon is enabled, click on the back arrow at the top left corner of the window to return to the Taskbar settings.
- Scroll down to find the “Taskbar” section.
- In the “Taskbar” section, click on the “Turn system icons on or off” link.
- In the subsequent window, toggle the switch next to “Volume” to turn it on.
- Close the Settings window.
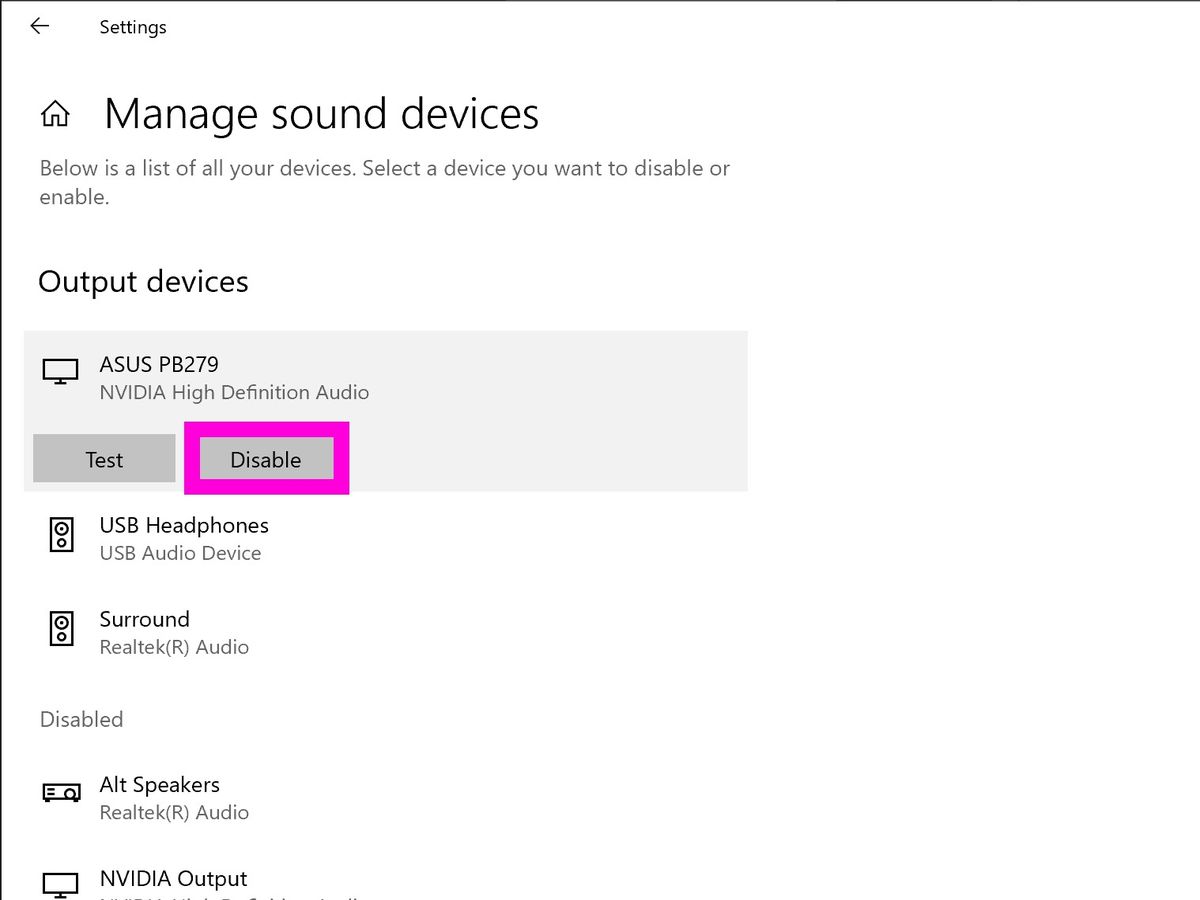
Now you’ll see the volume icon in your taskbar. To access your playback devices, simply click on the volume icon. This will open a mini pop-up window displaying the currently active playback device.
To switch to a different playback device, click on the name of the current device. A dropdown menu will appear, listing all available playback devices. Click on the desired device, and it will automatically switch to that device for audio output.
By following these steps, you can easily pin playback devices to the taskbar through the Sound settings in Windows 10. This method provides a convenient way to manage your audio devices without the need for additional software or shortcuts.
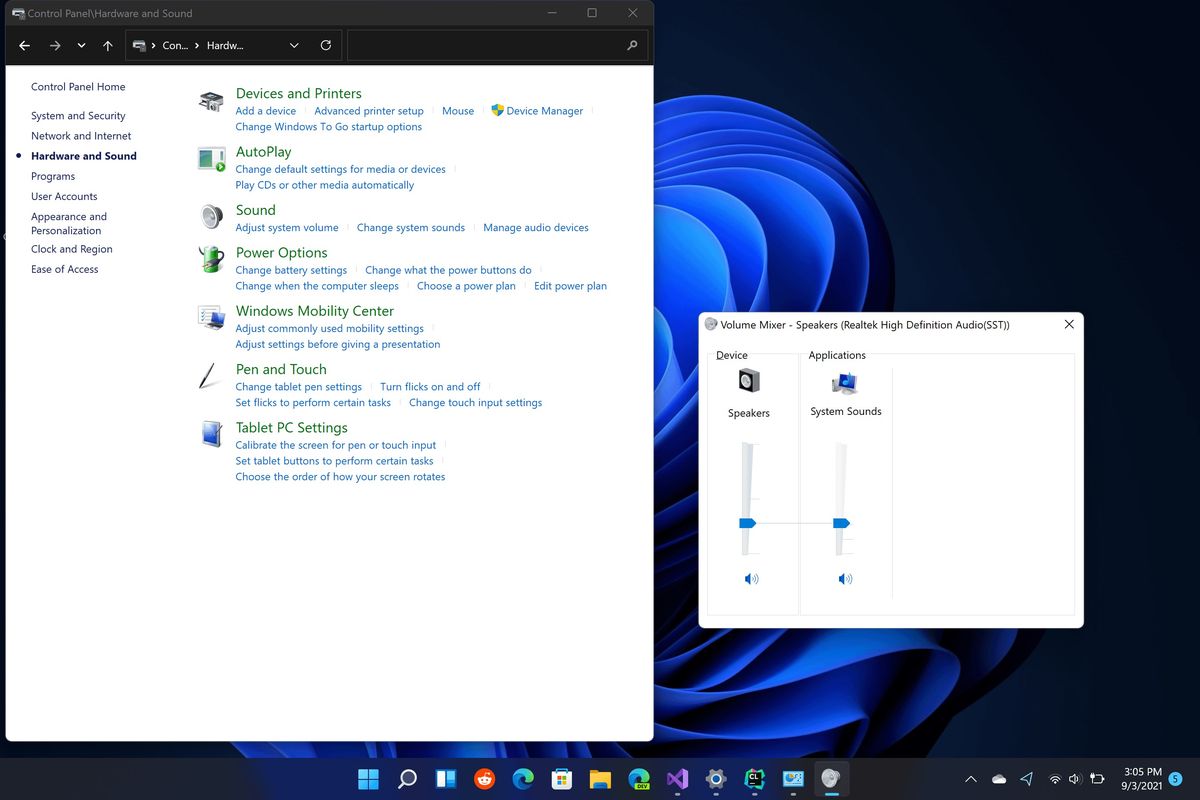
Method 3: Pinning Playback Devices through the Control Panel
If you prefer a more traditional approach, you can pin playback devices to the Windows 10 taskbar through the Control Panel. While the Control Panel has been gradually replaced by the Settings app, it still offers more advanced customization options for certain features, including audio settings. Here’s how you can utilize the Control Panel to pin playback devices:
- Right-click on the Start button to open the power user menu.
- In the power user menu, click on “Control Panel” to launch the Control Panel.
- In the Control Panel window, set the view to “Large icons” or “Small icons” to display all available options.
- Locate and click on the “Sound” icon to open the Sound settings window.
- In the Sound settings window, navigate to the “Playback” tab.
- Find the playback device you want to pin to the taskbar and right-click on it.
- In the context menu, select “Create shortcut on desktop.”
- Close the Sound settings window and minimize the Control Panel window.
- Locate the shortcut icon for the playback device on your desktop and right-click on it.
- Select “Pin to taskbar” from the context menu.
Congratulations! You have successfully pinned a playback device to the taskbar through the Control Panel. Now, whenever you need to switch between audio output devices, simply click on the pinned device’s icon on the taskbar. This will open the Sound settings window, allowing you to modify and manage your playback settings effortlessly.
While the Control Panel may not be as streamlined as newer Windows settings interfaces, it still offers a reliable and functional method to pin playback devices to the taskbar. This method is particularly useful for those who prefer a more traditional and comprehensive approach to audio settings customization.
Conclusion
Pinpointing the right playback device for your audio needs is essential for an optimal experience. Windows 10 provides several methods for pinning playback devices to the taskbar, allowing you to effortlessly switch between audio output options.
In this article, we explored three methods for pinning playback devices to the taskbar in Windows 10. Method 1 showed us how to pin devices through the system tray, Method 2 explained how to pin devices through the Sound settings, and Method 3 demonstrated how to pin devices through the Control Panel.
By following these step-by-step instructions, you can conveniently access and switch between your preferred playback devices with just a click, saving you time and effort. Whether you prefer the ease of the system tray, the directness of the Sound settings, or the classic approach of the Control Panel, Windows 10 offers flexibility to suit your preferences.
Remember, pinning playback devices to the taskbar ensures easy access to your audio settings, allowing you to seamlessly switch between headphones, speakers, or any other audio output devices with just a click.
So, go ahead and try out these methods to enhance your audio experience on Windows 10. Enjoy the convenience of having your desired playback devices at your fingertips and optimize your workflow!