Home>Production & Technology>MP3>How To Convert A CDA File To MP3 Using Windows Media Player


MP3
How To Convert A CDA File To MP3 Using Windows Media Player
Modified: January 22, 2024
Learn how to convert a CDA file to MP3 using Windows Media Player. Follow these step-by-step instructions to easily convert your audio files.
(Many of the links in this article redirect to a specific reviewed product. Your purchase of these products through affiliate links helps to generate commission for AudioLover.com, at no extra cost. Learn more)
Table of Contents
Introduction
Are you looking to convert a CDA file to an MP3 file format? Well, you’re in luck because we have the perfect solution for you! In this article, we will guide you through the step-by-step process of converting a CDA file to MP3 using Windows Media Player.
CD Audio (CDA) files are a standard file format used on audio CDs. However, CDA files cannot be directly played on various portable devices or media players. On the other hand, MP3 files are widely supported and can be played on almost any device. Converting CDA files to MP3 format allows you to enjoy your favorite music on a wider range of devices, such as smartphones, tablets, and MP3 players.
Windows Media Player is a default media player included in Windows operating systems. It offers a convenient and straightforward method to convert CDA files to MP3. No additional software or complicated steps are required, making it an ideal choice for beginners and those looking for a quick solution.
Now, let’s dive into the step-by-step process of converting a CDA file to MP3 using Windows Media Player.
Step 1: Open Windows Media Player
The first step in converting a CDA file to MP3 is to open Windows Media Player. You can usually find it in the “Start” menu or by searching for it in the Windows search bar.
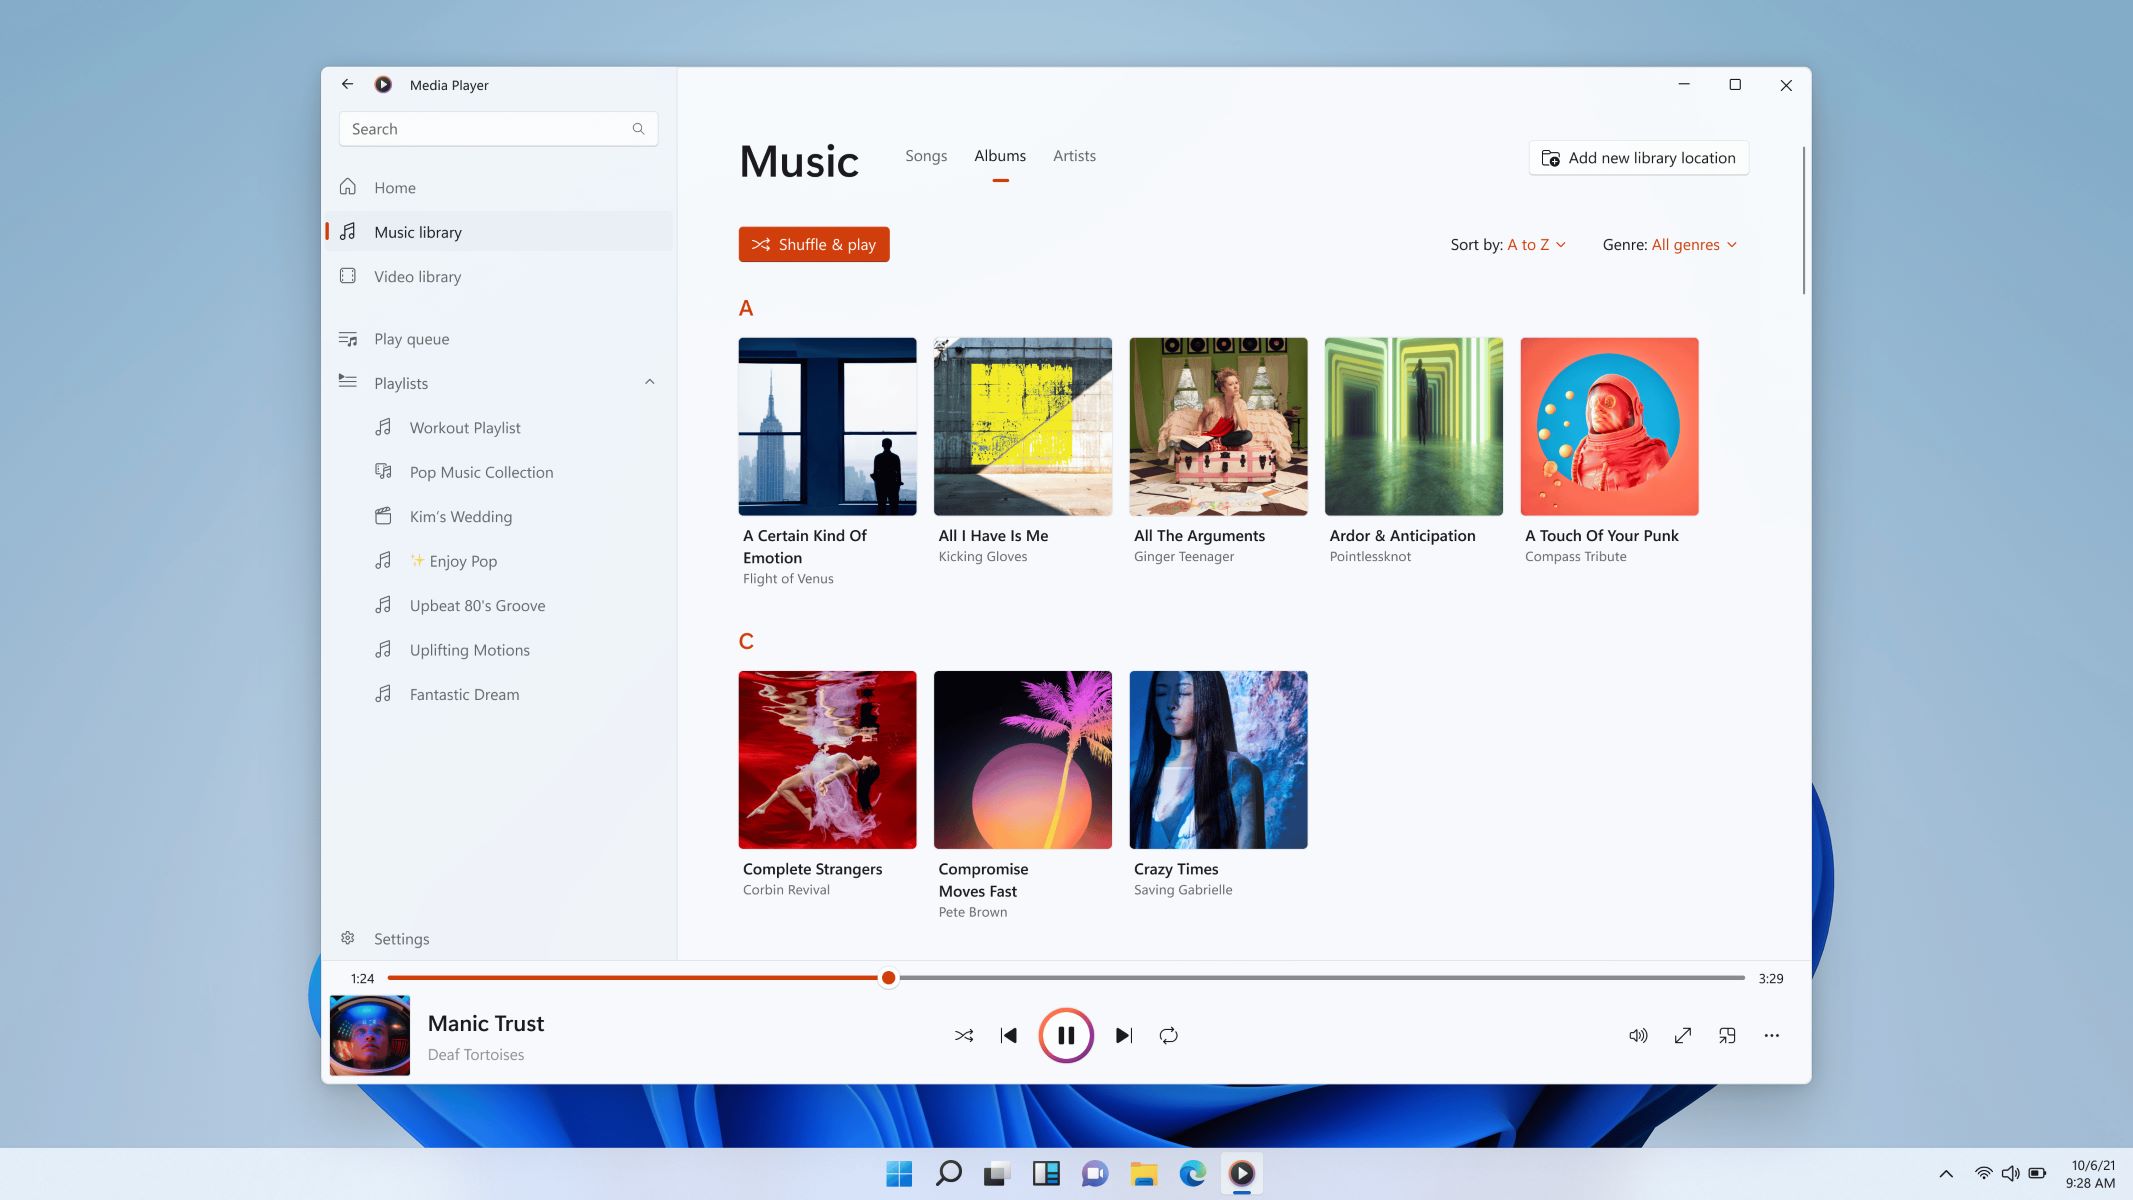
Once you’ve located and opened Windows Media Player, you will be greeted with its user-friendly interface. This media player allows you to not only play audio and video files but also perform various tasks, including ripping CDs and converting audio files.
Windows Media Player supports Windows operating systems, including Windows 10, Windows 8, and Windows 7. If you’re using a different media player or a different operating system, the steps may vary. However, the general concept of converting CDA to MP3 will remain the same.
If you don’t already have Windows Media Player installed on your computer, you can download it for free from the official Microsoft website. Make sure to download the compatible version for your operating system.
Once you have Windows Media Player open and ready to go, you can proceed to the next step in converting your CDA file to MP3.
Step 2: Insert the CD with the CDA file
After opening Windows Media Player, the next step in converting a CDA file to MP3 is to insert the CD that contains the CDA file into your computer’s CD drive. Make sure to place the CD properly with the label side facing up.
Windows Media Player will automatically detect the CD and display it in the player’s navigation pane. It will also retrieve the details and track information of the CD, such as the artist, album name, and track titles.
If Windows Media Player does not automatically detect the CD, you can manually add it by clicking on the “File” tab located in the top left corner of the player’s interface. From there, select the “Add to Library” option and choose the CD drive where the CD is inserted.
Once the CD is recognized by Windows Media Player, you will see its contents and tracklist displayed in the player’s main window. This will allow you to select the desired tracks to convert to MP3 format.
It’s important to note that if your computer does not have a CD drive, you can also convert CDA files to MP3 by using digital audio extraction (DAE) software. These programs allow you to rip the audio tracks from the CD and save them as digital files on your computer. Once you have the audio files saved, you can then proceed to convert them to MP3.
With the CD inserted and recognized by Windows Media Player, you are now ready to move on to the next step and begin the conversion process.
Step 3: Rip the CD
Now that you have inserted the CD into your computer’s CD drive and it is recognized by Windows Media Player, it’s time to rip the CD. Ripping is the process of extracting the audio tracks from the CD and converting them into digital audio files, such as MP3.
To start the ripping process, navigate to the top menu of Windows Media Player and click on the “Rip” tab. This will open up the rip settings and options.
Windows Media Player will automatically select the tracks to rip based on the default settings. However, if you only want to convert specific tracks, you can deselect the ones you don’t want by unchecking the boxes next to their titles. This gives you the flexibility to choose which tracks you want to convert to MP3.
If you want to rip the entire CD, leave all the tracks selected. Additionally, you can adjust the order of the tracks by dragging and dropping them into the desired sequence.
Before initiating the ripping process, take a moment to review the additional rip options. You can access them by clicking on the “More options” link, which is located below the track listing. Here, you can configure settings such as the audio format (MP3), audio quality (bit rate), and file naming convention.
Once you have selected the desired tracks and adjusted the rip settings if necessary, you are ready to start ripping the CD. Simply click on the “Start Rip” button, usually located at the top-right corner of the Windows Media Player window.
Windows Media Player will begin the ripping process, and you will see a progress bar indicating the status of each track being ripped. The time it takes to rip the CD will depend on the number of tracks and the speed of your computer’s CD drive.
Once the ripping process is complete, you can proceed to the next step and choose the destination folder for the MP3 files.
Step 4: Change the rip settings
Before you start ripping the CD and converting the tracks to MP3 format, you have the option to change the rip settings in Windows Media Player. These settings allow you to customize the audio format, quality, and file naming convention for the MP3 files.
To access the rip settings, navigate to the top menu of Windows Media Player and click on the “Rip” tab. From there, click on the “More options” link located below the track listing. This will open the rip settings window.
In the rip settings window, you will see several tabs that enable you to modify different aspects of the ripping process.
The “Rip Music” tab allows you to select the audio format for the ripped files. By default, Windows Media Player uses the Windows Media Audio (WMA) format. However, if you want to convert the tracks to MP3, you can select “MP3” from the drop-down menu. MP3 is a widely supported audio format that offers good quality and compatibility across various devices and media players.
Next, you can customize the audio quality by adjusting the bit rate. A higher bit rate results in better audio quality but larger file sizes. Conversely, a lower bit rate sacrifices some audio quality to reduce file sizes. You can slide the quality bar to choose the desired bit rate, or you can select the “Specify a bit rate” option and enter a specific value.
Furthermore, under the “Rip Music” tab, you can choose the file naming convention for the ripped files. By default, Windows Media Player uses a combination of the track number and title as the file name. However, you can modify it according to your preferences by selecting the “File name” option and choosing from the available tags, such as artist, album, and genre.
After making the necessary changes to the rip settings, click the “OK” button to apply the modifications and return to the main Windows Media Player window.
It’s worth mentioning that the default rip settings are typically sufficient for most users. However, if you are looking for more control over the audio format, quality, and file naming, the rip settings in Windows Media Player provide a convenient way to customize the ripping process according to your preferences.
Now that you have adjusted the rip settings, you can proceed to the next step and choose the destination folder for the converted MP3 files.
Step 5: Select the destination folder for the MP3 file
After configuring the rip settings in Windows Media Player, the next step is to choose the destination folder where you want to save the converted MP3 files. This allows you to easily locate and access the files once the ripping process is complete.
To select the destination folder, navigate to the top menu of Windows Media Player and click on the “Rip” tab. Then, click on the “Change” button, usually located at the top-right corner of the player’s interface.
This will open a dialog box where you can browse and choose the desired folder. You can select an existing folder or create a new one specifically for the converted MP3 files.
When choosing the destination folder, consider selecting a location that is easily accessible and organized. This will help you keep track of your audio files and make it more convenient to locate them when needed.
It’s advisable to create a dedicated folder or directory for your converted MP3 files. This way, you can keep them separate from other audio files on your computer and maintain a well-organized music library.
Once you have selected the destination folder, click the “OK” button to apply the changes and return to the main Windows Media Player window.
Remember to take note of the selected destination folder, as you will need it later to locate and access your converted MP3 files. It’s also a good practice to make a mental or physical note of the chosen folder for future reference.
With the destination folder set, you are now ready to initiate the ripping process and convert the CDA files to MP3 using Windows Media Player. Proceed to the next step to start the ripping process.
Step 6: Start the ripping process
Now that you have selected the desired tracks to convert and chosen the destination folder for the MP3 files, it’s time to initiate the ripping process in Windows Media Player.
Before starting the ripping process, double-check that you have inserted the CD with the CDA files into your computer’s CD drive and that it is recognized by Windows Media Player. Also, ensure that you have configured the desired rip settings, such as the audio format (MP3) and quality.
To start the ripping process, navigate to the top menu of Windows Media Player and click on the “Rip” tab.
Once you’re on the “Rip” tab, you will see a “Start Rip” button, usually located at the top-right corner of the player’s interface. Click on this button, and Windows Media Player will begin the ripping process.
As the ripping process starts, you will see a progress bar indicating the status of each track being ripped. The time it takes to complete the ripping process will depend on various factors, such as the speed of your computer’s CD drive and the number of tracks being converted.
While the ripping is in progress, it’s important to avoid any activity that could interrupt or disrupt the process. This includes ejecting the CD, closing Windows Media Player, or performing any other tasks that could interfere with the ongoing conversion.
Once the ripping process is complete, Windows Media Player will notify you, and the status of the tracks will change to “Ripped to library.” At this stage, the CDA files have been successfully converted to MP3 format and saved to the specified destination folder.
By default, Windows Media Player saves the ripped files in the Windows “Music” folder. However, if you have selected a different destination folder, navigate to that location to find your converted MP3 files.
Now that the ripping process is finished, you can proceed to the final step to locate and access your converted MP3 files.
Step 7: Locate the converted MP3 file
After completing the ripping process in Windows Media Player, the next step is to locate and access the converted MP3 files. These files are now saved in the destination folder you previously specified.
To find the converted MP3 files, navigate to the destination folder you selected during the rip settings. This can be the default Windows “Music” folder or a custom folder you created specifically for the converted MP3 files.
If you are unsure of the location of the destination folder, you can easily find it by right-clicking on any of the ripped tracks in Windows Media Player and selecting the “Open file location” option. This will open an Explorer window directly to the folder containing the MP3 files.
Alternatively, you can manually navigate through your computer’s files and folders to locate the destination folder where the MP3 files were saved.
Once you have located the destination folder, you will see the converted MP3 files listed. These files will have the track names and information as specified during the rip process. You can now play, transfer, or organize these MP3 files as needed.
If you want to ensure that the converted MP3 files are organized properly, you might consider creating subfolders within the destination folder. For example, you can create subfolders based on the album or artist name to keep your music collection well-organized.
It’s important to note that the converted MP3 files can be played on a wide range of devices, including smartphones, tablets, and MP3 players. Supported by most media players and operating systems, MP3 is a universal audio format that allows you to enjoy your favorite music anytime, anywhere.
Congratulations! You have successfully converted the CDA files to MP3 format using Windows Media Player and located the resulting MP3 files. Now you can enjoy your favorite music on various devices and share them with others.
Conclusion
In conclusion, converting a CDA file to MP3 using Windows Media Player is a straightforward process that allows you to enjoy your favorite music on a wide range of devices. With the simple steps outlined in this article, you can easily convert your CDA files to the widely supported MP3 format.
Windows Media Player, a default media player in Windows operating systems, provides a user-friendly interface and convenient features for ripping CDs and converting audio files. It eliminates the need for additional software or complicated procedures, making it an ideal solution for beginners and those seeking a quick conversion option.
By following the step-by-step guide, you can open Windows Media Player, insert the CD with the CDA file, rip the CD, change the rip settings according to your preferences, select the destination folder for the converted MP3 files, start the ripping process, and locate the resulting MP3 files.
Remember to choose the appropriate rip settings, such as the audio format (MP3) and quality, to ensure the desired output. Additionally, selecting a well-organized destination folder helps keep your music library in order and makes it easier to locate and access your converted MP3 files in the future.
Once you have completed the conversion and located the converted MP3 files, you can enjoy your music on various devices, such as smartphones, tablets, and MP3 players. MP3 files are widely supported and can be played on most media players and operating systems.
Now that you have mastered the art of converting CDA files to MP3 with Windows Media Player, you can effortlessly enhance your music listening experience and enjoy your favorite tracks wherever you go.
So, what are you waiting for? Go ahead and convert your CDA files to MP3 format using Windows Media Player and unlock a world of music versatility!


