Home>Events & Info>Podcast>How To Setup Multiple Microphones For Podcast

Podcast
How To Setup Multiple Microphones For Podcast
Modified: January 22, 2024
Learn how to set up multiple microphones for podcasting, ensuring crystal clear audio quality and seamless recording. Optimize your podcast setup with these expert tips and techniques.
(Many of the links in this article redirect to a specific reviewed product. Your purchase of these products through affiliate links helps to generate commission for AudioLover.com, at no extra cost. Learn more)
Table of Contents
Introduction
Welcome to the world of podcasting, where you can share your thoughts, ideas, and stories with the world. As you embark on your podcasting journey, it’s important to ensure that your audio quality is top-notch. One way to achieve this is by setting up multiple microphones for your podcast recording.
Having multiple microphones allows for clearer, more dynamic audio, especially when recording interviews or group discussions. Each microphone captures sound from a specific source, resulting in a more balanced and professional-sounding podcast.
However, setting up multiple microphones for a podcast requires careful planning and execution. In this guide, we will walk you through the process of choosing the right microphones, selecting an audio interface, setting up recording software, positioning the microphones, adjusting levels, and troubleshooting common issues.
By the end of this guide, you’ll have a comprehensive understanding of how to properly set up multiple microphones for your podcast, ensuring that your audio quality is top-notch and that your podcast stands out from the crowd.
Choosing the Right Microphones
When it comes to setting up multiple microphones for your podcast, selecting the right microphones is crucial. The microphone you choose will greatly affect the overall audio quality and the specific characteristics of your podcast’s sound.
Here are a few factors to consider when choosing the right microphones:
- Type of microphone: There are various types of microphones available, such as dynamic microphones, condenser microphones, and ribbon microphones. Dynamic microphones are durable and can handle high sound pressure levels, making them suitable for recording vocals and instruments. Condenser microphones are more sensitive and offer a wide frequency response, making them ideal for capturing subtle nuances in vocals. Ribbon microphones are known for their warm and vintage sound, often used in broadcasting and capturing instrument recordings.
- Polar pattern: The polar pattern of a microphone refers to its sensitivity to sound from different directions. Common polar patterns include cardioid, omnidirectional, and bi-directional. Cardioid microphones capture sound primarily from the front and suppress sound from the sides and back, making them suitable for single-person podcasting. Omnidirectional microphones capture sound from all directions, which can be great for capturing the ambience of a room or group discussions. Bi-directional microphones capture sound from the front and back, which is useful for interviews where two people are facing each other.
- Budget: Consider your budget when choosing microphones. There are excellent microphones available at various price points, so it’s possible to find a microphone that suits your needs without breaking the bank. However, keep in mind that investing in higher-quality microphones will likely result in better audio for your podcast.
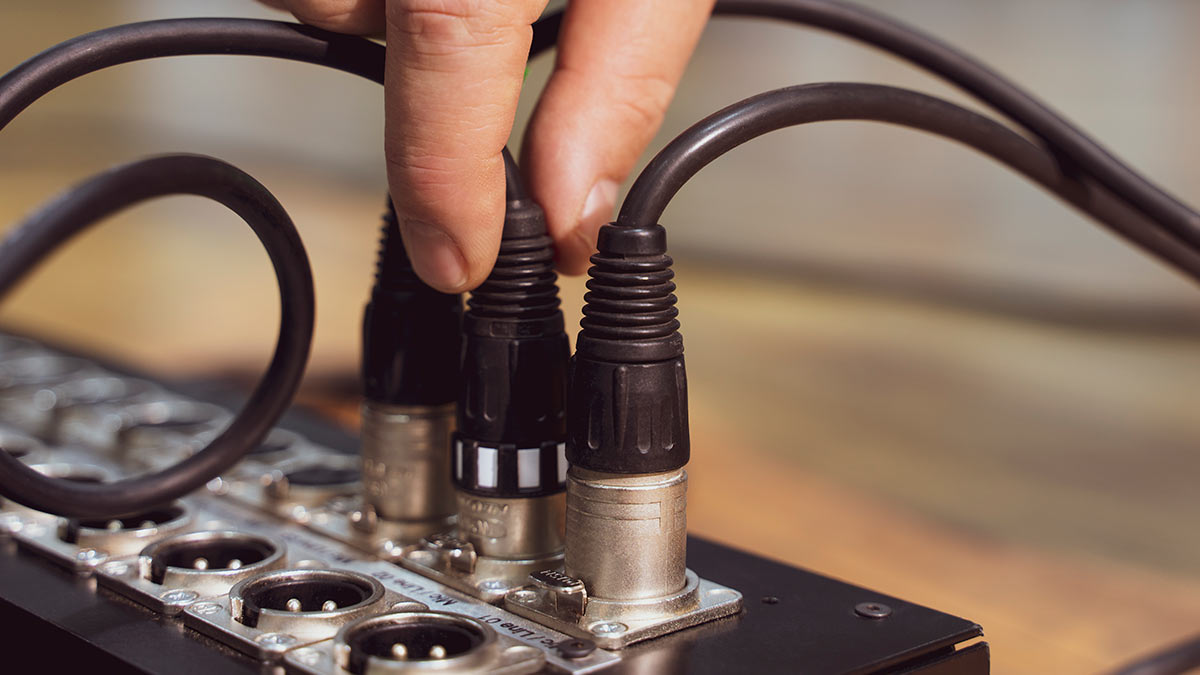
- Compatibility: Ensure that the microphones you choose are compatible with your recording setup. Check if they require any specific connections, such as USB or XLR, and make sure your audio interface supports these connections. It’s also essential to check if the microphones are compatible with your recording software or platform.
Research different microphone options, read reviews, and consider your specific recording needs and budget constraints. It may also be helpful to consult with fellow podcasters or audio professionals for their recommendations.
By carefully considering these factors and selecting the right microphones for your podcast, you’ll be on your way to achieving superior audio quality and creating a professional-sounding podcast.
Selecting the Audio Interface
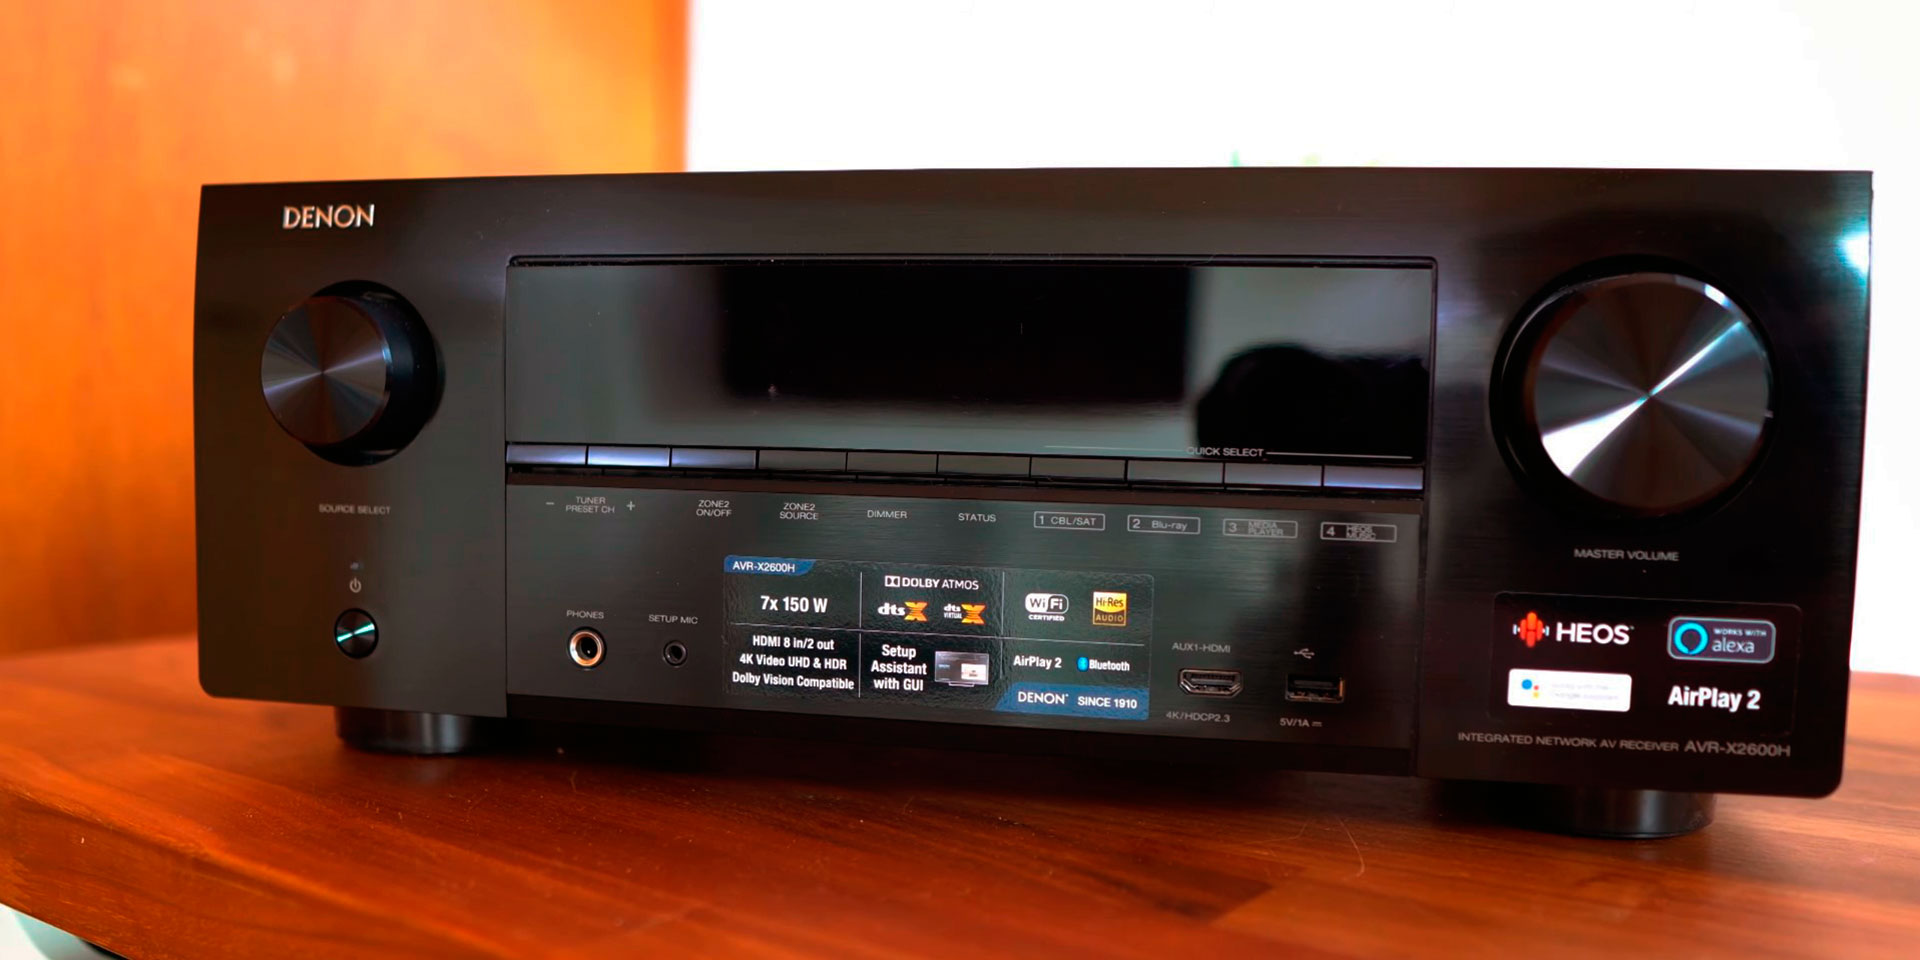
Once you have chosen the microphones for your podcast setup, the next step is to select an audio interface. An audio interface acts as a bridge between your microphones and your recording device, converting analog audio signals from the microphones into digital audio that can be processed and recorded by your computer or recording device.
Here are some considerations when selecting an audio interface for your multiple microphone setup:
- Number of inputs: Determine the number of microphones you plan to use simultaneously and choose an audio interface with enough input channels to accommodate them all. For example, if you want to use four microphones, choose an audio interface with at least four XLR inputs.
- Preamp quality: A preamp is a critical component in an audio interface as it amplifies the microphone signals. Look for an audio interface with good preamp quality to ensure clean and low-noise amplification of your microphones’ signals. This will result in better audio quality for your podcast.
- Audio resolution: Consider the audio resolution supported by the audio interface. Higher audio resolution, typically measured in bits, provides better sound quality and higher dynamic range. Aim for an audio interface that supports at least 24-bit audio resolution for optimal results.
- Connectivity options: Check the connectivity options offered by the audio interface. Common options include USB, Thunderbolt, and FireWire. Ensure that the interface is compatible with your computer or recording device’s available ports. USB interfaces are generally more versatile and widely supported.
- Monitor outputs: Having dedicated monitor outputs on your audio interface allows you to connect studio monitors or headphones directly, enabling real-time monitoring of your podcast’s audio. Look for an audio interface with headphone outputs and balanced line outputs for connecting speakers.
Before making a purchase, read reviews, compare different models, and consider your specific podcasting needs and budget. It’s also worth noting that some audio interfaces come bundled with recording software, which can be a helpful addition if you’re just starting out.
By selecting an audio interface that meets your requirements and provides high-quality microphone preamps and audio resolution, you’ll be well-equipped to capture excellent audio from your multiple microphone setup for your podcast.
Setting up the Recording Software
Once you have your microphones and audio interface ready, the next step is to set up the recording software for your podcast. The recording software allows you to capture, edit, and process the audio signals from your microphones. Here are the key steps to follow when setting up the recording software:
- Choose a recording software: There are numerous recording software options available, ranging from free to professional-grade. Some popular choices include Audacity, Adobe Audition, GarageBand (for Mac users), and Reaper. Consider your budget, the level of features you require, and the compatibility with your operating system when selecting the recording software.
- Install and configure the software: Once you have chosen the recording software, download and install it on your computer. Follow the software’s setup instructions and make any necessary configurations, such as selecting the audio interface as the input device and adjusting the sample rate and bit depth settings.
- Create a new session/project: Open the recording software and create a new session or project. Name it accordingly and set your desired parameters, such as audio file format and storage location.
- Assign microphones to tracks: In the recording software, create separate tracks for each microphone you will be using. Assign the respective microphones to their corresponding tracks. This allows you to record the audio signals from each microphone onto separate tracks, providing individual control and editing options during post-production.
- Set recording levels: Adjust the recording levels for each microphone to ensure optimal audio quality. Avoid recording with levels that are too low, as it may result in a noisy recording, or levels that are too high, which can cause distortion. Use the audio interface’s built-in meter or the software’s level meters to monitor and adjust the recording levels as necessary.
- Test the recording setup: Before starting your official podcast recording, it’s crucial to test the setup. Check that all microphones are functioning correctly and are picking up sound as expected. Verify that the audio levels are reasonable and that the recording software is properly capturing the audio from each microphone.
Take the time to familiarize yourself with the recording software’s features and controls. Explore options such as audio effects, noise reduction, and editing capabilities to enhance the quality and polish of your podcast episodes.
By setting up the recording software properly and understanding its features, you’ll be well-prepared to capture and edit the audio from your multiple microphones, ensuring a professional-sounding podcast for your audience.
Positioning the Microphones
Now that you have the microphones, audio interface, and recording software all set up, it’s time to consider the proper positioning of your microphones for optimal sound capture. The positioning of the microphones can greatly impact the clarity and balance of the audio in your podcast. Here are some key tips for positioning your microphones:
- Consider microphone proximity: Depending on the type of microphone you are using, it’s important to find the right balance between proximity and avoiding plosive sounds. For dynamic and condenser microphones, positioning the microphone about 6-12 inches away from the sound source (such as a person’s mouth) generally works well. Experiment with different distances to find the sweet spot for your specific microphones.
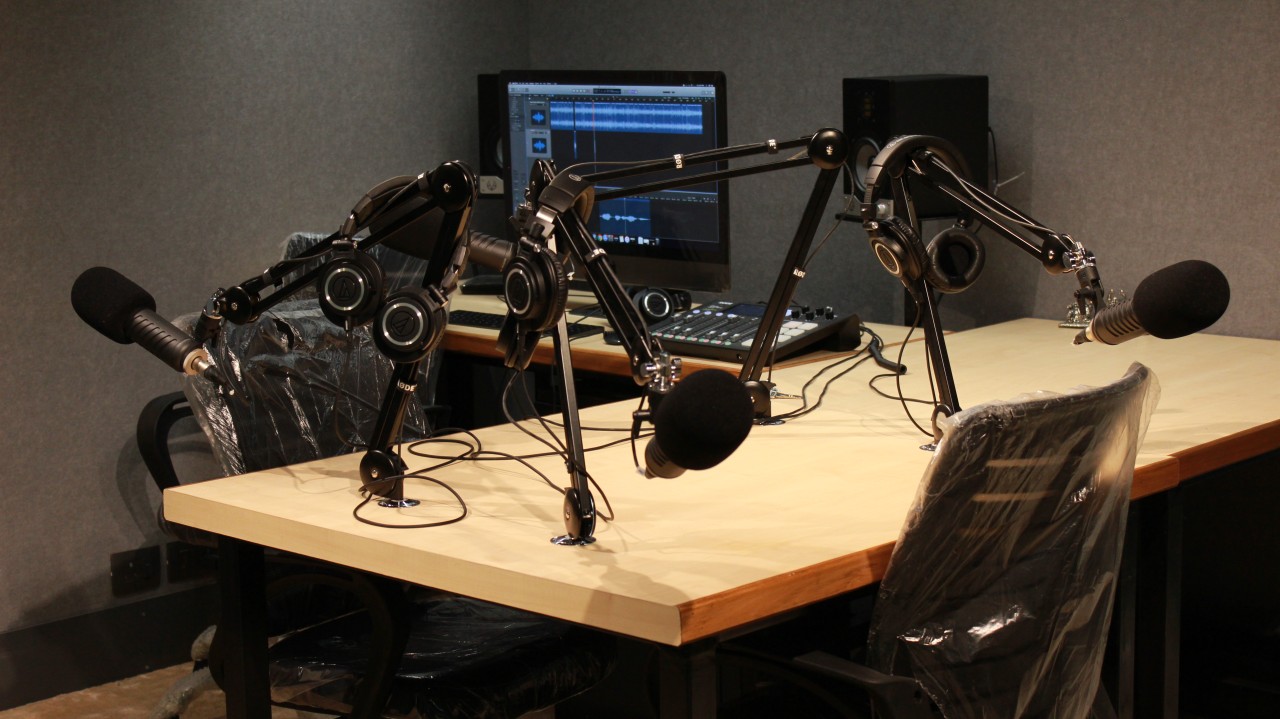
- Use pop filters: To reduce plosive sounds (such as “p,” “t,” or “b” sounds), consider using pop filters in front of your microphones. Pop filters are circular mesh screens that help diffuse the airflow from your mouth, minimizing the impact of plosive sounds on the microphone capsules.
- Position microphones for balanced sound: If you are recording multiple people or a group discussion, position the microphones equidistant from each participant. This helps maintain a balanced sound, ensuring that one person’s voice doesn’t overpower the others. Experiment with positioning the microphones in relation to your podcast participants to achieve the best sound balance.
- Avoid environmental noise: Place the microphones away from sources of background noise, such as air conditioning vents or noisy appliances. Additionally, consider using shock mounts or microphone stands with vibration isolation to minimize any handling noise that may occur during recording.
- Experiment with microphone angles: The angle at which the microphone captures sound can make a difference in the audio quality. Experiment with slight tilt adjustments to find the optimal angle for your microphones. The goal is to capture the sound directly from the source while minimizing unwanted reflections or room resonances.
- Consider room acoustics: Take into account the acoustics of your recording space. If you are in a room with hard surfaces that may cause echoes or reverberations, you can mitigate this by placing acoustic panels or foam around the area where you will be recording. This helps absorb and diffuse sound reflections, resulting in a cleaner and more professional audio quality.
Remember that microphone positioning may require some trial and error to find the optimal setup for your specific podcasting environment and equipment. Take the time to listen to test recordings and make adjustments as needed to achieve the best sound quality.
By properly positioning your microphones and considering factors such as proximity, balance, noise reduction, and room acoustics, you’ll be well on your way to capturing clear, professional-sounding audio for your podcast.
Adjusting Microphone Levels
Once you have positioned your microphones, it’s essential to adjust their levels properly to ensure the audio signals are neither too loud nor too soft. Properly adjusting the microphone levels helps avoid distorted or low-volume recordings. Here are some tips for adjusting microphone levels:
- Monitor the levels: Use the level meters in your recording software or the audio interface’s built-in meters to monitor the input levels of each microphone. These meters display the intensity of the audio signals being captured by the microphones.
- Set the levels individually: Adjust the input gain or volume controls on your audio interface for each microphone individually. This allows you to balance the levels and ensure that each microphone is recording at an appropriate volume.
- Prevent clipping: Clipping occurs when the microphone levels are set too high, resulting in distorted sound. To avoid this, make sure that the levels stay below the maximum level indicator on the meters. Adjust the input gain controls to keep the levels in a safe range, even during louder parts of your podcast.
- Consider voice dynamics: If you have multiple podcast participants with varying voice levels or dynamics, it’s important to adjust the microphone levels accordingly. You may need to boost the levels for softer speakers or reduce them for louder participants to achieve a more balanced overall sound.
- Test and refine: Record short test segments with all microphones active and check the playback to ensure that the audio levels are consistent and balanced. Make adjustments as needed and repeat the process until you are satisfied with the results.
- Use compression: To further enhance the overall level consistency and prevent drastic differences in volume between podcast participants, consider applying subtle compression during post-production. Compression helps level out the dynamic range, evening out louder and softer parts of the audio.
It’s important to strike a balance between capturing adequate microphone levels without allowing the audio to become distorted. Take the time to listen to test recordings, adjust the levels, and ensure that the audio signals are clear and natural-sounding.
By carefully adjusting the microphone levels and monitoring them during the recording process, you’ll be able to maintain consistent and high-quality audio throughout your podcast episodes.
Testing and Troubleshooting
Testing your setup and troubleshooting any issues that arise is crucial to ensure smooth and successful podcast recording sessions. By conducting thorough tests and being prepared to troubleshoot common problems, you can minimize interruptions and deliver high-quality podcast episodes. Here are some steps to follow for testing and troubleshooting:
- Test recording setup: Before each recording session, perform a quick test recording to ensure that all microphones, audio interface, and recording software are functioning correctly. Listen back to the test recording to confirm that the audio levels are appropriate, there are no unusual noises or distortions, and all microphones are capturing sound as expected.
- Check cables and connections: Inspect the cables connecting the microphones to the audio interface and ensure they are secure and undamaged. Loose or faulty connections can result in intermittent audio or poor signal quality. Address any cable issues promptly.
- Address audio interference: If you encounter any audio interference, such as buzzing or humming sounds, identify potential sources of interference, such as nearby electronics or poor grounding. Move any problematic electronics away from the setup or consider using grounded power outlets or audio hum eliminators.
- Monitor audio quality: Throughout the recording session, continuously monitor the audio quality using headphones or studio monitors. Listen for any unexpected changes in audio levels, distortions, or background noise that may require adjustment or troubleshooting in real-time.
- Troubleshoot software issues: If you experience software-related issues, such as crashes or audio glitches, start by checking for any available updates for your recording software. Restarting the software or your computer may also help resolve certain issues. If problems persist, seek technical support from the software provider or consult online forums for solutions.
- Optimize room acoustics: If you notice excessive reverberation or echoes in your recordings, consider adding additional acoustic treatment, such as soundproofing panels or foam, to minimize reflections. Experiment with microphone positioning or use a noise gate during post-production to reduce background noise pickup.
Remember, testing and troubleshooting are ongoing processes. Regularly check and maintain your equipment, stay updated with software updates, and address any issues promptly to ensure smooth and uninterrupted podcast recording sessions.
By conducting thorough tests, addressing any issues that arise, and continuously monitoring the audio quality, you’ll be able to deliver professional-sounding podcasts consistently.
Conclusion
Setting up multiple microphones for your podcast can greatly enhance the audio quality and overall professionalism of your recordings. By carefully choosing the right microphones, selecting a suitable audio interface, setting up your recording software, positioning the microphones correctly, adjusting the levels, and conducting thorough testing and troubleshooting, you can achieve outstanding results.
Choosing the right microphones involves considering factors such as microphone type, polar pattern, budget, and compatibility with your recording setup. A well-chosen audio interface with sufficient inputs, high-quality preamps, and appropriate connectivity options is essential for capturing clean and balanced audio from your microphones.
Setting up the recording software involves selecting the suitable software, configuring it properly, creating tracks for each microphone, and adjusting the levels for optimal audio quality. Positioning the microphones strategically and considering factors like proximity, balance, and room acoustics ensure clear and well-balanced sound capture.
Adjusting the microphone levels correctly ensures that the audio signals are neither too loud nor too soft, avoiding distortion or low volume. Finally, thorough testing and troubleshooting processes help identify and resolve any issues, ensuring smooth and uninterrupted podcast recording sessions.
By following these steps and paying attention to detail, you can achieve professional audio quality and create an engaging and immersive experience for your podcast audience.
Remember, podcasting is an ongoing learning process, so continually refine your setup, explore new techniques, and stay tuned to the latest industry advancements to further enhance your podcasting journey.

