Home>Production & Technology>Surround Sound>How To Setup Surround Sound To TV
Surround Sound
How To Setup Surround Sound To TV
Modified: January 22, 2024
Learn how to properly set up surround sound to your TV and enjoy immersive audio experience. Enhance your viewing with the best surround sound system.
(Many of the links in this article redirect to a specific reviewed product. Your purchase of these products through affiliate links helps to generate commission for AudioLover.com, at no extra cost. Learn more)
Table of Contents
Introduction
Surround sound is a technology that brings a cinematic audio experience right into the comfort of your home. Whether you love watching movies, playing video games, or listening to music, setting up surround sound can elevate your entertainment to a whole new level. With the right equipment and proper configuration, you can recreate the immersive sound experience typically found in movie theaters.
In this article, we will guide you through the process of setting up surround sound to your TV. Whether you’re a seasoned tech enthusiast or a beginner, we’ll provide you with easy-to-follow steps to ensure that you can enjoy the full potential of your surround sound system.
Before we dive into the setup process, it’s important to understand the basic concepts of surround sound. Surround sound refers to a system that uses multiple speakers placed strategically around the room to create a three-dimensional audio experience. By placing speakers at different locations, surround sound systems reproduce audio that reflects the direction and movement of sounds in movies, TV shows, and games. This allows you to feel like you’re right in the middle of the action.
Now that you have a basic understanding of what surround sound is, let’s move on to the step-by-step guide on how to set it up to your TV. We will cover everything from gathering the necessary equipment to configuring the audio settings on your TV. By following these steps, you’ll be able to immerse yourself in a world of sound like never before.
Step 1: Gather the necessary equipment
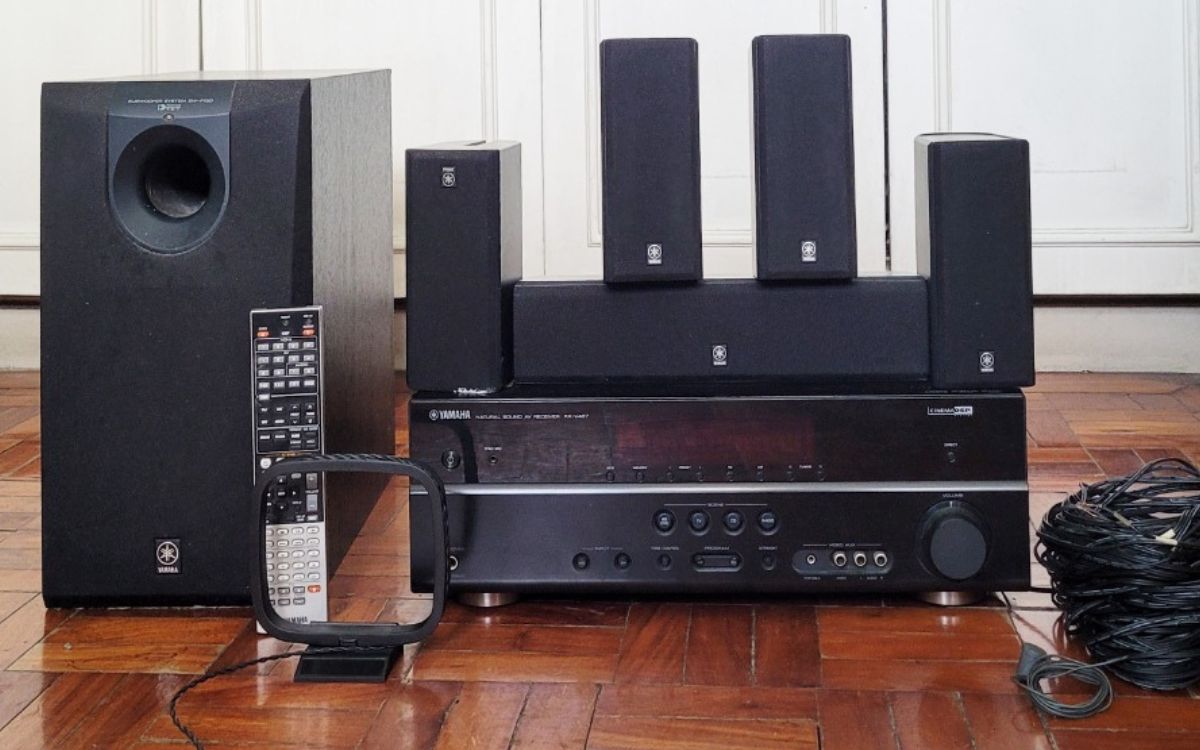
Before you can begin setting up surround sound to your TV, you’ll need to gather the necessary equipment. Here’s a list of items you’ll need:
- AV Receiver: The AV receiver is the central hub of your surround sound system. It receives the audio signals from your TV and other devices and distributes them to the speakers. Make sure to choose a receiver that supports the number of speakers you plan to use.
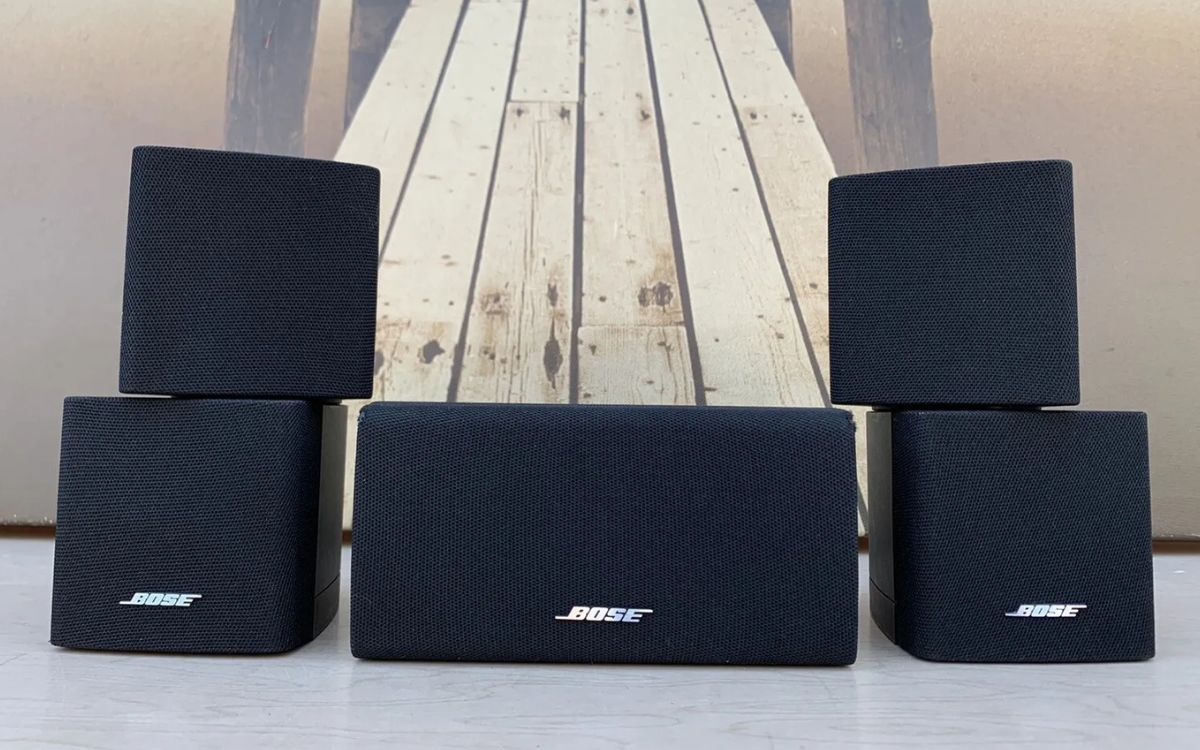
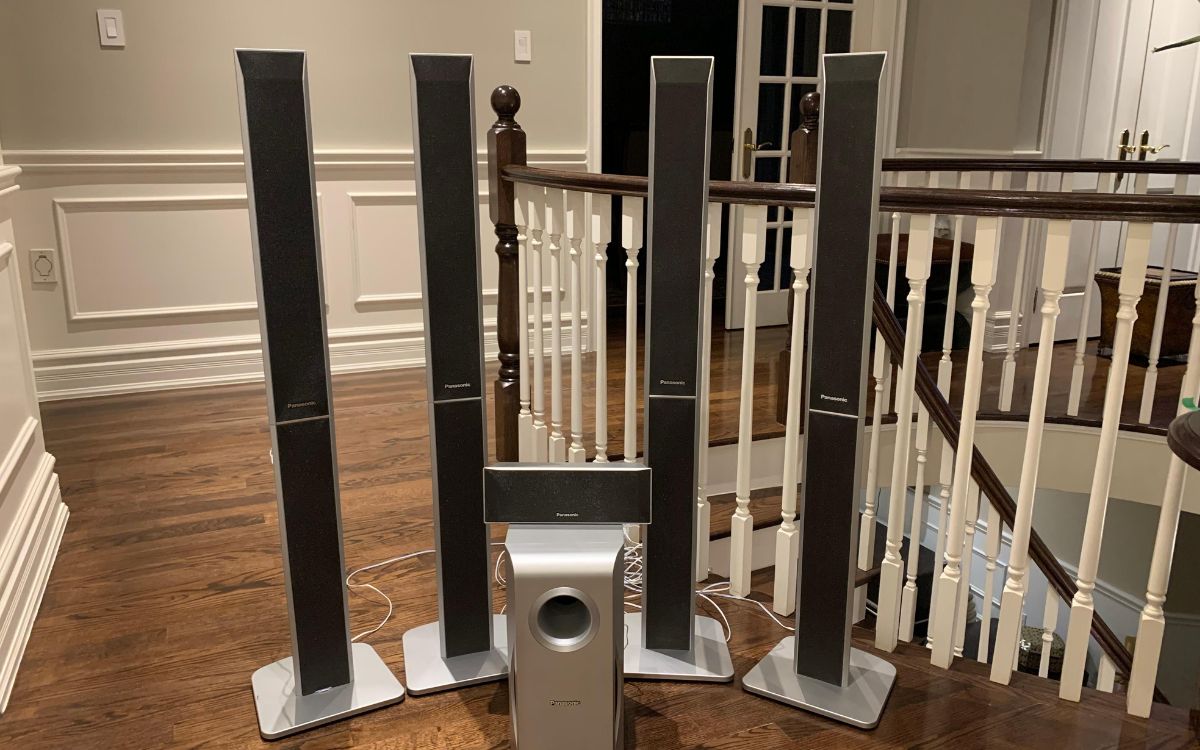
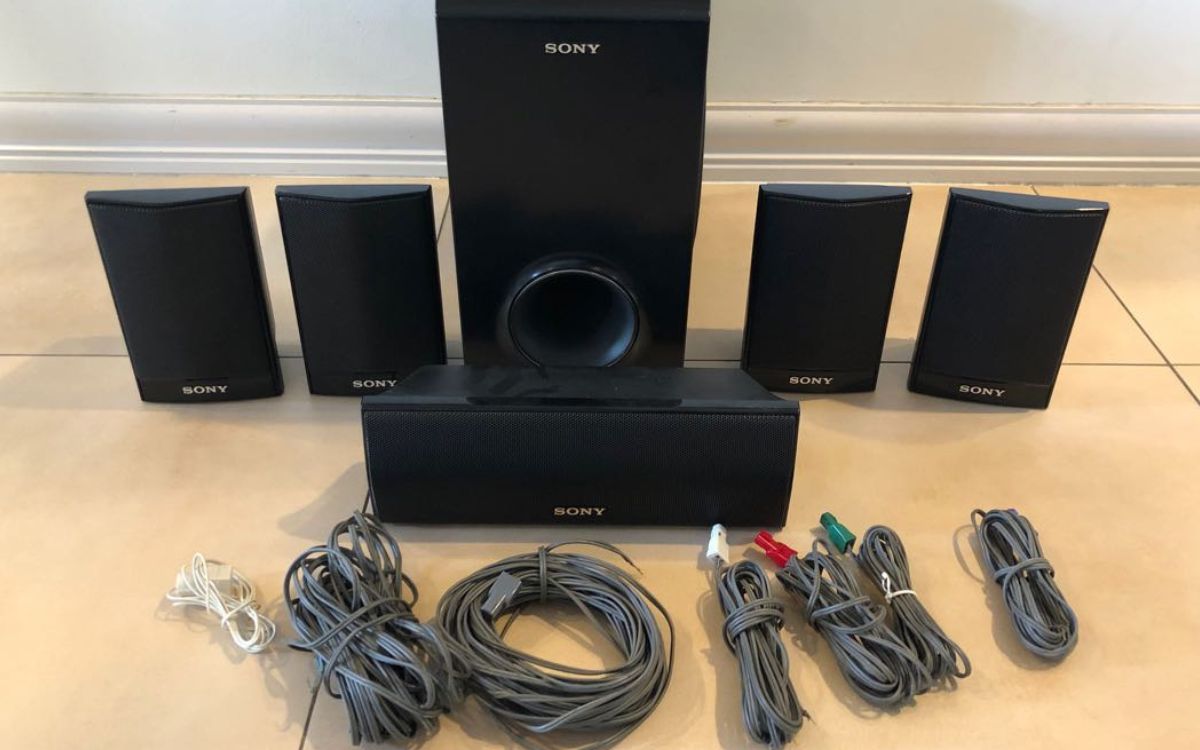
- Speakers: To create the surround sound experience, you’ll need multiple speakers. The most common setup includes a center speaker, left and right front speakers, left and right surround speakers, and a subwoofer for low-frequency effects. Depending on your preferences, you can opt for additional speakers, such as height speakers for overhead audio.
- Subwoofer: A subwoofer is a specialized speaker designed to reproduce deep bass frequencies. It adds impact and depth to movie soundtracks and enhances the overall audio experience.
- Speaker Wire: You’ll need speaker wire to connect the speakers to the AV receiver. Ensure that you have enough wire to reach from the receiver to each speaker location.
- HDMI Cables: HDMI cables are used to connect the AV receiver to your TV and other devices. Make sure to get high-quality HDMI cables that support the latest audio and video formats.
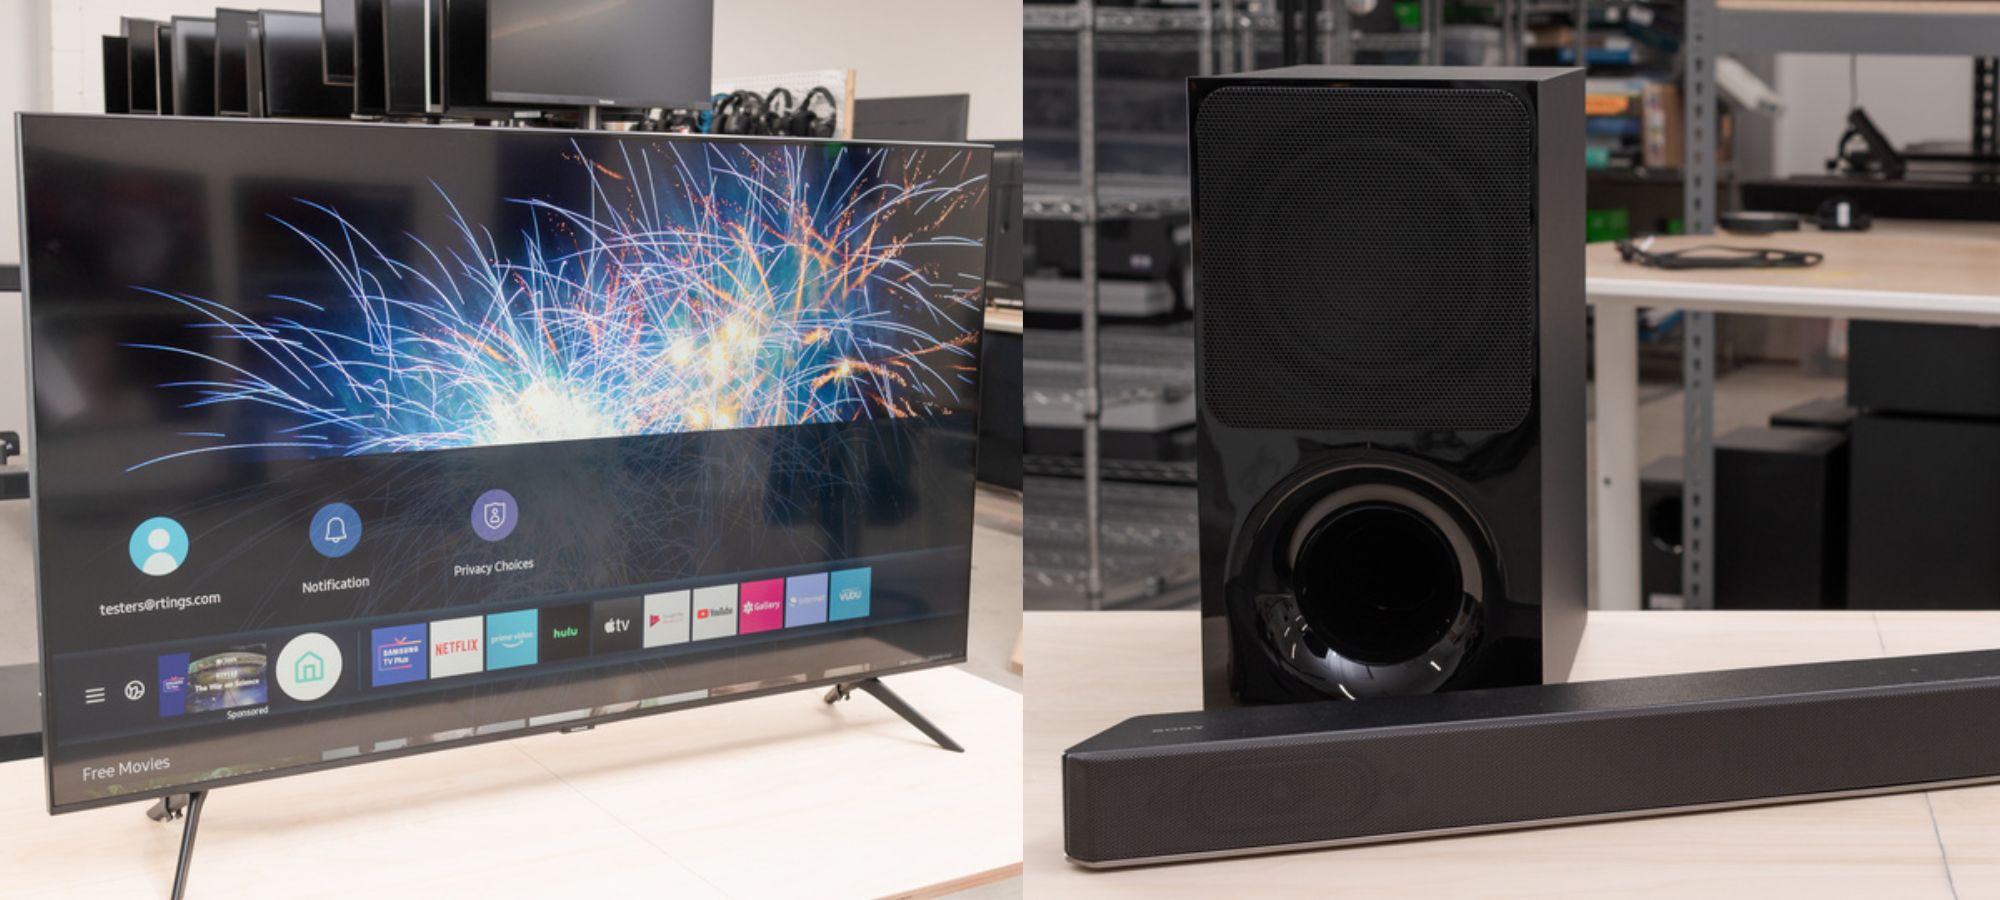
- TV: Of course, you’ll need a TV to connect your surround sound system to. Ensure that your TV has HDMI ARC (Audio Return Channel) capability for seamless audio transmission between the TV and receiver.
- Optional Equipment: Depending on your setup and preferences, you may also require additional equipment such as wall brackets, speaker stands, or a sound meter for precise speaker calibration.
Once you have gathered all the necessary equipment, you’ll be ready to move on to the next step: determining the best speaker placement.
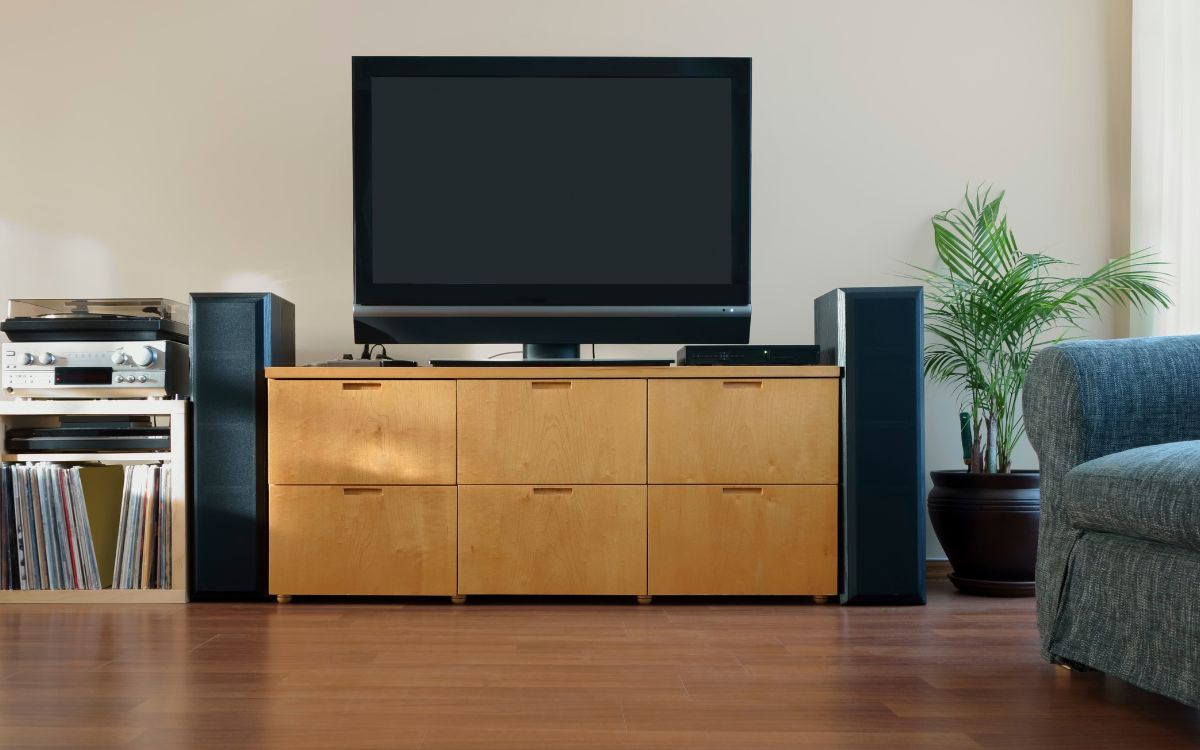
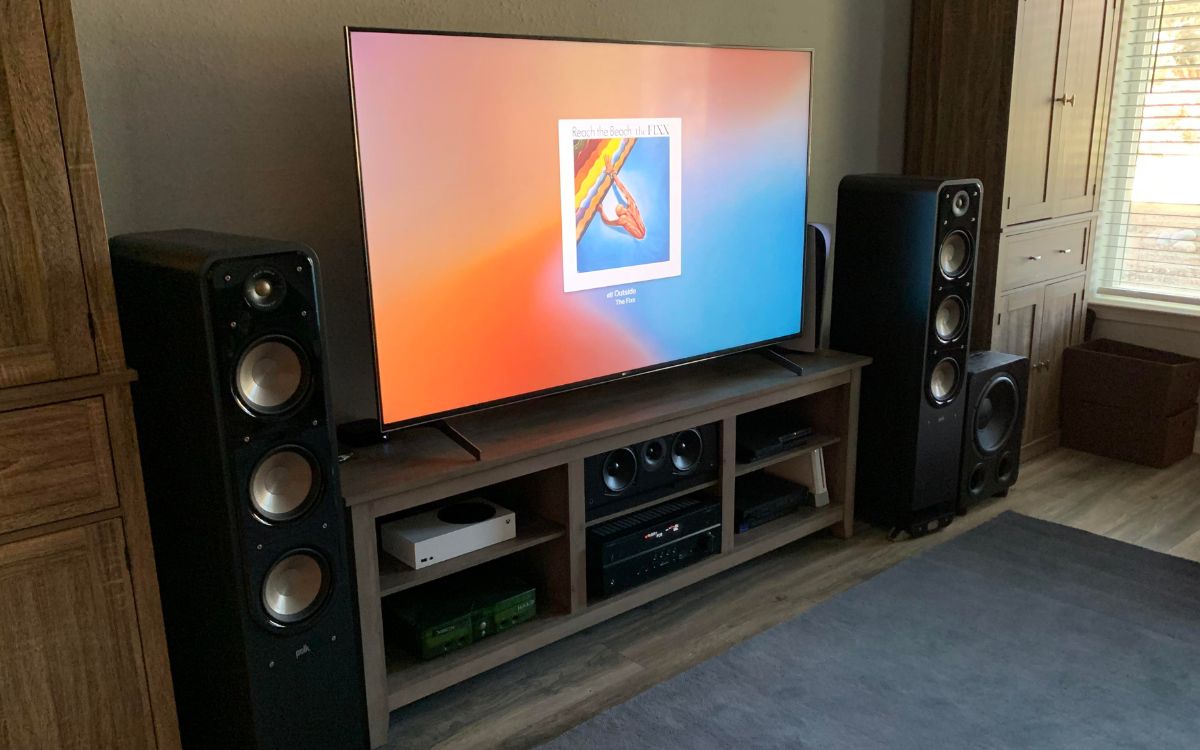
Step 2: Determine the best speaker placement
Proper speaker placement is essential for getting the most out of your surround sound system. The position of each speaker will impact the sound quality and the overall immersive experience. Here are some guidelines to help you determine the best speaker placement:
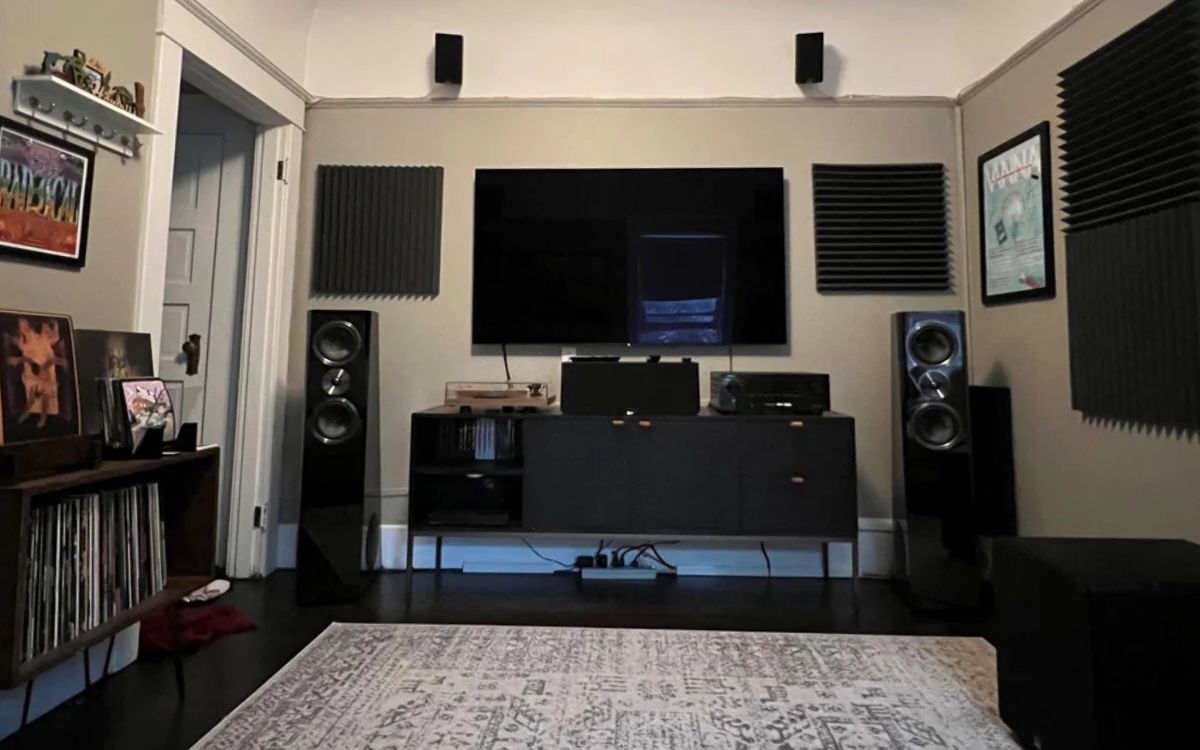
- Center Speaker: The center speaker is responsible for delivering dialogue and other central audio elements. It should be placed directly above or below your TV, pointing towards the listening area. Ensure that it is at ear level when seated.
- Front Speakers: The left and right front speakers should be placed on either side of your TV, slightly angled towards the seating area. They should be positioned at an equal distance from the center speaker and facing forward.
- Surround Speakers: The surround speakers create the effect of sounds coming from behind or on the sides of the viewers. Ideally, they should be placed slightly above ear level and to the left and right sides of the seating area. Aim to position them at an angle of 90 to 110 degrees from the center speaker.
- Subwoofer: The subwoofer can be placed anywhere in the room since low-frequency sounds are omnidirectional. Experiment with different locations to find the spot that offers the best bass response. Avoid placing it in a corner, as it can cause excessive boomy bass.
- Optional Speakers: If you have additional speakers, such as height speakers for Dolby Atmos or DTS:X, refer to the manufacturer’s guidelines for optimal placement. These speakers are typically positioned above the front left and right speakers or mounted on the ceiling for an overhead audio experience.
Keep in mind that every room is different, and the specific layout and acoustics of your space may require some adjustments in speaker placement. Take the time to experiment and fine-tune the positions to achieve optimal audio performance.
Once you have determined the best speaker placement, you are ready to move on to the next step: connecting the speakers to the AV receiver.
Step 3: Connect the speakers to the receiver
Now that you have determined the optimal speaker placement, it’s time to connect your speakers to the AV receiver. Here’s a step-by-step guide to help you with the process:
- Identify the speaker terminals: Locate the speaker terminals on the back of your AV receiver. They are usually labeled with letters or numbers corresponding to each speaker channel.
- Prepare the speaker wire: Strip off a small portion of insulation from the ends of the speaker wire, around half an inch should be sufficient. This will expose the bare wire ends for proper connection.
- Connect the speaker wire to the receiver: For each speaker, insert the bare wire ends into the corresponding speaker terminals on the receiver. Ensure that the polarity is correct, with the positive (+) wire connected to the positive terminal and the negative (-) wire connected to the negative terminal. Most terminals have color coding or markings to indicate the polarity.
- Connect the other end of the speaker wire to the speakers: Follow the same process to connect the other end of the speaker wire to the respective speakers. Again, make sure to match the polarity correctly.
- Secure the connections: After connecting the wires, tighten any binding posts or connectors to ensure a secure connection. Loose connections can result in poor audio performance or even damage to the speakers or receiver.
- Repeat for each speaker: Repeat the above steps for each speaker in your surround sound system, including the center speaker, front speakers, surround speakers, and subwoofer.
Remember to double-check all the connections to ensure they are properly secured and matched in polarity. Loose or reversed connections can disrupt the sound quality and balance of your surround sound system.
Once all the speakers are connected to the AV receiver, you’re ready to move on to the next step: connecting the receiver to the TV.
Step 4: Connect the receiver to the TV
After connecting the speakers to the AV receiver, the next step is to establish the connection between the receiver and your TV. This will allow the audio and video signals to pass through the receiver and be displayed on your TV. Here’s how you can connect the receiver to your TV:
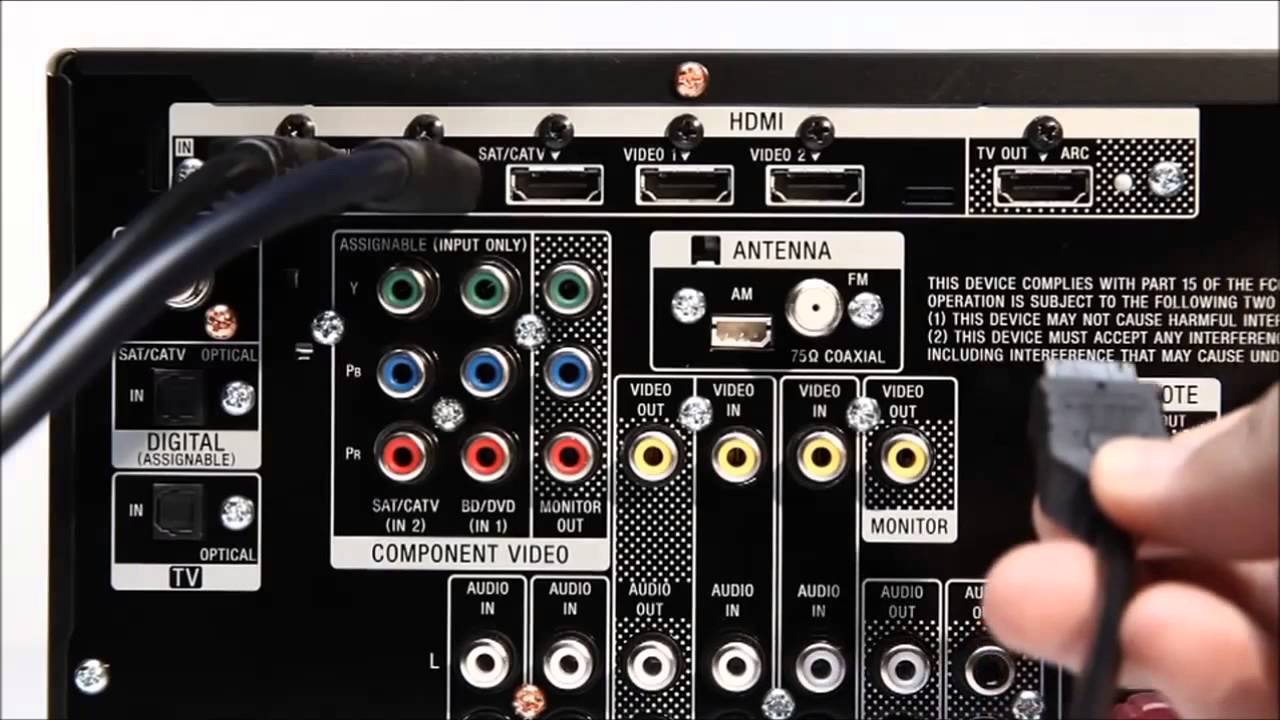
- Locate the HDMI ports: Identify the HDMI ports on both your AV receiver and your TV. HDMI ports are typically labeled with numbers or names such as “HDMI 1,” “HDMI 2,” etc.
- Connect the HDMI cable: Take one end of the HDMI cable and plug it into the HDMI output port on the AV receiver. Then, connect the other end of the HDMI cable to the HDMI input port on your TV. Make sure to take note of the port numbers used.
- Enable HDMI ARC (Audio Return Channel): If your TV and AV receiver both support HDMI ARC, enable this feature in the settings menu of both devices. HDMI ARC allows for two-way audio transmission over a single HDMI cable, eliminating the need for a separate audio connection between the TV and receiver.
- Choose the correct HDMI input: On your TV, use the input/source selector to choose the HDMI input that corresponds to the connected AV receiver. This will ensure that the audio and video signals from your devices are routed through the receiver.
- Configure CEC (Consumer Electronics Control): If your TV and AV receiver support CEC, also known as HDMI-CEC or by different manufacturer-specific names (e.g., Samsung Anynet+, Sony Bravia Sync), enable this feature. CEC allows you to control multiple devices connected via HDMI with a single remote control.
By connecting the AV receiver to your TV through HDMI, you can enjoy seamless audio and video transmission between your devices. This ensures that the surround sound system processes the audio signal and delivers it to the appropriate speakers while the TV handles the video display.
Once the receiver is successfully connected to the TV, you’re ready to move on to the next step: configuring the audio settings on the TV.
Step 5: Configure the audio settings on the TV
After connecting the AV receiver to your TV, it’s important to configure the audio settings on your TV to ensure that the surround sound system functions correctly. Here are the steps to configure the audio settings:
- Access the TV’s settings: Using the remote control, navigate to the settings menu on your TV. The location and layout of the settings menu may vary depending on the brand and model of your TV.
- Select the audio settings: Within the settings menu, look for the audio or sound options. This is where you can adjust the audio settings specific to your TV.
- Choose the audio output: Look for an option to select the audio output. Choose the option that corresponds to the connected AV receiver or HDMI ARC. This ensures that the TV sends the audio signal to the surround sound system instead of the TV speakers.
- Enable surround sound or audio mode: Look for an audio mode or surround sound option. Choose the appropriate mode that matches your surround sound system setup, such as “Dolby Digital” or “DTS.” This enables the TV to output audio in the correct format for your surround sound system to decode.
- Configure audio settings: Depending on your TV, you may have additional audio settings to adjust, such as speaker levels, equalizer settings, or virtual surround sound options. Experiment with these settings to find the optimal audio experience based on your preferences and room acoustics.
- Test the audio: Play a movie or music with surround sound content to test the audio. Ensure that the sound is coming from the correct speakers and that the audio is properly balanced.
During the configuration process, refer to the user manual or online resources specific to your TV model for detailed instructions on adjusting the audio settings.
Once you have configured the audio settings on your TV, you’re ready for the final step: testing the surround sound setup.
Step 6: Test the surround sound setup
After setting up and configuring your surround sound system, it’s essential to test and ensure that everything is functioning correctly. Here’s how you can test your surround sound setup:
- Play surround sound content: Choose a movie or video that features surround sound audio. This could be a Blu-ray disc, a streaming service, or a video game known for its immersive audio.
- Verify speaker output: Pay attention to each speaker in your surround sound system. Ensure that the audio is coming from the correct speakers and that they are properly balanced. For example, dialogue should come from the center speaker, while background sounds and effects are distributed across the surround speakers.
- Check audio synchronization: Observe the synchronization between audio and video. Ensure that there is no noticeable delay or mismatch between what you see on the screen and what you hear from the speakers. Adjust any audio synchronization settings in the AV receiver or TV if necessary.
- Test surround sound effects: Listen for surround sound effects that move or pan across speakers. This will test the immersive quality of your surround sound system. For example, you should be able to hear sounds moving from left to right or front to back as intended by the content.
- Adjust speaker settings if needed: If you notice any issues or imbalances in the audio quality, you can go back to your AV receiver settings and make adjustments. This includes tweaking speaker levels, changing crossover settings, or applying equalizer settings to fine-tune the audio performance.
- Consult the user manual or seek professional help: If you encounter any difficulties or feel overwhelmed during the testing process, refer to the user manual for troubleshooting tips or consider consulting a professional for further assistance. They can help optimize your surround sound setup for the best audio experience.
By thoroughly testing your surround sound setup, you can ensure that everything is working as intended and that you’re getting the most out of your system. Enjoy the immersive audio experience that surround sound brings to your entertainment.
Congratulations! You have successfully completed the setup of your surround sound system. Now sit back, relax, and immerse yourself in the rich, powerful sound that surrounds you.
Conclusion
Setting up surround sound to your TV can transform your home entertainment experience, bringing the immersive audio quality of a movie theater right into your living room. By following the step-by-step guide outlined in this article, you can successfully set up and configure your surround sound system.
Throughout the process, we covered the essential steps, including gathering the necessary equipment, determining the best speaker placement, connecting the speakers to the receiver, connecting the receiver to the TV, configuring the audio settings on the TV, and testing the surround sound setup.
Remember, proper speaker placement is crucial for achieving the best audio performance. Take the time to experiment and fine-tune the positions to ensure optimal sound distribution and balance. Additionally, configuring the audio settings on your TV correctly is vital to ensure that the audio is routed through the surround sound system and properly decoded.
Once your surround sound setup is complete, sit back, relax, and get ready to be immersed in a world of rich, detailed, and dynamic sound. Whether you’re watching movies, playing video games, or listening to music, your surround sound system will elevate your entertainment to new heights.
If you encounter any difficulties or have specific questions about your equipment or setup, referring to the user manuals or seeking professional assistance can provide further guidance.
Now, grab your favorite movie, turn up the volume, and enjoy the immersive surround sound experience that you’ve worked hard to set up!