Home>Production & Technology>Surround Sound>How To Setup Denon Receiver Surround Sound
Surround Sound
How To Setup Denon Receiver Surround Sound
Modified: February 18, 2024
Learn how to setup your Denon receiver for an immersive surround sound experience. Enhance your audio with our step-by-step guide and unlock the full potential of your home theater system.
(Many of the links in this article redirect to a specific reviewed product. Your purchase of these products through affiliate links helps to generate commission for AudioLover.com, at no extra cost. Learn more)
Table of Contents
Introduction
Setting up a surround sound system can completely transform your audio experience at home. Whether you’re a movie enthusiast, a gamer, or a music lover, surround sound brings immersive and high-quality audio right into your living room.
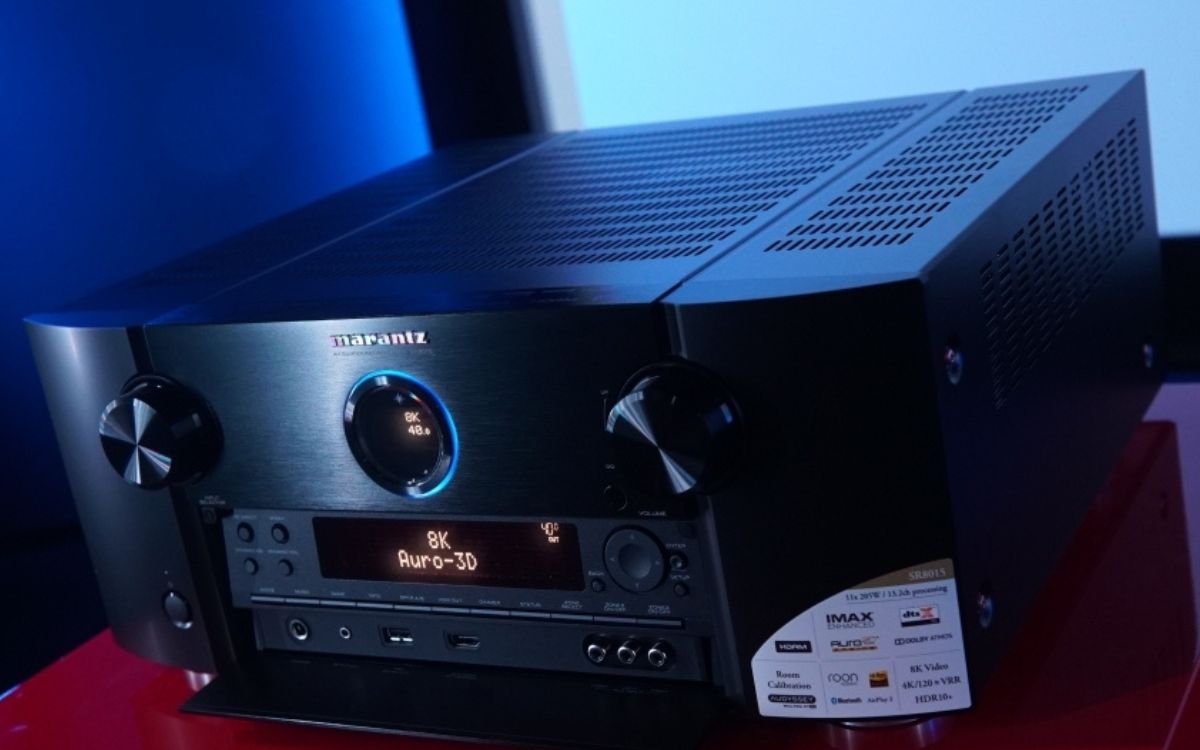
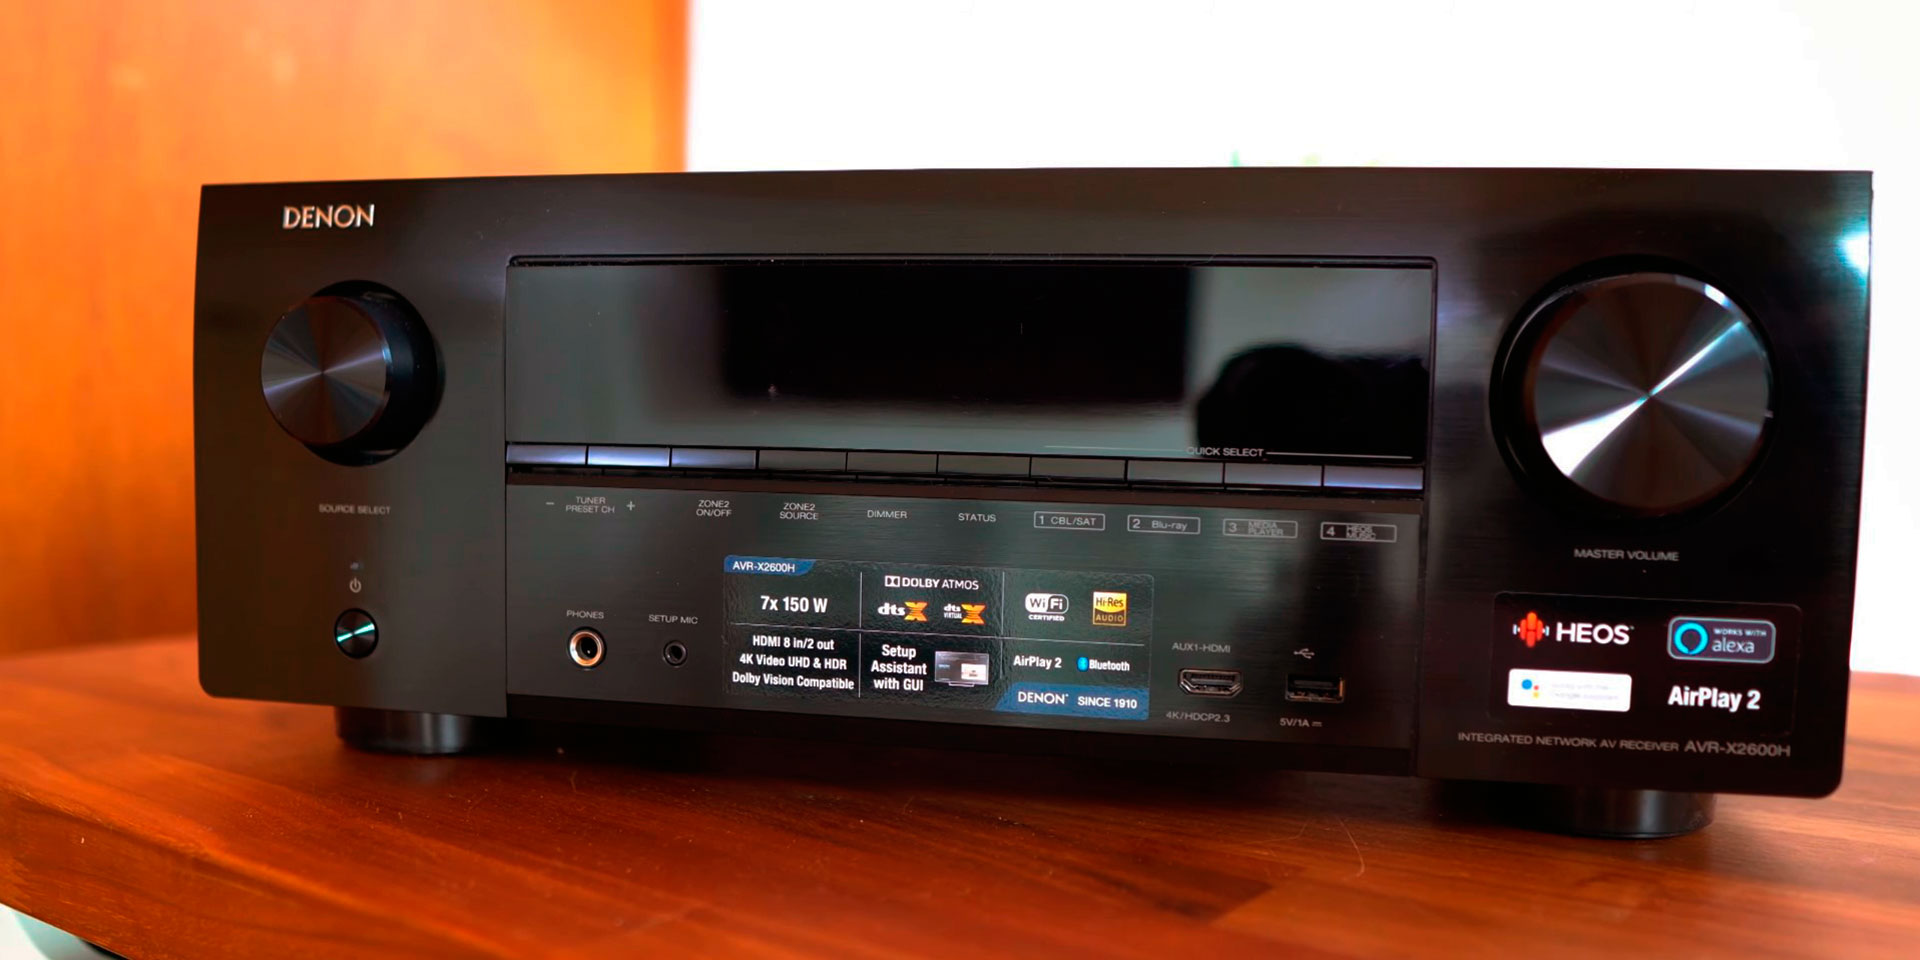
One of the most popular and trusted brands in the world of surround sound is Denon. Known for their exceptional audio quality and user-friendly interfaces, Denon receivers are a top choice for many homeowners. If you’ve recently purchased a Denon receiver and are wondering how to set up surround sound, you’ve come to the right place.
In this article, we will guide you through the step-by-step process of setting up your Denon receiver and configuring a surround sound system. From unboxing and initial setup to connecting the speakers and optimizing audio settings, we will cover everything you need to know to get the most out of your home theater experience.
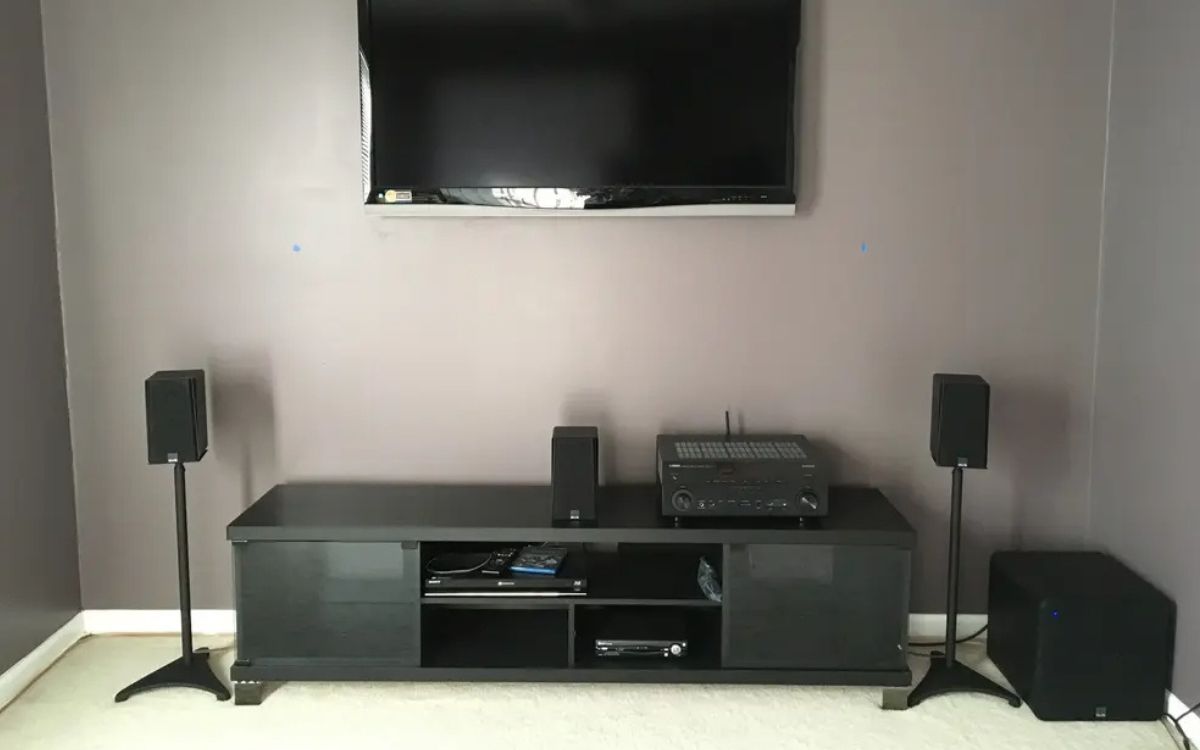
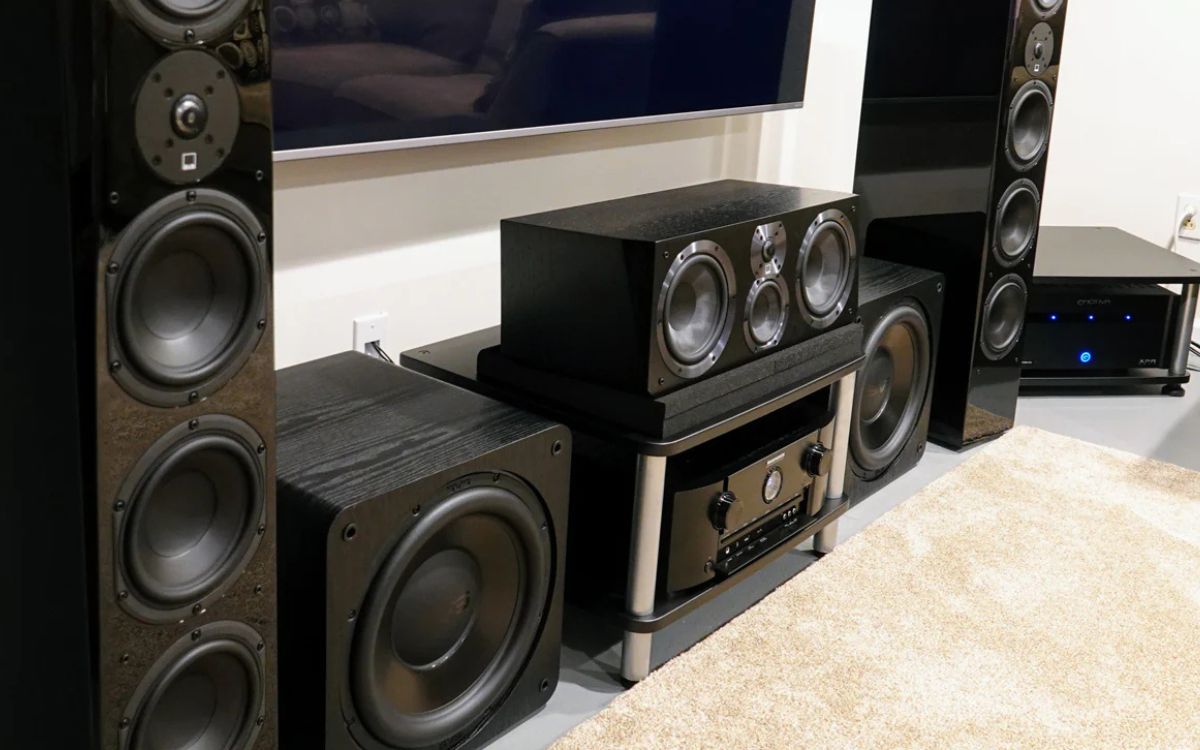
Before we dive into the setup process, it’s important to briefly understand the basics of surround sound. Surround sound systems consist of multiple speakers strategically placed around a room to create a more immersive and realistic audio experience. The most common configuration is a 5.1 system, which includes five main speakers and a subwoofer. The main speakers consist of a center channel speaker, two front speakers, and two rear speakers. The subwoofer provides deep bass for added impact.
Now that you have a basic understanding of surround sound and its components, let’s start the setup process for your Denon receiver. Make sure to follow the instructions carefully and refer to your receiver’s user manual for specific details.
Step 1: Unboxing and Initial Setup
The first step in setting up your Denon receiver is unboxing and preparing it for installation. Here’s what you need to do:
- Unbox the Receiver: Carefully remove the receiver from its packaging, making sure to keep all the accessories and documentation together.
- Choose the Right Location: Find a suitable location to place your receiver. It should be well-ventilated and have enough space to accommodate the receiver and its connections.
- Connect the Receiver to Power: Plug the power cord into a power outlet and connect it to the receiver. Ensure the power outlet is properly grounded.
- Connect the TV: Using an HDMI cable, connect the HDMI output on the receiver to an HDMI input on your TV. This will allow you to enjoy audio and video from your connected devices through the TV.
- Connect Other Devices: Determine the devices you want to connect to your surround sound system, such as a Blu-ray player, gaming console, or streaming device. Connect these devices to the appropriate HDMI inputs on the receiver.
- Connect Other Audio Sources: If you have additional audio sources like a CD player or turntable, connect them to the dedicated audio inputs on the receiver.
- Set up the Network Connection (optional): If your Denon receiver supports network connectivity, you can connect it to your home network either via Wi-Fi or Ethernet cable. This enables additional features like streaming music, firmware updates, and control via mobile apps.
- Check Connections: Double-check all the connections to ensure everything is securely plugged in, and there are no loose cables.
Once you have completed these initial setup steps, you’re ready to move on to the next phase of setting up your Denon receiver: connecting the speakers.
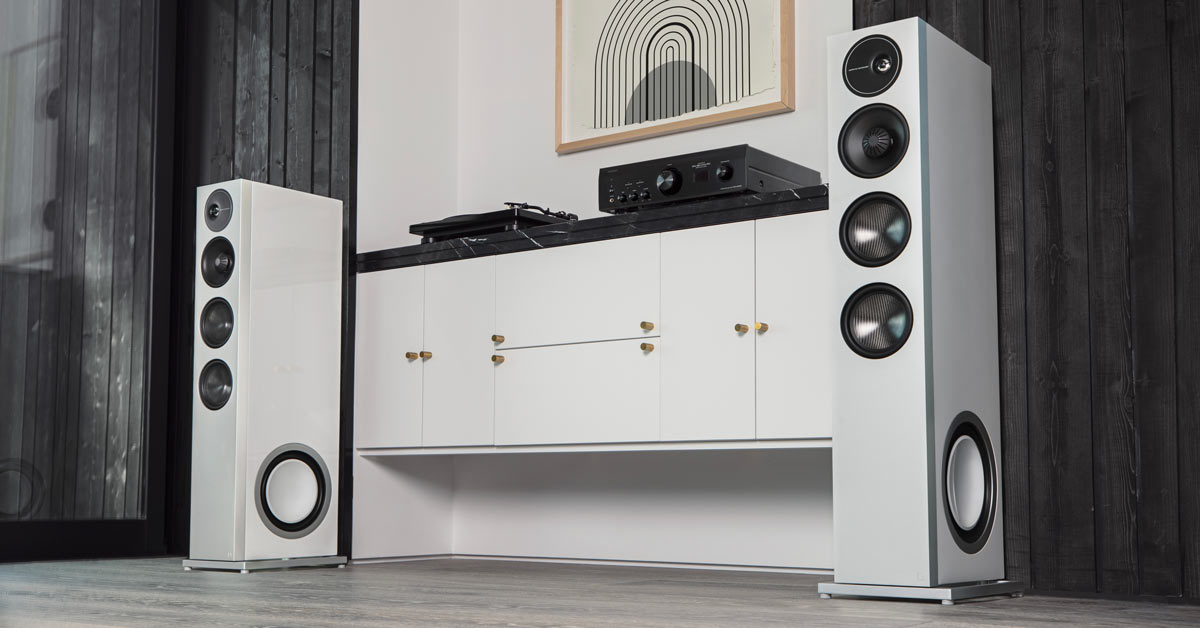
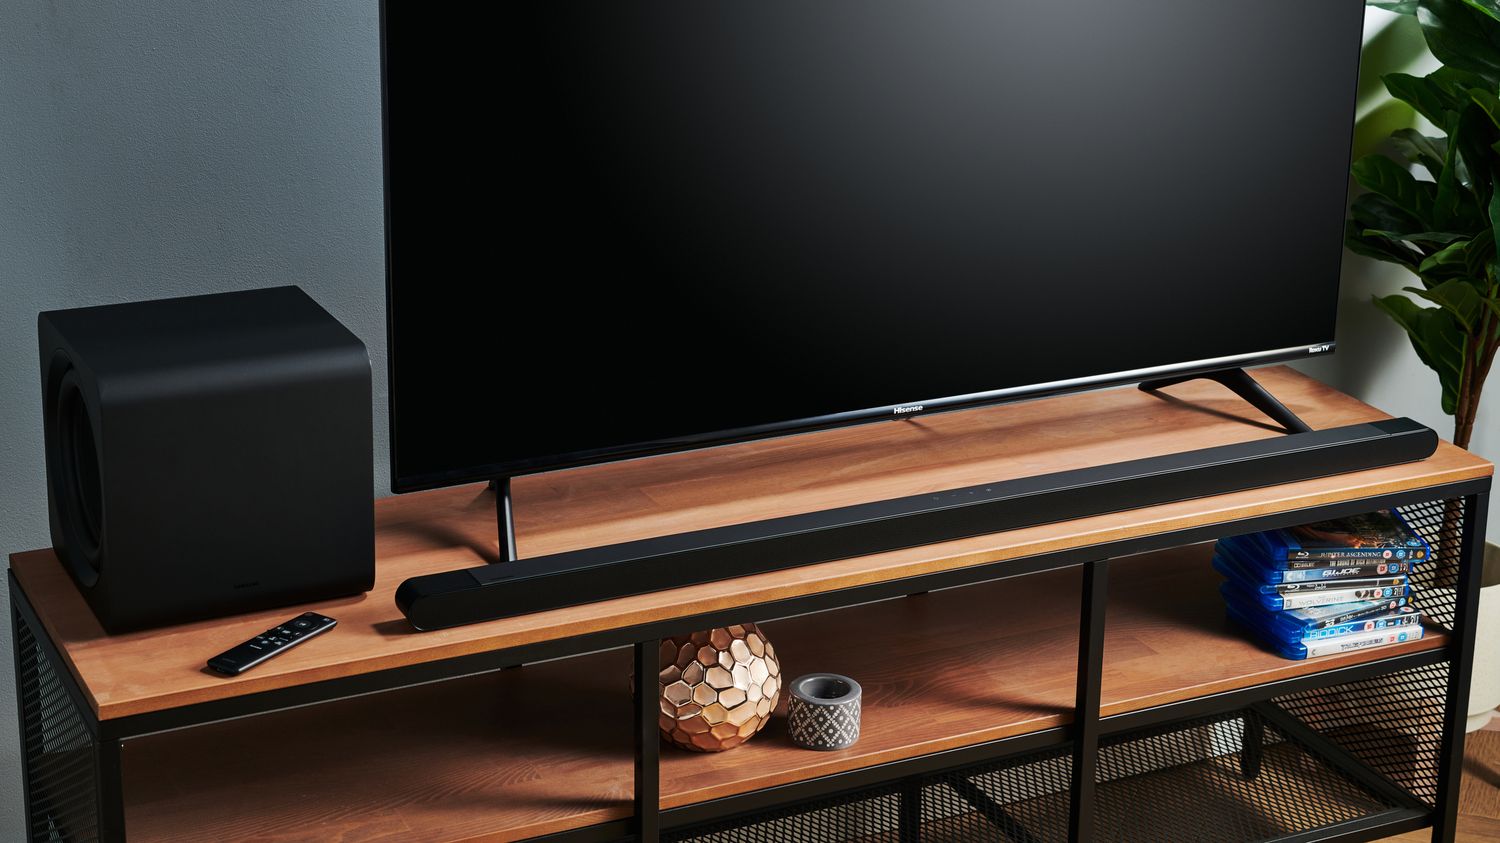
Step 2: Connecting the Speakers
Now that you have completed the initial setup of your Denon receiver, it’s time to connect the speakers. Follow these steps to ensure proper speaker placement and connection:
- Identify Speaker Placement: Determine the ideal location for each speaker in your room. The center channel speaker should be placed above or below your TV, while the front left and right speakers should be positioned on either side of the TV. The rear speakers are typically placed behind the listening area, while the subwoofer can be placed anywhere in the room for optimal bass response.
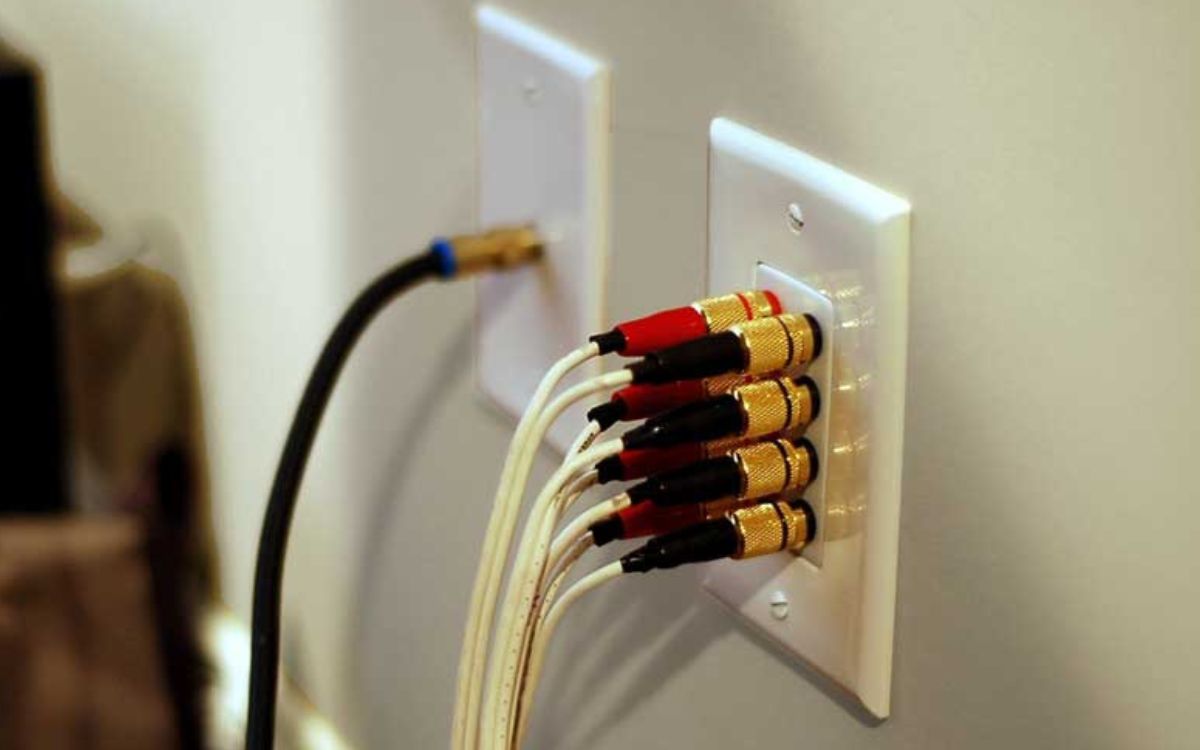
- Connect Center Channel Speaker: Take the speaker wire and connect it to the center channel speaker and the corresponding center channel speaker output on the receiver. Make sure to match the positive (+) and negative (-) terminals on both ends of the wire.
- Connect Front Speakers: Connect the front left and right speakers using speaker wire, matching the positive and negative terminals. Connect them to the front speaker outputs on the receiver.
- Connect Rear Speakers: Connect the rear speakers using speaker wire and connect them to the rear speaker outputs on the receiver. Ensure the positive and negative terminals are correctly matched.
- Connect Subwoofer: If your subwoofer has a dedicated subwoofer output on the receiver, use a subwoofer cable to connect it. If not, you can connect it using speaker wire. Make sure to follow the instructions provided by the subwoofer manufacturer.
- Secure Connections: Double-check all the speaker connections to ensure they are securely plugged in. Loose connections can affect audio performance.
- Configure Speaker Settings: Once all the speakers are connected, navigate the receiver’s settings menu to configure the speaker settings. This includes specifying the speaker sizes, crossover frequencies, and channel levels. Refer to the receiver’s user manual for specific instructions on accessing and adjusting these settings.
By following these steps, you will ensure that your speakers are properly connected and positioned for optimal surround sound performance. Now that the speakers are set up, let’s move on to configuring the audio settings in Step 3.
Step 3: Configuring Audio Settings
After connecting the speakers, the next step in setting up your Denon receiver is to configure the audio settings. This step will help you optimize the audio output and tailor it to your preferences. Here’s how to do it:
- Access the Receiver’s Setup Menu: Use the remote control or the front panel buttons on the receiver to access the setup menu. Look for options related to audio settings, such as “Audio Setup” or “Speaker Configuration.”
- Select the Speaker Configuration: In the audio setup menu, choose the appropriate speaker configuration for your setup. This includes selecting the number of speakers (such as 5.1 or 7.1) and specifying their size (small or large).
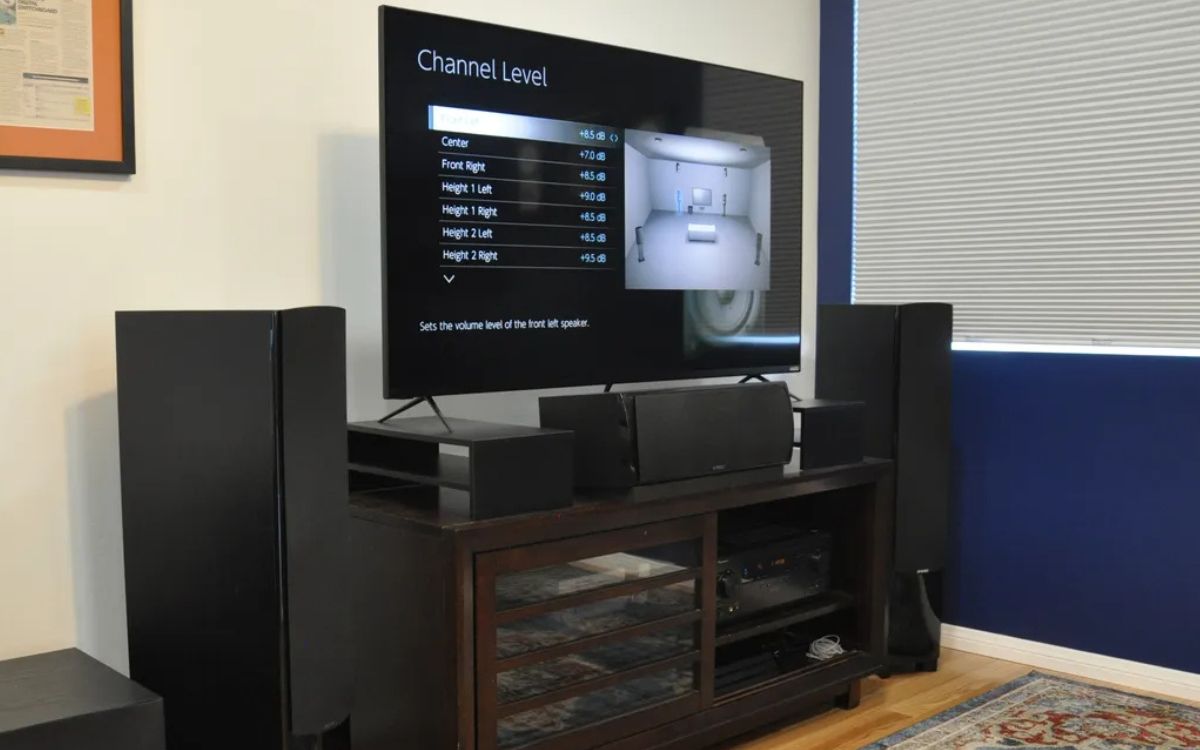
- Adjust Channel Levels: Use the built-in test tone feature to adjust the relative volume levels of each speaker. This ensures that the sound is balanced and evenly distributed across the room. Follow the on-screen instructions to set the channel levels correctly.
- Set Crossover Frequencies: The crossover frequency determines the point at which low-frequency sounds are redirected from the main speakers to the subwoofer. Set the crossover frequency based on the capabilities of your speakers and subwoofer. Generally, a crossover frequency of 80Hz is recommended for most setups.
- Enable Dynamic Range Control (optional): If you want to compress the dynamic range of the audio to minimize extreme volume differences, you can enable the Dynamic Range Control feature in the audio settings.
- Explore Additional Audio Features: Denon receivers often come with various audio enhancement features, such as Dolby Atmos, DTS:X, or virtual surround sound modes. Take some time to explore and experiment with these features to customize your audio experience further.
By carefully configuring the audio settings on your Denon receiver, you can ensure optimal audio performance and tailor the sound to your liking. Once you have completed these steps, it’s time to move on to calibrating the system in Step 4.
Step 4: Calibrating the System
Calibrating your Denon surround sound system is crucial for achieving accurate audio reproduction and optimal performance. The calibration process ensures that sound is balanced, properly timed, and adjusted to the characteristics of your room. Follow these steps to calibrate your system:
- Activate the Auto Calibration: Most Denon receivers feature an automatic calibration system, such as Audyssey or Denon’s own proprietary technology. Activate the auto calibration by selecting the “Start” or “Initiate” option in the setup menu.
- Place the Calibration Microphone: Set up the included calibration microphone in your listening position. Make sure it is placed at ear level and positioned in the center of the area where you typically sit while watching movies or listening to music.
- Start the Calibration Process: Once the microphone is set up, the receiver will emit a series of test tones that are picked up by the microphone. These tones will measure the characteristics of your room and the positioning of your speakers. Follow the on-screen instructions to start the calibration process.
- Wait for Calibration to Complete: Allow the receiver to complete the calibration process. This typically takes a few minutes as the system adjusts the speaker levels, distances, and EQ settings based on the measurements it collected.
- Review and Adjust Calibration Settings: After the calibration is complete, review the settings and adjustments made by the system. You can usually find these settings in the receiver’s setup menu under the calibration or audio settings section. Make manual adjustments if necessary.
- Save the Calibration Settings: Once you are satisfied with the calibration settings, save them in the receiver’s memory. This ensures that the system uses the calibrated settings every time you power it on.
Calibrating the system ensures that your Denon receiver optimizes the audio output based on the characteristics of your room and speaker setup. It improves sound quality, imaging, and overall listening experience. With the system calibrated, you’re ready to move on to the next step: testing and tweaking the surround sound setup.
Step 5: Testing and Tweaking
After completing the calibration process, it’s important to test and tweak your Denon surround sound system to ensure everything is working as desired. This step allows you to fine-tune the audio settings and make any necessary adjustments. Here’s what you can do:
- Play Audio and Video Content: Test your surround sound system by playing various types of audio and video content. This can include movies, TV shows, music, and games. Pay attention to the sound quality, channel separation, and surround effects.
- Verify Speaker Placement: Listen for any imbalances or inconsistencies in sound coming from each speaker. If you notice any issues, double-check the speaker placements and make adjustments as needed.
- Adjust Speaker Levels: Use the receiver’s audio settings menu to manually adjust the levels of individual speakers. This can help fine-tune the balance and make any necessary adjustments based on your listening preferences.
- Experiment with Sound Modes: Denon receivers often come with various sound modes to enhance the audio experience. Explore these modes and see which ones work best for different types of content. You may find modes like Movie, Music, or Game that optimize the sound for different scenarios.
- Consider Room Acoustics: If you notice any acoustic issues in your listening room, such as excessive echo or reverberation, you may need to address them using acoustic treatments or adjusting your room setup. Consult a professional if needed.
- Take Advantage of Additional Features: Denon receivers may have additional features like room correction, multi-room audio, or streaming capabilities. Explore these features and see how they can enhance your overall audio experience.
By testing and tweaking your surround sound system, you can fine-tune the audio settings and make adjustments to achieve the best performance. Keep experimenting and adjusting until you are satisfied with the sound quality and overall experience.
Lastly, let’s move on to Step 6, where we will provide some additional tips and troubleshooting guidance to help you with your Denon receiver and surround sound system.
Step 6: Additional Tips and Troubleshooting
Setting up a surround sound system involves some technical aspects, and it’s not uncommon to encounter challenges along the way. Here are some additional tips and troubleshooting steps to help you overcome common issues:
- Speaker Wire Length: When connecting your speakers, ensure that the speaker wires are of sufficient length to reach the receiver without straining or tugging. If necessary, use speaker wire extensions or consider repositioning the speakers.
- Speaker Phase: Ensure the speaker wires are properly connected with the correct polarity (positive and negative). Incorrect speaker phase can result in poor audio quality or cancellation of frequencies.
- Audio Delay: If you notice any audio delay or synchronization issues between the audio and video, you can adjust the audio delay settings in the receiver’s menu. Experiment with different settings until the audio and video are synced properly.
- Firmware Updates: Periodically check for firmware updates for your Denon receiver. Firmware updates can improve performance, introduce new features, and fix any known bugs or issues. Refer to the manufacturer’s website or the receiver’s user manual for instructions on updating the firmware.
- Basic Troubleshooting: If you encounter any issues with the receiver or the surround sound system, it’s worth trying some basic troubleshooting steps. This includes checking all connections, power cycling the receiver, and resetting the receiver to factory settings if necessary.
- Manufacturer Support: If you’re unable to resolve an issue or have specific questions about your Denon receiver, reach out to the manufacturer’s support team. They can provide valuable assistance and guidance tailored to your specific model.
- Regular Maintenance: Keep your Denon receiver and speakers clean and free from dust. Regularly inspect the speaker wires for any signs of damage or wear. Taking care of your equipment will help ensure optimal performance and longevity.
Following these additional tips and troubleshooting steps will help you overcome common challenges and maximize the performance of your Denon receiver and surround sound system. Remember, patience and experimentation are key as you fine-tune the settings and adjust according to your preferences.
With proper setup and configuration, you’re ready to enjoy an immersive audio experience right in the comfort of your home. Sit back, relax, and enjoy the captivating sound of your Denon surround sound system!
Let’s conclude this guide and recap the key steps we covered to set up your Denon receiver and surround sound system.
Conclusion
Congratulations! You’ve successfully set up your Denon receiver and created a surround sound system that will transform your audio experience at home. By following the step-by-step process outlined in this guide, you’ve connected the speakers, configured the audio settings, calibrated the system, tested and tweaked the setup, and implemented additional tips and troubleshooting techniques.
Now, you can sit back, relax, and immerse yourself in the rich, high-quality audio that your Denon surround sound system provides. Whether you’re watching movies, playing games, or listening to music, the immersive soundstage and precise audio reproduction will enhance your entertainment experience.
Remember to regularly maintain your equipment, explore additional features, and stay updated with firmware updates to ensure optimal performance and longevity.
If you encounter any issues along the way or want to further enhance your sound system, don’t hesitate to consult the manufacturer’s support team or seek professional assistance. They can provide valuable insights and guidance tailored to your specific setup.
With your Denon surround sound system up and running, you’re ready to enjoy a true cinematic experience and immerse yourself in your favorite forms of entertainment like never before. So grab your popcorn, dim the lights, and get ready for an extraordinary audio journey!
Happy listening!