Home>Instruments>Drums and Percussion Setup Guide
Instruments
Drums and Percussion Setup Guide
Modified: 3 October 2026
Table of Contents
Electronic drum setup and connecting your gear
A clean electronic drum setup starts with understanding that most electronic kits output a line-level signal, not the instrument-level signal a guitar amp expects. Feeding that straight into a guitar speaker can sound muddy and even damage the cone. When you need to connect electronic drums to a computer, the most reliable path on modern modules is a single USB cable carrying both audio and MIDI data. For Yamaha users, the procedure to connect yamaha DTX drums to computer starts by turning off the instrument, starting the computer, and quitting any running application software; then connect the USB cable first to the instrument and then to the computer. You then run a standard USB A-B cable from the module’s [USB TO HOST] terminal to a computer port, keeping the cable under three meters and avoiding USB 3.0 cables entirely. On Windows, you will also need to install the Yamaha Steinberg USB Driver to pass audio. If you own a DTX-MULTI 12 on firmware 1.10 or earlier, you must grab the older Yamaha USB-MIDI driver instead. Once the connection is live, you can send MIDI to trigger virtual instruments or record multi-track audio straight into your DAW. If you need to connect electronic drums to speakers for live monitoring, the exact wiring varies by venue setup. In a hybrid electronic rig, you might also sync drum machine with synthesizer so patterns and arpeggios lock to the same clock pulse, though the specific menu paths depend on the hardware you are pairing.
Getting the right sound
Once your pads are connected, the real work of shaping a tone that sits well in a mix begins. If your virtual snare has an unpleasant metallic tail, the fix often mirrors the acoustic approach of learning how to stop my drums from ringing by adjusting the decay envelope or adding internal compression rather than reaching for physical gel.
The foundation of your groove lives in the low end, so you may need to tune bass drum parameters by shifting the pitch and shell depth settings to help the attack cut through without clouding the sub frequencies. In a dense rock arrangement, you can further tighten the sound when you muffle a bass drum by shortening the sample’s sustain and slightly rolling off the extreme highs, mimicking the effect of a pillow in an acoustic shell. For a punchy live mix, you might set equalizer for rock music by boosting a narrow band around 3-4 kHz for beater attack while carving out mud in the 250 Hz range. When you need low-end separation between a synth line and your kick, it helps to sidechain kick and bass so the bass part ducks briefly every time the kick hits.
For those crafting a deep, resonant pulse in a cinematic setting, the technique to tune marching bass drums involves pitching the fundamental down and carefully balancing the ratio between the initial impact and the long, slow bloom of the tail.
Setting up your hardware
With the module powered down and all cables routed, position the bass drum pad on a solid surface and start by securing the pedal.
Before you set up bass drum height and stability, extend the spurs so the pad sits level without rocking, then adjust the beater angle to roughly 45 degrees from the batter head for a natural stroke, making the article on how to set up bass drum essential for achieving consistent feel.
If you need to cut hole in bass drum head on an acoustic conversion, mark a circle on the lower half between the center and edge using a round object as a template, and cut cleanly to create a port that tightens the low end, which is exactly why the article on how to cut hole in bass drum head is worth reading.
When you make double bass pedal work with an electronic kit, clamp the primary pedal to the hoop, position the slave pedal left of your hi-hat stand, and link them with the driveshaft so both beaters strike the same spot with matched spring tension, which is the key insight from the article on how double bass pedal work.
Some players like to install a bass knob on their kick pad’s output chain for quick volume shaping, though the exact wiring depends on your module’s aux send options, so the article on how to install a bass knob will guide you through that process.
Recording and software
Once your kit is connected, the real creative potential opens up when you capture the performance in a DAW. The approach you choose depends entirely on your end goal. If you want to trigger a premium sample library, you can create separate channels in Addictive Drums by clicking the arrow next to each fader on the Kit page. This routes the kick, snare, and cymbals to individual tracks in your mixer for independent processing. This is especially useful when you need to treat the snare with a different reverb than the overheads without printing everything to a single stereo file. For those who prefer to avoid routing virtual instruments entirely, you can record electronic drums without MIDI by taking the audio outputs from your module straight into an interface. This captures the onboard sounds as you hear them. When you are sketching a part away from the kit, you can write drums in Guitar Pro 6 using the standard notation or tablature grid. You will need to export the MIDI file afterward to hand it off to a proper drum sampler for a realistic performance. Finally, if you are starting out with nothing more than a phone, you can play drums on GarageBand by tapping the on-screen kit after selecting a sound from the browser. It is a surprisingly responsive way to lay down a quick groove before you even sit behind the hardware.
Playing techniques and notation
Once you have the physical kit dialed in, translating what you hear into what you play often starts with learning to play "we will rock you" on drums, as the stomp-stomp-clap pattern teaches you to play a bass drum, lowest rack tom, and floor tom for the first two eighth notes before hitting the snare on beat two with a flam and repeating the bar. If your module supports loading custom samples, you can swap in a processed clap sound to nail the exact texture of the original recording. When your focus shifts to acoustic percussion, taking time to play hand drums for beginners builds a tactile connection through the subtle pressure and release of each finger strike. For the feet, learning to play a bass drum can involve different beater techniques that your module’s trigger settings must accurately capture. As your parts get more complex, knowing how to notate brushes on drums helps keep your swirls and sweeps organized on paper, though you may ultimately have to approximate those textures using a continuous controller message in your piano roll.
Repurposing and fixing gear
Before you buy a dedicated module, a cheap way to test whether electronic percussion fits your workflow is to fix rock band drums that have stopped registering hits, which often comes down to re-soldering a cracked joint on the piezo sensor or replacing a compressed foam pad. Once the pads trigger reliably again, you can use rock band drums as MIDI by connecting the USB cable to your computer and selecting the kit as a controller inside your drum plugin, effectively turning a plastic toy into a surprisingly playable set of velocity-sensitive triggers for drum software.
- use rock band drums as MIDI — How To Use Rock Band Drums As MIDI
- fix rock band drums — How To Fix Rock Band Drums
Understanding your instruments
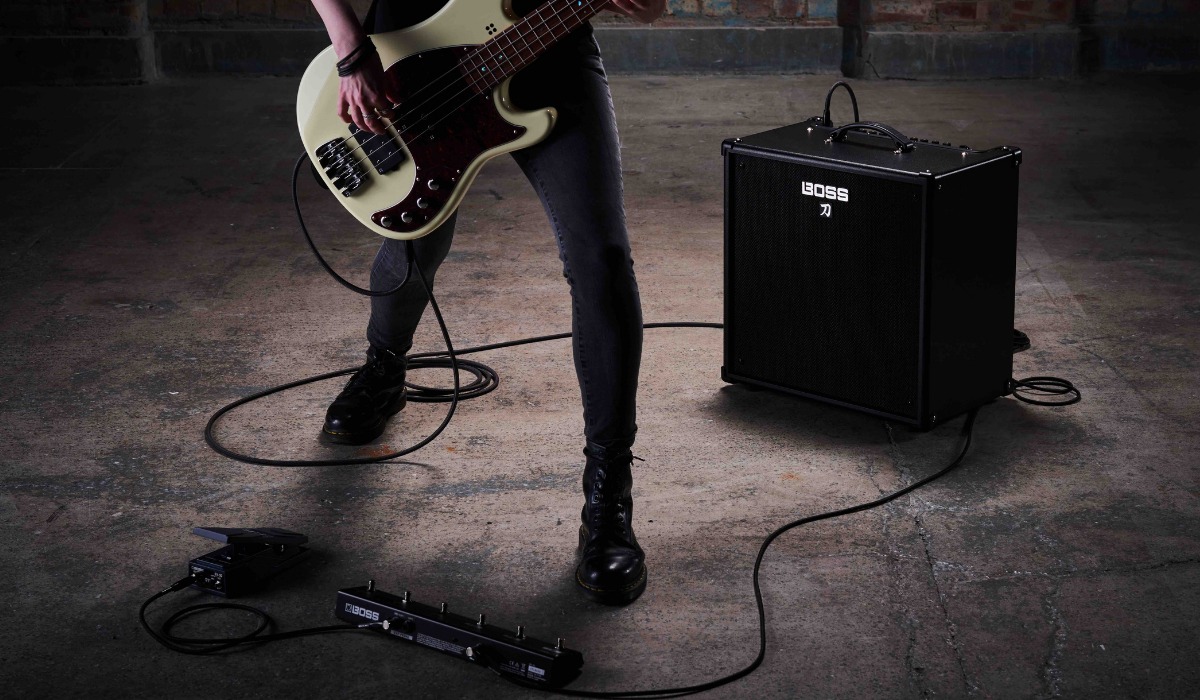
Every electronic drum kit sends out a line-level signal rather than the instrument-level output you would expect from a guitar, so if you are not using headphones or a PA/speaker system, the amp for electronic drums should be a drum amplifier designed for electronic kits. If you have ever carried acoustic gear for a parade, you will appreciate that the weight of a marching bass drum ranges from 13.3 pounds for a compact 14-inch shell to 26.9 pounds for a full 32-inch model, and switching to a lightweight electronic pad can save your back during long rehearsals. The shells themselves come from a deep craft tradition, and while modern factories use precision molds, one DIY approach to drum-making techniques starts by soaking a rawhide skin for at least four hours before cutting straps and lacing the head through evenly spaced holes until the surface pulls smooth and wrinkle-free, which is exactly the kind of hands-on skill you would explore in an article on that topic. When you move from the physical instrument to the music, learning how to make drum and bass beat is essential for crafting that signature rolling feel, and you typically program a heavy downbeat on the first kick and place ghost snares between the main backbeats to create the propulsive energy described in a dedicated guide. Many beginners start by learning to play "we will rock you" on drums because the stomp-stomp-clap pattern immediately teaches you how to lock the bass drum and low rack tom into a steady quarter-note pocket.
- make drum and bass beat — How To Make Drum And Bass Beat
- drum-making techniques — How To Make Drums