Home>Production & Technology>Audio Interface>How To Fix Loose Audio Interface USB Connector
Audio Interface
How To Fix Loose Audio Interface USB Connector
Published: October 27, 2023
Learn how to fix a loose USB connector on your audio interface with our step-by-step guide. Ensure a secure and stable connection for optimal performance.
(Many of the links in this article redirect to a specific reviewed product. Your purchase of these products through affiliate links helps to generate commission for AudioLover.com, at no extra cost. Learn more)
Table of Contents
Introduction
An audio interface is a crucial tool for anyone involved in recording, producing, or mixing audio. It acts as a bridge between your computer and other audio devices, allowing you to capture high-quality audio and control various input and output options. One of the key components of an audio interface is the USB connection, which enables you to connect it to your computer. However, over time, you may encounter a common issue where the USB connector becomes loose.
Dealing with a loose USB connector on your audio interface can be frustrating, as it can result in intermittent connection issues and audio signal dropouts. Fortunately, this problem can be fixed, allowing you to restore the stability and reliability of your audio interface.
In this article, we will guide you through the process of identifying and fixing a loose USB connection on your audio interface. We’ll provide step-by-step instructions to help you tackle this issue effectively, ensuring that your audio interface remains securely connected to your computer.
Understanding the Problem
Before attempting to fix a loose USB connector on your audio interface, it’s important to understand the root cause of the issue. Over time, frequent plugging and unplugging of the USB cable can lead to wear and tear, causing the connector to become loose. This can result in an unstable connection between the audio interface and your computer, leading to audio dropouts, static noise, or even complete signal loss.
There are a few signs that indicate you may have a loose USB connection on your audio interface:
- The USB cable easily detaches or falls out of the port without much force.
- You notice intermittent audio interruptions during recording or playback.
- The audio interface fails to connect to your computer consistently.
- You observe physical movement or play in the USB connector when the cable is inserted.
If you experience any of these symptoms, it is likely that you have a loose USB connector. It’s important to address this issue promptly to avoid further complications and ensure the smooth operation of your audio interface.
Now that we have a clear understanding of the problem, let’s move on to the next section where we’ll guide you through the process of checking the USB connector on your audio interface.
Checking the USB Connector
Before diving into fixing the loose USB connection on your audio interface, it’s important to first assess the condition of the USB connector. This will help determine the severity of the issue and guide you towards the best solution.
Here are the steps to check the USB connector:
- Inspect the USB port: Take a close look at the USB port on your audio interface. Look for any visible damage, such as bent pins, debris, or corrosion. Clean out any debris using compressed air or a soft brush, ensuring that the port is free from any blockages that may affect the connection.
- Examine the USB cable: Check the USB cable for any signs of wear and tear. Look for frayed or exposed wires, bent connectors, or loose fitting ends. It’s also a good idea to try a different USB cable to see if the issue persists, as a faulty cable can sometimes be the culprit.
- Inspect the USB connector on your computer: If possible, inspect the USB port on your computer. Look for any physical damage or signs of wear that may affect the connection. Ensure that the port is clean and free from debris.
- Test the connection: Connect your audio interface to the computer using the USB cable. Gently insert the cable into the USB port and ensure that it fits securely without any wobbling or play. Wiggle the cable slightly to check if it remains firmly in place. If you notice any movement or instability, it indicates a loose USB connection.
By carefully examining the USB connector and cable, you can determine whether the issue lies with the audio interface or the cable itself. If the USB connector appears to be loose or unstable, it’s time to move on to the next section, where we’ll discuss how to fix the problem.
Fixing Loose USB Connection
When dealing with a loose USB connection on your audio interface, there are a few methods that you can try to fix the problem. Here are some steps to help you secure the USB connector:
- Tighten the USB port: If the USB port on your audio interface has some play or movement, you can try tightening it to stabilize the connection. Using a small screwdriver, gently tighten any screws or fasteners around the USB port. Be careful not to overtighten, as this can potentially cause damage to the port.
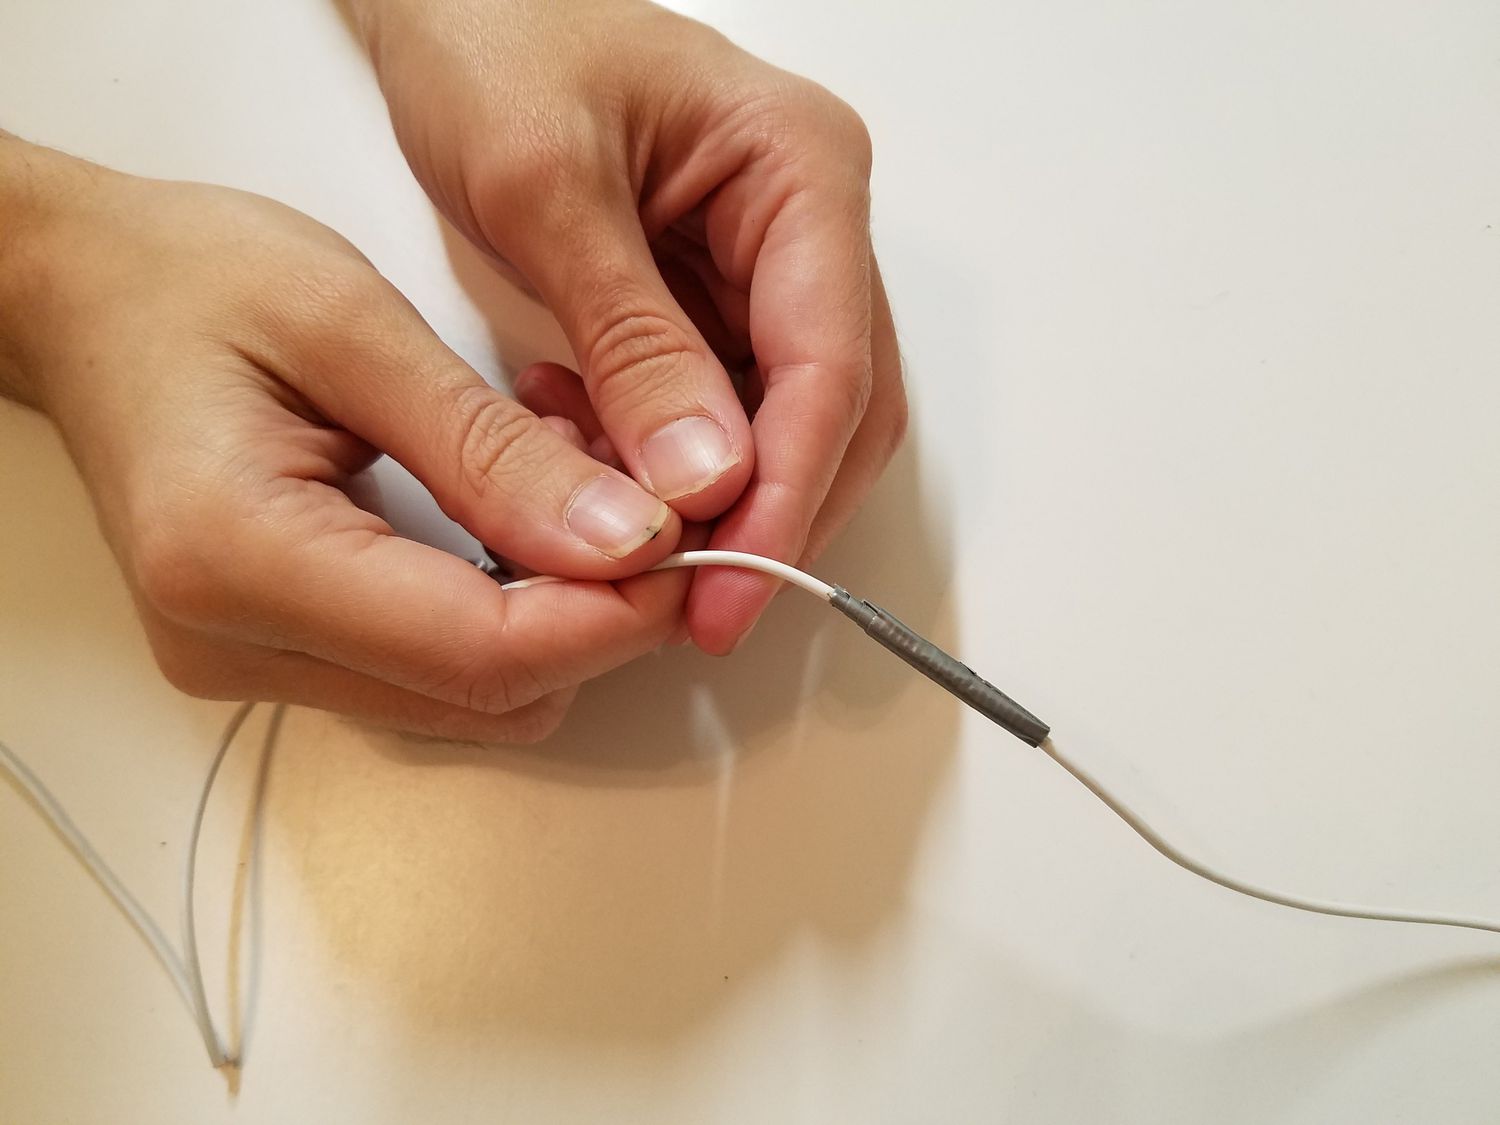
- Apply adhesive or tape: Another method to secure a loose USB connection is to apply a small amount of adhesive or tape around the USB connector. This can help create a tighter fit when inserted into the port. However, exercise caution when using this method, as excessive adhesive or tape can make it difficult to remove the cable in the future.
- Use a USB extension cable: If tightening or adhesive methods don’t provide a satisfactory solution, you can consider using a USB extension cable. Plug one end of the extension cable into the USB port of your audio interface and connect the other end to the USB port on your computer. This can help eliminate any play or movement in the original USB connector, providing a more stable connection.
- Seek professional repair: If the above methods do not effectively fix the loose USB connection on your audio interface or if you are uncomfortable attempting the repairs yourself, it may be best to seek professional assistance. Contact the manufacturer or a reputable audio equipment repair service to diagnose and resolve the issue.
It’s important to note that these methods may differ depending on the specific brand and model of your audio interface. Always refer to the manufacturer’s guidelines and instructions when attempting any repairs or modifications.
Once you have addressed the loose USB connection, it’s crucial to test the stability of the connection before resuming your audio work.
Testing the Connection
After fixing the loose USB connection on your audio interface, it’s important to test the stability and reliability of the connection. This will ensure that the issue has been resolved and that your audio interface is functioning properly.
Here are some steps to help you test the connection:
- Connect the audio interface to your computer using the USB cable.
- Ensure that the USB cable fits securely into the USB port of your audio interface without any play or wobbling.
- Power on your audio interface and wait for it to establish a connection with your computer.
- Launch your audio recording software or any other audio application.
- Perform a test recording or playback to check for any issues.
- Listen for any audio dropouts, static noise, or other anomalies that were present before fixing the USB connection.
- If the connection remains stable and there are no audio issues, it indicates that the loose USB connection has been successfully resolved.
- If you still experience any audio problems, double-check the USB connection to ensure it is secure and try using a different USB cable or port to eliminate any other potential causes.
By thoroughly testing the connection, you can confirm that the loose USB issue has been effectively addressed. It is always a good practice to periodically check the stability of the connection to ensure long-term reliability and performance of your audio interface.
Additional Troubleshooting Tips
While fixing the loose USB connection on your audio interface, you might encounter other issues or complications that require further troubleshooting. Here are some additional tips to help you resolve common problems and optimize the performance of your audio interface:
- Update Drivers: Ensure that you have the latest drivers installed for your audio interface. Visit the manufacturer’s website and download the latest driver software for your specific model. Outdated drivers can cause compatibility issues and performance problems.
- Restart Your Computer: Sometimes, a simple restart can resolve various software and connectivity issues. Restart your computer after making any changes or updates to your audio interface. This can help refresh the system and establish a stable connection.
- USB Port Selection: If you have multiple USB ports on your computer, try connecting your audio interface to a different port. Some ports may provide better power or compatibility, which can improve the stability of the connection.
- Power Management Settings: Check your computer’s power management settings and make sure they are not causing issues with USB devices. Disable any power-saving features that may be turning off or restricting power to the USB ports.
- Check Cables and Connections: Regularly inspect your USB cable and audio interface connections for any signs of damage or debris. Clean the connectors and ensure they are securely plugged in. Loose or damaged cables can cause signal loss or intermittent connection problems.
- Confirm USB Standards: Ensure that your audio interface and computer are compatible with the same USB standards. For example, if your audio interface is USB 2.0, make sure your computer supports USB 2.0 or higher. Mixing different USB standards can lead to compatibility issues.
- Try a Powered USB Hub: If you have multiple USB devices connected to your computer, they might be drawing too much power from the USB ports. In this case, using a powered USB hub can distribute power more effectively and alleviate any power-related issues.
By following these troubleshooting tips, you can address common issues that may arise with your audio interface. If you are still experiencing problems after trying these steps, it is recommended to contact the manufacturer’s customer support or consult with a qualified audio technician for further assistance.
Conclusion
A loose USB connection on your audio interface can be a frustrating issue that affects the stability and performance of your audio recordings. However, with the right knowledge and a few troubleshooting steps, you can successfully fix the problem and restore the reliability of your audio interface.
In this article, we discussed the importance of understanding the problem and checking the USB connector for any signs of looseness or damage. We then explored different methods to fix a loose USB connection, such as tightening the port, applying adhesive or tape, or using a USB extension cable.
We also highlighted the significance of testing the connection after applying these fixes, ensuring that the issue has been resolved and there are no more audio dropouts or signal interruptions. Additionally, we provided some additional troubleshooting tips to help address common audio interface issues.
Remember, it’s important to pay attention to proper maintenance and regular inspections of your audio interface and USB connections to prevent future problems. Keeping the connectors clean, using high-quality USB cables, and following the manufacturer’s guidelines will help maintain the stability and performance of your audio interface over time.
If you encounter any persistent issues or are unsure about performing the fixes yourself, it’s always a good idea to seek professional assistance from the manufacturer or a qualified technician.
By following the steps outlined in this article and employing proper maintenance practices, you can overcome a loose USB connection on your audio interface and continue to produce high-quality audio recordings with confidence.