Home>Instruments>Playing Bass Guitar Techniques
Instruments
Playing Bass Guitar Techniques
Modified: 3 October 2026
Table of Contents
- How to play bass and is it right for you?
- More on is bass right for you?
- Choosing your first bass
- More on choosing your first bass
- Budget and online lessons
- More on budget and online lessons
- Holding and fretting the instrument
- More on holding and fretting the instrument
- Tuning up
- More on tuning up
- Reading tabs and notation
- More on reading tabs and notation
- Core right-hand techniques
- More on core right-hand techniques
- Groove and theory basics
- Fretless and specialty instruments
- Setting up your bass
- Strings and maintenance
- Amplification and speakers
- Crafting your tone
- Recording and mixing
- Effective practice routines
- Building and modding
How to play bass and is it right for you?
Before you learn how to play bass, it helps to clarify the difference between guitar and bass. The two serve entirely different roles in a band. A standard guitar has six strings, while a bass typically has four, E, A, D, G, with a longer neck and much thicker gauges tuned a full octave lower. Your job is not to play chords up front but to lock in with the kick drum, creating the rhythmic and harmonic foundation that glues the drums to the harmony. Since this role relies on timing and note choice rather than complex chord shapes, learning bass guitar difficulty is often framed as beginner-friendly. Mastering the feel, muting, and groove of the gear takes real practice. You do not need to learn six-string guitar first; the skill set is fundamentally different. When you want a sharper attack with more definition, you can use a pick on bass, which gives notes a percussive bite compared to the rounder thump of fingers. Before any of that, you will need to tune a bass guitar by ear, with harmonics, or by clipping on an electronic tuner and adjusting the pegs until each open note hits its correct pitch.
More on is bass right for you?
Stepping into bass after playing guitar can feel like learning a new language, since the mindset shifts away from strumming chords and toward sculpting the low-end pocket. Your primary concern becomes the lock between your attack and the kick drum, and the space you leave is just as important as the notes you play. If you are drawn to upfront solos and fast runs, understand that a working bassline often lives on just a few well-placed root notes. The discipline of holding a groove tests your internal clock far more than your fretting speed, which is why the bass is easy to start but endlessly deep to master. Real progress comes from listening to the drummer and learning to mute courses you are not playing.
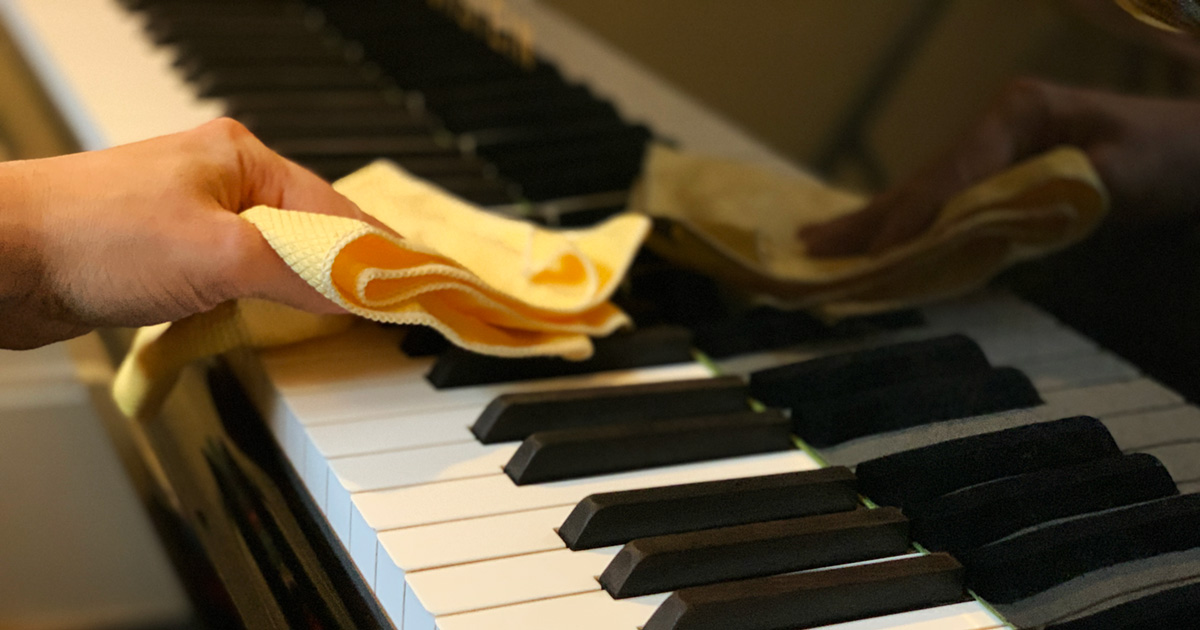
Since the bass sits in a tactile, physical role, small details in your setup change how you connect with the gear. After a session, take a moment to clean bass strings by wiping them with a soft, dry cloth, running the cloth along the top and underside of each one to remove sweat and skin oils that lead to corrosion. That simple habit keeps your tone clear and your fingers gliding smoothly, so the hardware does not fight you when you are trying to stay in the pocket.
Choosing your first bass
Before you commit to a purchase, it helps to know that the four strings on a bass guitar are tuned E, A, D, and G, one octave lower than a standard guitar's first four strings, giving the bass its deep, foundational voice. Most beginner material assumes you are working with this setup. When you pick up a potential bass in a shop, bring it into playing position and check that you can reach the first fret with a relaxed elbow; if the neck feels like a stretch, a short-scale model can make a meaningful difference for smaller hands or younger players. Fretted basses are the practical starting point since the metal frets give you clear, fixed intonation points, removing the guesswork of finger placement while you build muscle memory. As you compare different models, remember that the strings on a bass are thicker and under higher tension than a guitar's, so the physical setup and neck profile directly affect how naturally you can lock in with a kick drum pattern. Trust the feel of the neck in your left hand and the way the body balances against your torso, for an instrument that fights you physically will pull your attention away from the groove.
More on choosing your first bass
Before you pick a brand or a color, let the physical feel of the instrument guide you. A bass that fights your body will pull your focus away from locking with the kick drum. Start with a standard four-string model, because that E-A-D-G tuning is the bedrock of nearly all beginner material and the narrower neck lets you concentrate on clean muting and precise note placement minus the extra rumble of a fifth string. If a full-scale neck feels like a stretch, a short-scale bass can make a meaningful difference for smaller hands or younger players. When you browse across the price range of bass guitars, you will find solid, playable gear from established makers like Squier, Yamaha, and Ibanez that sit in a comfortable sweet spot for a first purchase. Premium builds from Fender, Sandberg, Sire, or Music Man offer refined hardware and electronics once your ear and hands know what to listen for. The key is to trust the way the neck sits in your palm and the body balances on its strap. An instrument that feels like home will disappear in your hands, leaving you free to think only about the groove connecting you and the drummer.
Budget and online lessons
This gives you unlimited entry to a full academy of courses rather than a single linear path. Before you explore advanced technique, it is worth knowing that you can strum a bass with your thumb or the pads of your fingers to produce a warm, muted tone that sits beautifully behind a vocalist. This approach requires a lighter touch than the aggressive downstrokes you might use on an acoustic guitar. For those drawn to the upright, learning to tune double bass relies on the same E-A-D-G intervals as an electric. The friction pegs and the lack of frets mean you must develop your ear to hear the sympathetic resonance of the open courses ringing against each other. Once you have a bass in your hands, a proper setup a bass guitar involves adjusting the truss rod to set neck relief and lowering the bridge saddles to achieve a comfortable playing height. This directly affects how effortlessly you can fret notes with no buzz. As you explore these paid platforms, checking Scotts Bass Lessons pricing can help you decide if the investment fits your budget before committing to a subscription. Remember that the goal of every exercise is to train your hands to serve the rhythm. A well-adjusted rig and a clear lesson plan work together to keep your focus locked on the kick drum rather than fighting your gear.
More on budget and online lessons
Once you have a bass that feels right, the next question is how much you need to spend to get started. The answer spans a wide range. A playable entry-level model from a brand like Squier or Ibanez can cost significantly less than a professional Fender. Even among affordable options, budgeting for a proper setup makes the difference between a bass that fights you and one that disappears in your hands. If you are learning a specific song, working through the bass tab for "What You Know" will quickly reveal how the line locks with the kick drum pattern. This reinforces that your role is rhythmic glue rather than a simplified guitar part. When you are ready for structured guidance, platforms like Scott’s Bass Lessons pricing operates on an all-access subscription model. One fee opens the entire course library instead of locking you into a single linear curriculum. This approach lets you move among fundamental muting exercises, ear-training drills, and style-specific deep dives, always circling back to the central idea. Every note you play either tightens or loosens the groove connecting the drums and the harmony.
Holding and fretting the instrument
Before your fingers ever touch the strings, settle the body of the bass against your torso and let the neck angle slightly upward so your left hand falls naturally around the lower frets. Keep your thumb resting lightly on the back of the neck rather than gripping it like a handle; this gives your fingers the arch and reach they need to press the wire just behind the fret with the fingertip, not the flat pad. A clean note speaks with far less pressure than most beginners expect, and learning to apply only what is necessary will save your stamina and intonation. Your right hand will spend most of its time anchoring near the bridge pickup, while your left hand's real discipline is muting. Letting unused courses ring out will muddy the low end in ways that force you to think about bass mixing techniques later, so train your fretting fingers to lightly touch adjacent lengths from the start. Understanding bass mixing techniques becomes far easier when your raw playing is already clean, because you will not be fighting unwanted sympathetic vibrations in the mix. The goal is a posture where both arms hang relaxed from the shoulders, since tension anywhere in the chain travels straight into the note and pulls it out of the pocket.
- bass mixing techniques — How To Mix Bass
More on holding and fretting the instrument
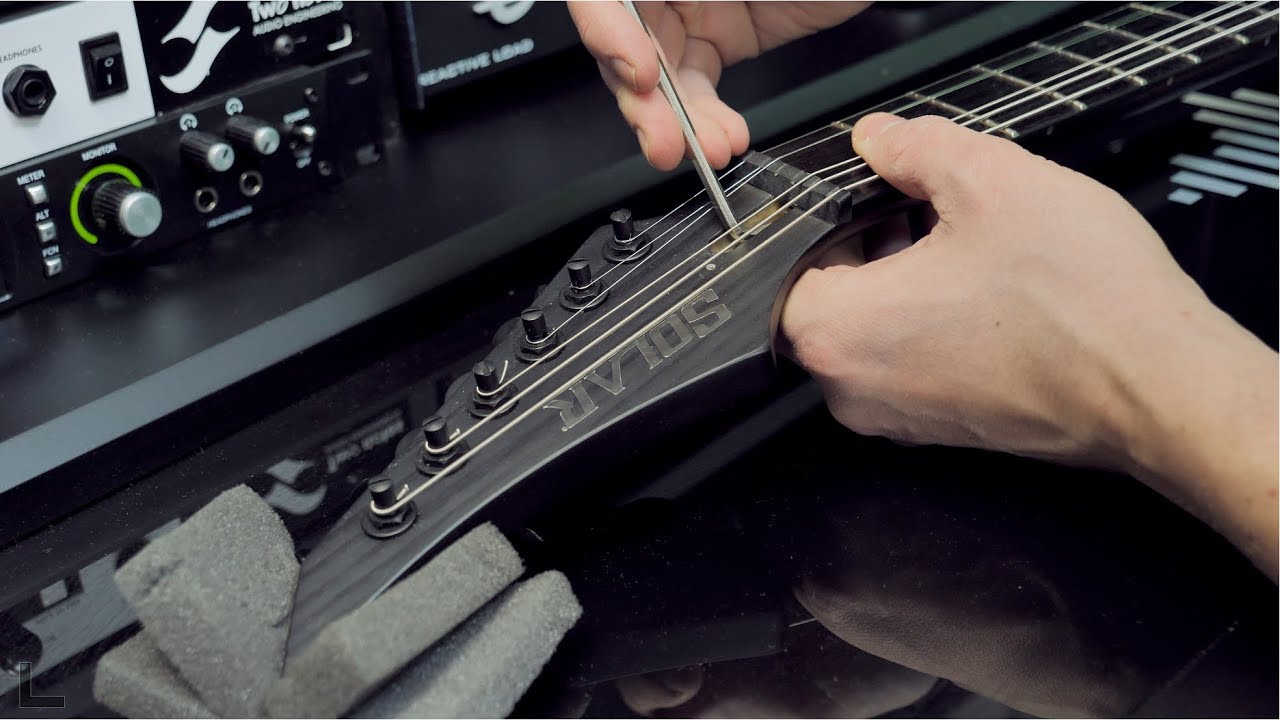
Getting your hands comfortable on the neck is only half the equation; the bass itself must feel like a natural extension of your body, and that starts with how you maintain it. Over time, the roundwound grit that gives a fresh set its bite will fade, and when your tone loses definition or intonation starts to drift, it is a clear signal that you need to change bass strings. The process on a standard four-string involves precise steps to keep the tension stable. Start by anchoring the ball end of the lowest string, inserting it and the bridge pin, then pushing down and pulling up until it catches. Always pull gently on the wire to verify that it is locked in place before you trim. At the headstock, turn the tuner so the hole sits at a 45-degree angle, feed the string through leaving just enough slack so the end protrudes approximately 1/8 inch from the tuner hole as you tighten it down. Two to three wraps around the post give a clean break angle over the nut with no overlapping coils that slip. Once you have repeated the procedure to install the next string and the rest, stretch each one gently along its length and tune it to pitch, remembering that stable tuning is what lets you lock into the kick drum so your fundamental notes never waver.
Tuning up
Before you unpack a new instrument, a quick look at the bass guitar string count will set your expectations: the standard bass has four strings, though five- and six-string models are common for players who need extended low or high range. A four-string is almost always tuned E, A, D, G, which shifts your thinking from chord shapes to single-note groove. When you sit down with sheet music, the ability to read bass tabs connects you immediately to that role, since the four horizontal lines map directly to those four strings with fret numbers telling you exactly where to press. From the first exercise, focus on landing each note squarely with the kick drum pattern rather than rushing to the next fill, because the moment your attack wavers, the pocket disappears. This same tuning logic extends to five-string basses, which typically add a low B below the E, and six-string versions, which pair that low B with a high C above the G, giving you more harmonic room while your core job stays the same. Across every configuration, the instrument's first responsibility is anchoring the harmony to the rhythm.
More on tuning up
Once you understand that your primary job is to bridge the groove between drums and harmony, the logic of standard tuning across different basses becomes a practical extension of that role. Upright double bass players share this same E, A, D, G tuning, proving that across every configuration the bass anchors the harmony to the rhythm. When you are ready to record bass guitar, plugging directly into your iPhone gives you a clean signal path that captures every nuance of your attack. In GarageBand, you can choose an Audio Recorder, Amp, or Sampler Touch Instrument, then tap the Record button in the control bar to start capturing your playing at the current playhead position and tap Play to stop. To layer multiple parts, turn on multitrack recording via the Settings button in the control bar under Advanced, then use the Record Enable button on each track header before you begin.
Reading tabs and notation
Reading bass tablature begins with understanding that the four horizontal lines represent your strings, the lowest line matching your E. Each number on those lines tells you which fret to press, giving you the exact location for a note. Tab alone does not show rests, rhythm, note length, or expression, so pair it with standard notation to capture those missing elements. This is a solid starting point for fingering and will help you lock your attack to the kick drum. Techniques like hammer-ons, pull-offs, slides, and bends can all be indicated within tab, so you can interpret the articulation of a line as you learn it.
When you search for wake me up when september ends bass tabs, what you are really after is a map of the song's harmonic foundation that gives you the fret positions sitting under the vocal melody. You might pull up show me how bass tabs to see how a melodic bass line moves across the wires while still anchoring the chord changes. If you want to write out your own parts, install the Flat app, create a new score with bass, and you can tap the string and type the fret to enter tab directly. Press play to hear if your line grooves. Before you play a single note, hold bass guitar in a position that keeps both hands relaxed and the neck stable. Tension in your body will translate directly into stiff, rushed notes that pull ahead of the drummer.
The resulting thump sits back in a mix, lacking the bright attack of a plucked note, and you can use this to emulate an upright tone or double a synth part. The key is keeping your thumb loose and letting the weight of your hand fall through the string, because a stiff thumb creates an uneven pulse that fights the groove. Practice this with a simple root-note pattern, locking your muted strokes to the snare drum. Over time, your thumb will develop its own callus, and the tone will become rounder and more consistent.
Fretting hand placement determines whether your notes speak cleanly or buzz out. Position your thumb flat on the back of the neck, not wrapped over the top, and arch your fingers over the fingerboard so the tips press the wires down just behind the fret wire. Pressing directly on top of the fret produces a dead, choked sound, while pressing too far back in the gap requires excessive force and invites fret buzz. The goal is a light, precise contact that lets the note ring fully. Build this accuracy by playing chromatic scales slowly, monitoring each pitch for clarity. As you shift positions, keep your thumb aligned with your middle finger to maintain a stable fulcrum and prevent the neck from dipping or rising as you move across the fingerboard.
Plucking hand technique revolves around alternating your index and middle fingers for consistent time and tone. Rest your thumb on the pickup or a low string to anchor your hand, then strike through the wire so your fingertip lands on the next one, a motion called the rest stroke that produces a full, fundamental-heavy note. For faster passages, use a lighter touch and a shallower stroke. The angle of your attack relative to the body shapes the brightness of the note: a perpendicular strike yields more clank and articulation, while a slanted stroke rounds off the transient. Experiment with moving your plucking hand closer to the bridge for a nasal, focused tone, or nearer the neck for a broader, boomier voice. Your goal is to make every note sound intentional and even in volume.
Muting is the hidden skill that separates a professional feel from a muddy wash. Your fretting hand can lay across the strings to silence sympathetic vibrations from the lower wires, and your plucking hand palm can rest lightly on the bridge end to dampen sustain. These two techniques work together constantly, often subconsciously. Practice playing a single note while your other fingers mute the remaining three, then play an octave pattern, lifting and replacing your muting fingers as you shift. The silence between the notes defines the groove as much as the notes themselves. A tight, staccato line with deliberate gaps will feel funkier than a legato run that hums with unintended overtones. Record yourself and listen for ringing that continues after you stop playing, and eliminate that noise.
Understanding intervals on the fingerboard unlocks the ability to create bass lines rather than just recite them. The distance from any fret to the next is a half step, and two frets make a whole step. A perfect fifth lives two wires up and two frets over, while an octave spans two courses up and two frets over. Internalizing these shapes lets you transpose a groove to any key instantly. The root, fifth, and octave form the skeleton of countless lines across rock, country, and pop. Adding the flat seventh gives you a dominant, bluesy pull, while the major third defines the chord quality and the minor third darkens it. Practice finding these intervals from a random starting note, naming each one aloud. This knowledge turns the fingerboard into a familiar grid rather than a mystery of unrelated dots.
Locking with the kick drum is the bassist's primary rhythmic responsibility. Your note attacks should land exactly with the beater hitting the head. When the drummer plays a simple four-on-the-floor pattern, place a note on each beat, matching the duration and decay of the kick. For syncopated patterns, align your accents with the kick's accents and let the snare backbeats breathe. A common mistake is rushing to the next note, which pushes the groove ahead of the pocket. Practice with a metronome or a drum loop, focusing on the moment your finger meets the wire. Record the session and zoom in on the waveform to see if your transient aligns with the kick's. A locked rhythm section makes the whole band feel grounded and powerful, even at slow tempos.
Developing your ear means transcribing bass lines directly from recordings. Start with simple songs where the bass is prominent in the mix, listen for the lowest note which is usually the root, and sing the line back before you touch your bass. Then hunt for that pitch on the fingerboard, checking your guess against the recording. This process is slow at first but accelerates rapidly. Your ability to recognize intervals, chord qualities, and rhythmic patterns will grow with each transcription. You will begin to hear a phrase and know instantly that it is a root-fifth-octave pattern with a chromatic approach. This skill frees you from
More on reading tabs and notation
Once you can find your way around the fretboard, the next step is interpreting the full map of a song. Fret numbers show exactly where the notes fall against the harmony. Tab is read left to right. When you see numbers stacked vertically on different courses, that means you play those notes together as a chord or double-stop rather than one at a time. A zero tells you to sound an open course with no fret pressed. The tab alone will not reveal note durations or rests, so you must listen to the recording and feel where the kick drum lands to place each attack correctly. Your right-hand consistency matters far more than speed here, since the moment a note rushes or drags, the pocket connecting you and the drummer collapses.
- you sleep bass tab — When You Sleep Bass Tab
Core right-hand techniques
Before you chase speed, lock in the fundamental right-hand techniques that turn a string attack into a groove. Plucking with the side of your index and middle fingers alternately, directly over the pickup, gives you a full, consistent tone that sits inside the kick drum rather than fighting it. The other half of that clean sound is muting. Resting your thumb on the lower courses and the edge of your plucking hand on the higher ones kills sympathetic vibrations, so every note you play ends exactly when you choose. When you want a more aggressive, percussive attack, slapping a bass involves striking the string with the bony side of your thumb and popping with your index finger. This produces the sharp transient that cuts through a dense mix. If you are chasing that tone in a digital context, Apple’s documentation maps out a specific path in MainStage. Load the “E-Bass Fingered Basic EQ1” setting, turn off “Body EQ” and two objects, then set “Variation” to “−0.69” before choosing “Bound” in the “Object 2 Type” menu. The result approximates the snap of a thumbed string. Your right hand is the voice of the instrument, and keeping it articulate means your strings must respond predictably. When the tone starts to feel lifeless, learning to restring a bass guitar properly restores the brightness and intonation that let your muting and attack translate clearly. Even the best technique will sound muddy if your signal chain fights you. An amp’s impedance varies, and knowing the optimal ohm for bass ensures your cabinet matches your head. This avoids choking the low end and risking your output transformer.
More on core right-hand techniques
Every plucking pattern you learn only works when the strings you are not playing stay silent, which starts with anchoring your thumb on the lowest string to stop it from ringing. Alternate between the side of your index and middle finger directly over the pickup, pulling across rather than up so the attack feels thick and consistent rather than snappy and thin. The other half of muting comes from the blade of your plucking hand resting lightly on the higher strings, killing sympathetic vibrations the moment you move to a new note. You will also find that the fret count on a bass guitar shapes how you approach the upper register, since a modern 4-string with at least 21 frets extends your range, while a Yamaha TRBX Series model with 24 frets pushes that reach even further for chordal and solo work. No matter how many frets you have under your fingers, every muted ghost note and deliberate pluck is what locks you into the kick drum pattern you are there to support.
Groove and theory basics
Once your right hand can lock into a kick drum pattern without thinking, the next shift is understanding that your note choices define the song’s harmonic floor. Staying glued to the root turns you into a human downbeat instead of a melodic voice. To write a bass line that breathes, start by playing a simple root-fifth pattern against the changes, and create rhythm by cutting notes short or pushing an accent ahead of the snare to give the line forward motion before you ever add variation. When you do step away from the root, the third and flat seventh carry the chord’s emotional weight, and sliding into those tones with advanced expression makes a longer groove feel conversational rather than repetitive. Before any of that harmonic thinking applies, you need a bass that responds to your touch, so when you are ready to buy a bass guitar look for a classic four-string with frets that will not fight your muting hand. If you are still experimenting and only own a six-string, you can make a guitar sound like a bass by running your signal through an octave pedal and rolling the Dry knob all the way off so only the shifted signal passes through.
Fretless and specialty instruments
Moving to a fretless neck removes the safety net your fingers have relied on, forcing your ear to take over intonation completely. The payoff is a vocal, sliding expressiveness that a fretted board cannot replicate. To build clean facility on a blank fingerboard, adapt the same economy-of-motion principle Yamaha suggests for players trying to play bass faster, keeping each finger pressed down until the exact moment it needs to lift for the next note, a discipline that becomes critical when you have no fret wire to define the pitch.
Specialty designs often rethink the bassist’s interface entirely. If you ever sit down at a chromatic button accordion, you will need to play accordion bass buttons using a layout designed for chordal leaps, not linear melodic runs. Unconventional physical designs also demand fresh approaches to articulation. On an extended-range or multi-scale bass, you may need to palm mute bass with a lighter heel placement closer to the saddles to get a consistent thump across uneven string lengths without choking the low B.
Setting up your bass
Before your fingers ever touch the strings, the bass itself needs to fit your hands, and that starts with knowing how to measure bass guitar scale length, which ensures you can find the right instrument for your reach and playing style. The standard long-scale model runs 34 inches from the nut to the bridge saddles, while short-scale versions sit at a comfortable 30 inches. You can verify yours by measuring from the nut to the 12th fret and doubling that distance. This number dictates string tension and how far your left hand has to stretch, so it is worth confirming when you are dialing in action and intonation. Once you understand the length of a bass guitar, the physical logic of the setup becomes clearer. With the bass adjusted to your body, the way you actually play a bass guitar settles into a natural posture, which is why knowing how to play a bass guitar with proper form prevents fatigue and injury. Hold the neck at roughly a 45-degree angle. When seated, rest the body on the leg farthest from the headstock so the instrument balances with your fretting hand carrying no weight at all.
- measure bass guitar scale length — How To Measure Bass Guitar Scale Length
- play a bass guitar — How Do You Play A Bass Guitar
Strings and maintenance
Your strings are the voice of your bass, and dead strings will undermine your rhythmic role before you even plug in. A fresh set has a bright, piano-like clarity that locks into the kick drum with authority, so plan on replacing them every 6 months to a year. When you swap in a new set, the way you attack them matters, and to ensure you are holding the pick correctly for maximum control and endurance, you should read the article on how to hold bass pick between your thumb and index finger with only a small amount of the tip protruding, gripping it firmly but not so tight that your wrist stiffens up. The hardware anchoring those strings is just as critical to your sound, and while a proper setup can make a budget instrument play well, the foundational build quality from the best bass guitar makers shows up in tuning stability and intonation that hold through long rehearsals.
- hold bass pick — How To Hold Bass Pick
Amplification and speakers
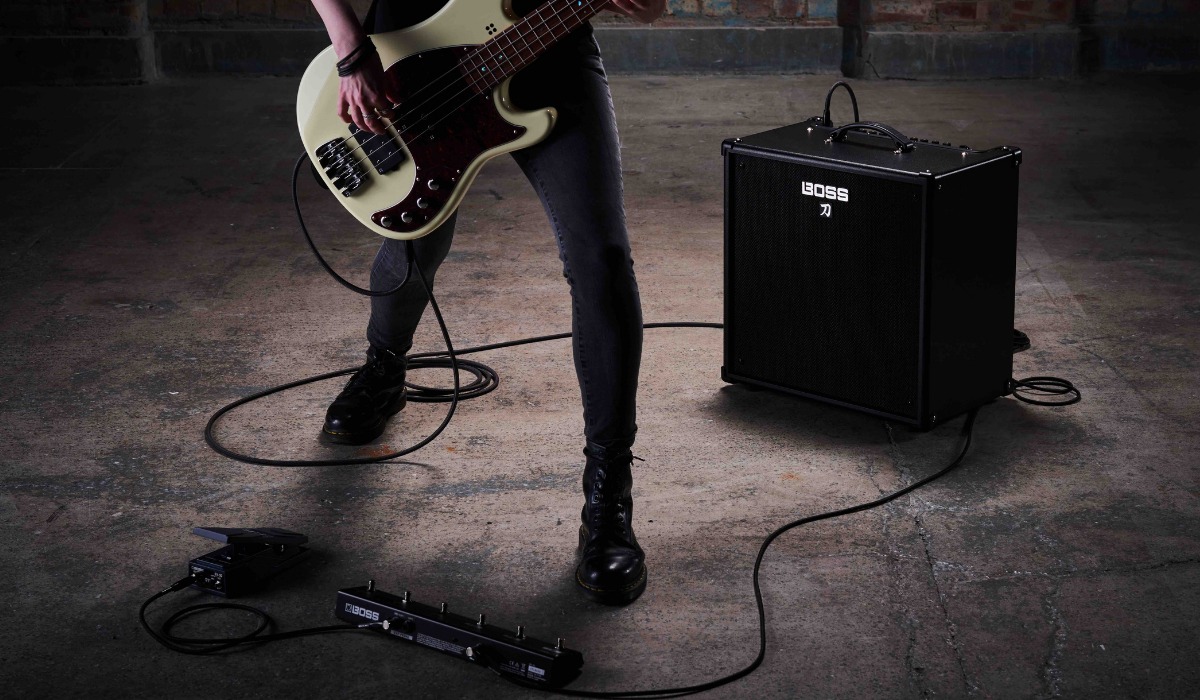
When you start assembling a rig, the amplifier is not just a volume knob, it is the second half of your bass, and learning how to get good bass tone begins with understanding that the EQ section on your amp head or combo should carve out a space where your bass sits against the kick drum. It should not radically reshape the voice into something it is not. Before you add a single pedal, explore the strings, pickups, and onboard preamp controls of the bass itself. The way you pluck the string with your fingers or pick will alter the voice reaching the speaker far more than any outboard effect. For apartment practice, a compact combo putting out 10 to 50 watts is usually enough. Rehearsals and small gigs demand 100 to 500 watts to stay clean and authoritative under a drummer. Larger stages often call for 500 watts or more paired with bigger cabinets or direct PA support. Speaker diameter also shapes your footprint. 10-inch drivers deliver a tight, punchy midrange that cuts through a mix. 15-inch speakers move more air for a deeper, rounder low end, and 12-inch or 8-inch options fill the space in between. As you experiment, remember that wattage alone never tells the full story. Room size and the overall volume of the band will always dictate how much clean headroom you actually need, which is exactly why the guide on how to get good bass tone is essential reading for matching your rig to any performance setting.
- get good bass tone — How To Get Good Bass Tone
Crafting your tone
The sound that reaches the audience starts long before your amplifier, right at the point where your fingers meet the string. Plucking closer to the neck produces a round, fundamental-heavy thump that sits underneath a track, while attacking near the bridge gives you the growling, mid-forward articulation that cuts through a dense mix. Your onboard preamp or passive tone knob is the next tool in the chain, and a small cut to the treble often helps the bass blend into a busy arrangement without losing its voice. From there, the amplifier’s EQ section should be used to carve a pocket between the kick drum and the guitars, not to radically reinvent your core tone. When you are ready to expand your range, the process to tune a 5 string bass guitar simply adds a low B to the standard E-A-D-G, and keeping that thicker line under control requires a slightly firmer right-hand touch to avoid floppy, undefined notes. As you develop that control, the most effective way to learn to play bass with real authority is to record your practice sessions and listen back critically, focusing on whether each note lands exactly with the drum pattern rather than just whether you hit the correct pitch. The same principle of listening and adjusting applies no matter which member of the bass family you pick up, and the right choice comes down to the texture and role you want to fill, from the upright-like thump of an acoustic novelty to the sliding, vocal quality of a neck lacking frets. You can play washtub bass with a percussive, fundamental-driven feel that translates directly to the electric version when you need a softer attack. The sliding, singing voice you hear when you play fretless bass comes from the direct contact of fingertip flesh on the fingerboard, which eliminates the metallic edge of the fret and allows for continuous pitch expression. When you play jazz bass, you are often walking a line that connects chord changes with smooth voice leading, and the deep, woody thump of an upright or a carefully EQ’d solidbody provides the foundation that the rest of the ensemble builds upon. The fundamental skills you build as you play 4 string bass create a direct path to understanding the extended range of a five-string or the nuanced touch of a fretless. Your role as a bassist is to lock with the drummer and provide a harmonic and rhythmic anchor, and every choice from your plucking hand position to your EQ settings serves that single purpose.
Recording and mixing
This approach works especially well for genres that call for a softer attack. It also gives you a completely different voice from your gear without changing any settings.
When you move into recording and mixing, the bass is almost always captured and processed in mono. One of the most flexible approaches is to record a direct input signal and a microphone on your amplifier simultaneously. You can then blend the two sounds later. To capture the amp at its best, you will need to use a bass amp with features that suit a studio workflow, which is why you should read the article on how to use a bass amp to get the most out of your setup. A DI/XLR output that sends a balanced signal straight to your audio interface or mixer is a prime example. While no single model is universally the best bass amp for every session, look for practical connectivity like a line out, a USB connection, and a power-attenuation switch. Setting a Katana Bass to its 1-watt setting lets you drive the preamp hard for character while keeping the room volume under control. Mic choice and placement matter deeply here. The microphone must have solid low-frequency response to translate the physical weight of your cabinet. Before you hit record, the condition of your gear is equally critical, and understanding bass string replacement frequency will help you know exactly when to change them for optimal tone. There is no fixed rule for bass string replacement frequency, yet dull wires will rob a track of definition faster than any budget preamp. Pay attention to how much attack and harmonic content your plucking hand is actually generating. If you are changing a set for a session, aim for two to three wraps around the tuning post for the low-end cables. More than that can introduce tuning instability under the microscope of a DAW waveform.
Effective practice routines
Effective practice starts with an instrument that responds predictably to your touch, so checking your bass action height is a worthwhile habit before any focused session, as it ensures you can articulate notes without buzzing or excessive finger fatigue. A common starting point is about 4/32 inch on the low E string and 3/32 inch on the G, measured from the bottom of the wire to the top of the 12th fret. If you adjust the saddle screws, remember to loosen the string before raising it to prevent unnecessary wear on the hardware. Once the feel is right, you need to intonate bass to keep your notes in tune all the way up the neck, which is essential for playing in harmony with other instruments. At the 12th fret, compare the fretted note to the open note; if it rings sharp, shift the saddle back, and if it is flat, move the saddle forward until both pitches match perfectly. With a stable setup, you can focus on harmony free of distraction. Learning to play bass guitar chords is less about strumming and more about placing well-chosen intervals in the low register, giving your lines a fuller, more melodic foundation. Start by resting your thumb on the lowest-pitched string and use your index, middle, and ring fingers to gently pluck shapes built from the root, third, and fifth, or the wider root, fifth, and tenth voicings that keep the sound clear. Practice these shapes with a metronome or drum track at a medium tempo, locking each note to the pulse. While specific bass amp wattage needs vary, the goal of any amplifier is to provide enough clean headroom so your carefully articulated notes cut through without distorting unintentionally, allowing your chord work and melodic ideas to be heard clearly in any mix.
- play bass guitar chords — How To Play Bass Guitar Chords
- bass amp wattage needs — How Many Watts For A Bass Amp
- bass action height — How High Should Bass Action Be
- intonate bass — How To Intonate Bass
Building and modding
Building an instrument yourself pushes you past thinking about notes and into understanding how every component shapes the voice that locks with a kick drum. When you set out to make a bass guitar, you confront choices about scale length, wood density, and pickup placement that directly affect sustain and attack, which is why the article on how to make a bass guitar is essential for anyone wanting a truly customized tone. Those qualities determine whether your lines sit inside a groove or float disconnected from it. The same attention to setup applies to less common instruments, and if you pick up an extended-range model you will need to tune a 6 string bass with extra care, as the added low B and high C courses demand precise intonation to keep chord voicings from turning muddy in the lower register, making the guide on how to tune a 6 string bass invaluable for maintaining clarity across the fretboard.
Your signal chain matters just as much as the wood and wire. When researching speakers with the best bass, you want a cabinet that reproduces transients without flubbing out on sustained notes, letting your rhythmic placement breathe rather than blur, which is why you would read the article about what speaker has the best bass to ensure your low end punches through the mix instead of collapsing into mud. All the gear in the world means nothing lacking the hands to drive it, and one path to get better at bass is through structured feedback, which is exactly the focus of the resource on how to get better at bass. Apps like Yousician offer tutorials that cover technique, rhythm, and fretboard mastery, giving you real-time response on whether you are ahead of or behind the beat, which turns abstract timing concepts into physical habit. To make that feedback stick, practice bass in short, focused blocks where you isolate one groove at a time, repeating it until your plucking hand locks to the pulse unconsciously, the same way a drummer internalizes a kick pattern, a method detailed in the guide on how to practice bass.
- speakers with the best bass — What Speaker Has The Best Bass