Home>Devices & Equipment>Yamaha>How To Fix Dead Keys On A Yamaha Keyboard
Yamaha
How To Fix Dead Keys On A Yamaha Keyboard
Published: October 25, 2023
Learn how to fix dead keys on your Yamaha keyboard with our step-by-step guide. Easily troubleshoot and resolve any issues, ensuring optimal performance.
(Many of the links in this article redirect to a specific reviewed product. Your purchase of these products through affiliate links helps to generate commission for AudioLover.com, at no extra cost. Learn more)
Table of Contents
Introduction
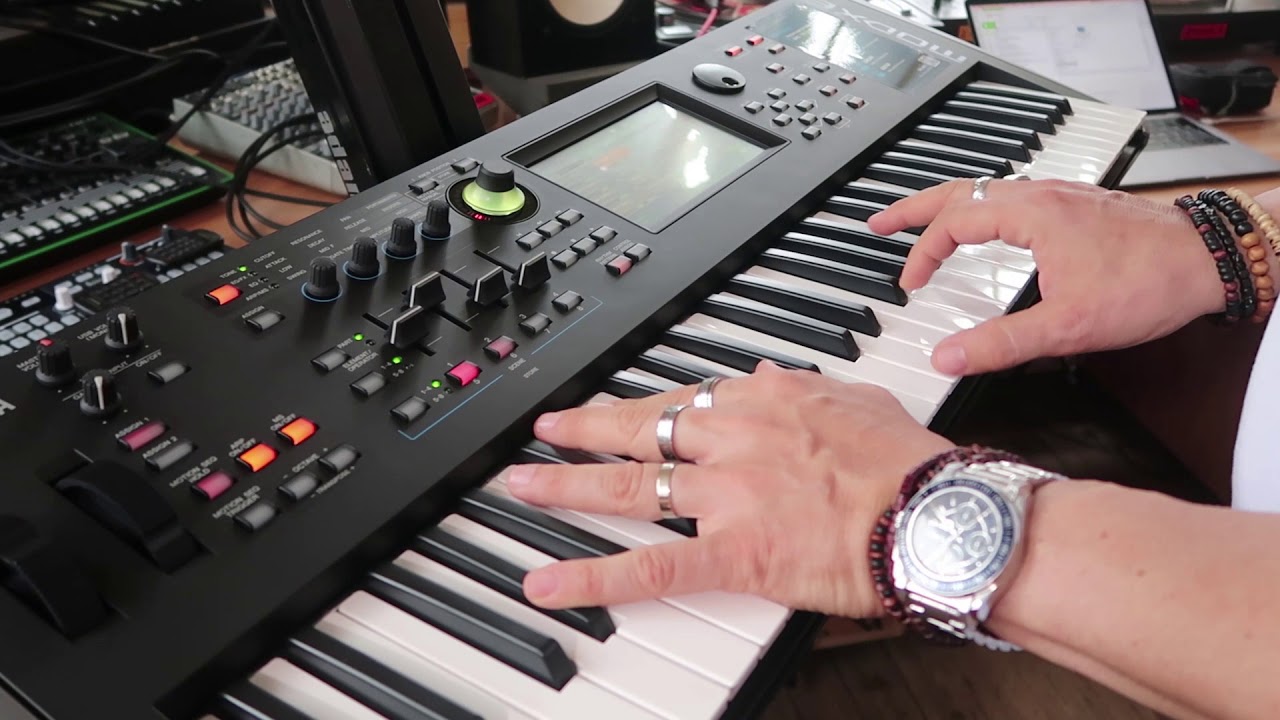
Welcome to our guide on how to fix dead keys on a Yamaha keyboard. If you’re a musician or a keyboard enthusiast, you know how frustrating it can be when certain keys stop working on your instrument. It can hinder your ability to practice, perform, or simply enjoy playing.
Dead keys can occur for various reasons, including physical damage, dirt or debris buildup, electrical issues, or settings malfunctions. The good news is that many dead key problems can be resolved with some simple troubleshooting and maintenance techniques. In this article, we’ll walk you through the steps to diagnose and fix dead keys on your Yamaha keyboard.
Before diving into the process, it’s important to note that fixing dead keys may require some technical knowledge. If you’re uncomfortable working with electronics or have limited experience with keyboard repairs, it’s best to consult a professional technician. Attempting complex repairs without the necessary expertise could potentially cause further damage to your instrument.
That being said, if you’re ready to roll up your sleeves and give it a shot, let’s get started with the common causes of dead keys on Yamaha keyboards.
Common Causes of Dead Keys
Before you can effectively fix dead keys on your Yamaha keyboard, it’s essential to understand the common causes behind this issue. Here are a few possibilities:
- Physical Damage: One of the most common reasons for dead keys is physical damage. This can happen if the keyboard has been dropped, bumped, or exposed to excessive moisture. Physical damage can affect the key contacts or the underlying circuitry.
- Dirt and Debris Buildup: Over time, dust, dirt, and other particles can accumulate under the keys, causing them to stop functioning properly. This buildup can disrupt the electrical connections between the keys and the circuits.
- Electrical Issues: Problems with the electrical components of the keyboard, such as loose connections, wiring issues, or faulty key contacts, can result in dead keys.
- Settings Malfunctions: In some cases, the dead keys may be the result of settings malfunctions or software glitches. Resetting the keyboard settings can often resolve this problem.
Now that you have a general understanding of the common causes of dead keys, it’s time to move on to the next step: checking for physical damage on your Yamaha keyboard.
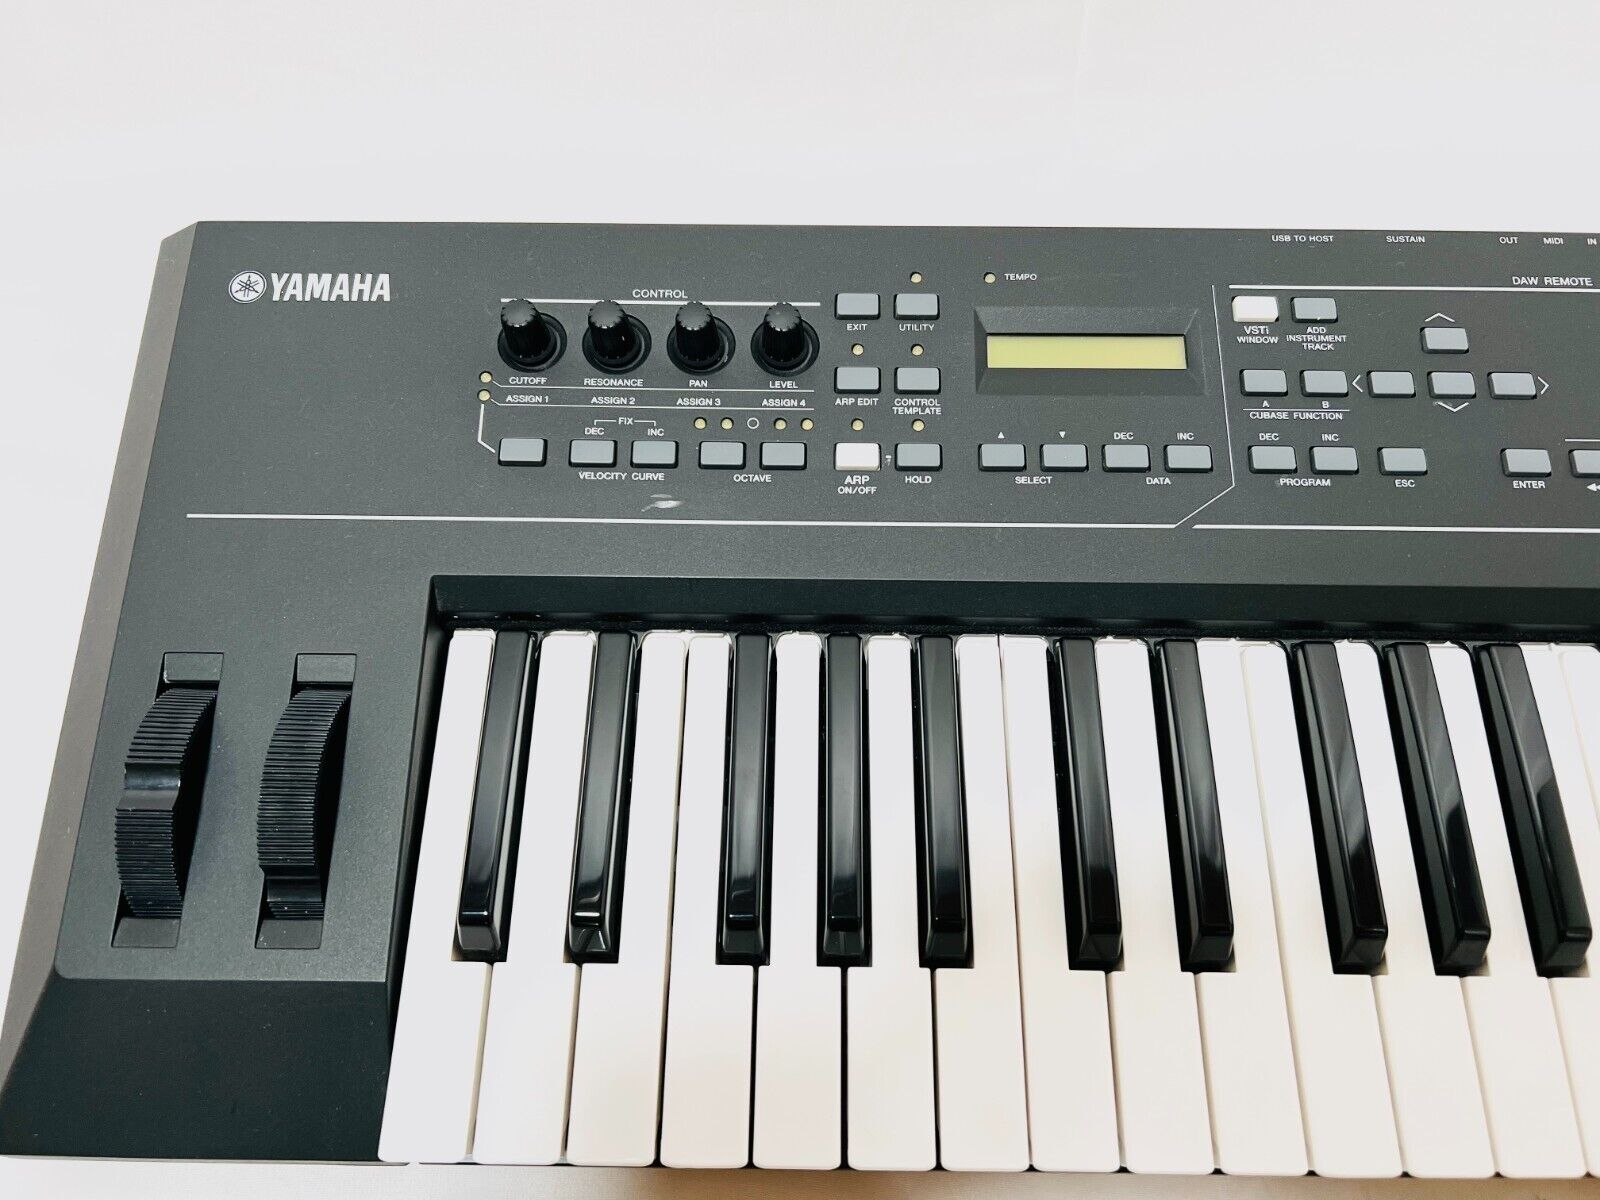
Checking for Physical Damage
If you suspect that physical damage might be the cause of the dead keys on your Yamaha keyboard, it’s important to examine the instrument closely. Here are the steps to check for physical damage:
- Inspect the keys: Carefully examine the keys that are not functioning. Look for any visible signs of damage, such as cracks, chips, or misalignment. If you notice any issues, it’s likely that the key itself needs to be replaced.
- Check the key contacts: The key contacts are the small metal pieces underneath each key. Inspect them to ensure they are intact and properly aligned. If you notice any bent or damaged contacts, they may need to be repaired or replaced.
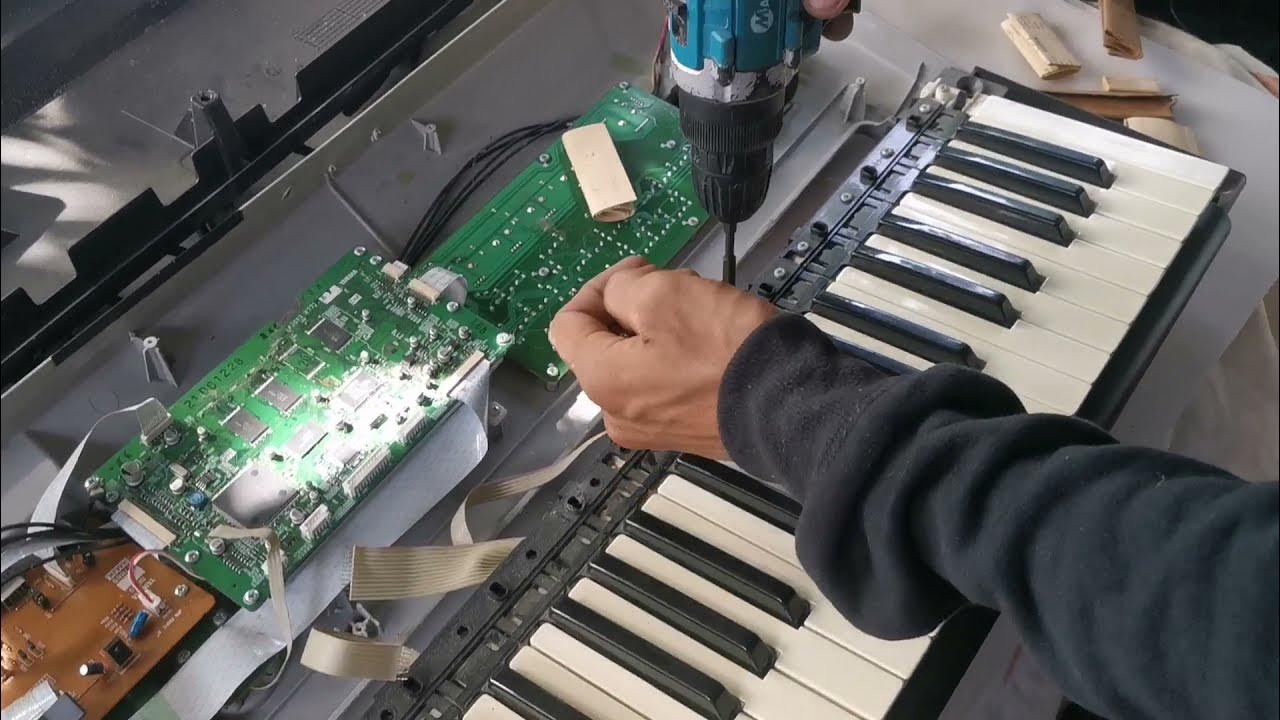
- Examine the circuit board: Open up the keyboard and inspect the circuit board for any visible damage or loose connections. Use a magnifying glass if necessary to get a clear view. If you find any issues, it’s best to seek assistance from a professional technician.
- Ensure proper key alignment: Sometimes, keys can become misaligned, causing them to get stuck or not make proper contact with the key contacts. Gently press down on misaligned keys to reposition them and check if they start functioning again.
If you discover any physical damage during the inspection process, it’s crucial to address it accordingly. In some cases, you may be able to replace the damaged keys or contacts yourself, depending on your level of technical expertise. However, if the damage is extensive or requires complex repairs, it’s advisable to seek professional assistance to avoid causing further harm to your instrument.
Once you have thoroughly assessed the instrument for physical damage, and if you didn’t find any issues, it’s time to move on to the next step: cleaning the keyboard to remove any dirt or debris buildup.
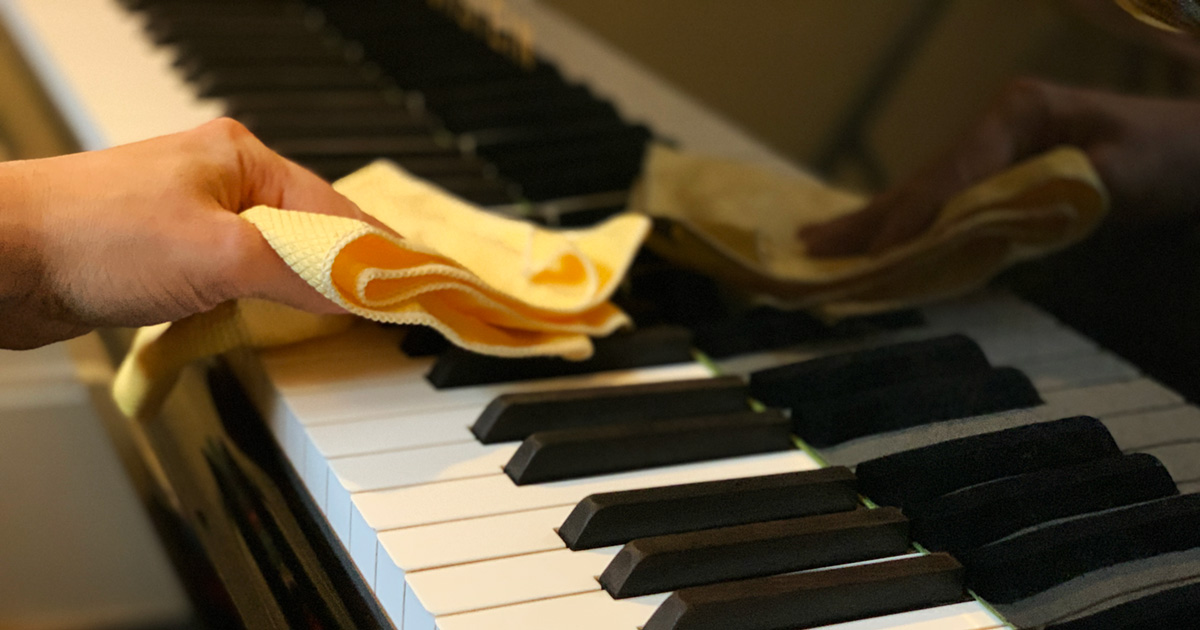
Cleaning the Keyboard
If dirt, dust, or other debris have accumulated under the keys of your Yamaha keyboard, it can hinder their functionality. Cleaning the keyboard is a relatively simple yet effective step to address this issue. Here’s how to clean your keyboard:
- Power off your keyboard: Before starting the cleaning process, make sure your Yamaha keyboard is turned off and unplugged from the power source to avoid any potential electrical hazards.
- Remove the keys: Some keyboards allow you to remove the keys for easy cleaning. If your keyboard has removable keys, refer to the user manual to understand the correct method for removing them. Alternatively, you can use a keycap puller or a small tool, like a flathead screwdriver, to carefully lift the keys.
- Clean the keys: Prepare a cleaning solution by mixing a mild detergent or dish soap with warm water. Moisten a soft cloth or a cotton swab with the solution, and gently wipe each key to remove any grime or sticky residue. Avoid using excessive moisture, as it can seep into the keyboard and cause damage. For tough stains or marks, you can also use isopropyl alcohol, applied sparingly.
- Clean under the keys: Use a can of compressed air or a small, soft-bristled brush to carefully remove any dirt or debris trapped underneath the keys. Be gentle to avoid damaging the key contacts or other internal components. Ensure that you clean all sides and corners thoroughly.
- Dry and reassemble: Allow the keys and the keyboard to air dry completely before reassembling them. Make sure no moisture is left to avoid damage. Once dry, carefully reattach the keys, ensuring they are aligned properly and seated securely.
Cleaning the keyboard can help restore the functionality of the keys by removing any dirt or debris that may be hindering their movement. However, if the dead keys persist after cleaning, it may be necessary to consider replacing the affected keys. We will discuss the process of replacing keys in the next section.
Keep in mind that regular maintenance and cleaning can prevent dead key issues in the future. It’s a good practice to clean your Yamaha keyboard periodically to maintain its optimal performance.
Replacing the Keys
If you have identified that the dead keys on your Yamaha keyboard are due to physical damage or wear and tear, replacing the affected keys may be the solution. Here’s how you can go about replacing the keys:
- Obtain replacement keys: Contact a reputable Yamaha dealer or authorized service center to purchase the specific replacement keys for your keyboard model. Provide them with the necessary information, such as the model number and the type of key that needs replacing.
- Remove the damaged keys: Use a keycap puller or a small tool like a flathead screwdriver to carefully lift and remove the damaged keys from the keyboard. Apply gentle pressure and ensure you don’t damage the surrounding keys or key contacts.
- Install the new keys: Take the replacement keys and align them properly with the key slots on the keyboard. Gently press down until you hear a click sound, indicating that the key is securely in place. Ensure that the new key moves smoothly and makes proper contact with the key contacts.
- Test the replaced keys: Power on your keyboard and test the functionality of the replaced keys. Check if they respond correctly and register the correct notes when pressed. If the new keys function properly, you have successfully replaced them.
It’s important to note that replacing the keys requires careful handling and precision. If you’re not comfortable performing this task yourself or if the damage extends beyond the keys, consider seeking assistance from a professional technician to ensure a proper repair.
Once you have replaced the keys, you can test the keyboard and assess if the dead key issue has been resolved. If the issue persists, it may be necessary to explore other potential causes such as electrical issues, which we will cover in the next section.
Now that you are familiar with the process of replacing keys, let’s move on to troubleshooting electrical issues on your Yamaha keyboard.
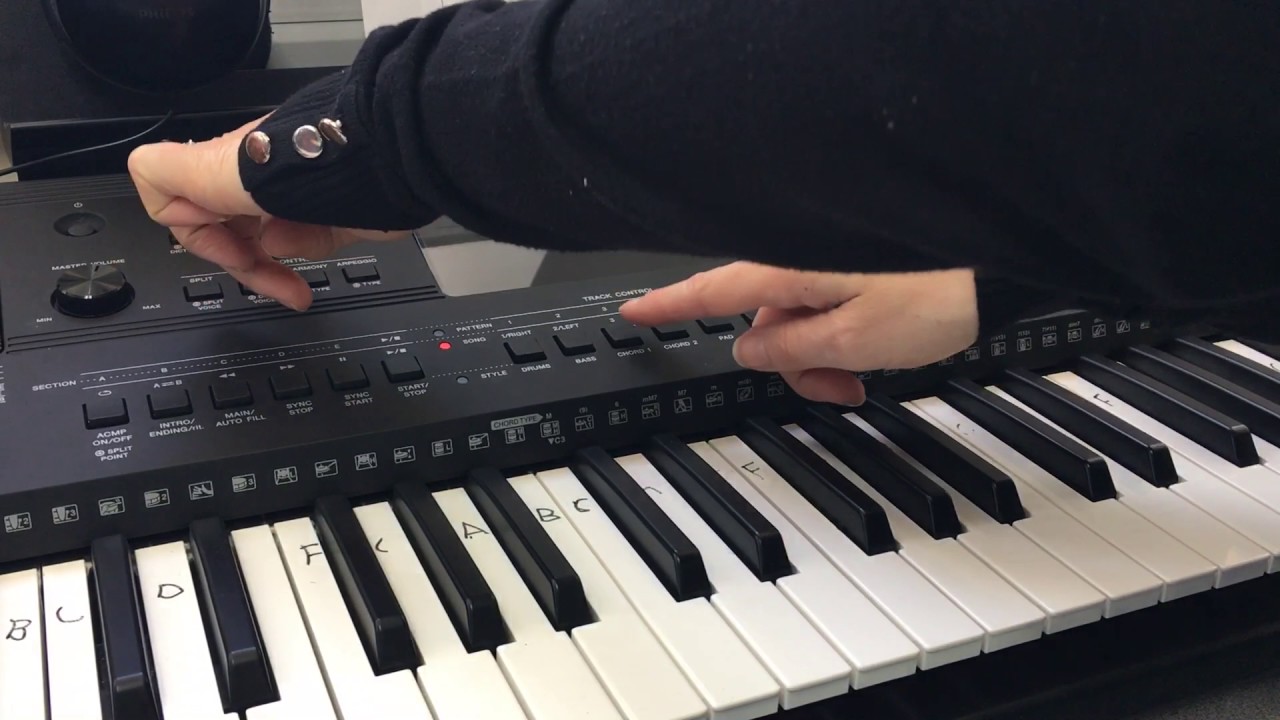
Troubleshooting Electrical Issues
If the dead keys on your Yamaha keyboard persist even after checking for physical damage and cleaning the keyboard, electrical issues may be the culprit. Here are some troubleshooting steps you can take to address electrical problems:
- Check the power source: Ensure that your keyboard is properly connected to a reliable power source. Try plugging it into a different power outlet or using a different power cable to rule out any issues with the power supply.
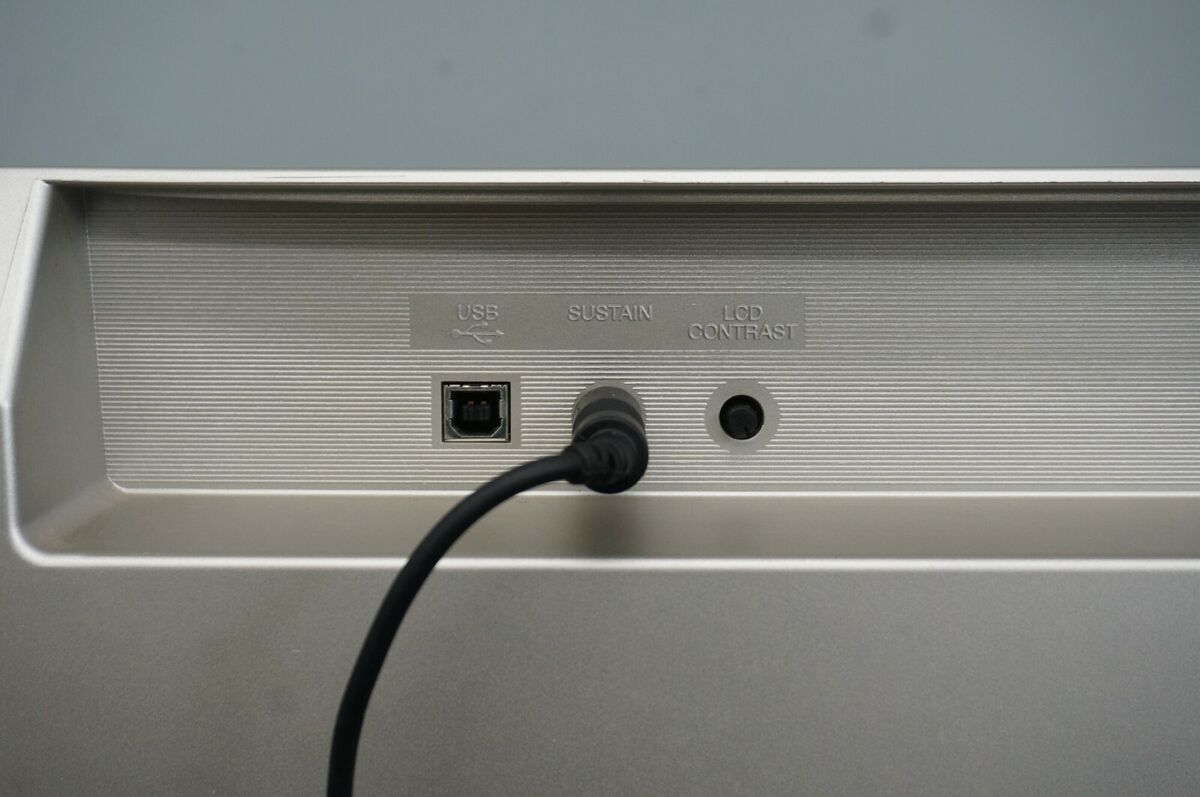
- Inspect the connectors: Examine the connectors and cables connecting your keyboard to external devices or amplifiers. Ensure that they are securely plugged in and free from damage. If any connectors appear loose or damaged, they may need to be replaced or repaired.
- Test with a different cable: If you’re using a MIDI or USB cable to connect your keyboard to a computer or other devices, try using a different cable to see if the issue lies with the cable itself.
- Reset the keyboard: Many Yamaha keyboards have a factory reset option that can be accessed through the settings menu. Resetting the keyboard can often resolve software or configuration-related issues. Refer to your keyboard’s user manual for instructions on how to perform a factory reset.
- Update the firmware: Visit the official Yamaha website and check for any available firmware updates for your keyboard model. Updating the firmware can fix bugs, improve performance, and potentially resolve any electrical issues.
- Consult a professional technician: If you’ve tried the above steps and the dead keys issue persists, it’s recommended to seek assistance from a qualified technician who specializes in repairing musical instruments. They have the expertise and specialized tools to diagnose and fix complex electrical problems.
Electrical issues can sometimes be tricky to diagnose and fix, especially if you’re not familiar with the internal components of your Yamaha keyboard. Consulting a professional technician ensures that the problem is properly addressed without causing further damage.
If none of the above troubleshooting steps resolve the dead keys issue, it’s essential to consider seeking professional assistance to accurately diagnose and resolve the problem.
Now that you have tried troubleshooting any electrical issues, let’s explore another potential solution: resetting the keyboard settings.
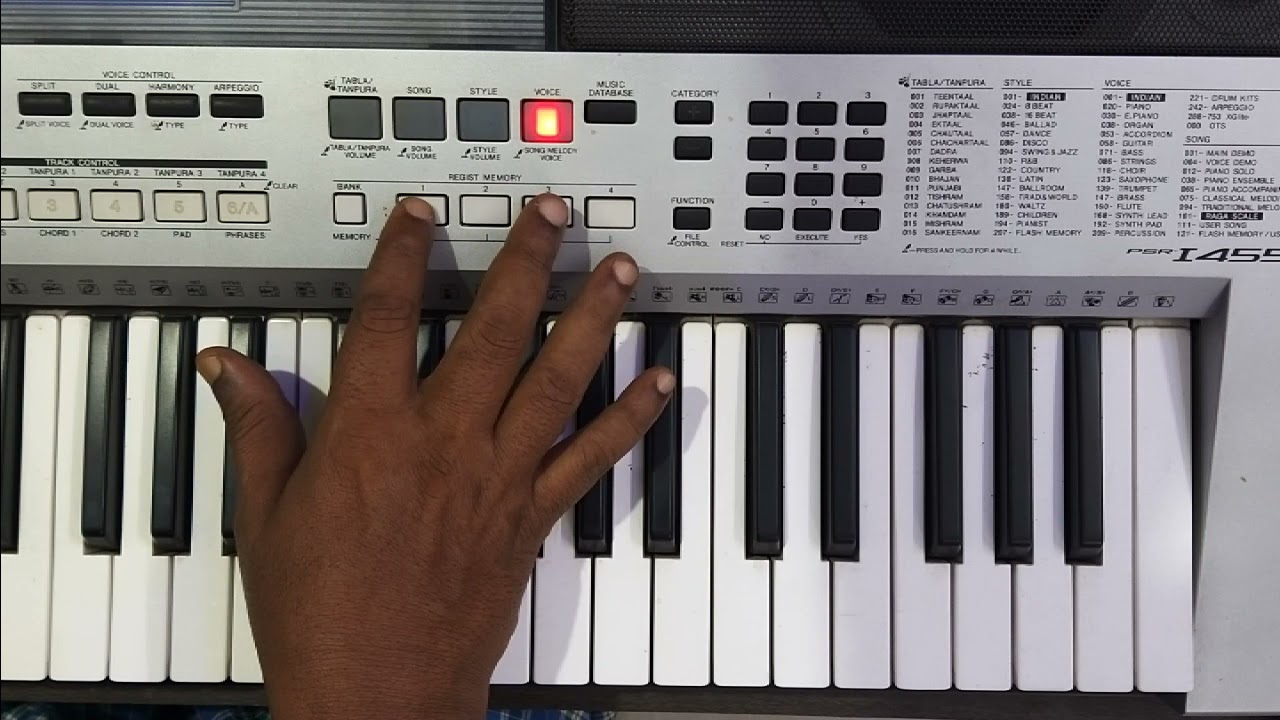
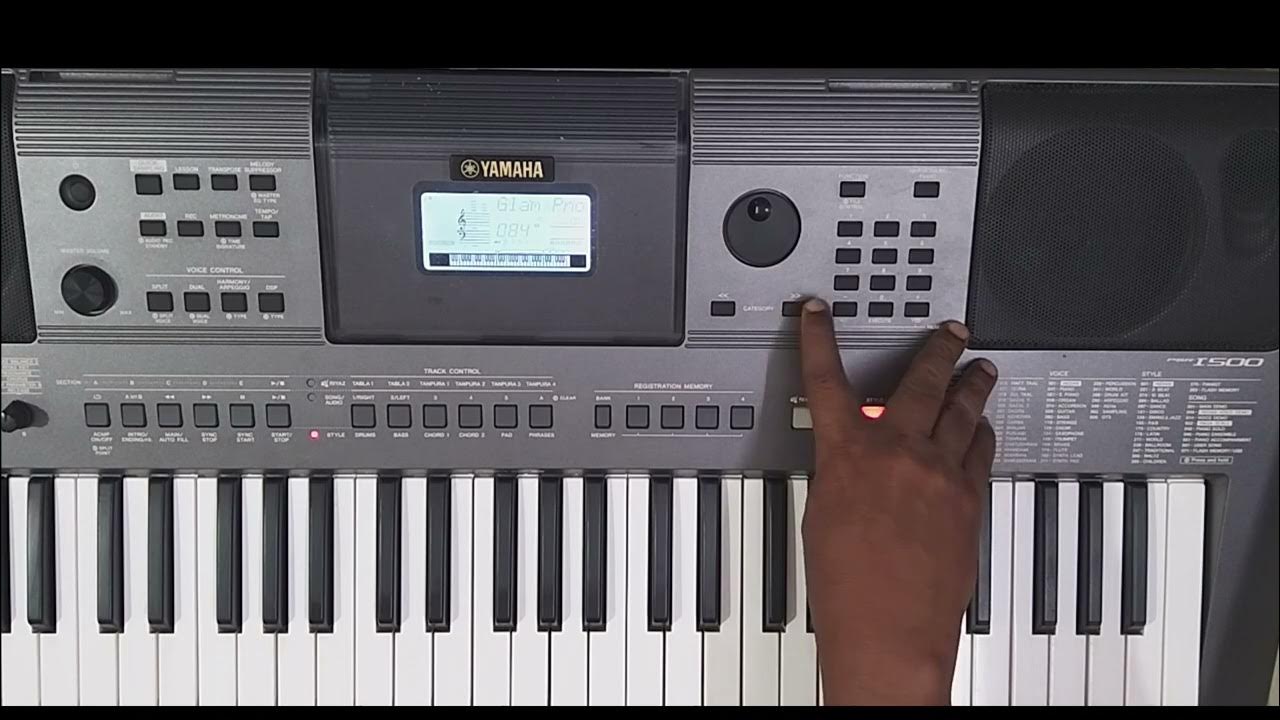
Resetting the Keyboard Settings
If your Yamaha keyboard is experiencing dead keys or other malfunctions, resetting the keyboard settings can often help resolve the issue. Here’s how you can reset the settings on your Yamaha keyboard:
- Back up your settings: Before resetting the keyboard, it’s a good idea to back up any custom settings or presets you have. This ensures that you can easily restore your preferred settings after the reset.
- Access the settings menu: Navigate to the settings menu on your Yamaha keyboard. The exact method may vary depending on the model, so refer to the user manual if you’re unsure how to access the settings.
- Perform a factory reset: Look for the option to perform a factory reset or restore factory defaults. Select this option and confirm your choice to initiate the reset process.
- Wait for the reset: Allow the keyboard to complete the reset process, which may take a few moments. Avoid interrupting the process or turning off the keyboard during this time.
- Restore your settings: After the reset is complete, you can restore your backed-up settings, such as user settings, presets, or preferences. Follow the instructions provided in the user manual to restore your desired settings.
Resetting the keyboard settings can eliminate any software glitches or configuration issues that may be causing the dead keys problem. It essentially restores the keyboard to its original factory state, which can help resolve unexpected issues.
If the dead keys issue persists even after resetting the settings, it may be necessary to consult a professional technician for further assistance. They have the knowledge and expertise to diagnose and address complex issues beyond software configurations.
Now that we’ve covered the process of resetting the keyboard settings, let’s discuss when it’s appropriate to seek professional assistance for repairing your Yamaha keyboard.
Seeking Professional Assistance
If you have tried the troubleshooting steps mentioned earlier and the dead keys issue on your Yamaha keyboard persists, it may be time to seek professional assistance. Here are a few reasons why consulting a professional technician can be beneficial:
- Expertise and Experience: Professional technicians specializing in musical instrument repairs have extensive knowledge and experience working with Yamaha keyboards. They are familiar with the intricate components and can accurately diagnose and fix complex issues.
- Specialized Tools and Equipment: Professional technicians have access to specialized tools and equipment specifically designed for keyboard repairs. This ensures that the repairs are done efficiently and with the highest level of precision.
- Warranty Protection: If your Yamaha keyboard is still under warranty, attempting repairs yourself or seeking assistance from unauthorized sources may void the warranty. Professional technicians who are authorized by Yamaha can perform repairs without compromising your warranty coverage.
- Prevention of Further Damage: Attempting complex repairs without the necessary expertise can potentially worsen the problem and lead to further damage to your keyboard. Professional technicians have the skills to diagnose the root cause of the issue and provide appropriate solutions to restore full functionality.
When seeking professional assistance, make sure to choose a reputable technician or authorized service center. Read reviews, ask for recommendations, and ensure they have experience with Yamaha keyboard repairs.
Remember to communicate the specific issue you are facing with the dead keys so that the technician can provide accurate guidance or solutions. They may perform more in-depth diagnostics, such as testing the circuitry, inspecting the internal components, or replacing faulty parts if necessary.
While professional assistance may involve additional costs, it can save you time, frustration, and potentially prevent further damage to your valuable Yamaha keyboard.
Now that you have a better understanding of when to seek professional help, let’s wrap up this guide on fixing dead keys on a Yamaha keyboard.
Conclusion
Dead keys on a Yamaha keyboard can be a frustrating issue, but with the right steps and knowledge, it is possible to fix them. We’ve covered various troubleshooting techniques, including checking for physical damage, cleaning the keyboard, replacing keys, troubleshooting electrical issues, and resetting the keyboard settings. By following these steps, you can often restore the functionality of your keyboard and enjoy playing once again.
However, it’s important to remember that keyboard repairs can require technical expertise, and attempting complex repairs without proper knowledge can lead to further damage. If you’re unsure or uncomfortable with any of the steps, it’s best to seek professional assistance.
Regular maintenance, such as cleaning the keyboard and inspecting for physical damage, can help prevent dead key issues in the future. Taking care of your Yamaha keyboard and addressing any problems promptly will ensure its longevity and optimal performance.
Remember to consult your keyboard’s user manual for specific instructions and guidelines provided by Yamaha. Additionally, reach out to authorized service centers or professional technicians who specialize in Yamaha keyboard repairs for further assistance.
We hope this guide has been helpful in troubleshooting and fixing dead keys on your Yamaha keyboard. With the right approach and a little bit of patience, you’ll be back to playing your favorite tunes in no time.