Home>Production & Technology>Audio Cable>How To Check Audio Cable With Multimeter
Audio Cable
How To Check Audio Cable With Multimeter
Published: December 21, 2023
Learn how to check your audio cable's connectivity using a multimeter. Detect any issues with your audio cable and ensure optimal audio quality.
(Many of the links in this article redirect to a specific reviewed product. Your purchase of these products through affiliate links helps to generate commission for AudioLover.com, at no extra cost. Learn more)
Table of Contents
Introduction
Welcome to this comprehensive guide on how to check audio cables with a multimeter. Audio cables are essential components in any audio setup, whether it’s a home stereo system, professional recording studio, or live sound production. Over time, these cables may experience wear and tear, leading to issues such as poor connectivity, shorts, or signal loss.
Fortunately, with the help of a multimeter, you can easily diagnose and troubleshoot problems with your audio cables. A multimeter is a versatile tool that can measure continuity, resistance, and signal strength. By performing a few simple tests, you can determine if your audio cable is functioning properly or if it needs repair or replacement.
In this guide, we will walk you through the step-by-step process of checking audio cables using a multimeter. We will cover setting up the multimeter, testing for continuity, checking connections, identifying shorts or breaks, and testing for signal strength.
Before we proceed, it’s important to note that safety should always be a top priority. Ensure that your audio equipment is turned off and unplugged before performing any tests. Additionally, handle the multimeter with care and refer to the manufacturer’s instructions for proper usage.
Now, let’s gather the necessary tools and materials to get started with checking your audio cables.
Tools and Materials Needed
Before you begin testing your audio cables with a multimeter, it’s important to gather the necessary tools and materials. Here’s a list of items you will need:
- Multimeter: You will need a digital multimeter capable of measuring continuity, resistance, and voltage.
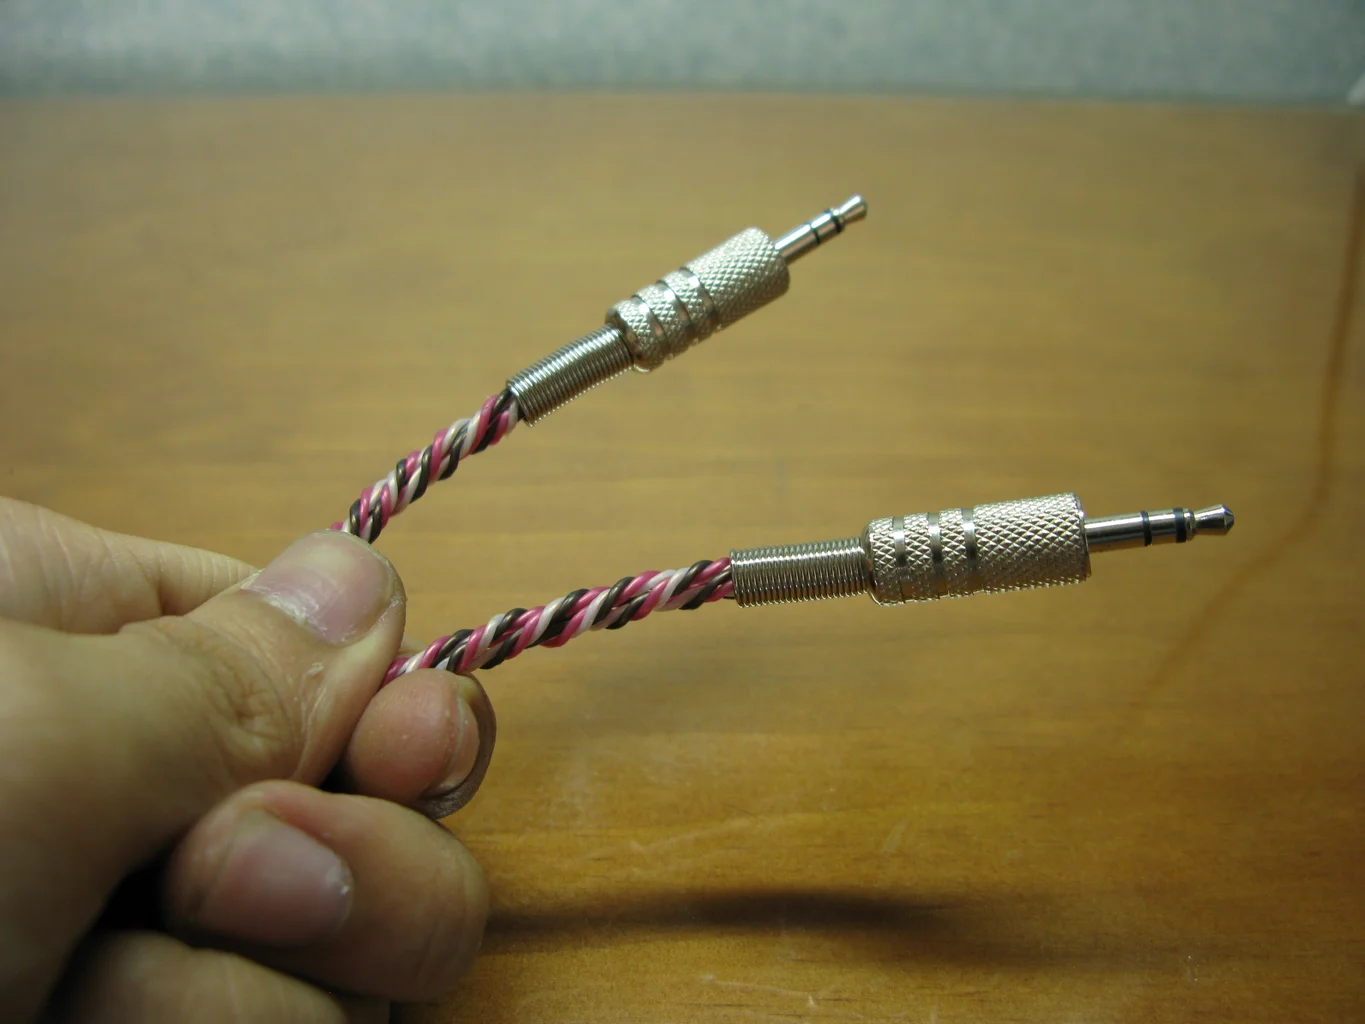
- Audio Cables: Gather the audio cables that you want to test. These can include XLR cables, RCA cables, 1/4″ cables, or any other type of audio cables depending on your set up.
- Alligator Clips: Alligator clips will be useful for holding the multimeter probes in place during testing.
- Pen and Paper: Have a pen and paper handy to take notes of your test results and any issues you may encounter.
- Screwdriver: Depending on your audio cables, you may need a screwdriver to unscrew connectors for further inspection.
- Heatshrink Tubing (Optional): If you find any issues with the audio cables, heatshrink tubing can be used to repair or protect damaged areas.
Make sure you have all these tools and materials readily available before you proceed with testing your audio cables. It’s always a good practice to have a clean and organized work area to perform your tests.
Now that you have everything you need, let’s move on to the first step: setting up the multimeter.
Step 1: Setting up the Multimeter
Before testing your audio cables, you’ll need to properly set up your multimeter. Follow these steps to ensure it’s ready for the task:
- Turn Off the Multimeter: If your multimeter has an on/off switch, make sure it is turned off before proceeding.
- Select the Right Mode: Set your multimeter to the appropriate mode for testing continuity. This is usually represented by a symbol that looks like a sound wave or an audible beep. Consult your multimeter’s user manual for guidance if needed.
- Adjust the Range: Ensure that the range setting on your multimeter is suitable for the expected readings. Starting with the highest setting and gradually decreasing it can help prevent damage.
- Prepare the Probes: Attach the alligator clips to the probes of your multimeter, if available. This will make it easier to secure the probes to the audio cables during testing.
Once you have set up your multimeter, you are ready to move on to the next step: testing the audio cable for continuity. This test will determine if there is a continuous pathway for the electrical signal through the cable. Read on to learn how to perform this test effectively.
Step 2: Testing the Audio Cable for Continuity
Now that your multimeter is properly set up, you can begin testing the audio cable for continuity. This test will help you determine if there is a continuous flow of electrical current from one end of the cable to the other.
- Disconnect the Cable: Start by disconnecting the audio cable from any devices or connectors. This will ensure that you are only testing the cable itself.
- Identify the Connectors: Take note of the connectors on each end of the cable. The connectors should have clear labels indicating which end is the input and which is the output. This is important for correctly identifying continuity during the test.
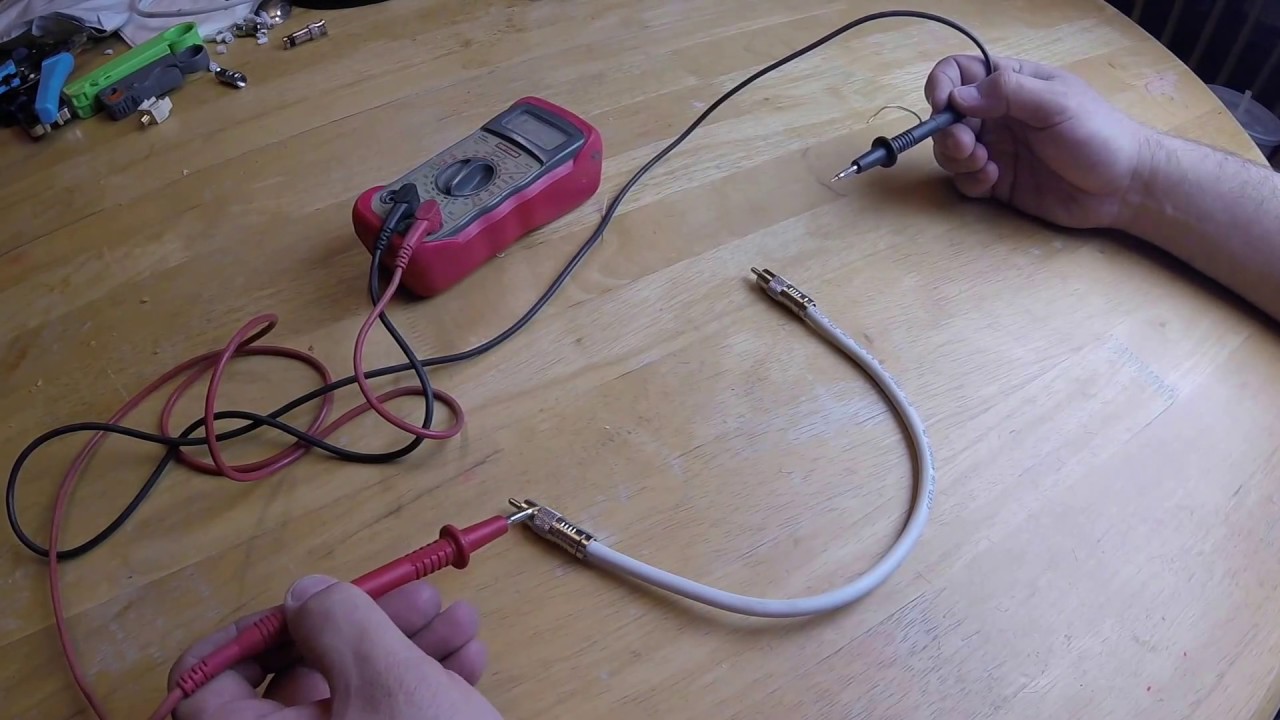
- Probe Placement: Insert one probe of the multimeter into the connector end labeled as the input, and the other probe into the connector end labeled as the output.
- Test for Continuity: Switch on the multimeter and touch the probe tips together. The multimeter should display a reading indicating continuity (typically shown as a 0 reading or an audible beep). This confirms that the multimeter is functioning correctly.
- Touch the Cable Connectors: While keeping the probes in the connectors, touch the exposed metal parts of the cable connectors. The multimeter should display a reading indicating continuity, meaning there is an unbroken pathway for the electrical current through the cable.
- Repeat for Each Channel: If you are testing a multi-channel audio cable, repeat steps 3-5 for each channel.
If the multimeter displays a reading indicating continuity for each channel, it means that the audio cable is properly connected and has no breaks or shorts. However, if there is no continuity or an inconsistent reading, there may be an issue with the cable that requires further inspection or repair.
With the continuity test complete, we can now move on to the next step: testing for proper connections in the audio cable.
Step 3: Testing for Proper Connections
After checking the continuity of your audio cable, the next step is to test for proper connections. This will ensure that the audio signals are being transmitted correctly and efficiently through the cable.
- Disconnect the Cable: Start by disconnecting the audio cable from any devices or connectors.
- Visually Inspect the Connectors: Examine the connectors on both ends of the cable for any visible signs of damage, such as bent pins or loose connections. If you notice any issues, you may need to repair or replace the connectors.
- Set up the Multimeter: Adjust your multimeter to the continuity testing mode, similar to the previous step.
- Probe Placement: Insert one probe into the tip (or hot) connector of one end of the cable and the other probe into the corresponding tip (or hot) connector on the other end.
- Check for Continuity: With the multimeter switched on, touch the metal parts of the connectors on the same channel. The multimeter should display a reading indicating continuity, confirming that the hot signal pathway is intact.
- Repeat for Each Channel: If you are testing a multi-channel audio cable, repeat steps 4-5 for each channel.
If the multimeter displays continuity for each channel, it indicates that the tip connectors are properly connected and that the audio signals should be transmitting correctly. However, if there is no continuity or an inconsistent reading, it may suggest an issue with the connector, which may require repair or replacement.
Once you have tested for proper connections and confirmed the continuity of your audio cable, it’s time to move on to the next step: checking for shorts or breaks in the cable.
Step 4: Checking for Shorts or Breaks in the Cable
In this step, we will focus on checking for any shorts or breaks in the audio cable. Shorts occur when there is an unintended connection between two or more conductors, while breaks refer to a complete interruption in the continuity of the cable.
- Disconnect the Cable: Start by disconnecting the audio cable from any devices or connectors.
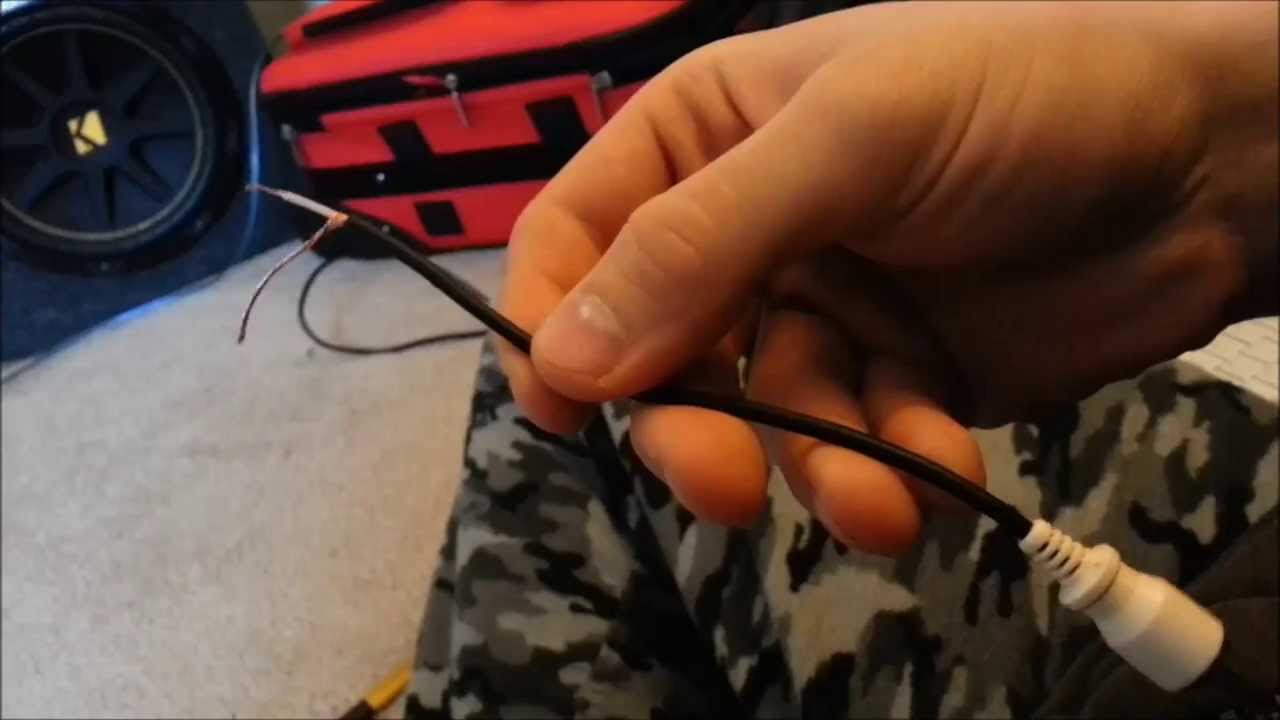
- Visually Inspect the Cable: Carefully examine the entire length of the cable for any visible signs of damage, such as cuts, frayed wires, or exposed conductors. Pay close attention to areas near the connectors, as they are more prone to wear and tear.
- Test for Continuity: Set your multimeter to the continuity testing mode, as before.
- Probe Placement: Place one multimeter probe on one end of the cable and the other probe on the opposite end.
- Check for Continuity: With the multimeter switched on, touch the exposed metal parts of the cable with the probes. The multimeter should display a reading indicating continuity, indicating that there are no breaks or shorts in the cable.
- Move along the Cable: Slowly move the probes along the length of the cable, testing at regular intervals. Keep an eye on the multimeter readings as you move along.
- Inspect for Changes in Continuity: If the multimeter reading suddenly drops to zero or shows no continuity, it suggests the presence of a short or break at that point in the cable. Take note of the location of the issue for further examination or repair.
If you find any shorts or breaks in the cable during this step, it’s essential to address them to ensure proper audio signal transmission. Depending on the severity of the damage, you may choose to repair the cable or replace it entirely.
With the cable checked for shorts and breaks, we can now move on to the final step: testing for signal strength.
Step 5: Testing for Signal Strength
Once you have confirmed the continuity, proper connections, and absence of shorts or breaks in your audio cable, it’s time to test the signal strength. This step will help you ensure that the audio signal is being transmitted at the desired level and without any noticeable degradation.
- Connect the Cable: Begin by connecting the audio cable between the appropriate devices or connectors.
- Set up the Multimeter: Adjust your multimeter to the voltage or signal strength testing mode. Consult the multimeter’s user manual for specific instructions on selecting the appropriate mode.
- Probe Placement: Position one probe on the tip (or hot) connector of the cable and the other probe on the sleeve (or ground) connector.
- Check the Voltage: With the multimeter turned on and properly set up, monitor the voltage reading displayed. This reading should indicate the strength of the audio signal being transmitted through the cable.
- Compare to Reference Values: Refer to the specifications of your audio equipment or consult industry standards to determine the expected signal strength for the type of audio cable you are testing. Compare the multimeter reading to these reference values to gauge the signal quality.
- Monitor for Distortion or Abnormalities: Additionally, listen for any distortion or anomalies in the audio signal transmitted through the cable. Make note of any issues in the playback or any audible abnormalities.
If the multimeter reading aligns with the expected reference values and there are no noticeable issues in the audio playback, it suggests that the signal strength is within an acceptable range. However, if the reading is significantly lower or higher than expected, it may indicate a problem with the cable or the audio equipment being used.
By testing for signal strength, you can ensure high-quality audio transmission and address any issues that may impact the overall audio performance.
With the signal strength test completed, you have now gone through all the necessary steps to check your audio cable with a multimeter. It’s time to conclude our guide.
Conclusion
Checking audio cables with a multimeter is a crucial step in ensuring optimal audio performance and troubleshooting any potential issues. By following the step-by-step process outlined in this guide, you can effectively test your audio cables for continuity, proper connections, shorts or breaks, and signal strength.
Remember, safety should always be a priority when working with audio equipment and multimeters. Ensure that everything is turned off and unplugged before performing any tests, and handle the multimeter with care.
Through the various tests, you’ll be able to identify and address any problems with your audio cables. If you find any issues such as breaks, shorts, or degraded signal strength, repairs or replacements may be necessary. Consult a professional if you are unsure about handling the repairs yourself.
Regularly checking your audio cables with a multimeter can help maintain the integrity of your audio system and prevent unexpected issues during performances, recordings, or casual listening sessions. It’s a valuable skill to have as an audio enthusiast or professional.
Remember, it’s important to use high-quality audio cables for optimal performance. Investing in reliable cables and maintaining them properly will go a long way in ensuring pristine audio quality for your setup.
We hope this guide has been informative and helpful in navigating the process of checking audio cables with a multimeter. With the knowledge gained from this guide, you’ll be able to troubleshoot and resolve any issues with your audio cables confidently.
Happy testing and enjoy your well-functioning audio setup!