Home>Production & Technology>Audio Cable>How To Solder Audio Cable
Audio Cable
How To Solder Audio Cable
Modified: March 7, 2024
Learn how to solder audio cables with step-by-step instructions and expert tips. Discover the key techniques for a secure and reliable connection.
(Many of the links in this article redirect to a specific reviewed product. Your purchase of these products through affiliate links helps to generate commission for AudioLover.com, at no extra cost. Learn more)
Table of Contents
Introduction
Welcome to this comprehensive guide on how to solder audio cables. Whether you are a musician, sound engineer, or simply an audio enthusiast, knowing how to solder audio cables can be an invaluable skill. By soldering your own cables, you can customize the length, quality, and connections to suit your specific needs.
Soldering is a technique used to join metal components together by melting a filler metal into the joint. In the case of audio cables, soldering ensures a secure and reliable connection between the cable conductors and connectors, reducing the risk of signal loss, interference, or accidental disconnections.
This guide will walk you through the step-by-step process of soldering audio cables, from preparing the cable and connectors to testing the final connection. By following this guide, you will learn how to create professional-grade audio cables that deliver pristine audio quality.
Before we dive into the details, it’s important to note that soldering requires some basic tools and materials. These include a soldering iron, solder wire, wire strippers, heat shrink tubing, and cable connectors. Having these tools readily available will ensure a smooth and efficient soldering process.
So, whether you’re looking to repair a damaged audio cable, make custom-length cables for your studio, or simply enhance your DIY skills, let’s begin our journey into the world of soldering audio cables.
Tools and Materials Needed
To successfully solder audio cables, it’s important to have the right tools and materials at your disposal. Here is a list of items you will need:
- Soldering iron: A soldering iron is the key tool used to melt the solder and create the connection between the cable conductor and connector. Opt for a soldering iron with adjustable temperature settings and a fine tip for precision.
- Solder wire: Choose a high-quality solder wire that is specifically designed for electronics. Look for a rosin-core solder, as it contains flux that helps the solder flow and adhere to the metal surfaces.
- Wire strippers: Wire strippers are essential for removing the insulation from the cable conductors. Make sure to use strippers that are suitable for the gauge of your audio cable.
- Heat shrink tubing: Heat shrink tubing provides insulation and protection to the soldered connection. It shrinks when heated, creating a tight, secure seal around the joint. Choose heat shrink tubing that fits the diameter of your cable and connectors.
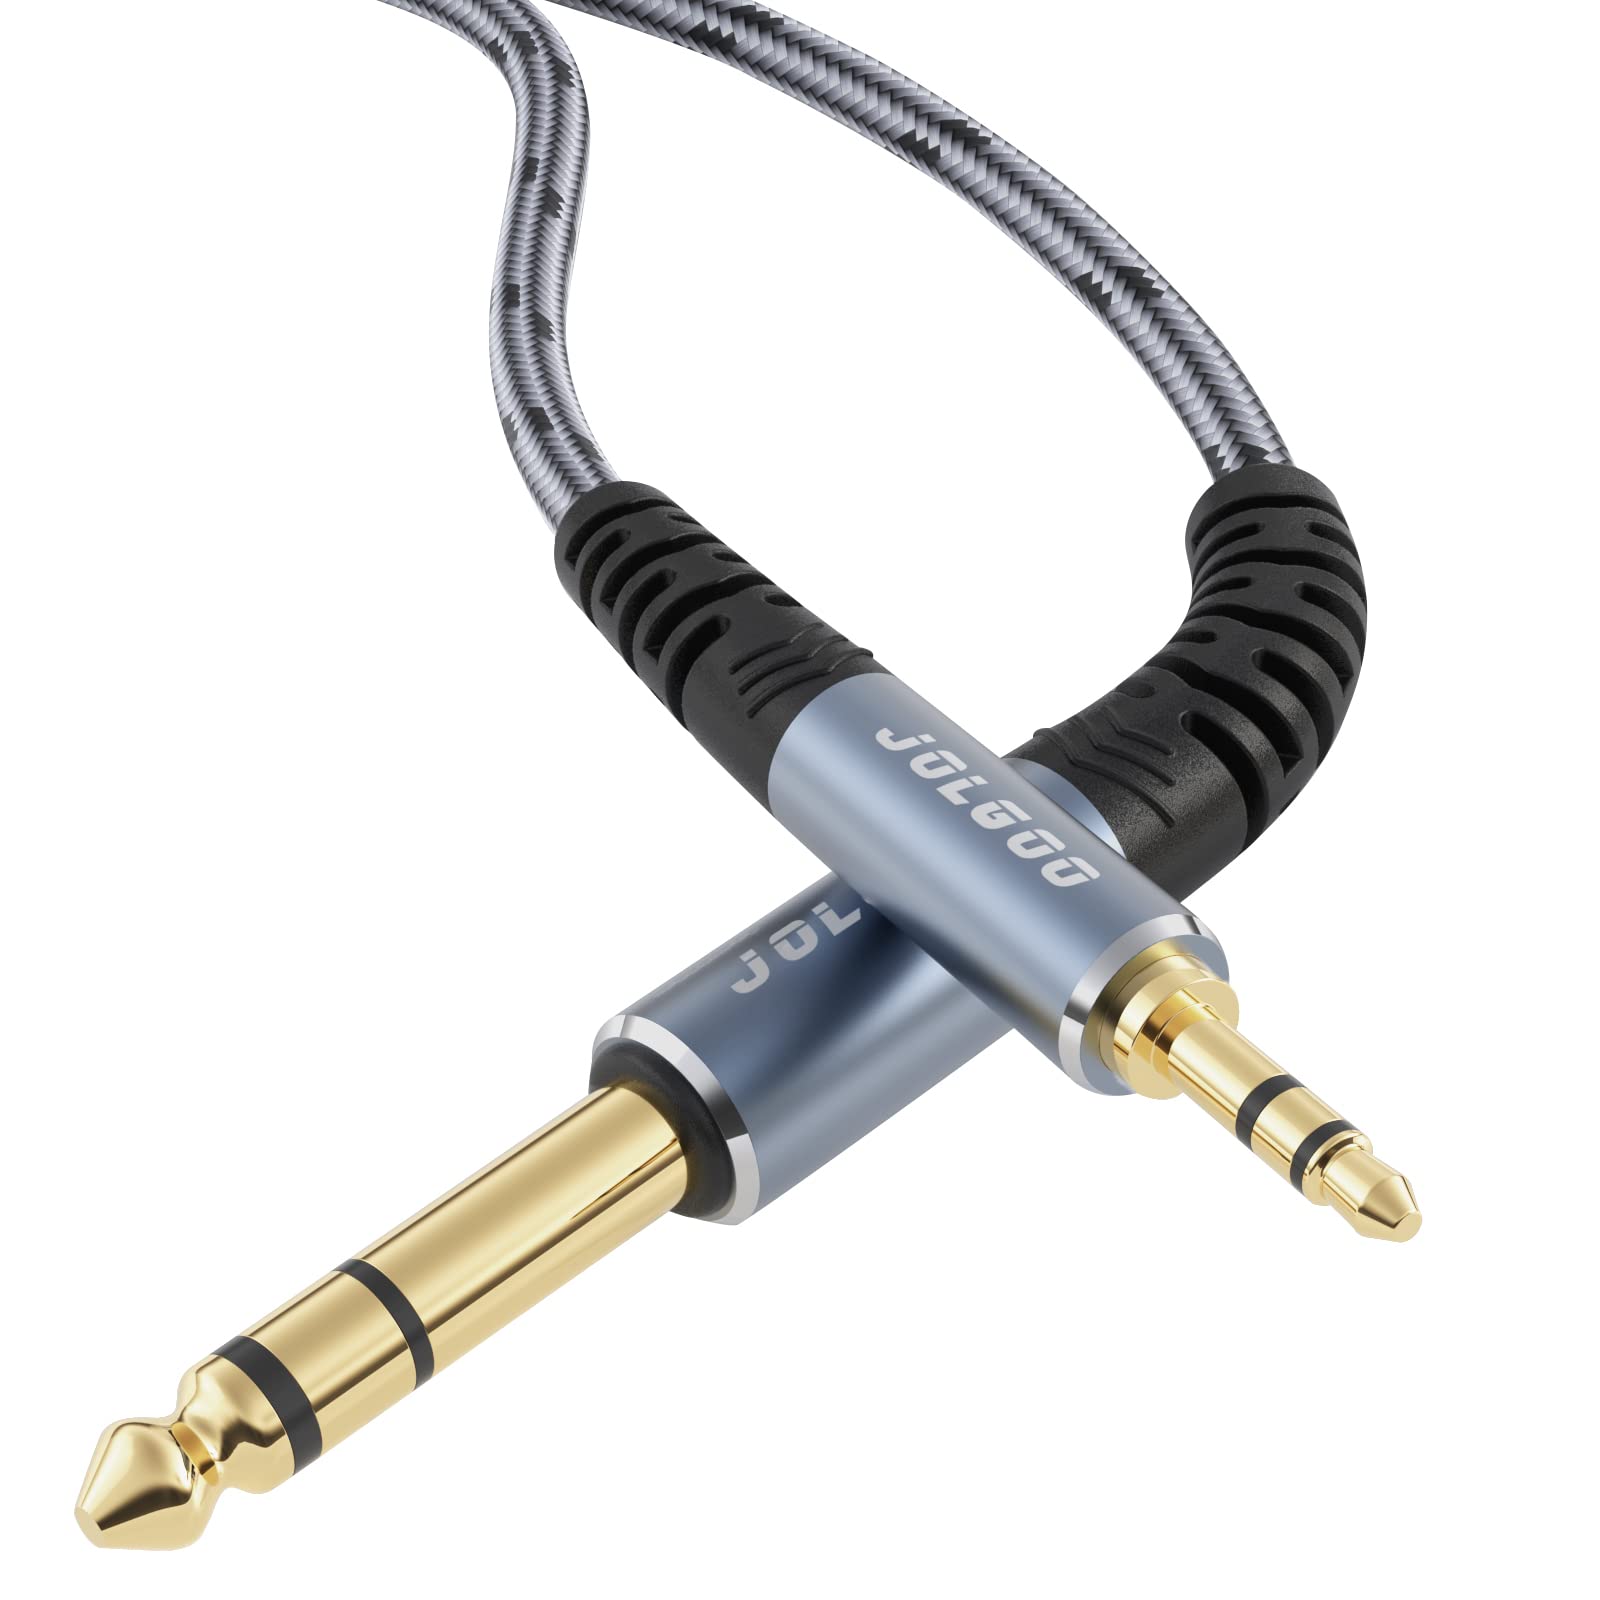
- Cable connectors: Depending on the type of audio cable you are soldering, you will need the appropriate connectors. Common options include XLR connectors for microphones, TS or TRS plugs for instruments, and RCA connectors for audio interfaces.
- Flux: Flux helps to remove oxidation and impurities from the metal surfaces, allowing the solder to bond effectively. Use a flux pen or flux paste specifically designed for electronics soldering.
- Helping hands: These are specialized tools that hold the cable and connector in place, freeing up your hands for soldering. Helping hands usually consist of alligator clips attached to a weighted base.
- Safety equipment: It’s important to prioritize safety when soldering. Wear safety glasses to protect your eyes from solder splatters, and work in a well-ventilated area to avoid inhaling solder fumes.
Having these tools and materials ready before starting your soldering project will ensure a smooth and efficient process. Now that you have everything you need, let’s move on to the step-by-step instructions for soldering audio cables.
Step 1: Prepare the Cable and Connectors
Before you start soldering an audio cable, it’s important to prepare the cable and connectors. This involves ensuring that the cable is stripped of its insulation and the connectors are ready for soldering. Follow these steps to properly prepare the cable and connectors:
- Measure and cut the cable: Determine the desired length of your audio cable and use a cable cutter or sharp knife to trim it accordingly. Ensure that you leave some extra length for maneuverability.
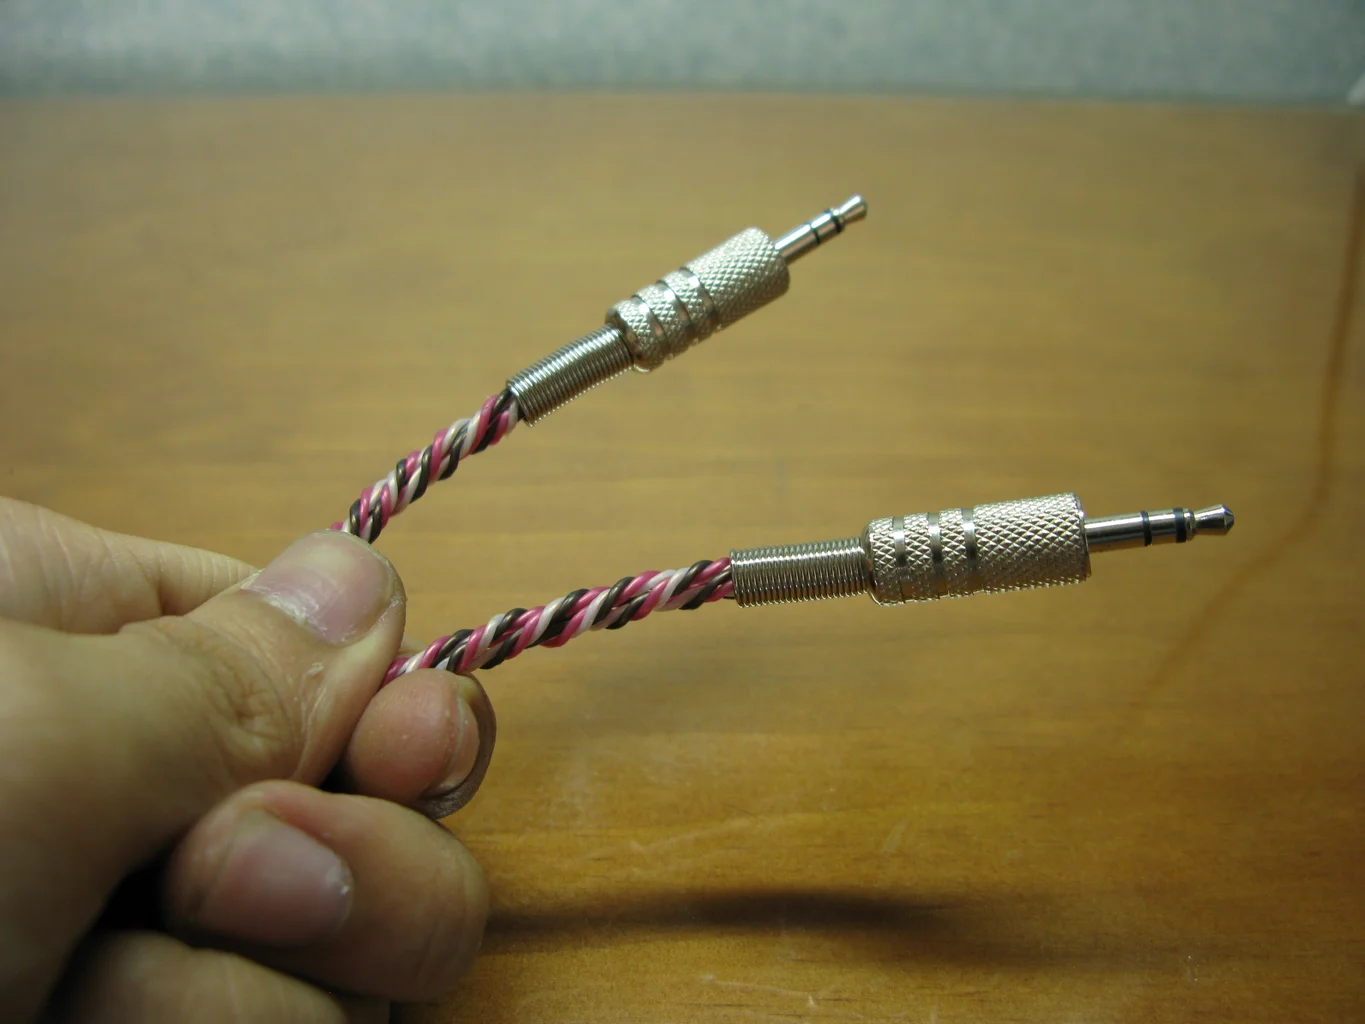
- Identify the cable conductors: Most audio cables consist of two conductors, typically insulated with different colors or markings. Identify which conductor is for the “hot” signal and which is for the “ground” or “shield” connection. The hot conductor is usually indicated by a solid color or a line, while the ground conductor may have a spiral or braided shield around it.
- Prepare the cable ends: Use wire strippers to remove around 1/2 inch of insulation from the cable ends. Be careful not to damage the conductor strands while stripping off the insulation. Ensure that the bare conductor ends are clean and free from any frayed strands.
- Prepare the connectors: If you are soldering connectors to the cable, make sure the connectors are ready for soldering. Depending on the type of connector, you may need to unscrew the casing or remove any plastic coverings. Ensure that the connector pins or terminals are clean and free from any debris.
- Identify the pinout: If you are soldering connectors that have multiple pins or terminals, it’s important to identify the correct pinout. Consult the manufacturer’s documentation or use a multimeter to determine the correct connection points for the cable conductors.
By properly preparing the cable and connectors, you lay the foundation for a successful soldering process. This ensures that the solder adheres properly to the cable conductors and connectors, creating a strong and reliable connection. Once you have completed these steps, you’re ready to move on to the next step: stripping the cable insulation.
Step 2: Strip the Cable Insulation
Stripping the insulation from the cable is an essential step in soldering audio cables. This allows you to expose the conductor strands for proper connection to the connectors. Follow these steps to strip the cable insulation:
- Choose the right wire stripper size: Select a wire stripper that matches the gauge of your cable. Using a wire stripper that is too small may damage the conductor strands, while using one that is too large may not effectively remove the insulation.
- Adjust the wire stripper: Most wire strippers have an adjustable screw or dial that allows you to set the cutting depth. Set the stripper to the appropriate depth by aligning the gauge markings with the insulation size of your cable.
- Hold the cable securely: Firmly hold the cable near the end you want to strip. Ensure that you have a good grip to prevent the cable from slipping or moving during the stripping process.
- Position the wire stripper: Position the wire stripper jaws around the cable, just above the section of insulation you want to remove. Make sure that the jaws are aligned properly and that they are not positioned too close to the cable conductors.
- Apply pressure and rotate: Squeeze the wire stripper handles firmly to engage the cutting blades and apply pressure. While maintaining the pressure, rotate the stripper around the cable in a circular motion. This will score the insulation without damaging the conductor strands.
- Remove the insulation: Once you have made a complete rotation around the cable, gently pull the insulation away from the conductor strands. You can use your fingers or a pair of pliers to grip and remove the insulation, being careful not to damage or distort the conductor strands.
Repeat the stripping process for both cable ends, ensuring that an equal length of insulation is removed from each end. Once the insulation is successfully stripped, you will have access to the bare conductor strands, ready for the next step of the soldering process.
Properly stripped cable ends are essential for achieving strong and reliable solder connections. Take your time and ensure that the stripping is done accurately, as any damage to the conductor strands may affect the audio signal quality. With the cable insulation now removed, we can move on to the next step: tinning the wire ends.
Step 3: Tin the Wire Ends
Tinning the wire ends is a crucial step in soldering audio cables. It involves applying a thin layer of solder to the bare conductor strands, which helps create a solid and reliable connection with the connectors. Follow these steps to tin the wire ends:
- Ensure a clean work surface: Before you begin tinning, make sure your work area is clean and free from any debris or flux residue. A clean surface will ensure optimal soldering results.
- Heat up the soldering iron: Turn on your soldering iron and let it heat up to the appropriate temperature. The ideal temperature for tinning wire ends is typically around 350-400 degrees Celsius (660-750 degrees Fahrenheit).
- Apply flux to the wire ends: Using a flux pen or flux brush, apply a small amount of flux to the exposed conductor strands. Flux helps remove oxidation and ensures proper solder flow and adhesion.
- Heat the wire ends: Bring the tip of the soldering iron in contact with one of the wire ends. Allow the wire end to heat up for a few seconds until it becomes hot enough to melt the solder.
- Apply solder to the wire end: With the wire end heated, gently touch the solder wire to the conductor strands. The heat from the wire end should melt the solder and allow it to flow onto the wire strands. Ensure that the solder evenly coats all the conductor strands without excess build-up.
- Repeat for the other wire end: After tinning one wire end, repeat the process for the other wire end. Apply flux, heat the wire end, and apply solder to create a thin, even layer of solder on the conductor strands.
- Inspect the tinned wire ends: Once both wire ends are tinned, visually inspect them to ensure that the solder layer is smooth, shiny, and evenly distributed across the conductor strands. A properly tinned wire end should have a clean, silver appearance.
Tinning the wire ends not only facilitates easier soldering but also helps protect the wire strands from oxidation and improves conductivity. Remember to work quickly and avoid overheating the wire ends, as excessive heat can damage the insulation or cause the solder to flow too far up the wire.
With the wire ends now properly tinned, we are ready to move on to the next step: connecting the cable to the connector.
Step 4: Connect the Cable to the Connector
Now that the wire ends are properly tinned, it’s time to connect the cable to the connector. Whether you’re working with XLR, TS, TRS, or RCA connectors, the process is generally the same. Follow these steps to connect the cable to the connector:
- Prepare the connector: If the connector has a casing or cover, slide it onto the cable before proceeding. Ensure that any screws or locking mechanisms on the connector are loosened to allow for easy insertion of the cable.
- Insert the cable into the connector: Align the tinned wire ends with the appropriate pins or terminals on the connector. Gently insert the wire ends into the connector, making sure they go in fully and make proper contact with the connector’s internal parts.
- Secure the cable in the connector: Once the cable is inserted, tighten any screws or locking mechanisms on the connector to hold the cable securely in place. This will prevent any accidental disconnections during the soldering process.
- Double-check the alignment: Before moving on to soldering, double-check that the tinned wire ends are correctly aligned with the connector pins or terminals. Ensure that each wire end corresponds to the correct pin or terminal based on the connector’s pinout diagram.
It’s important to take your time and ensure that the cable is properly inserted and securely held in place by the connector. This will allow for a stable connection and make the soldering process more manageable.
Once you have connected the cable to the connector, we can proceed to the next step: soldering the cable and connector together.
Step 5: Solder the Cable and Connector
With the cable securely connected to the connector, it’s time to solder the cable and connector together. This step creates a permanent and reliable electrical connection between the cable’s conductor strands and the connector’s pins or terminals. Follow these steps to solder the cable and connector:
- Prepare your soldering iron: Make sure your soldering iron is heated up to the appropriate temperature for soldering audio cables. Typically, a temperature of around 350-400 degrees Celsius (660-750 degrees Fahrenheit) is suitable.
- Apply flux to the connection point: Using a flux pen or flux brush, apply a small amount of flux to the area where the tinned wire end and connector pin or terminal meet. This will help improve solder adhesion and facilitate a clean solder joint.
- Heat the connection point: Place the heated soldering iron tip on the connection point and let it heat up for a few seconds. The heat will transfer to the surrounding parts, allowing for proper solder flow.
- Apply solder to the connection: With the connection point heated, touch the tip of the solder wire to the joint. The heat will melt the solder, and it will flow into the joint, creating a solid electrical connection. Ensure that enough solder is applied to cover the entire connection point without excess buildup.
- Remove the soldering iron: Once the solder has flowed and formed a clean joint, remove the soldering iron. Be careful not to disturb the joint as it cools to avoid creating a cold solder joint, which can be weak or unreliable.
- Inspect and clean the solder joint: After the joint has cooled, visually inspect it to ensure that the solder is smooth, shiny, and evenly distributed around the connection point. If needed, remove any excess solder or flux residue using a soldering iron or desoldering braid.
- Repeat for the remaining connections: Repeat the soldering process for each tinned wire end and its corresponding pin or terminal on the connector. Take your time and ensure that each solder joint is done carefully and accurately.
Remember, soldering requires precision and attention to detail. Take your time to ensure that the solder joints are clean and secure. A well-executed soldering job will result in a reliable, long-lasting connection between the cable and the connector.
With the cable and connector soldered together, we are now ready to proceed to the next step: insulating the connection.
Step 6: Insulate the Connection
Insulating the connection is a crucial step in the soldering process, as it ensures electrical safety and protects the soldered joints from damage or short circuits. Here’s how you can properly insulate the connection:
- Cut heat shrink tubing: Measure and cut a suitable length of heat shrink tubing. Ensure that the tubing is long enough to cover the entire soldered area and provide a secure seal.
- Slide the tubing onto the cable: Before applying heat to the tubing, slide it onto the cable, covering the soldered joint and extending beyond each end of the joint. Ensure that the tubing is positioned securely and evenly on the cable.
- Apply heat to the tubing: Use a heat source, such as a heat gun or a flameless lighter, to heat the heat shrink tubing evenly. Move the heat source continuously over the tubing, keeping a safe distance to avoid overheating or melting the tubing.
- Observe the tubing shrinking: As the tubing heats up, it will shrink and conform tightly around the soldered joint, providing a protective and insulating barrier. Ensure that the tubing has completely shrunk and adhered to the cable and connector.
- Inspect the insulated connection: Once the tubing has cooled down, visually inspect the insulated connection. Ensure that the tubing covers the entire soldered area and provides a secure, sealed barrier against moisture, dust, and damage.
- Repeat for other connections: If you have multiple soldered connections, repeat the insulation process for each one. Apply heat shrink tubing to cover each joint individually and ensure a professional and secure finish.
Insulating the soldered connection not only safeguards against electrical hazards but also provides strain relief and helps prolong the lifespan of the cable. Proper insulation helps maintain the integrity of the soldered joints and ensures optimal signal transmission.
With the connections now securely insulated, we’re ready to move on to the final step: testing the connection to ensure its functionality.
Step 7: Test the Connection
After completing the soldering and insulation process, it’s important to test the connection to ensure that it functions properly. Testing the connection will give you the confidence that your soldered audio cable is working as intended. Here’s how you can test the connection:
- Prepare your audio equipment: Connect one end of your newly soldered audio cable to your audio source, such as a microphone, instrument, or audio interface. Connect the other end to your audio output device, such as a mixer, amplifier, or audio interface.
- Ensure proper connection: Make sure that both ends of the cable are securely connected to the appropriate devices. Double-check that the connectors are fully inserted and locked in place to avoid any loose or intermittent connections.
- Play audio signal: Begin playing an audio signal through your audio source and adjust the volume accordingly. If you’re using a microphone, speak into it or tap on the instrument to produce sound. If you’re using a playback device, play a test tone or a known audio track.
- Check audio output: Listen to the audio output from your playback device or monitor the audio input level on your recording device. Verify that the audio signal is coming through clearly and without any distortion, noise, or dropouts.
- Test both channels if applicable: If your audio cable has multiple channels, such as in stereo or multichannel setups, test each channel individually to ensure that all connections are working correctly.
- Check for intermittent issues: While listening to the audio signal, wiggle the cable near the connectors and flex it gently to check for any intermittent audio dropouts or noise. If you experience any issues, it may indicate a poor solder connection or faulty cable.
- Make necessary adjustments: If you encounter any problems or inconsistencies during the testing process, troubleshoot the cable connection. Check for loose connections, examine the solder joints, or re-inspect the insulation. If needed, re-solder or fix any issues to ensure a reliable connection.
By testing the connection, you can ensure that your soldered audio cable is functioning properly and delivering the expected audio quality. If no issues are detected during the testing process, you can consider your soldering job successful and enjoy using your custom-made audio cable.
Now that you have tested the connection and confirmed its functionality, you have successfully completed the entire process of soldering an audio cable. Congratulations! With your newfound skills, you can now repair or create customized audio cables to suit your specific needs.
Remember, practice makes perfect, so don’t hesitate to practice soldering on spare cables or connectors to further refine your technique. With time and experience, you’ll become more proficient in soldering audio cables and achieve even better results.
Enjoy your newly soldered audio cables and the improved audio experience they provide!
Conclusion
Congratulations on completing the journey of soldering an audio cable! By following the steps outlined in this guide, you have learned how to properly prepare the cable and connectors, strip the insulation, tin the wire ends, connect the cable to the connector, solder the cable and connector together, insulate the connection, and finally, test the connection to ensure its functionality.
Soldering audio cables is a valuable skill that allows you to create custom cables, repair damaged ones, and have full control over the quality and connectivity of your audio setup. With this knowledge, you can confidently tailor your cables to suit your specific audio needs, whether you’re a musician, sound engineer, or audio enthusiast.
Remember to work in a well-ventilated area, prioritize safety by wearing protective gear, and handle the soldering iron with care to avoid any accidents or injuries.
Now that you have mastered the art of soldering audio cables, you can take pride in your newfound abilities. Don’t be afraid to experiment and continue learning, as practice will refine your skills and provide even better results. Feel free to explore more advanced techniques, such as using shielded cables, mastering different connector types, or customizing cable lengths to optimize your audio setup.
Enjoy the benefits of your custom-made audio cables – superior sound quality, reliable connections, and the satisfaction of knowing that you created something with your own hands. Happy soldering!