Home>Production & Technology>Audio Cable>How To Split Audio Cable
Audio Cable
How To Split Audio Cable
Published: December 20, 2023
Learn how to split audio cables and connect them to different devices. Enhance your audio experience with our step-by-step guide.
(Many of the links in this article redirect to a specific reviewed product. Your purchase of these products through affiliate links helps to generate commission for AudioLover.com, at no extra cost. Learn more)
Table of Contents
- Introduction
- Understanding Audio Cables
- Tools and Materials Needed
- Step 1: Identifying the Type of Audio Cable
- Step 2: Preparing the Audio Cable for Splitting
- Step 3: Cutting the Cable
- Step 4: Separating the Wires
- Step 5: Stripping the Wires
- Step 6: Connecting the Splitter
- Step 7: Testing the Split Audio Cable
- Conclusion
Introduction
Welcome to the world of audio cables! Whether you’re an audiophile, musician, or simply someone who appreciates high-quality sound, understanding audio cables is essential. These cables are the lifelines that connect audio equipment, allowing you to experience the full range of sound from your speakers, headphones, or other audio devices.
In this article, we will delve into the fascinating world of audio cables and explore the process of splitting them. Splitting an audio cable can be useful in various scenarios, such as connecting multiple speakers to a single source or creating a custom configuration for your audio setup.
Before we dive into the nitty-gritty of splitting audio cables, it’s important to have a solid understanding of how they work. Audio cables transmit electrical signals from the audio source to the destination, ensuring that you hear clear and crisp sound reproduction. There are different types of audio cables, each with its own unique characteristics and uses.
Throughout this article, we will guide you step-by-step through the process of splitting an audio cable. We’ll cover everything from identifying the type of cable to preparing and cutting it, as well as stripping and connecting the wires. By the end of this article, you’ll have the knowledge and confidence to split audio cables like a pro.
Before we get started, let’s gather the necessary tools and materials that you’ll need for this project.
Understanding Audio Cables
Audio cables come in various types and configurations, each designed for specific audio applications. Understanding the different types of audio cables will help you choose the right one for your needs and provide a solid foundation for splitting them.
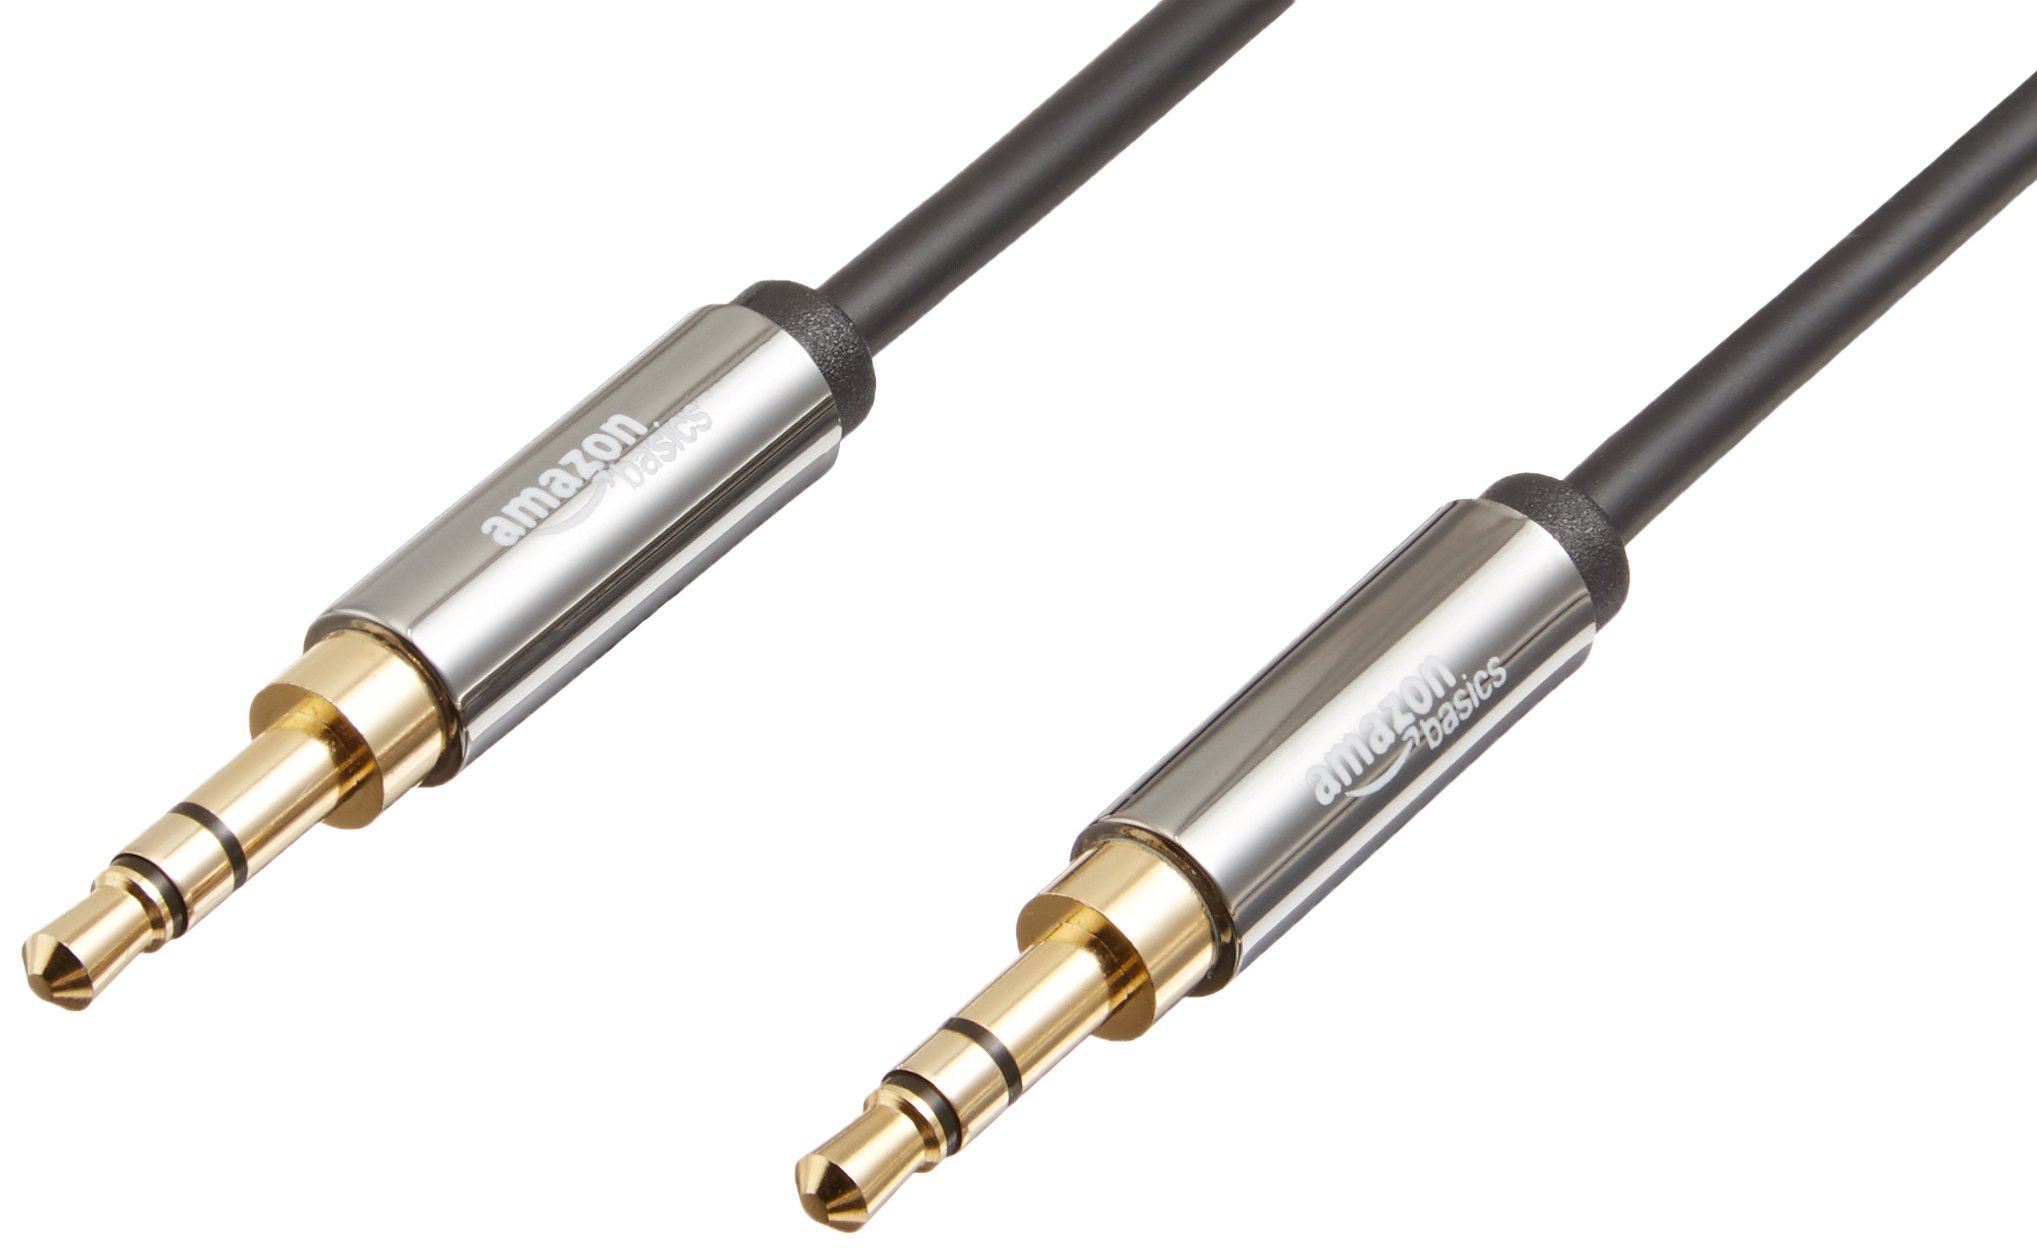
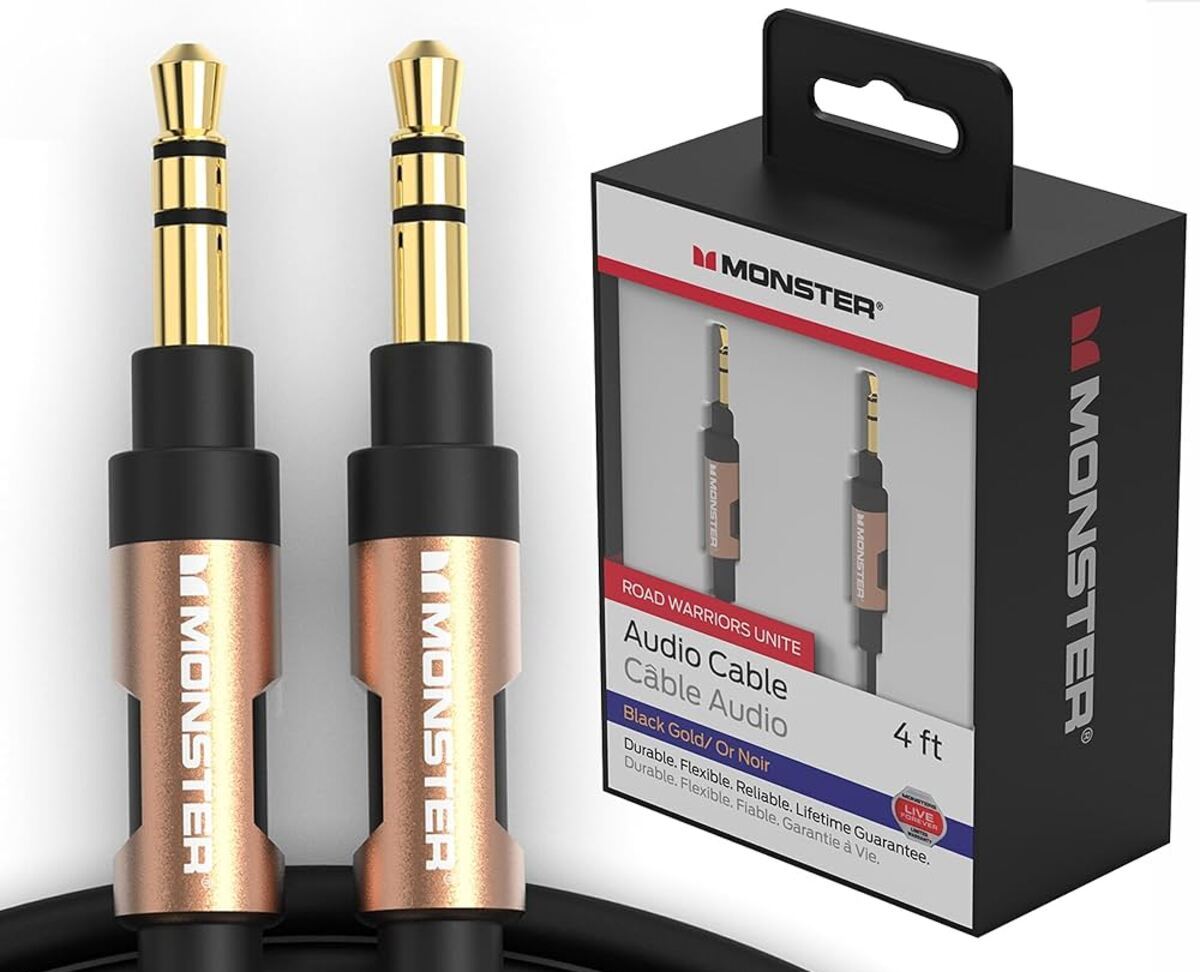
1. Analog Cables: Analog cables are the most common type of audio cables used in everyday audio setups. They transmit electrical signals in their original form, allowing for the connection of devices like speakers, amplifiers, and audio interfaces. Analog cables include:
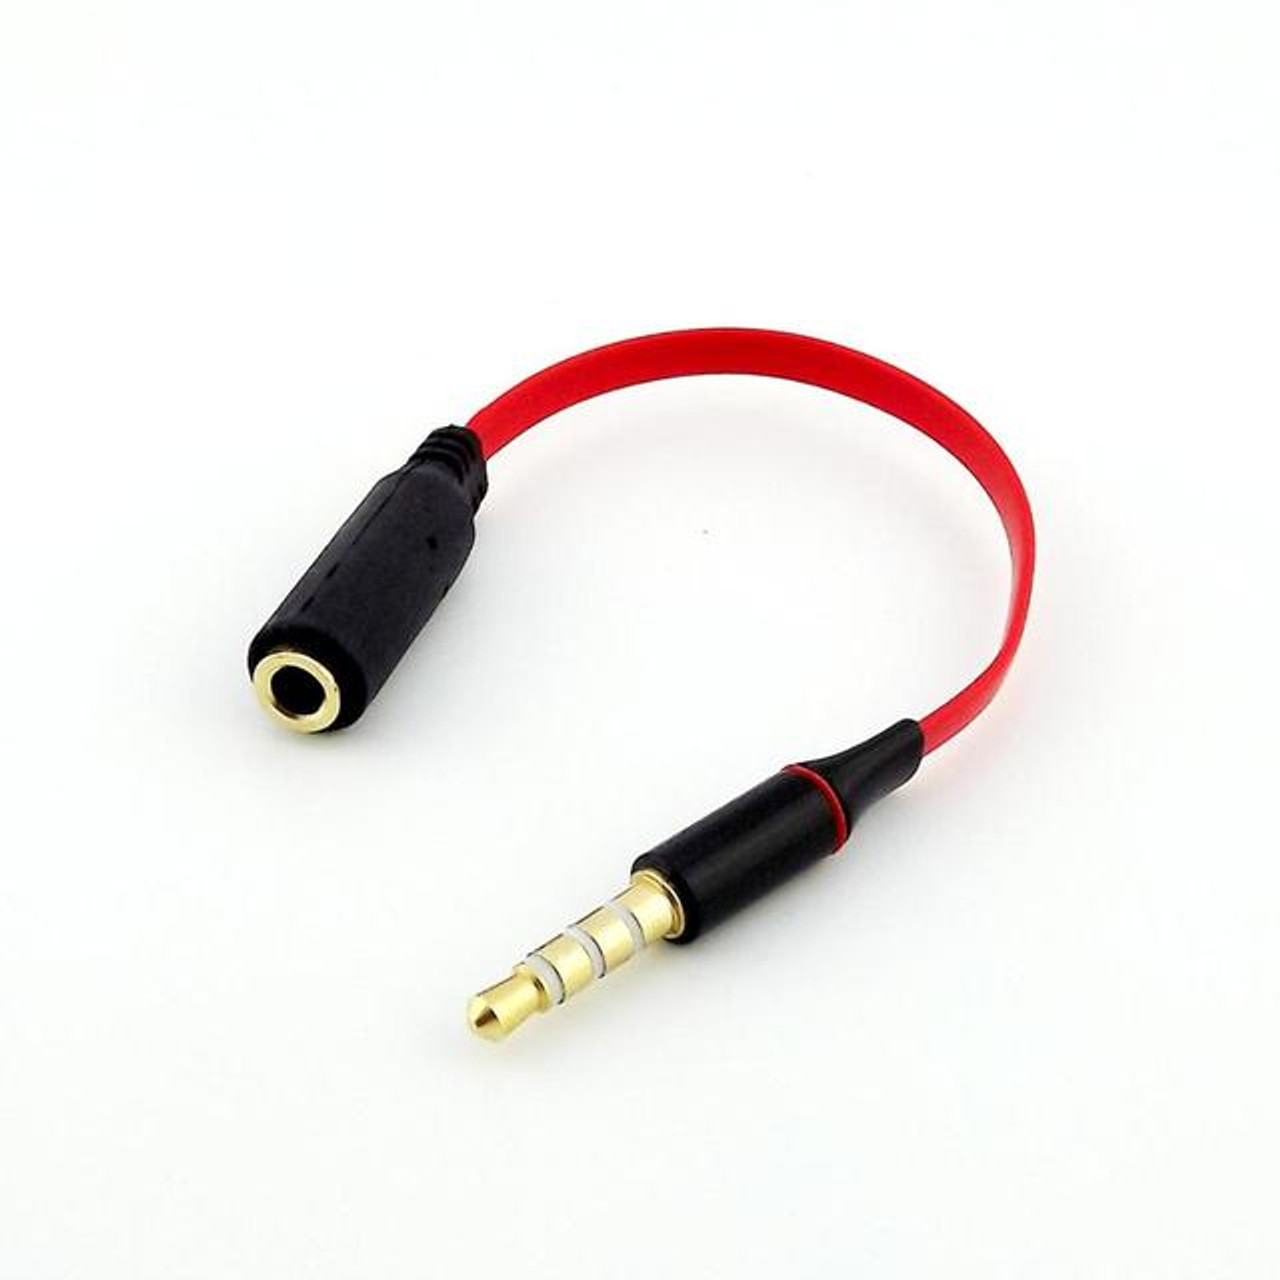
- TRS Cables: TRS (Tip/Ring/Sleeve) cables, also known as balanced cables, are typically used for professional audio applications. They consist of three conductors, carrying two audio signals and a ground connection.
- RCA Cables: RCA (Radio Corporation of America) cables are widely used for connecting audio devices, such as DVD players, gaming consoles, and home theater systems. They come with distinctive red and white connectors for transmitting stereo sound.
2. Digital Cables: Digital cables are designed to transmit digital audio signals, providing a higher level of fidelity and signal integrity. They are commonly used in modern audio setups and include:
- HDMI Cables: HDMI (High-Definition Multimedia Interface) cables are versatile cables that transmit both high-quality audio and video signals. They are commonly used to connect devices like televisions, Blu-ray players, and gaming consoles.
- Optical Cables (Toslink): Optical cables use light signals to transmit audio data, ensuring a clean, noise-free transmission. They are often used for connecting audio devices like soundbars, receivers, and gaming consoles.
3. XLR Cables: XLR cables are a type of balanced audio cable primarily used in professional audio settings. They are commonly used for connecting microphones, audio interfaces, and studio monitors. XLR cables provide excellent noise rejection and are known for their rugged build quality.
4. Speaker Cables: Speaker cables are specifically designed for transmitting audio signals from an amplifier to speakers. They are characterized by their gauge, which refers to the thickness of the wire. Thicker gauge cables generally offer better sound quality and reduced signal loss over long distances.
No matter the type of audio cable you’re working with, it’s important to handle them with care and avoid excessive bending, twisting, or pulling. This will help preserve their performance and longevity.
Now that we have a better understanding of the various types of audio cables, let’s move on to the next section, where we’ll gather the necessary tools and materials needed for splitting an audio cable.
Tools and Materials Needed
Before you can start splitting an audio cable, it’s important to gather the necessary tools and materials. Having these items prepared will ensure a smooth and efficient process. Here’s a list of what you’ll need:
1. Audio Cable: Choose the appropriate audio cable for your specific needs and desired configuration. Consider factors such as cable length, connector types, and overall quality. Make sure the cable is long enough to reach between the desired audio devices.
2. Wire Cutters: Wire cutters are essential for cutting the audio cable cleanly and accurately. Choose a pair of wire cutters that can handle the thickness of the cable you’re working with.
3. Wire Strippers: Wire strippers are used to remove the insulation from the wires inside the audio cable. Look for wire strippers that have different gauge options to accommodate various wire sizes.
4. Soldering Iron and Solder: If you plan on making permanent connections, you may need a soldering iron and solder. This is typically required for more advanced audio cable splitting projects, such as soldering wires onto connectors.
5. Heat Shrink Tubing: Heat shrink tubing is used to cover and protect the exposed wires after stripping them. It provides insulation and helps secure the connection. Use heat shrink tubing with a diameter that fits the gauge of your wires.
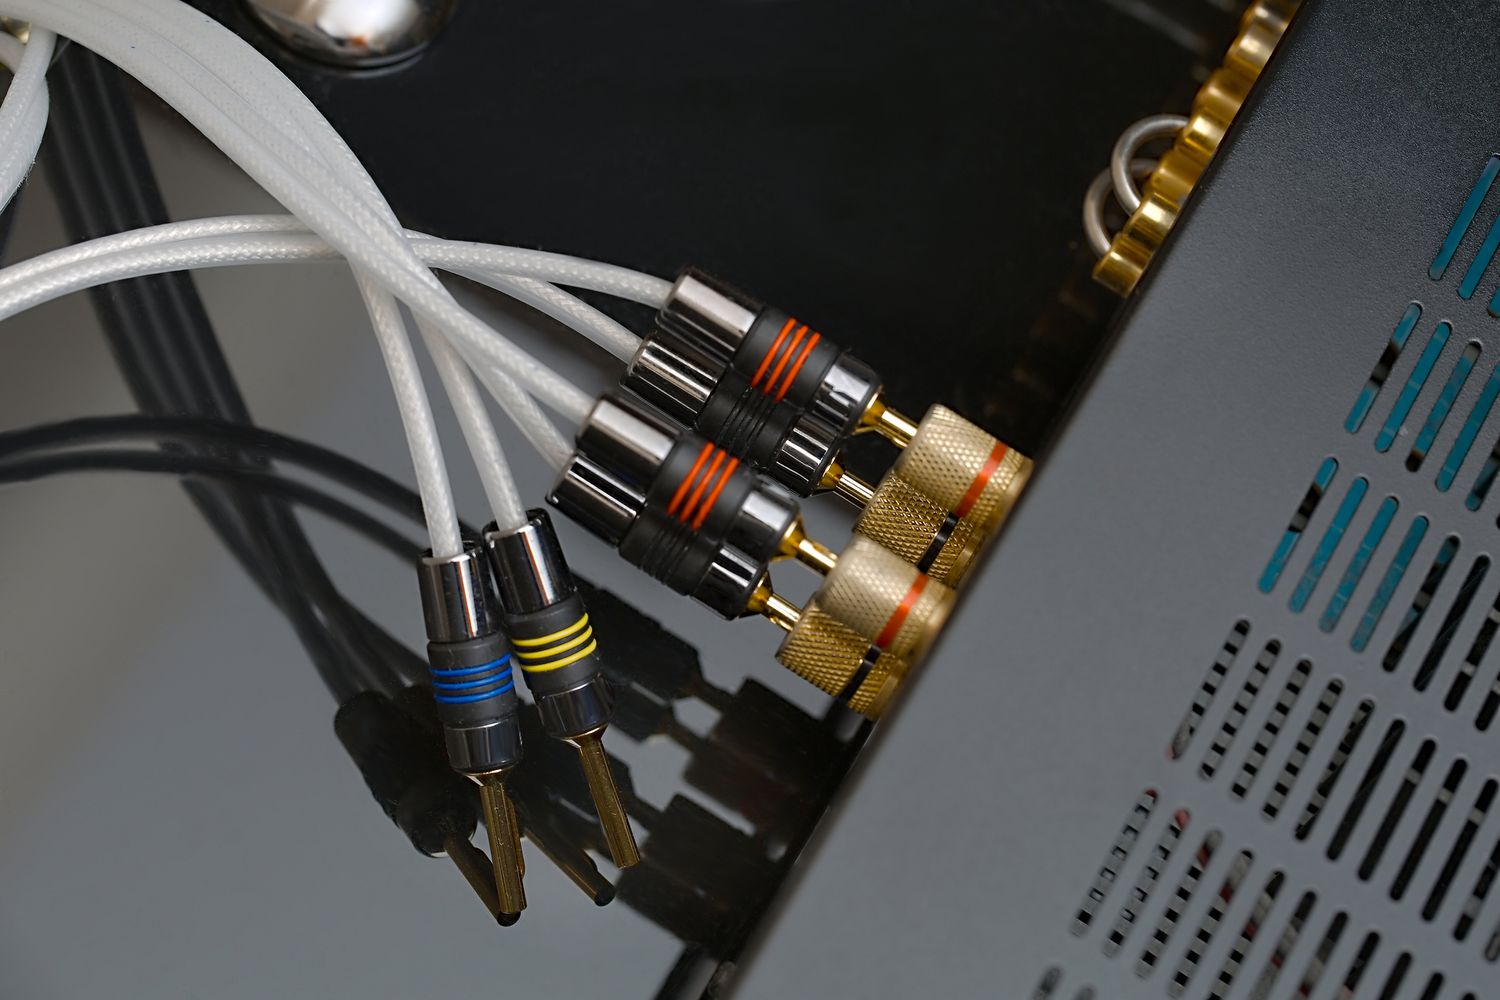
6. Connectors: Depending on your specific audio setup, you may need connectors to create the desired connections between your audio devices. Common connectors include RCA connectors, XLR connectors, and TRS connectors.
7. Electrical Tape: Electrical tape is handy for securing the connections and providing additional insulation. It helps protect against electrical shorts and keeps the wires in place.
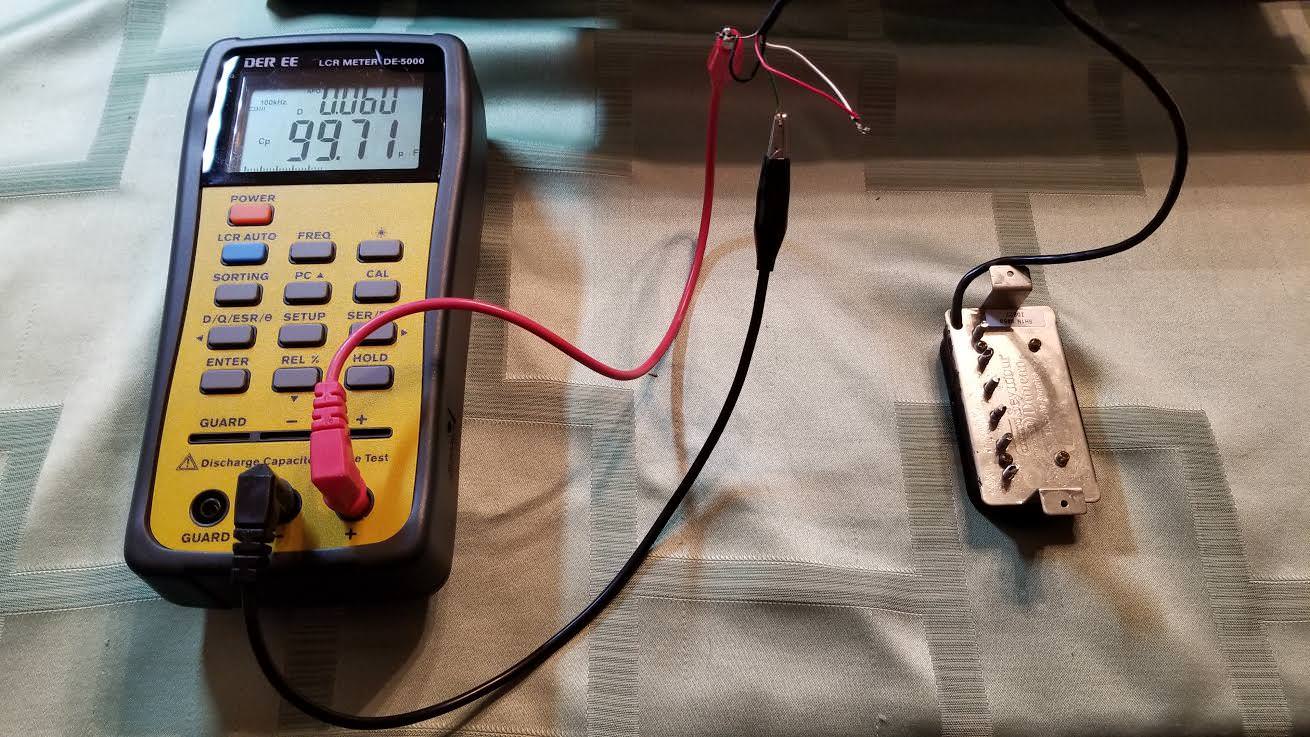
8. Testing Equipment: It’s always a good idea to have testing equipment on hand to ensure that the split audio cables are working correctly. This can include a multimeter or an audio tester to check for continuity and proper signal flow.
By gathering these tools and materials before starting the audio cable splitting process, you’ll be well-prepared and equipped to handle the task ahead. With everything ready, let’s move on to the step-by-step process of splitting an audio cable.
Step 1: Identifying the Type of Audio Cable
Before you can begin splitting an audio cable, it’s crucial to identify the type of cable you are working with. Different types of audio cables have varying configurations, connectors, and wiring schemes. Understanding the specific type of cable will help you determine the appropriate steps for splitting it and ensure the best results.
To identify the type of audio cable, follow these steps:
- Inspect the connectors: Examine both ends of the cable to determine the type of connectors present. The connectors will provide valuable clues about the cable’s purpose and intended usage. Common connectors include RCA connectors, XLR connectors, TRS connectors, and more.
- Examine the cable construction: Take a closer look at the cable itself. Note the thickness, color, and any markings or labeling on the cable. This information can help you identify the specific type of cable.
- Refer to the manufacturer’s documentation: If you still have difficulty identifying the cable, refer to the manufacturer’s documentation or product specifications. The documentation should provide information about the cable type and its intended use.
- Consult online resources: If the manufacturer’s documentation is not available, or if you’re still unsure about the cable type, consult reputable online resources or audio forums. These resources often provide detailed information and images for different types of audio cables.
It’s important to know the type of audio cable you are working with because each type may require different splitting techniques or connector configurations. For example, a stereo TRS cable may need to be split into two mono signals, while a digital optical cable may require a specific optical splitter adapter.
By correctly identifying the type of audio cable at the outset, you’ll be able to proceed with confidence and ensure that your splitting process goes smoothly. Once you have identified the cable type, you can move on to the next step of preparing the audio cable for splitting.
Step 2: Preparing the Audio Cable for Splitting
Now that you have identified the type of audio cable you’re working with, it’s time to prepare the cable for splitting. This involves gathering the necessary tools, clearing a workspace, and ensuring that the cable is ready for the splitting process.
- Gather the tools: Retrieve the tools and materials needed for the splitting process, as mentioned earlier in the article. Having everything within reach will make the process more efficient.
- Clear the workspace: Create a clean and clutter-free workspace where you can comfortably handle the cable. Clear away any obstructions or distractions that could potentially interfere with the splitting process.
- Unplug the audio devices: To prevent any electrical shocks or damage to the equipment, ensure that all audio devices connected to the cable are turned off and unplugged from the power source. This will also prevent any accidental audio signals from interfering with the process.
- Inspect the cable: Before proceeding further, inspect the entire length of the audio cable for any visual signs of damage or wear. Look for frayed wires, loose connectors, or any other issues that could affect the audio quality or connection. Replace or repair the cable if necessary.
- Plan the splitting: Consider how you want to split the audio cable and visualize the desired configuration. Determine where you want the cable to be split and how many connectors you will need for the new connections. Planning ahead will prevent mistakes and ensure a successful splitting process.
By following these preparation steps, you’ll be ready to move on to the next phase of splitting the audio cable. In the next section, we will cover the actual process of cutting the cable. Stay tuned!
Step 3: Cutting the Cable
With the audio cable properly prepared, it’s time to make the necessary cuts to split the cable. This step requires precision and careful handling to ensure clean and accurate cuts. Follow the steps below to cut the cable:
- Measure and mark: Determine the desired length for the split cable and use a ruler or measuring tape to mark the cutting points. Ensure that the measurements are even and symmetrical if you are splitting the cable into multiple parts.
- Secure the cable: Hold the cable steady with one hand, ensuring that it doesn’t move or slip while cutting. This will help maintain accuracy and prevent any frayed edges.
- Use the appropriate cutter: Select the wire cutter that is suitable for the size and thickness of the cable. Position the cutter perpendicular to the cable and use a clean cutting motion to sever the cable at the marked point. Avoid applying excessive pressure, as this can cause damage to the wires inside.
- Inspect the cut: After cutting the cable, inspect the ends for any frayed wires or uneven edges. Trim any excess wire or uneven sections as necessary, using the wire cutter. This will ensure a clean and precise connection.
It’s important to note that some audio cables may have multiple layers, such as an outer insulating layer and inner shielding. In such cases, you may need to make multiple cuts to remove both layers before reaching the inner wires.
Once you have successfully cut the audio cable, you’re ready to move on to the next step: separating the wires. This is where the true splitting process begins, as you prepare to split the audio signals and create new connections. Keep reading to learn how!
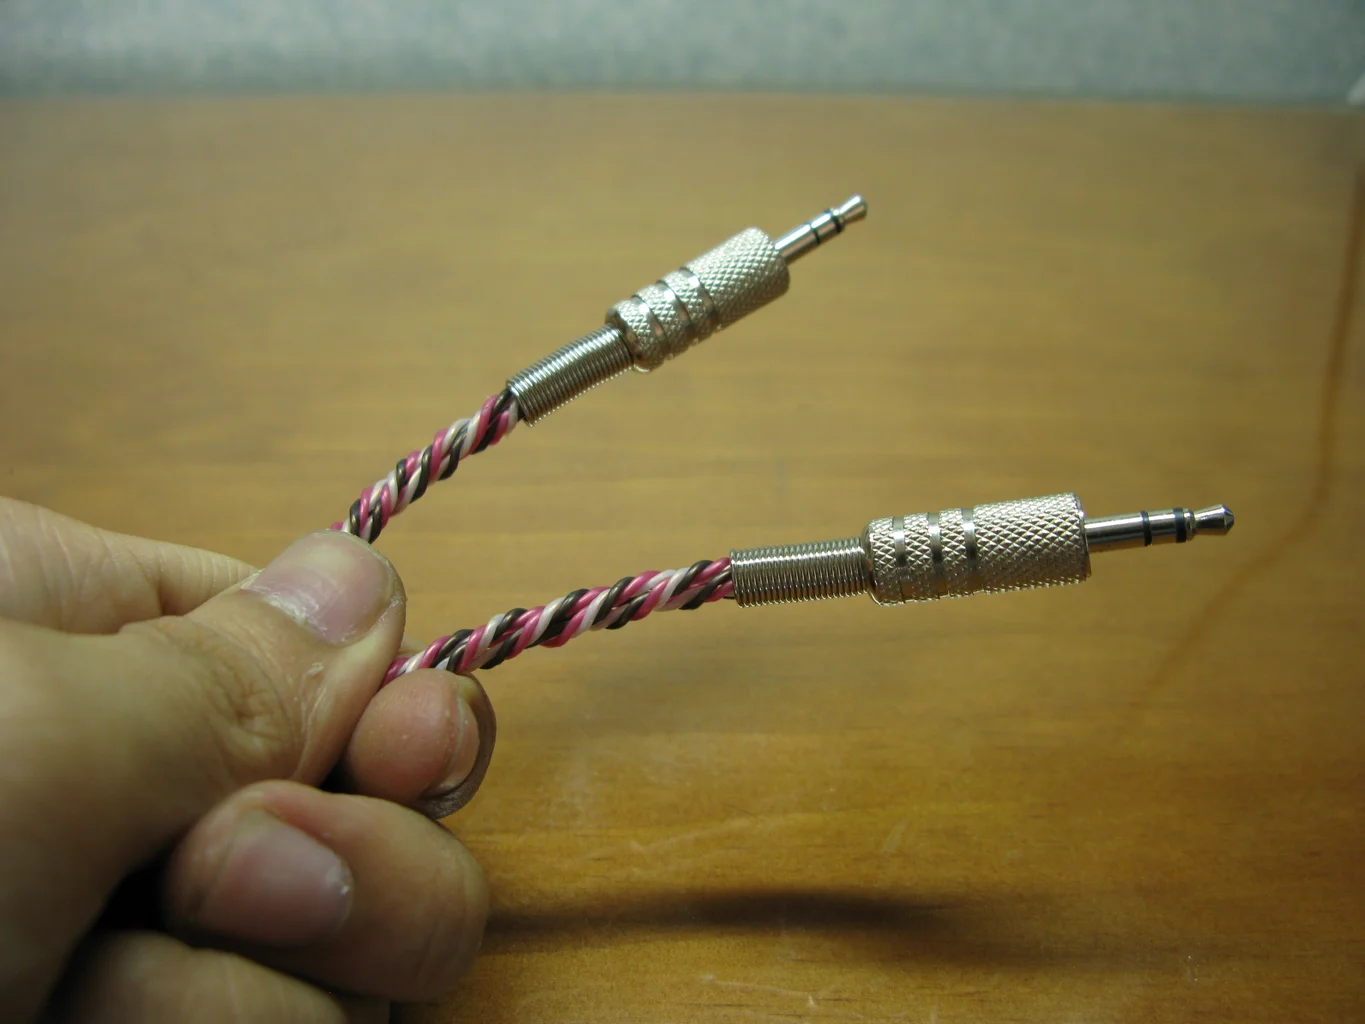
Step 4: Separating the Wires
After cutting the audio cable, the next step in splitting the cable involves separating the individual wires within the cable. This process allows you to isolate the different audio signals and prepare them for the next steps of the splitting process.
Follow these steps to separate the wires within the cable:
- Inspect the cable ends: Examine the cut ends of the cable to identify the individual wires. Depending on the type of audio cable, you may see different colored wires or conductors.
- Gently pull the wires apart: Use your fingers to gently separate the wires within the cable. Be cautious not to pull too forcefully and avoid causing any damage to the wires or their insulation.
- Identify the wires: Once the wires are separated, identify which wire corresponds to each audio signal. This information can usually be found in the documentation of the audio cable or by referring to online resources. Common wire colors include red for the right channel, white or black for the left channel, and a ground wire.
- Organize and arrange the wires: After identifying the wires, arrange them in an organized manner. Keep them separate and prevent them from touching each other to avoid any signal interference or short circuits.
It’s worth noting that certain audio cables, such as XLR cables or TRS cables, may have additional pins or conductors for balanced audio signals. In these cases, refer to the documentation or online resources to understand the specific wiring configuration and separate the corresponding wires accordingly.
Once you have successfully separated the wires within the audio cable, you’re ready to move on to the next step: stripping the wires. This process will expose the conductive metal strands within the wires, allowing for proper connections. Keep reading to learn how to strip the wires effectively.
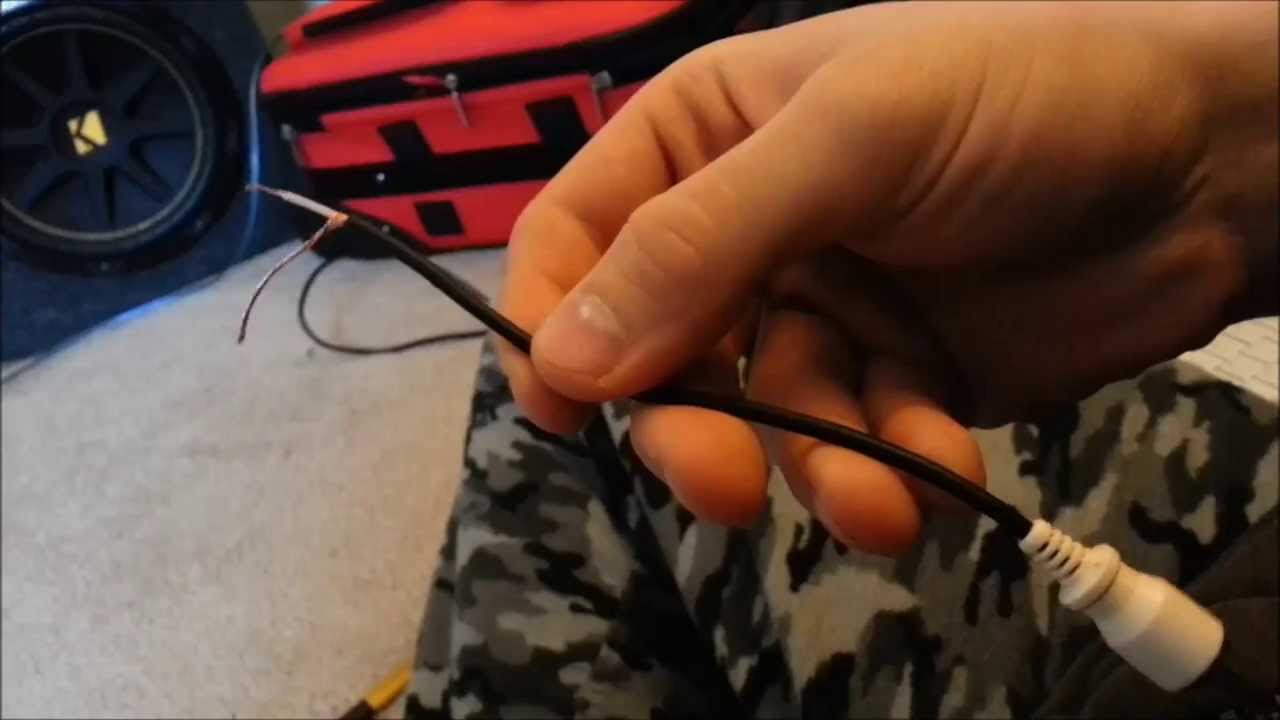
Step 5: Stripping the Wires
After separating the wires within the audio cable, the next step in the splitting process is to strip the insulation from the ends of the wires. Stripping the wires will expose the conductive metal strands, allowing for proper connections and ensuring optimal signal transmission.
Follow these steps to strip the wires within the cable:
- Gather the necessary tools: Ensure that you have wire strippers with the appropriate gauge sizes to accommodate the thickness of the wires.
- Insert the wire into the appropriate stripper notch: Select the notch or gauge on the wire stripper that matches the size of the wire you are working with. Slide the wire into the notch, making sure it is positioned properly.
- Apply gentle pressure: Squeeze the handles of the wire stripper to apply gentle pressure around the wire. Be careful not to squeeze too hard, as this may damage the conductor strands.
- Rotate and pull: While maintaining pressure, gently rotate the wire stripper around the wire to cut through the insulation. Once you have completed a full rotation, pull the wire stripper away from the wire to remove the cut portion of the insulation.
- Inspect the stripped wire: After stripping the wire, inspect the exposed conductor strands to ensure there are no remaining traces of insulation that could interfere with the connections. Trim any excess strands, if necessary, using wire cutters or a sharp knife.
It’s essential to strip the wires carefully to avoid damaging the conductor strands or causing short circuits. Take your time and ensure that the insulation is completely removed, leaving only the exposed conductive metal.
Once you have successfully stripped the wires, you are ready to move on to the next step: connecting the splitter. This will allow you to create the desired configurations and make the necessary connections for the split audio cable. Keep reading to learn how to connect the splitter effectively.
Step 6: Connecting the Splitter
With the wires properly stripped, you are now ready to connect the splitter. This step involves making the necessary connections to create the desired audio configuration for your split cable.
Follow these steps to connect the splitter:
- Identify the appropriate connectors: Depending on the type of audio cable and the desired configuration, select the appropriate connectors for your setup. This may include RCA connectors, XLR connectors, TRS connectors, or any other connectors that match your audio devices.
- Slide the connector onto the stripped wire: For each wire, slide the appropriate connector onto the exposed conductor strands. Ensure a secure and tight connection, as loose connections can result in poor audio quality.
- Follow the connector’s connection scheme: Different connectors may have different connection schemes. Refer to the manufacturer’s documentation or online resources to identify the correct pins or terminals for each wire.
- Secure the connection: Once you have connected the wires to the appropriate connectors, secure the connections using soldering or crimping techniques, depending on the connector’s design. This will ensure a reliable and long-lasting connection.
- Insulate the connections: After securing the connections, insulate each individual connection using heat shrink tubing or electrical tape. This will protect the connections from environmental factors, prevent short circuits, and provide a clean and professional appearance.
It’s essential to follow the correct connection scheme for your specific audio cable and connectors. Referencing the documentation or seeking guidance from online resources can help ensure that you make the proper connections and achieve the desired audio configuration.
With the splitter connections complete, you are one step away from experiencing the split audio output. In the next step, we will discuss how to test the split audio cable to ensure proper functionality. Keep reading to learn how to test your split audio cable effectively.
Step 7: Testing the Split Audio Cable
After connecting the splitter and completing the necessary wiring, the final step is to test the split audio cable to ensure that it is functioning properly. Testing the cable will help identify any connectivity issues or signal loss, allowing you to make adjustments if needed.
Follow these steps to test the split audio cable:
- Connect the split audio cable: Plug in the connectors of the split cable into the appropriate audio devices, ensuring a secure and snug fit.
- Power on the audio devices: Turn on the audio devices that are connected to the split cable, such as speakers, headphones, or amplifiers.
- Play audio source: Connect an audio source, such as a music player or a microphone, to one end of the split cable. Start playing audio from the source to test the audio signal.
- Inspect for proper functionality: Listen to the audio output from each end of the split cable to ensure that the sound is clear, balanced, and without any distortion. Check for any issues like uneven volume, crackling, or missing audio channels. If any problems arise, recheck the connections and troubleshoot accordingly.
- Test different configurations: If you have multiple audio devices or additional connectors, experiment with different configurations to verify that the split audio cable functions correctly in various setups.
It’s essential to pay attention to the audio quality and ensure that the split cable is delivering the expected audio signals. If you encounter any issues during testing, double-check the connections, inspect for possible wiring errors, or consider seeking guidance from audio professionals or online forums.
By thoroughly testing the split audio cable, you can be confident in its functionality and enjoy the desired audio configuration in your setup.
With the split audio cable successfully tested, you have completed the entire process of splitting an audio cable. Congratulations! You now have the knowledge and skills to split audio cables for different applications and configurations in your audio setup.
Remember, always exercise caution when working with audio cables, follow the manufacturer’s guidelines, and use proper tools and techniques to ensure safety and optimal performance.
Now, go ahead and enjoy the flexibility and expanded possibilities that come with a split audio cable!
Conclusion
Splitting an audio cable is a valuable skill that allows you to create custom audio setups, connect multiple devices, and enhance your audio experience. By understanding the different types of audio cables, preparing the cable, and following the step-by-step process, you can successfully split an audio cable and achieve the desired audio configurations.
Throughout this article, we explored the various types of audio cables, such as analog cables, digital cables, and speaker cables, each designed for specific audio applications. We discussed the importance of identifying the type of audio cable and gathering the necessary tools and materials before beginning the splitting process.
We then walked through the step-by-step process, from cutting the cable to separating the wires, stripping them, and connecting the splitter. Each step was carefully explained to help you achieve clean and accurate results.
Finally, we emphasized the significance of testing the split audio cable to ensure proper functionality. By following the suggested testing steps and troubleshooting any issues that arise, you can confirm that the split audio cable is delivering the desired audio signals without any loss or distortion.
Now that you have learned the art of splitting audio cables, you have the freedom to create customized audio setups that suit your needs and preferences. Whether it’s connecting multiple speakers to a single source, setting up complex audio systems, or simply exploring new audio possibilities, you have the knowledge and confidence to do so.
Remember to always handle audio cables with care, follow safety precautions, and refer to the manufacturer’s guidelines when necessary. The more you practice and experiment with splitting audio cables, the more adept you will become at creating the perfect audio configuration for any situation.
So, go forth and enjoy the limitless potential that comes with splitting audio cables. Unleash your creativity, optimize your audio setup, and embark on an immersive and captivating audio journey!