Home>Production & Technology>Audio Cable>How To Install A Cd Rom Drive On Pc Audio Cable
Audio Cable
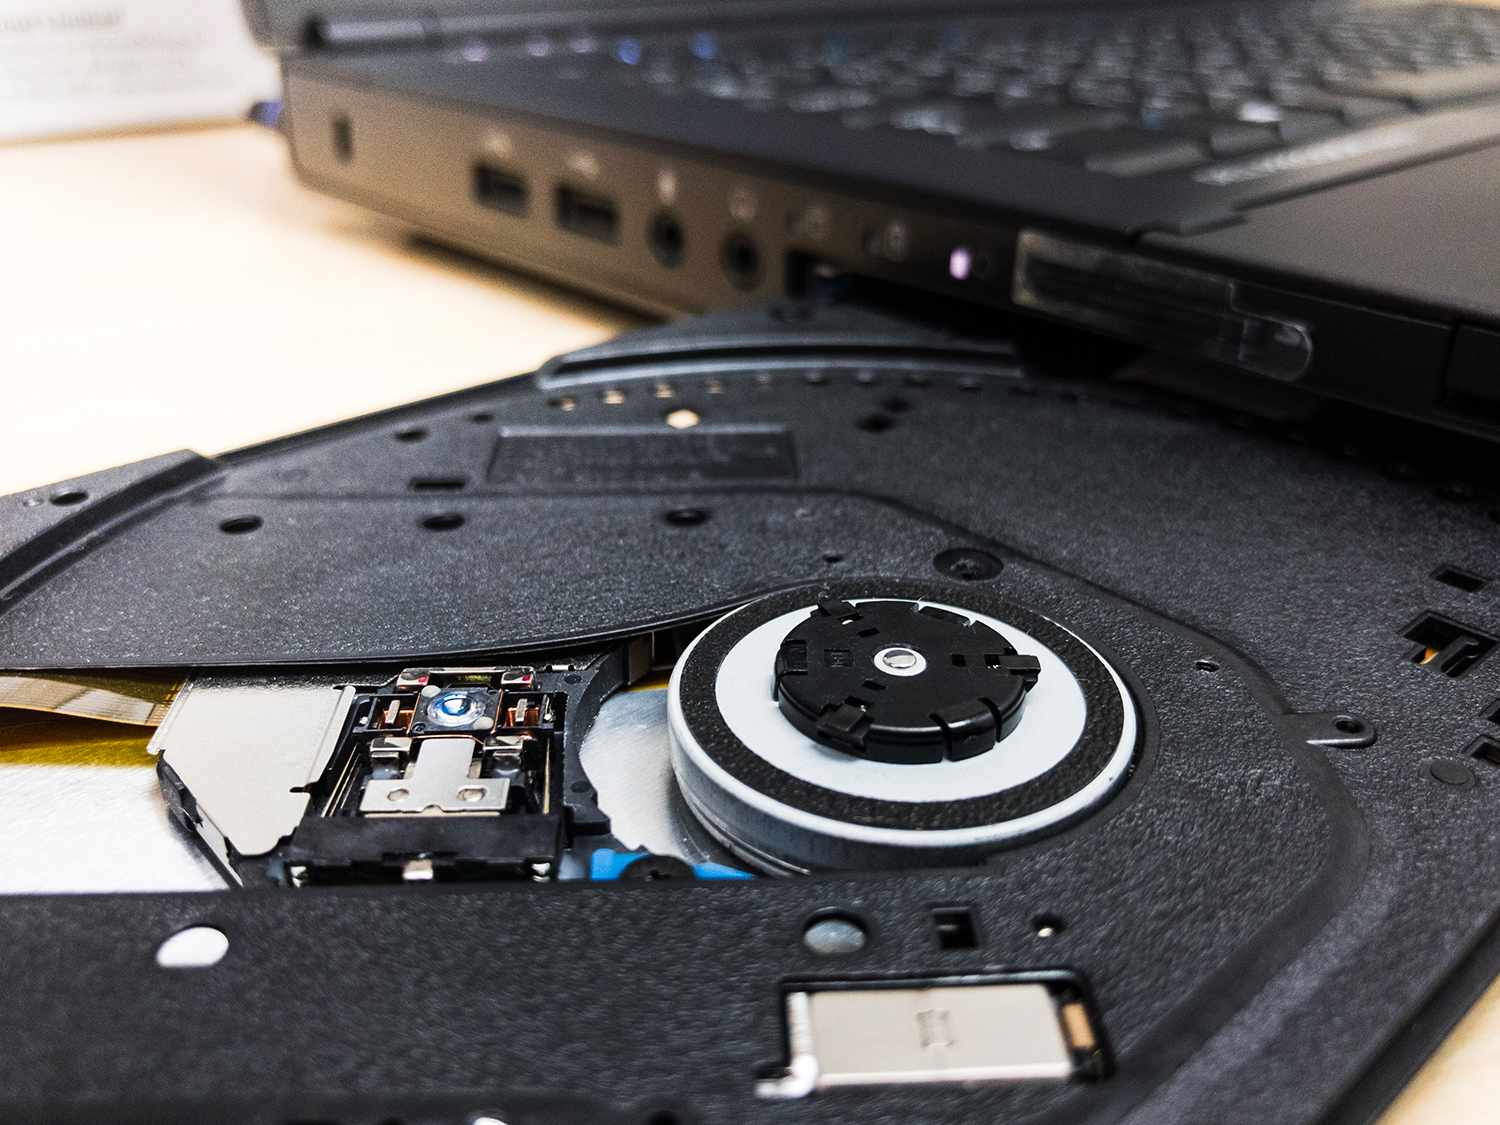
How To Install A Cd Rom Drive On Pc Audio Cable
Published: December 20, 2023
Learn how to install a CD ROM drive on your PC and connect it with an audio cable. Step-by-step guide for seamless audio integration.
(Many of the links in this article redirect to a specific reviewed product. Your purchase of these products through affiliate links helps to generate commission for AudioLover.com, at no extra cost. Learn more)
Table of Contents
- Introduction
- Step 1: Gathering the necessary tools and materials
- Step 2: Preparing the computer
- Step 3: Opening the computer case
- Step 4: Locating the CD-ROM drive slot
- Step 5: Mounting the CD-ROM drive
- Step 6: Connecting the audio cable
- Step 7: Closing the computer case
- Step 8: Testing the CD-ROM drive
- Conclusion
Introduction
Installing a CD-ROM drive on your PC can greatly enhance your audio experience. Whether you want to listen to your favorite music, watch movies, or play video games, having a CD-ROM drive with the right audio cable connections is essential.
When it comes to audio cables, there are different types and configurations to consider. The most common audio cable used for CD-ROM drives is the 2-pin audio cable, also known as the 2-pin CD audio cable or the digital audio cable. This cable is designed to transmit digital audio signals from the CD-ROM drive to your PC’s sound card or motherboard, providing high-quality sound output.
In this article, we will guide you through the process of installing a CD-ROM drive on your PC and connecting the audio cable to ensure optimal audio performance. Whether you are a tech enthusiast or a beginner, you’ll find this step-by-step guide easy to follow and understand.
Before we delve into the installation process, let’s take a look at the tools and materials you will need to complete the installation successfully.
Step 1: Gathering the necessary tools and materials
Before you begin the installation process, it is important to gather all the necessary tools and materials. Having everything ready beforehand will save you time and ensure a smooth installation process. Here’s a list of what you will need:
- CD-ROM drive: Make sure you have the CD-ROM drive that you want to install. Check its compatibility with your PC’s interface (SATA or IDE) and ensure it fits the appropriate size (5.25-inch drive bay).
- Screwdriver: Depending on your PC case, you may need a Phillips or a flat-head screwdriver to open the computer case and secure the CD-ROM drive.
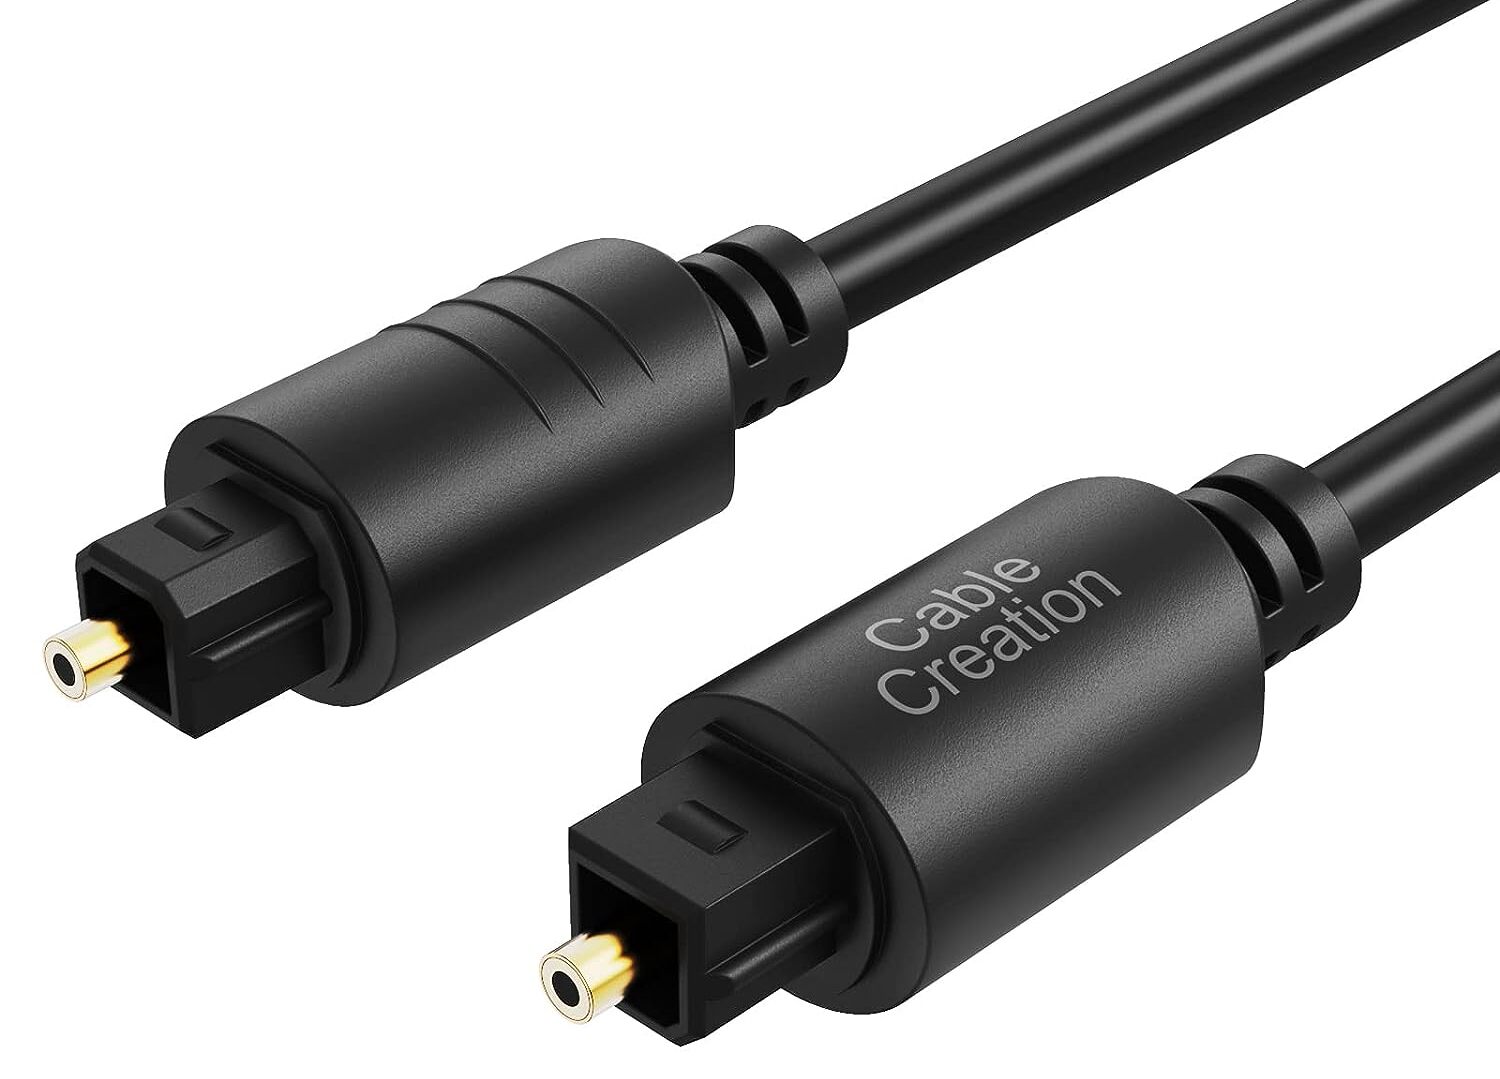
- Audio cable: Get a 2-pin audio cable specifically designed for CD-ROM drives. Make sure it is long enough to reach the audio connector on your PC’s sound card or motherboard.
- Antistatic wrist strap (optional): To protect sensitive electronic components from static electricity, an antistatic wrist strap is recommended. It ensures you discharge any static electricity before touching the internal components.
Once you have gathered all the necessary tools and materials, you are ready to proceed to the next step: preparing the computer for the installation.
Step 2: Preparing the computer
Before installing the CD-ROM drive, it is important to prepare your computer for the installation. This involves a few essential steps to ensure a successful and hassle-free process. Here’s what you need to do:
- Power off the computer: Before working on any internal components of your PC, it is crucial to shut it down completely. Make sure to turn off the power supply and unplug the computer from the wall outlet.
- Ground yourself: To prevent any damage to sensitive electronic components, ground yourself by touching a grounded metal object or wear an antistatic wrist strap. This will discharge any static electricity and minimize the risk of static discharge damaging the internal components.
- Clear workspace: Find a clean and well-lit area to work on your computer. Remove any dust or debris that may interfere with the installation process. Ensure that you have enough space to maneuver the computer case and access the internal components comfortably.
- Identify the drive bays: Take a look inside your computer case and familiarize yourself with the available drive bays. Typically, the CD-ROM drive will be installed in a 5.25-inch drive bay. Identify the appropriate bay for the installation, keeping in mind the space required for the drive.
Once you have completed these steps, you are now ready to proceed with opening the computer case and installing the CD-ROM drive. Make sure to follow the next steps carefully to ensure a successful installation.
Step 3: Opening the computer case
To install the CD-ROM drive, you will first need to access the internal components of your computer by opening the computer case. Here are the steps to open the case:
- Locate the screws: Depending on your computer case model, you will find screws securing the side panels of the case. Look for screws at the back of the case or on the side panel itself.
- Remove the screws: Use a screwdriver to remove the screws holding the side panels in place. Be mindful of keeping track of these screws, as you will need them later to secure the panels back in place after installation.
- Remove the side panel: Once the screws are removed, gently slide or lift off the side panel of the case. Some cases may have a latch or release mechanism that needs to be undone before the panel can be removed.
- Safely set aside the panel: Place the removed side panel in a safe location, making sure it won’t be damaged or cause any tripping hazards.
With the computer case now open, you have clear access to the internal components. Take a moment to familiarize yourself with the internal layout of your computer and identify the drive bays for the CD-ROM installation.
Now that you have successfully opened the computer case, it’s time to move on to locating the CD-ROM drive slot. This will be covered in the next step, so stay tuned!
Step 4: Locating the CD-ROM drive slot
After opening the computer case, the next step is to locate the CD-ROM drive slot where the drive will be installed. Here’s what you need to do:
- Inspect the drive bays: Take a close look at the available drive bays inside your computer case. The CD-ROM drive will typically be installed in a 5.25-inch drive bay. These drive bays are usually located at the front of the case and are easily identifiable.
- Identify the empty bay: Within the drive bays, you may find other existing components like hard drives or other optical drives. Look for an empty bay where the CD-ROM drive can be installed. It’s important to choose a bay that has sufficient space and is compatible with the size of your CD-ROM drive.
- Remove any filler panels: If the empty drive bay is covered by a filler panel, you will need to remove it. Most filler panels are secured with screws or clips. Gently unscrew or release the clips to remove the filler panel from the bay.
Once you have located the appropriate drive bay and removed any filler panels, you are now ready to proceed with mounting the CD-ROM drive. This will be covered in the next step, so continue reading to learn how to secure the drive in the computer case.
Step 5: Mounting the CD-ROM drive
Now that you have located the appropriate drive bay for your CD-ROM drive, it’s time to mount the drive securely in the computer case. Here’s how you can do it:
- Position the CD-ROM drive: Take the CD-ROM drive and position it in the empty drive bay. Make sure the front of the drive (where the disc tray is located) aligns with the front of the computer case. The connectors on the back of the drive should be facing towards the back of the case.
- Secure the drive with screws: Once the drive is properly positioned, use the screws that you previously removed from the filler panel or those provided with the CD-ROM drive to secure it in place. Insert the screws through the side of the drive and into the screw holes in the drive bay. Tighten the screws firmly, but be cautious not to overtighten and damage the drive.
- Confirm stability: After securing the drive with screws, gently shake the computer case to ensure that the CD-ROM drive is firmly mounted. It should not move or wiggle excessively. If the drive feels loose, double-check the screws or try adjusting the position for a better fit.
With the CD-ROM drive now securely mounted in the computer case, it’s time to move on to the next step: connecting the audio cable. Keep reading to learn how to make the necessary audio connections for optimal audio performance.
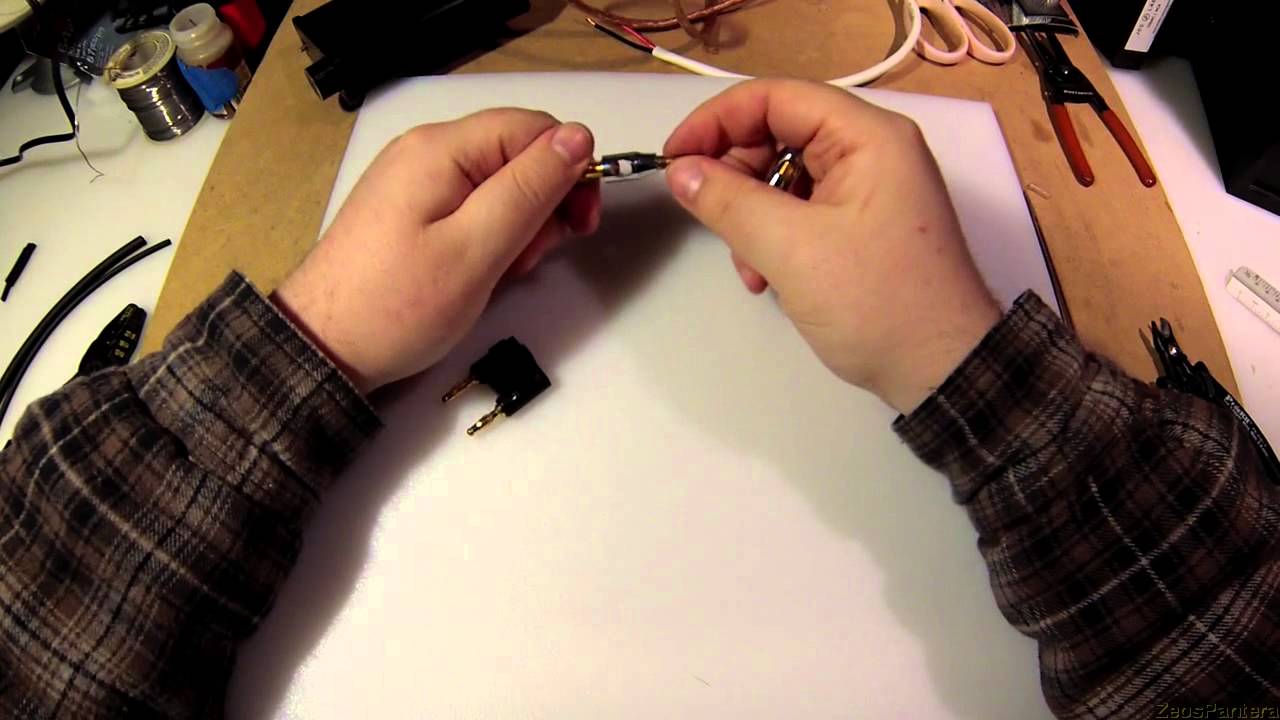
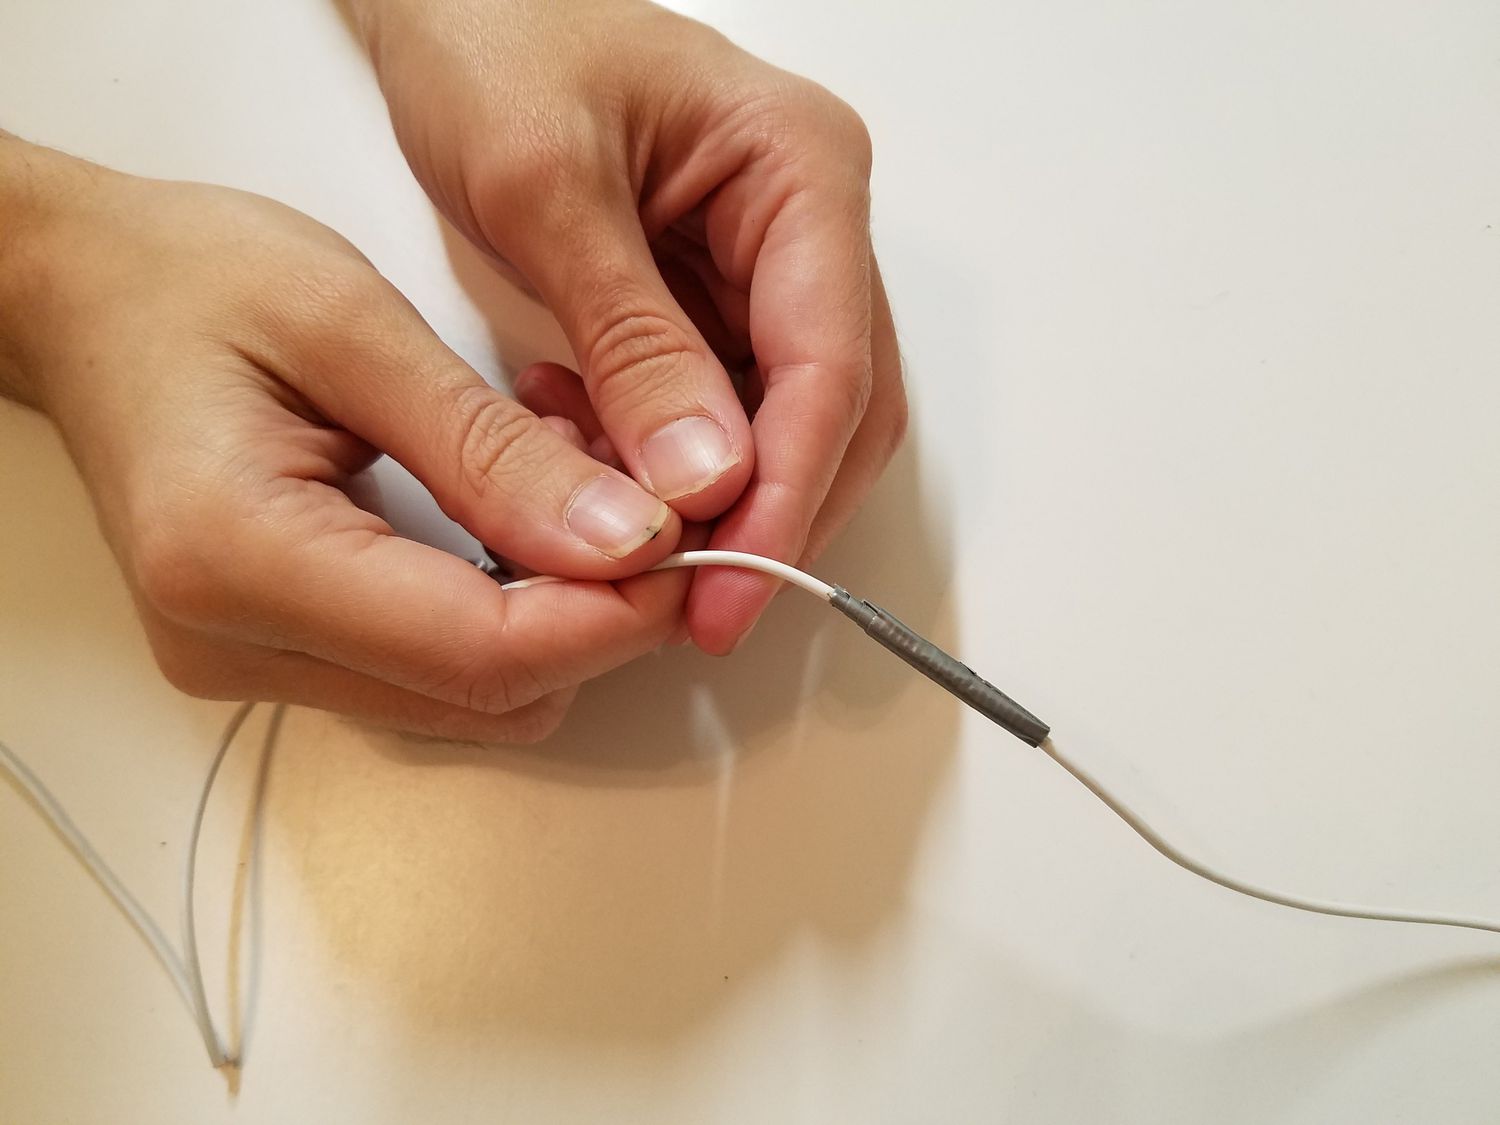
Step 6: Connecting the audio cable
Now that the CD-ROM drive is mounted, it’s time to connect the audio cable to ensure proper audio output. Follow these steps to connect the audio cable:
- Locate the audio connector: Look for the audio connector on your CD-ROM drive. It is usually labeled “Audio” or “CD audio” and has two pins.
- Find the audio connector on the motherboard or sound card: Open your computer case and locate the audio connector on the motherboard or sound card. It is typically labeled “CD in,” “Aux in,” or “CD audio.” The connector may also have pins or a slot to accommodate the audio cable.
- Connect the audio cable: Take one end of the 2-pin audio cable and carefully insert it into the audio connector on the CD-ROM drive. Make sure it is inserted firmly but gently to avoid damaging the pins. Then, take the other end of the audio cable and connect it to the corresponding audio connector on the motherboard or sound card.
- Secure the cable: Once the audio cable is connected, ensure that it is properly secured. Use cable ties or adhesive clips to neatly secure the cable along the inside of the computer case. This will prevent any unwanted movement or interference.
With the audio cable successfully connected, the CD-ROM drive is now ready to provide high-quality sound output. However, before closing the computer case, it’s important to test the CD-ROM drive to ensure everything is functioning correctly. Read on to discover how to perform this crucial step.
Step 7: Closing the computer case
After connecting the audio cable and verifying that the CD-ROM drive is functioning correctly, it’s time to close the computer case. Follow these steps to securely seal the case:
- Check internal components: Before closing the case, take a moment to ensure that all internal components, including cables and cards, are properly seated and not obstructing the case’s closure.
- Align the side panel: Position the side panel back onto the computer case. Align it carefully with the case’s edges and ensure that any grooves or tabs fit snugly into their corresponding slots.
- Secure with screws: Use the screws that you initially removed to secure the side panel back onto the case. Make sure to tighten the screws adequately, taking care to not overtighten them and potentially strip the screw threads.
- Double-check for stability: Once the side panel is securely fastened, gently shake the computer case to check for any excessive movement or rattling. If the case feels stable, you can proceed to the next step. If not, recheck the screws to ensure they are properly tightened.
With the computer case successfully closed, you have completed the installation of the CD-ROM drive and can now enjoy enhanced audio capabilities. However, before concluding the process, it’s essential to perform one final step: testing the CD-ROM drive. Read on to find out how.
Step 8: Testing the CD-ROM drive
After installing and connecting the CD-ROM drive, it’s crucial to test its functionality to ensure everything is working correctly. Follow these steps to perform a simple test:
- Power on your computer: Turn on your computer and let it boot up as usual. Make sure all the necessary cables are plugged in securely.
- Insert a CD or DVD: Take a CD or DVD and insert it into the CD-ROM drive’s tray. Gently push the tray back into the drive until it closes securely.
- Wait for the drive to recognize the disc: Give the CD-ROM drive a few moments to recognize the inserted disc. Depending on your computer’s settings, you may see a pop-up notification or hear the drive starting to spin the disc.
- Open the disc: Depending on your operating system, you can either manually open the CD or DVD by double-clicking on its icon on your computer’s desktop or using file explorer. If the disc opens successfully and displays its contents, it indicates that your CD-ROM drive is working correctly.
- Test audio playback: Play an audio file from the CD or DVD to test the audio playback capabilities of the CD-ROM drive. Make sure to connect your speakers or headphones to the appropriate audio output port to hear the sound.
If you encounter any issues during the testing process, such as the disc not being recognized or audio not playing, check your connections and ensure that the audio cable is securely connected. You may also need to check your computer’s audio settings to ensure proper audio output routing.
With the CD-ROM drive successfully tested and in good working condition, you have completed the installation process!
Congratulations! You can now enjoy your favorite music, movies, and games with enhanced audio quality and convenience. Remember to keep your CD-ROM drive and audio cable well-maintained to ensure continued optimal performance.
Thank you for following this step-by-step guide on how to install a CD-ROM drive and connect the audio cable. We hope it was helpful, and happy listening!
Conclusion
Installing a CD-ROM drive and properly connecting the audio cable can significantly enhance your computer’s audio capabilities. By following the steps outlined in this guide, you have successfully installed a CD-ROM drive and connected the audio cable, ensuring high-quality audio output for your music, movies, and games.
Throughout the installation process, we covered the necessary tools and materials, the preparation of your computer, opening the computer case, locating the CD-ROM drive slot, mounting the drive securely, connecting the audio cable, closing the computer case, and testing the CD-ROM drive for functionality.
It’s important to remember to handle your computer’s internal components with care, ensuring proper grounding and taking precautions to prevent damage from static electricity. Furthermore, double-checking your connections and confirming the correct installation of the CD-ROM drive and audio cable is essential for optimal performance.
By completing these installation steps, you can now enjoy high-quality audio playback from your CD-ROM drive. Whether you’re listening to your favorite music, watching movies, or immersing yourself in engaging games, you can now take full advantage of your computer’s audio capabilities.
We hope that this guide has been helpful in assisting you with the installation process. Remember to always refer to your computer’s manufacturer or consult professional assistance if you encounter any issues during the installation or operation of your CD-ROM drive.
Thank you for reading, and enjoy your enhanced audio experience!