Home>Production & Technology>Audio Cable>How To Connect Optical Audio Cable To A Cyberpower PC
Audio Cable
How To Connect Optical Audio Cable To A Cyberpower PC
Modified: January 22, 2024
Learn how to easily connect an audio cable to your Cyberpower PC using an optical connection for crystal-clear sound and enhanced audio experience.
(Many of the links in this article redirect to a specific reviewed product. Your purchase of these products through affiliate links helps to generate commission for AudioLover.com, at no extra cost. Learn more)
Table of Contents
- Introduction
- Step 1: Gather the necessary equipment
- Step 2: Locate the optical audio port on your Cyberpower PC
- Step 3: Prepare the optical audio cable
- Step 4: Connect one end of the optical audio cable to the PC
- Step 5: Connect the other end of the optical audio cable to the audio device
- Step 6: Configure the audio settings on your Cyberpower PC
- Step 7: Test the audio connection
- Conclusion
Introduction
Audio cables are an essential component of any audio setup, delivering high-quality sound from your source device to your audio equipment. One popular type of audio cable is the optical audio cable, also known as a TOSLINK or SPDIF cable. This type of cable uses light signals to transmit audio, resulting in pristine digital audio transfer without any interference.
If you own a Cyberpower PC and want to connect it to your audio system using an optical audio cable, you’ve come to the right place. In this article, we will guide you through the step-by-step process of connecting an optical audio cable to your Cyberpower PC, enabling you to enjoy a superior audio experience.
Whether you’re looking to connect your PC to a soundbar, receiver, or home theater system, the steps outlined in this guide will help you achieve seamless audio connectivity. So, let’s dive in and get started on connecting your optical audio cable to your Cyberpower PC!
Step 1: Gather the necessary equipment
Before you can connect an optical audio cable to your Cyberpower PC, it’s important to gather all the necessary equipment. Here’s what you’ll need:
- A Cyberpower PC: Ensure that your PC has an optical audio output port. Not all models may have this port, so it’s essential to check the specifications of your PC before proceeding.
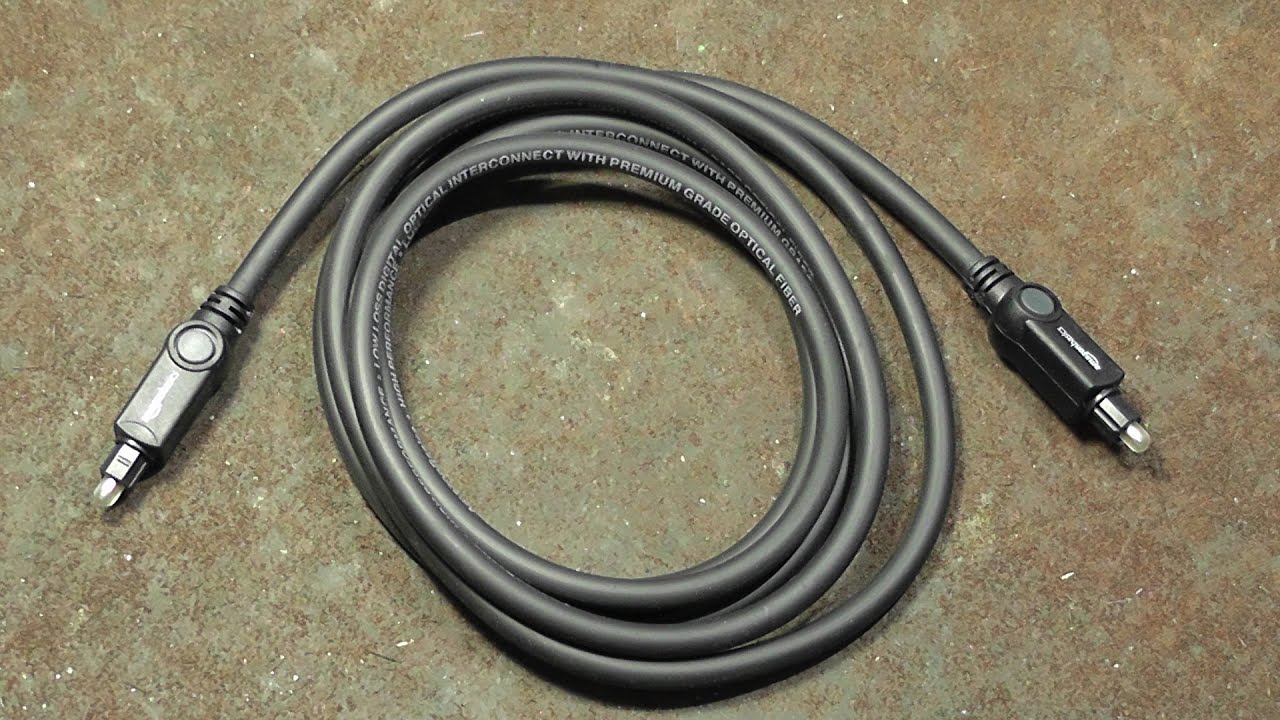
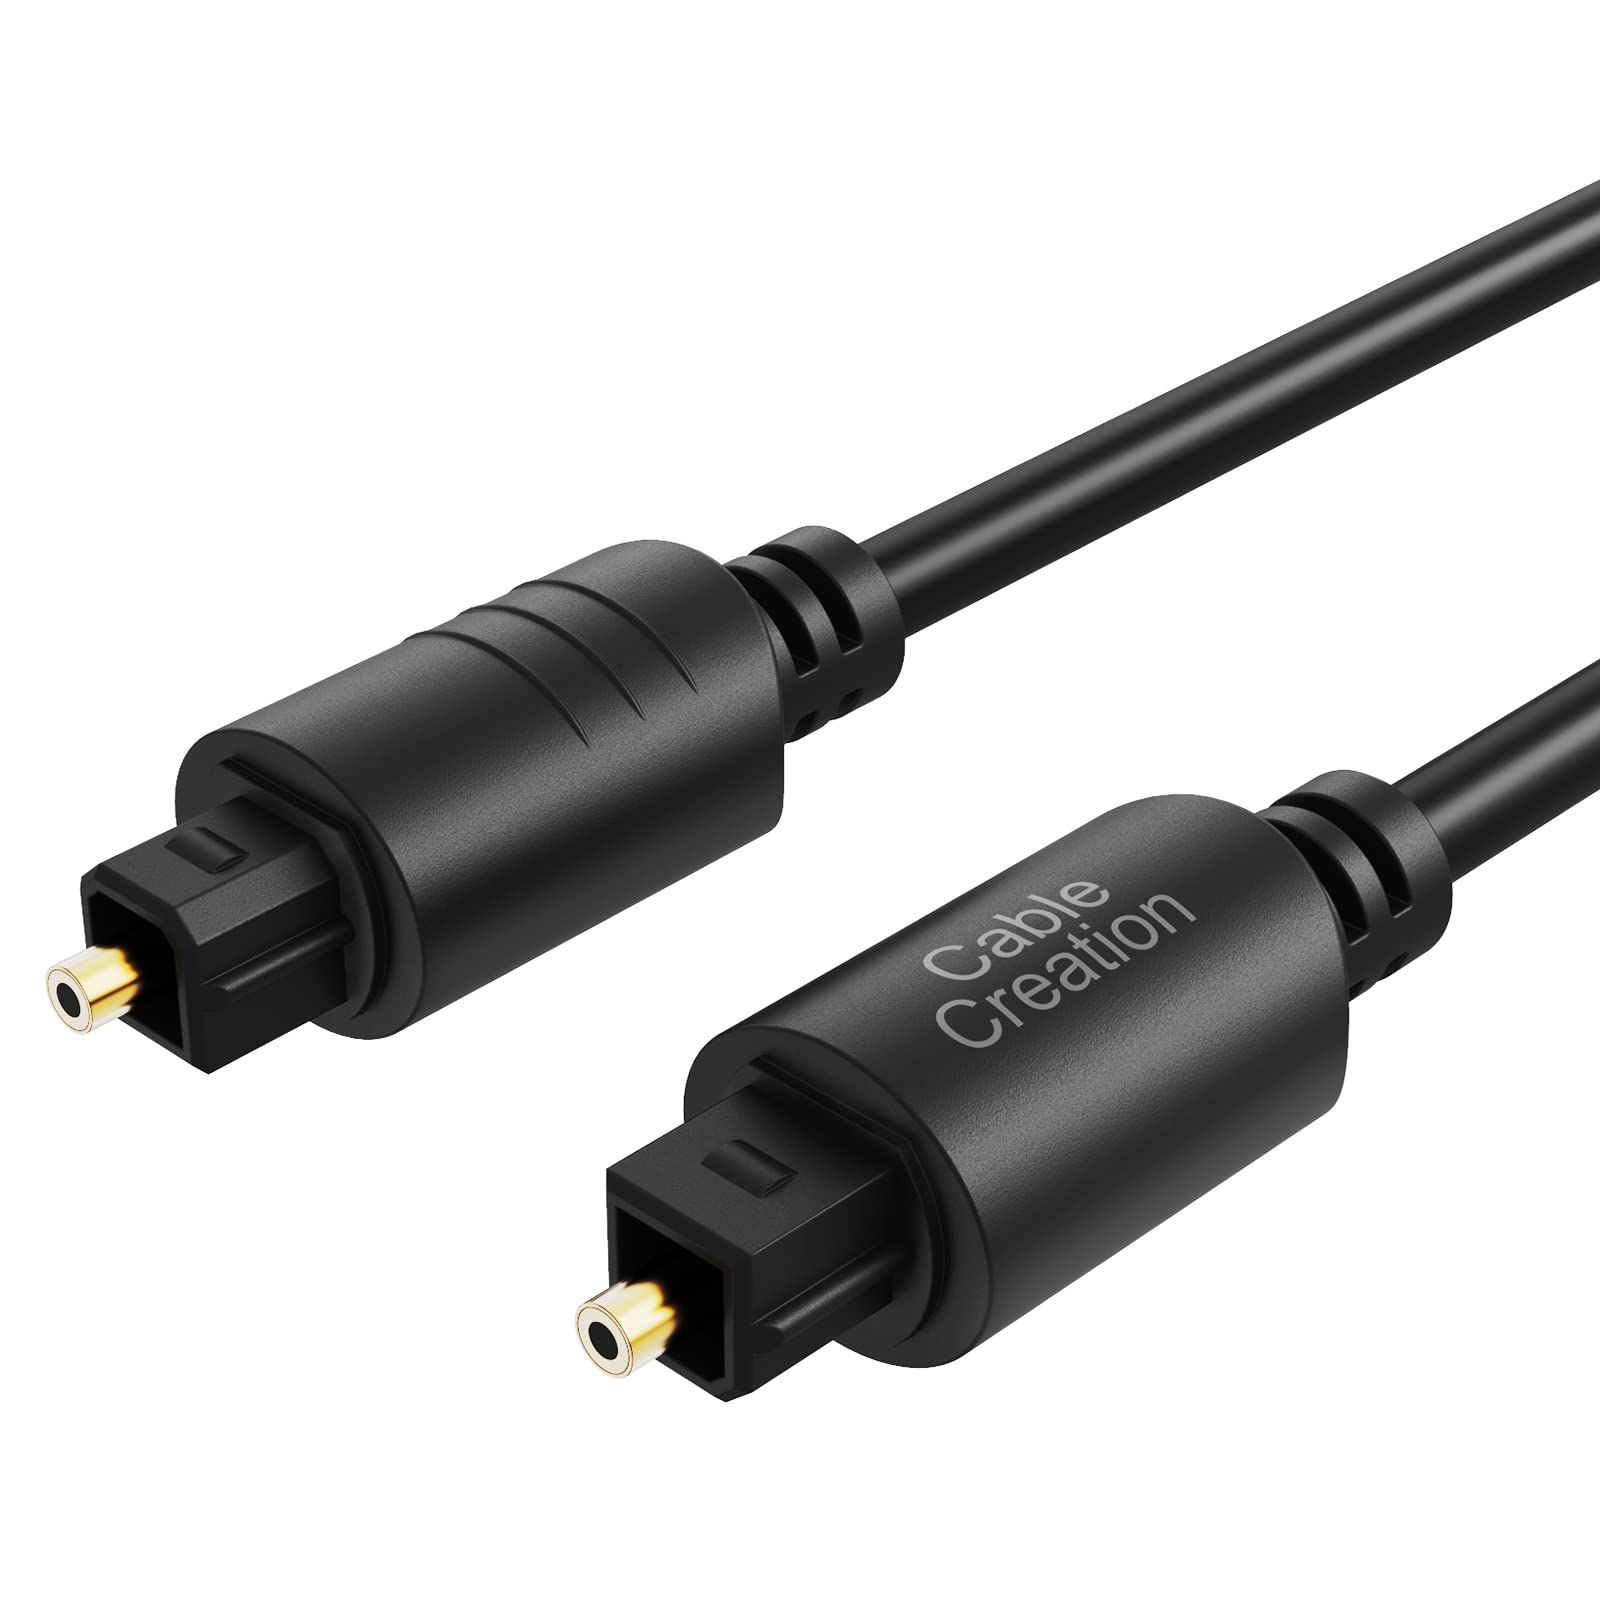
- An optical audio cable: Purchase a high-quality optical audio cable that fits the desired length for your setup. These cables are often available in different sizes, so choose one that suits your needs.
- An audio device with an optical audio input: This could be a soundbar, receiver, home theater system, or any other device that supports optical audio input.
Make sure to inspect the optical audio cable to ensure it’s in good condition without any visible damage. A damaged cable may compromise the audio quality or result in no connection at all.
Once you have the necessary equipment ready, you can proceed to the next step of connecting the optical audio cable to your Cyberpower PC.
Step 2: Locate the optical audio port on your Cyberpower PC
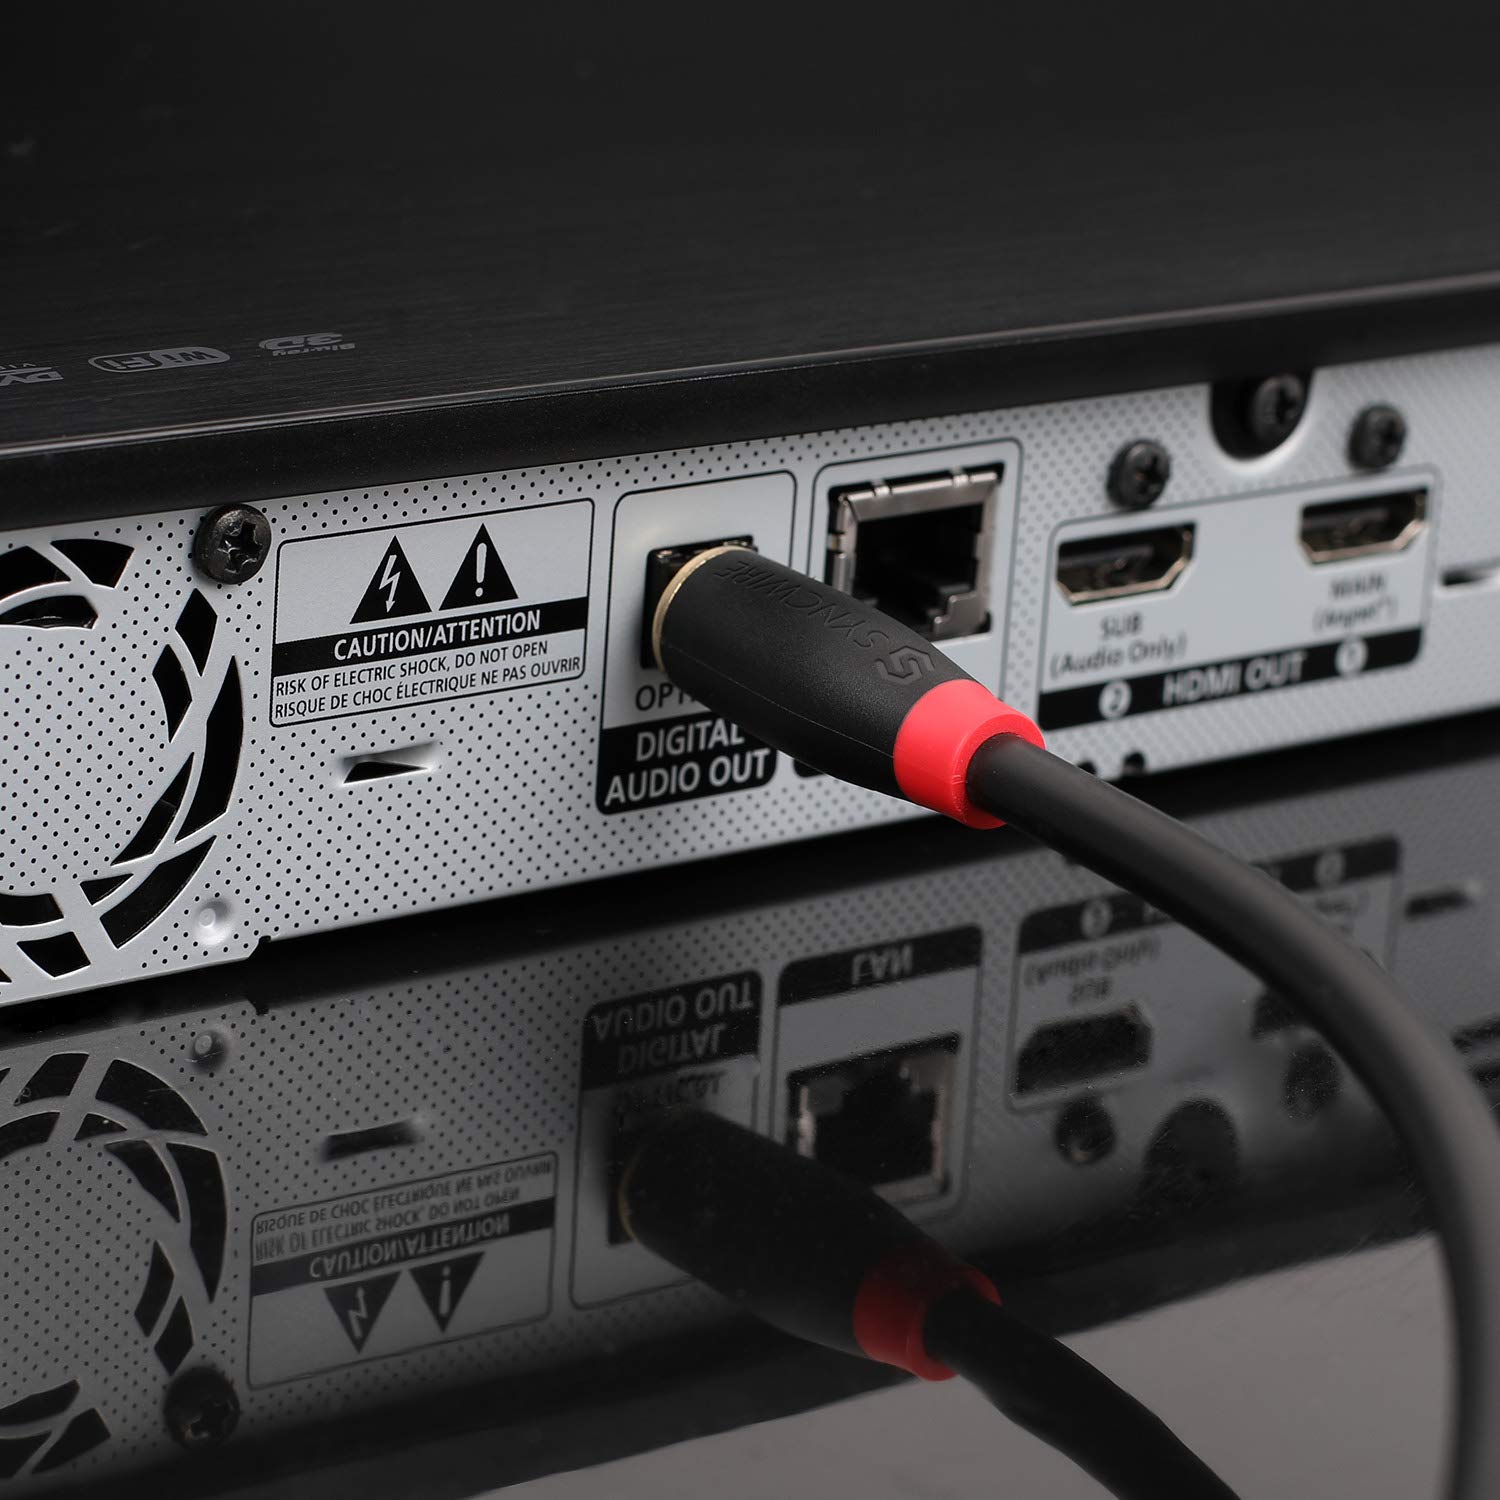
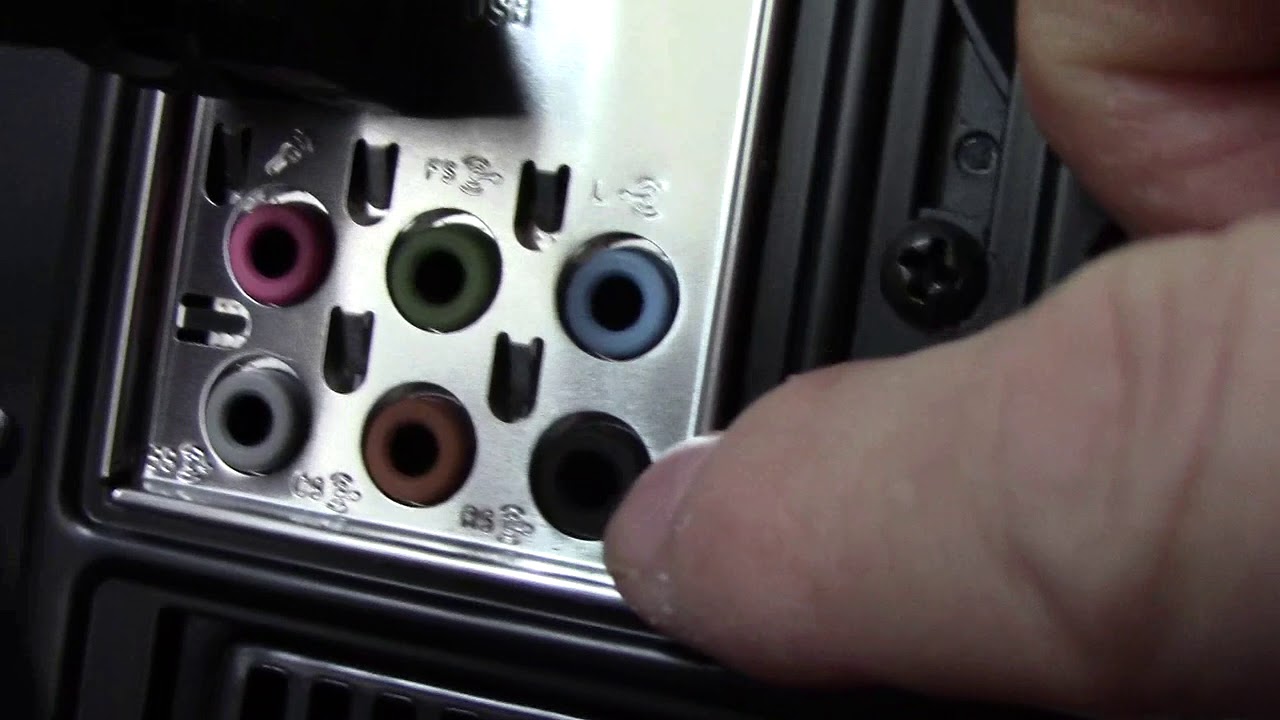
In order to connect the optical audio cable to your Cyberpower PC, you need to locate the optical audio output port. This port is typically labeled “Optical Out” or “TOSLINK” and is usually found on the back of the PC’s tower or the audio port panel.
Once you’ve located the optical audio port, take a moment to clean it if necessary. Dust or debris can interfere with the connection, so use a soft cloth or compressed air to remove any particles that may be present.
If you’re having difficulty finding the optical audio port on your Cyberpower PC, consult the user manual or contact the manufacturer for assistance. It’s important to locate the correct port to ensure proper audio transmission.
Once you’ve identified the optical audio port, you’re ready to move on to the next step of preparing the optical audio cable for connection.
Step 3: Prepare the optical audio cable
Before connecting the optical audio cable to your Cyberpower PC, it’s crucial to prepare the cable for a secure and reliable connection. Follow these steps to ensure that the cable is ready:
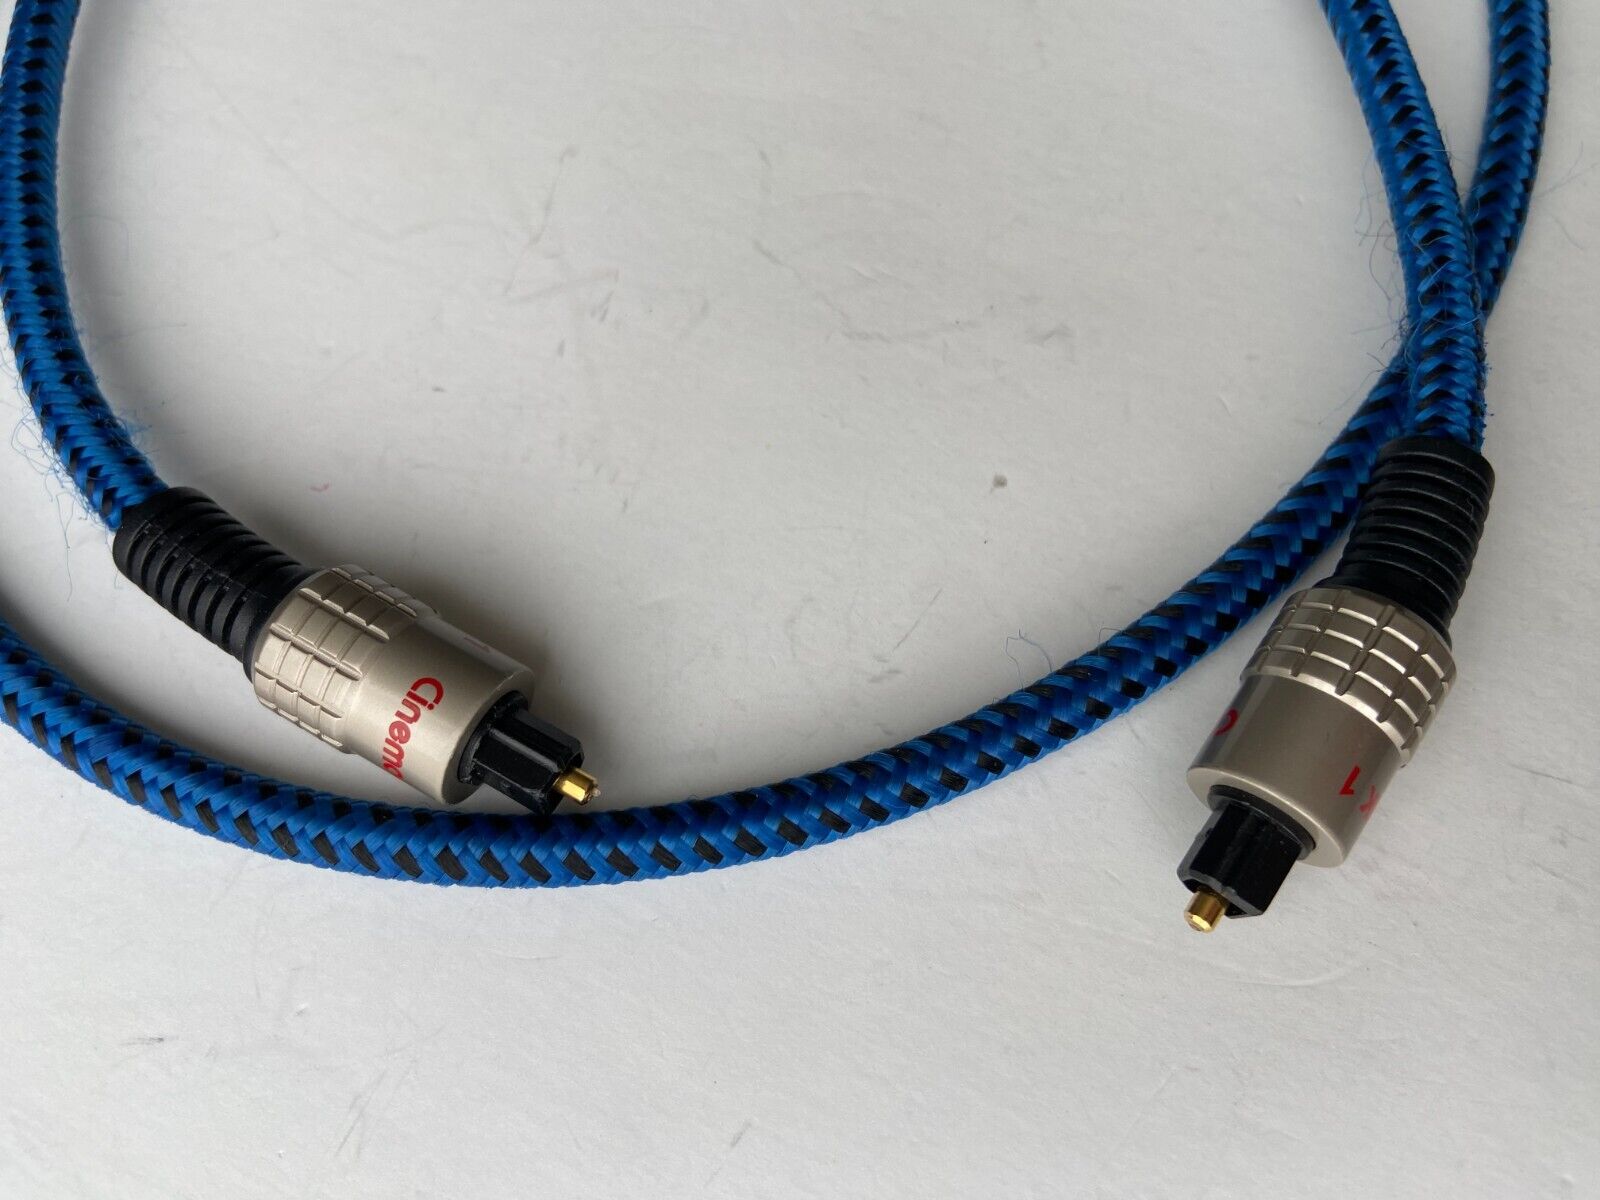
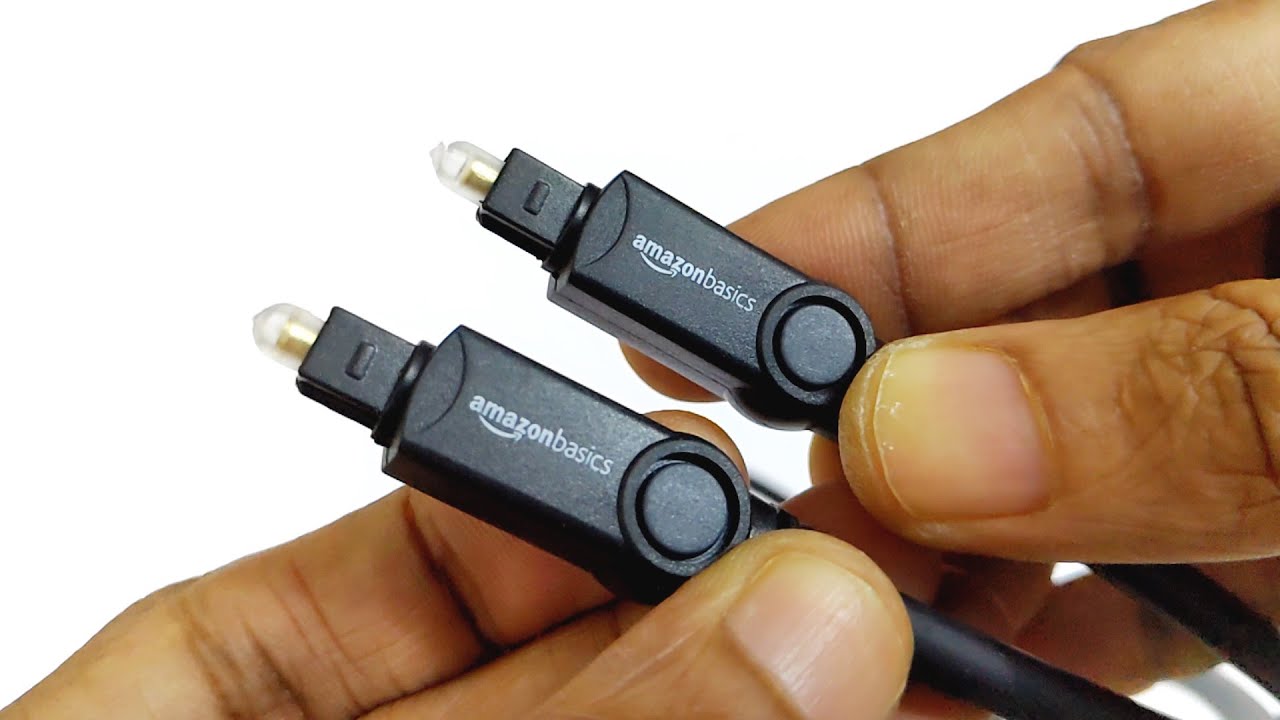
- Check the ends of the optical audio cable: On each end of the cable, you should see a small, rectangular connector with a plastic cover. Inspect both ends to ensure they are clean and free from any dust or debris.
- Remove the protective covers: Gently remove the protective plastic covers from both ends of the optical audio cable. These covers are designed to protect the connectors during shipping and should be removed before connecting the cable.
- Handle the cable with care: Optical audio cables are delicate and can be easily damaged. Avoid bending, twisting, or kinking the cable to prevent any internal breakage. Treat it with care to maintain the best audio quality.
By taking these precautions, you ensure that your optical audio cable is in optimal condition for a successful connection. Once the cable is prepared, you can proceed to the next step of connecting one end of the cable to your Cyberpower PC.
Step 4: Connect one end of the optical audio cable to the PC
Now that you have prepared the optical audio cable, it’s time to connect one end of the cable to your Cyberpower PC’s optical audio output port. Follow these steps:
- Take one end of the optical audio cable and align the rectangular connector with the optical audio output port on your PC. The connector will have a small bump or groove that should match the corresponding feature on the port.
- Gently insert the connector into the optical audio output port, ensuring a secure and snug fit. Be careful not to force the connector into the port as it should slide in smoothly.
- Once the connector is inserted, give it a slight twist clockwise or counterclockwise to lock it in place. This will ensure a secure connection and prevent accidental disconnection.
- Double-check the connection by gently tugging on the cable. If it doesn’t come loose, you have successfully connected one end of the optical audio cable to your Cyberpower PC.
It’s important to handle the cable and connector with care during the connection process to prevent any damage. Remember to align the connector correctly with the port and avoid excessive force when inserting or removing the cable.
With one end of the optical audio cable securely connected to your Cyberpower PC, you’re ready to move on to the next step of connecting the other end of the cable to the audio device.
Step 5: Connect the other end of the optical audio cable to the audio device
Now that you have connected one end of the optical audio cable to your Cyberpower PC, it’s time to connect the other end to the audio device that you want to use. Follow these steps:
- Locate the optical audio input port on your audio device. This port is typically labeled “Optical In” or “TOSLINK” and should be located on the back or side of the device.
- Take the other end of the optical audio cable and align the rectangular connector with the optical audio input port on your audio device. Again, make sure to match any bumps or grooves on the connector with the corresponding features on the port.
- Gently insert the connector into the optical audio input port, making sure it fits securely. Avoid using excessive force, as the connector should slide in smoothly.
- Give the connector a slight twist clockwise or counterclockwise to ensure a secure connection. This will help prevent any accidental disconnection.
Remember to handle the cable and connector with care to avoid any damage during the connection process. Take your time to align the connector correctly and ensure a snug fit into the audio device’s optical audio input port.
Once the connector is securely connected to the audio device, you have successfully completed the connection of the optical audio cable from your Cyberpower PC to the audio device.
Now, it’s time to move on to the next step, where you will configure the audio settings on your Cyberpower PC.
Step 6: Configure the audio settings on your Cyberpower PC
After connecting the optical audio cable between your Cyberpower PC and the audio device, you need to configure the audio settings to ensure that the sound is routed correctly. Follow these steps to configure the audio settings:
- On your Cyberpower PC, right-click on the sound icon in the system tray located at the bottom-right corner of the screen. Then, select “Open Sound settings” from the context menu.
- In the Sound settings window, click on the “Sound Control Panel” link located on the right side under the “Related Settings” section. This will open the Sound control panel.
- In the Sound control panel, navigate to the “Playback” tab.
- Look for the audio device that you have connected the optical audio cable to in the list of playback devices. It should be labeled with the name of the device or as “Digital Audio (S/PDIF)”.
- Select the optical audio device as the default playback device by right-clicking on it and choosing the “Set as Default Device” option. This will ensure that the audio output is directed through the optical audio connection.
- Click “Apply” and then “OK” to save the changes and exit the Sound control panel.
By configuring the audio settings and selecting the optical audio device as the default playback device, you have ensured that the sound from your Cyberpower PC will be routed through the connected audio device via the optical audio cable.
Now that the audio settings are properly configured, you’re ready for the final step in the process: testing the audio connection.
Step 7: Test the audio connection
After connecting the optical audio cable and configuring the audio settings on your Cyberpower PC, it’s time to test the audio connection to ensure that everything is working correctly. Follow these steps to test the audio connection:
- Play a sound or audio file on your Cyberpower PC.
- Check if you can hear the sound coming from the connected audio device, such as a soundbar or home theater system. Make sure the volume on both the PC and the audio device is set appropriately.
- If you can hear the sound, congratulations! The audio connection between your Cyberpower PC and the audio device is successful.
- If you cannot hear any sound, recheck the connections of the optical audio cable on both ends. Ensure that the cable is securely connected to both the PC and the audio device.
- Verify that the audio device is set to the correct input source (e.g., optical input). Refer to the user manual of your audio device for instructions on changing the input source.
- If the issue persists, try using a different optical audio cable to rule out any potential cable faults. Alternatively, test the audio device with a different source device to identify if the issue lies with the PC or the audio device.
- Continue troubleshooting accordingly, such as updating audio drivers on your PC or consulting technical support if needed.
By following these steps and testing the audio connection, you can ensure that the optical audio cable is functioning properly and enjoy a seamless audio experience from your Cyberpower PC to your audio device.
If the audio connection is successful, you can now sit back, relax, and enjoy your favorite music, movies, or games with high-quality sound!
Conclusion
Connecting an optical audio cable to your Cyberpower PC can significantly enhance your audio experience by providing a high-quality digital audio connection. By following the step-by-step guide outlined in this article, you can successfully connect your PC to an audio device using an optical audio cable.
Throughout the process, it is important to gather the necessary equipment, locate the optical audio port on your Cyberpower PC, prepare the optical audio cable, and connect one end to the PC and the other end to the audio device. Additionally, configuring the audio settings on your PC and testing the audio connection ensure that everything is functioning correctly.
Remember to handle the optical audio cable and connectors with care to avoid any damage or disconnection during the connection process. Take your time to align the connectors correctly and ensure a secure fit into the optical audio ports.
If you encounter any issues during the setup process, refer back to the guide and double-check the connections and settings. Troubleshoot accordingly, including checking for firmware updates or consulting technical support if necessary.
Once the optical audio cable is successfully connected and the audio settings are configured, you can enjoy a seamless audio experience with pristine digital sound from your Cyberpower PC to your audio device.
Now that you’ve learned how to connect an optical audio cable to your Cyberpower PC, you can elevate your audio experience and immerse yourself in the world of high-quality sound.