Home>Production & Technology>Audio Interface>How To Get Browser Audio To Play Through Audio Interface
Audio Interface
How To Get Browser Audio To Play Through Audio Interface
Modified: March 8, 2024
Learn how to get your browser audio to play through your audio interface and enhance your audio experience. Discover the benefits of using an audio interface for better sound quality and seamless integration.
(Many of the links in this article redirect to a specific reviewed product. Your purchase of these products through affiliate links helps to generate commission for AudioLover.com, at no extra cost. Learn more)
Table of Contents
Introduction
Audio interfaces play a crucial role in recording and producing high-quality sound. They act as a bridge between your computer and audio equipment, allowing you to connect microphones, instruments, and speakers for professional audio processing.
When it comes to playing audio through your browser, you might notice that the sound only comes through your computer’s built-in speakers or headphones. This can be limiting, especially if you have invested in a high-quality audio interface. However, with the right configuration, you can redirect browser audio to play through your audio interface, resulting in improved sound quality and a more immersive listening experience.
In this article, we will explore how to get browser audio to play through an audio interface. We will discuss the different types of audio interfaces available, how to select the right one for your needs, and the necessary steps to configure your browser and system settings for optimal audio output.
Whether you are a musician, podcaster, gamer, or simply an audio enthusiast, understanding how to route browser audio through your audio interface can greatly enhance your audio playback and recording capabilities. So without further ado, let’s dive into the world of audio interfaces and explore how to unlock their full potential.
Overview of Audio Interfaces
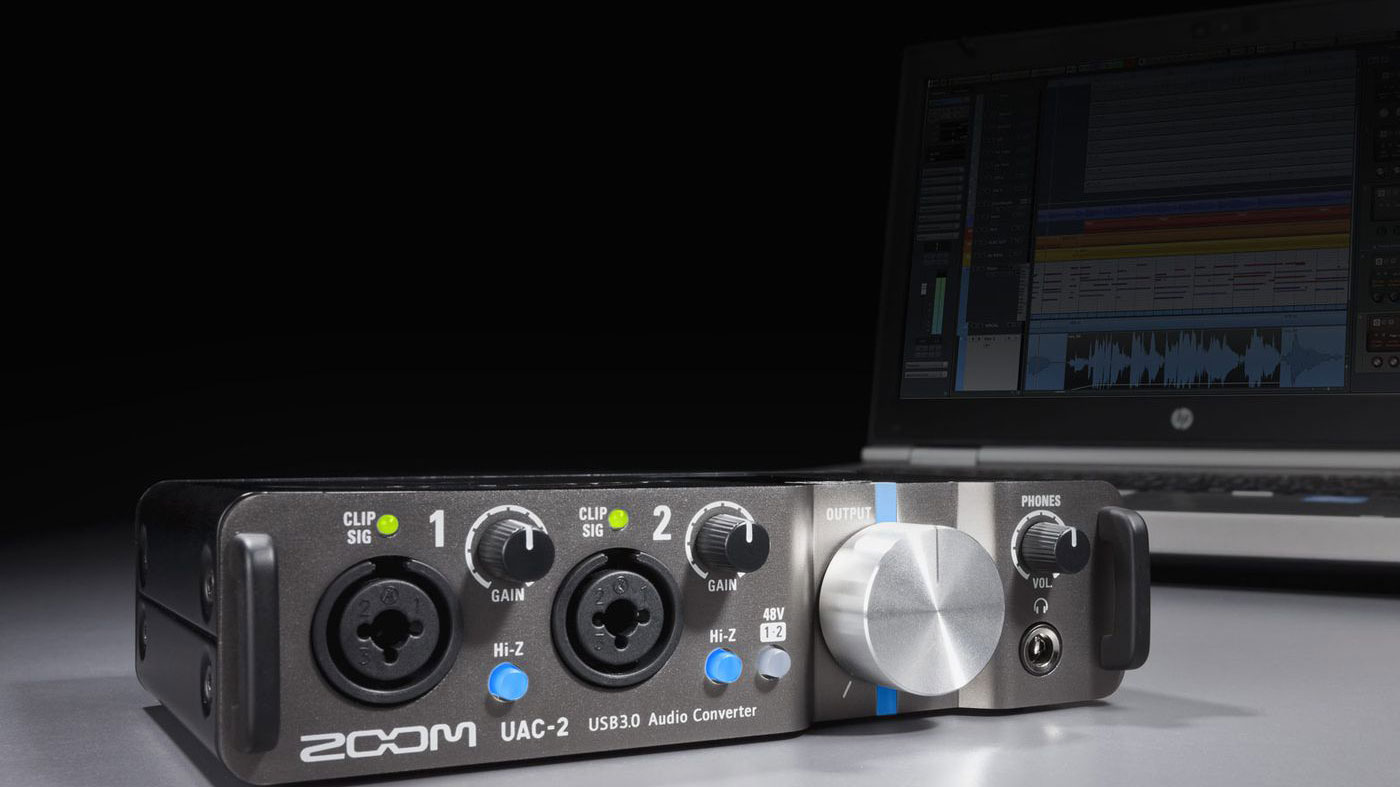
An audio interface is a hardware device that allows you to connect professional audio equipment to your computer. It acts as the intermediary between your audio sources, such as microphones and instruments, and your computer’s software, enabling you to record, process, and monitor the audio signal.
Audio interfaces come in various shapes and sizes, catering to different applications and user needs. They typically offer a range of input and output options, including XLR and TRS connectors for microphones and instruments, as well as headphone and speaker outputs for monitoring.
One of the key features of audio interfaces is their ability to provide high-quality analog-to-digital (ADC) and digital-to-analog (DAC) conversion. This ensures that the audio signal retains its fidelity and accuracy throughout the recording and playback process.
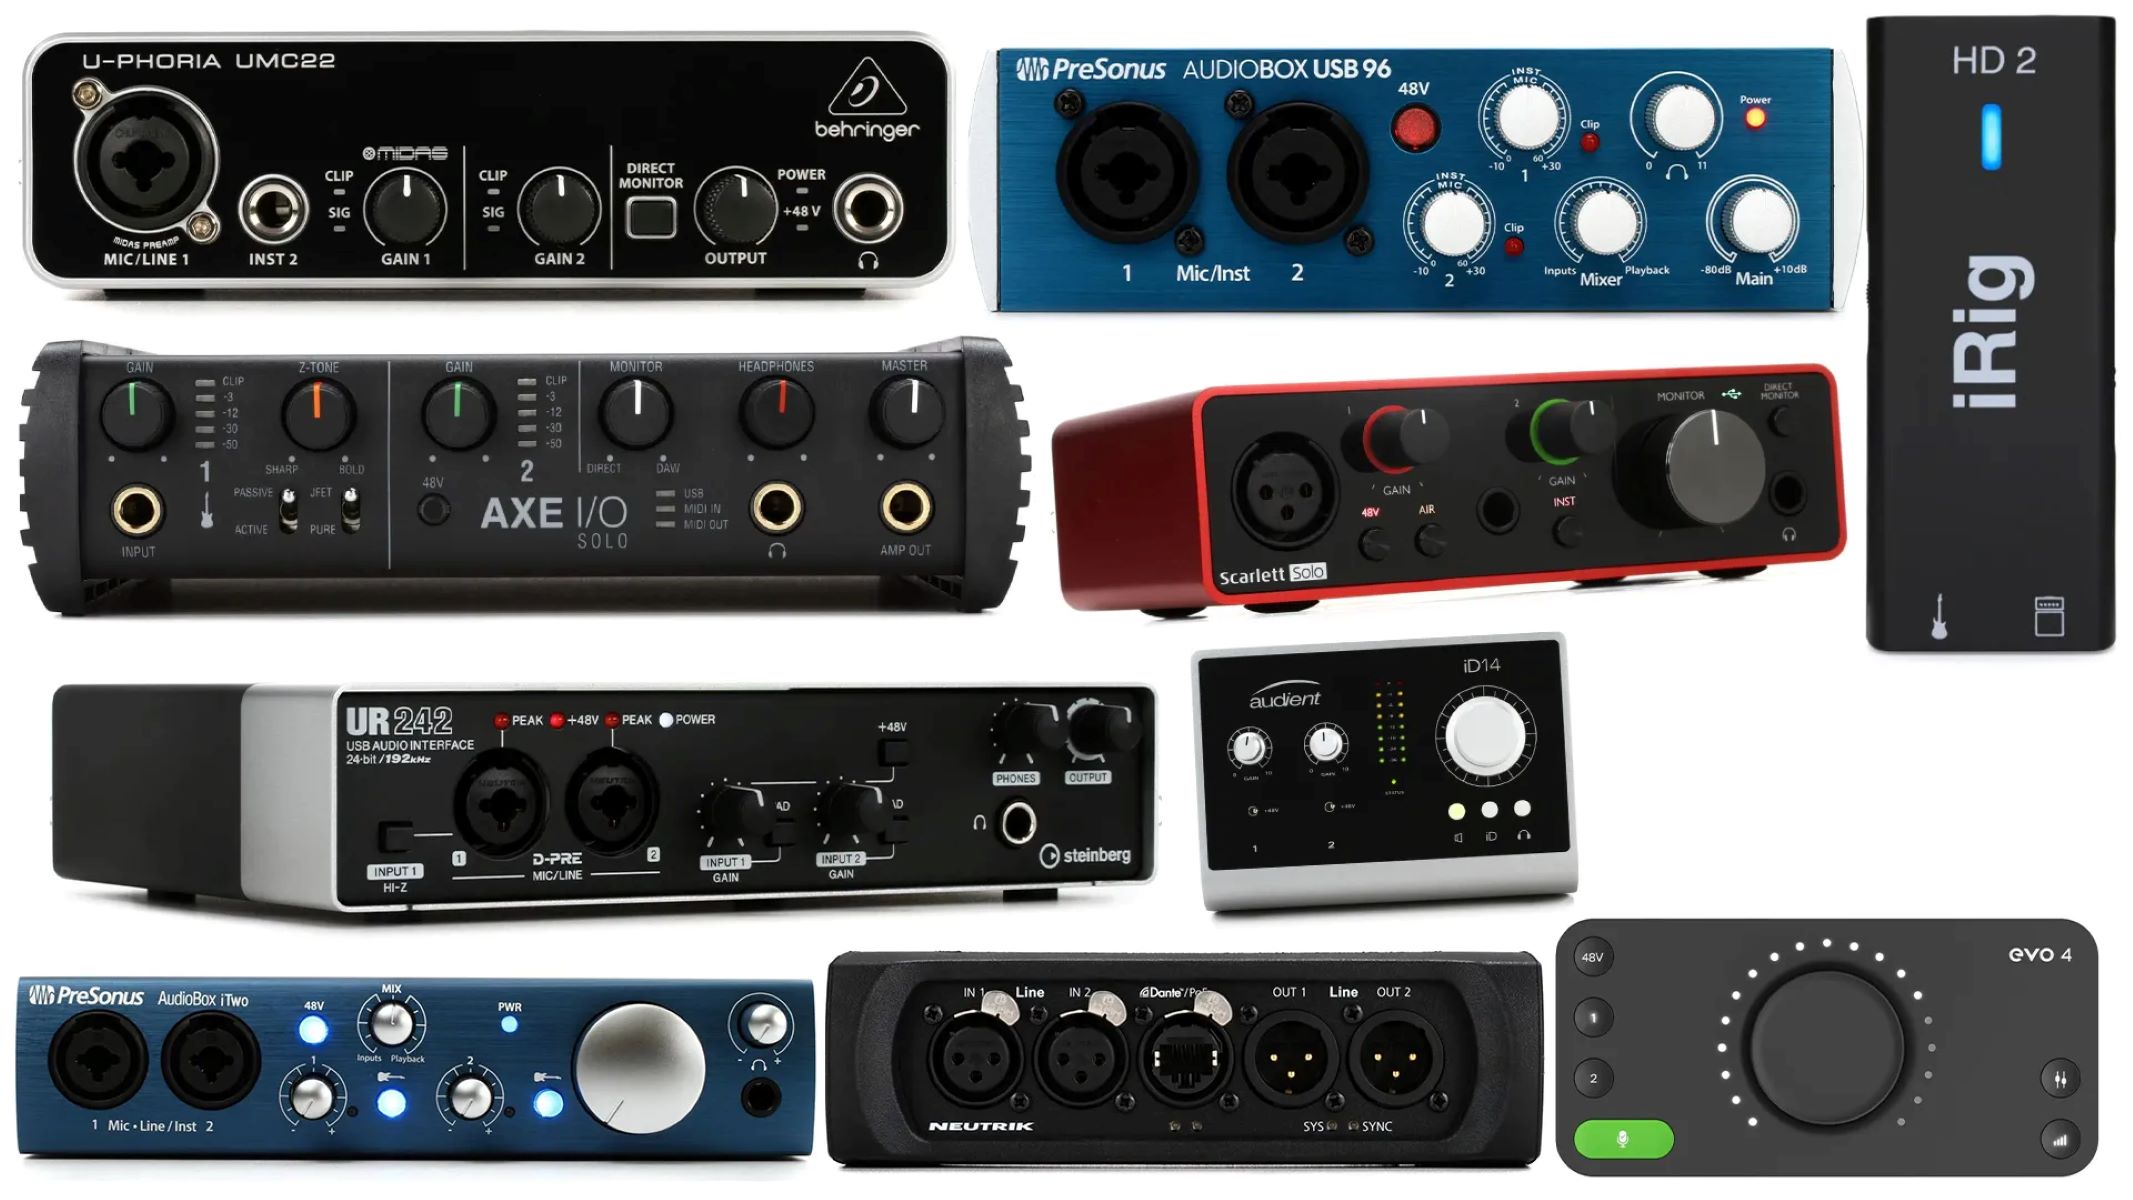
Audio interfaces are available in different formats, including USB, Thunderbolt, and PCIe. USB interfaces are the most common and widely used, offering ease of use and compatibility with various devices. Thunderbolt interfaces provide even faster data transfer speeds, making them ideal for professional recording studios. PCIe interfaces are designed for high-demand applications, often found in high-end desktop computers.
Some audio interfaces also come bundled with software, such as digital audio workstations (DAWs), which provide additional recording, editing, and production capabilities. These software packages can greatly enhance your creative workflow and allow for seamless integration with your audio interface.
Whether you are a singer, guitarist, podcaster, or audio engineer, having an audio interface is essential for capturing and reproducing sound with exceptional quality. Understanding the features and capabilities of different audio interfaces will help you make an informed decision when choosing the right one for your specific needs.
Selecting the Appropriate Audio Interface
Choosing the right audio interface for your needs requires consideration of various factors, including your intended use, budget, and desired features. Here are some key points to consider when selecting an audio interface:
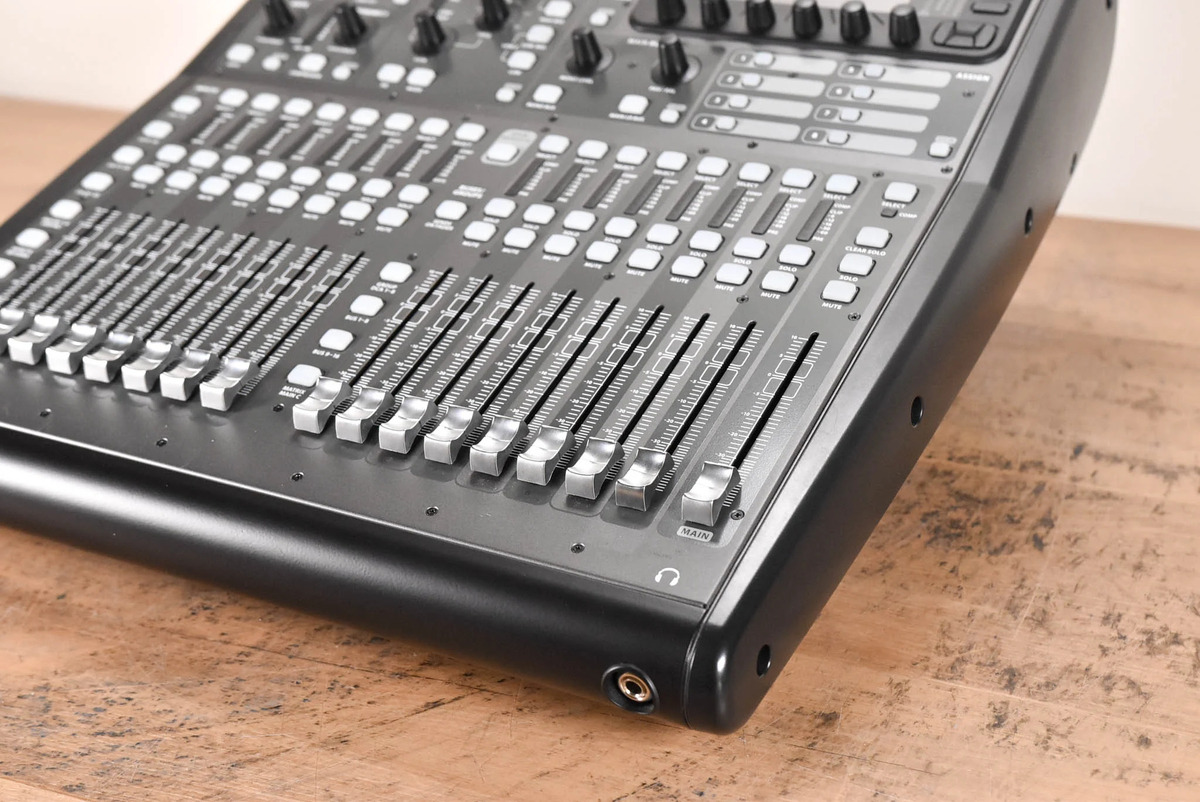
- Number and type of inputs and outputs: Determine how many simultaneous inputs and outputs you will need. If you plan to record vocals and instruments simultaneously, look for an interface with multiple XLR and TRS inputs. Additionally, consider the number and type of outputs required for monitoring and connecting speakers.
- Connection type: USB audio interfaces are the most common and widely supported. However, if you are working with a high-end setup and require faster data transfer speeds, consider Thunderbolt or PCIe interfaces.
- Audio quality and resolution: Look for an interface with high-quality analog-to-digital (ADC) and digital-to-analog (DAC) converters. Higher sample rates and bit depths ensure more accurate audio representation. This is especially important if you are working on professional audio projects.
- Compatibility: Ensure that the audio interface is compatible with your operating system (e.g., Windows, macOS) and your preferred recording software. Most interfaces work with major DAWs, but it is always wise to double-check.
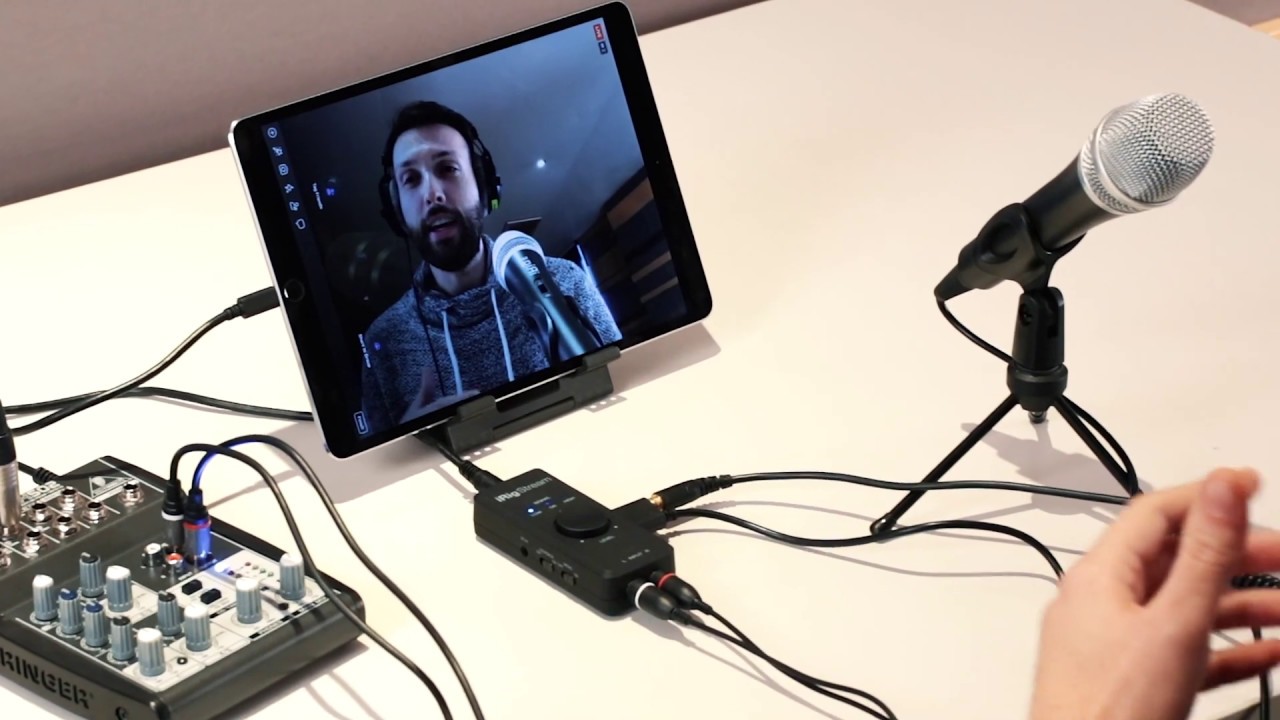
- Portable or desktop: Consider your mobility needs. If you require a portable setup for recording on-the-go, a compact and bus-powered interface may be more suitable. However, if you primarily work in a studio environment, a larger desktop interface with additional features and connectivity options may be preferable.
- Budget: Set a budget range for your audio interface and look for options that offer the best value within that range. Remember that investing in a higher-quality audio interface often yields better sound quality and longevity.
By carefully evaluating these factors and aligning them with your specific requirements, you can choose an audio interface that meets your needs and provides the necessary flexibility and performance for your audio production endeavors.
Configuring Browser Audio Settings
Once you have selected and connected your audio interface to your computer, the next step is to configure your browser settings to route audio through the interface. Here’s how you can do it:
- Open your browser settings: Launch your preferred web browser and access the browser’s settings menu. This can usually be done by clicking on the “Settings” or “Preferences” option in the browser’s menu.
- Navigate to audio settings: In the browser settings menu, look for the audio settings section. This may be labeled as “Audio” or “Sound.” Click on the appropriate option to access the audio settings.
- Select the audio output: In the audio settings, you should see a dropdown menu or a list of available audio output devices. Look for your audio interface in the list and select it as the default audio output device for the browser.
- Adjust audio volume: Some browsers may provide additional options to adjust the audio volume for individual websites or for the browser as a whole. Make sure to set the volume levels to your desired preferences.
- Test the audio: To ensure that the browser audio is now being routed through your audio interface, play a video or audio file in your browser. You should hear the sound coming from the speakers or headphones connected to your audio interface.
Note that the steps mentioned above may vary slightly depending on the browser you are using. However, the overall process should be similar. If you encounter any difficulties, refer to the browser’s documentation or support resources for more specific instructions.
Configuring your browser audio settings to play through your audio interface allows you to enjoy high-quality sound reproduction when streaming music, watching videos, or engaging in any online audio activities.
Adjusting System Audio Settings
In addition to configuring your browser audio settings, you may need to adjust your system audio settings to ensure proper playback through your audio interface. Here’s how you can do it:
- Access system sound settings: Depending on your operating system (e.g., Windows, macOS), navigate to the system sound settings. On most systems, you can find these settings by clicking on the volume icon in the taskbar or menu bar.
- Select the audio interface as the default output: In the sound settings, look for the output section and select your audio interface as the default playback device. This will ensure that all system audio is routed through the interface.
- Adjust the sample rate and buffer size: Many audio interfaces allow you to adjust the sample rate and buffer size settings to optimize the audio performance. These settings can usually be accessed through dedicated control panels or software provided by the audio interface manufacturer. Aim for a sample rate that matches your desired audio quality and adjust the buffer size to reduce latency.
- Set the volume levels: Ensure that the volume levels in the system sound settings are properly adjusted. You can increase or decrease the volume to your desired level. Additionally, make sure that any individual application or program volumes are balanced and not set too low or too high.
- Test the sound: To confirm that the system audio is now being played through your audio interface, play a sample audio file or any multimedia content. You should hear the sound through the speakers or headphones connected to your audio interface.
It’s worth noting that system audio settings may also include options for audio inputs, such as microphone selection and volume control. If you plan to use a microphone connected to your audio interface for system audio recording, make sure to configure these input settings accordingly.
By adjusting the system audio settings, you ensure that all audio played on your computer, including media players, system notifications, and other applications, is routed through your audio interface, providing a consistent and high-quality audio experience.
Troubleshooting Common Issues
While setting up and configuring your audio interface to play browser audio, you may encounter some common issues. Here are a few troubleshooting tips to help you resolve them:
- No sound output: If you’re not hearing any sound through your audio interface, double-check that it is properly connected to your computer and powered on. Ensure that it is selected as the default audio output device in both your browser and system audio settings. Also, verify that the volume levels are adjusted appropriately.
- Crackling or distorted sound: Poor sound quality, crackling, or distortion can be due to incompatible sample rates or buffer size settings. Make sure that the sample rate and buffer size settings on your audio interface are correctly matched with the settings in your browser and system audio preferences.
- Driver issues: Outdated or incompatible device drivers can cause issues with your audio interface. Check the manufacturer’s website for the latest drivers and install them if necessary. Restart your computer after installing or updating the drivers for the changes to take effect.
- USB connection problems: If you’re using a USB audio interface and experiencing connection issues, try using a different USB port on your computer. Avoid using USB hubs or extensions, as they can sometimes cause instability in the connection. Also, ensure that you’re using a high-quality USB cable for reliable data transfer.
- Software conflicts: Conflicts between different audio applications or plugins can affect the performance of your audio interface. Disable or uninstall any unnecessary audio plugins or software that might be causing conflicts. It’s also a good idea to check for compatibility issues between your audio interface and your recording software.
If none of these troubleshooting tips resolve your issues, consult the documentation or support resources provided by the audio interface manufacturer. They may have specific troubleshooting steps or additional guidance to help you resolve any technical difficulties.
Remember, troubleshooting audio issues can be a process of trial and error, so be patient and persistent in your efforts. By addressing and resolving these common issues, you can ensure that your audio interface functions optimally for browser audio playback.
Conclusion
Configuring your audio interface to play browser audio can greatly enhance your listening experience and elevate the quality of your sound playback. By following the steps outlined in this article, you can ensure that your browser audio is routed through your audio interface for improved sound fidelity and immersion.
We began by providing an overview of audio interfaces and their importance in recording and producing high-quality audio. We then discussed the process of selecting the appropriate audio interface based on your specific needs and budget.
Next, we delved into the configuration of browser audio settings, guiding you through the steps to direct audio playback through your audio interface. We emphasized the importance of adjusting system audio settings, including sample rate, buffer size, and volume levels, to optimize your audio output.
Furthermore, we addressed common troubleshooting issues that you may encounter during the setup process and offered practical solutions to overcome them. Remember that resolving audio issues may involve experimenting with different settings or consulting the support resources provided by the audio interface manufacturer.
In conclusion, understanding how to route browser audio through your audio interface unlocks a world of possibilities for enjoying and producing high-quality sound. Whether you’re a musician, podcaster, gamer, or audio enthusiast, taking the time to configure your audio interface correctly can lead to a more immersive and satisfying audio experience.
So, connect your audio interface, follow the configuration steps, and get ready to enjoy the full potential of your browser audio through improved sound reproduction and enhanced audio quality.