Home>Production & Technology>Audio Interface>How To Play Switch Audio With Audio Interface
Audio Interface
How To Play Switch Audio With Audio Interface
Published: February 5, 2024
Learn how to play Nintendo Switch audio through an audio interface. Enhance your gaming experience with our step-by-step guide.
(Many of the links in this article redirect to a specific reviewed product. Your purchase of these products through affiliate links helps to generate commission for AudioLover.com, at no extra cost. Learn more)
Table of Contents
Introduction
Are you an avid gamer who loves playing Nintendo Switch games? If so, you may have noticed that the audio quality of the Switch’s built-in speakers or headphone jack is not always up to par. Thankfully, there is a solution – using an audio interface to enhance the audio experience when playing Switch games.
An audio interface is a device that connects your gaming console to external speakers or headphones, providing superior audio quality and control. It acts as a bridge between your Switch and the output device, optimizing the sound and giving you a more immersive gaming experience.
In this article, we will guide you through the process of selecting the right audio interface for your Nintendo Switch and explain how to connect and play Switch audio using the audio interface. Whether you’re an audio enthusiast or simply want to enhance your gaming experience, this guide will help you step up your audio game on the Nintendo Switch.
Before we dive into the details, it’s essential to note that while the Switch’s built-in audio capabilities are decent, using an external audio interface brings several advantages. These include improved sound quality, better control over audio settings, and the ability to connect high-quality headphones or speakers.
So, if you’re ready to take your Switch gaming experience to the next level, let’s explore the world of audio interfaces and how they can elevate your audio experience on the Nintendo Switch.
Understanding the Switch Audio
Before we delve into using an audio interface with the Nintendo Switch, it’s crucial to have a basic understanding of how the Switch handles audio. The Switch, like most gaming consoles, uses a combination of in-game audio and system audio to provide a multi-dimensional gaming experience.
The in-game audio refers to the sound effects, music, and dialogue specific to the game you’re playing. This audio is generated by the game itself and can vary greatly depending on the game’s genre, setting, and overall design. The system audio, on the other hand, includes system sounds, such as menu navigation sounds, notifications, and voice chat, which are handled by the console’s operating system.
By default, the Nintendo Switch offers two primary audio output options – the built-in speakers and the headphone jack. While the built-in speakers are convenient for handheld play, they may not provide the optimal audio experience, especially in noisy environments. The headphone jack is a more private and immersive option, allowing you to enjoy the game’s audio without disturbing others, but it may not always deliver the best audio quality.
This is where an audio interface comes in handy. It acts as a middleman between the Switch and your audio output devices, offering a range of benefits such as improved sound quality, audio customization options, and compatibility with professional audio gear.
Now that we have a clear understanding of how the Switch handles audio, let’s move on to the next section, where we will discuss how to select the right audio interface for your Nintendo Switch.
Selecting the Right Audio Interface
When it comes to choosing the right audio interface for your Nintendo Switch, there are a few key factors to consider: compatibility, features, and budget.
Compatibility is crucial, as not all audio interfaces are designed to work with the Nintendo Switch. You’ll need to ensure that the audio interface you choose explicitly mentions compatibility with the Switch or other gaming consoles.
Next, consider the features that are important to you. Some audio interfaces offer multiple inputs and outputs, allowing you to connect additional devices, such as microphones or instruments. Others may have built-in sound processing capabilities or specific enhancements for gaming audio. Assess your needs and choose an interface that offers the features you desire.
Finally, think about your budget. Audio interfaces can vary significantly in price, so it’s essential to set a budget and look for interfaces within that range. Keep in mind that while higher-end interfaces may offer more advanced features and better sound quality, there are also budget-friendly options that can provide a significant improvement over the Switch’s built-in audio.
Additionally, check for user reviews and recommendations to get a sense of the interface’s performance and reliability. Pay attention to factors such as sound quality, ease of use, and durability to ensure you make an informed decision.
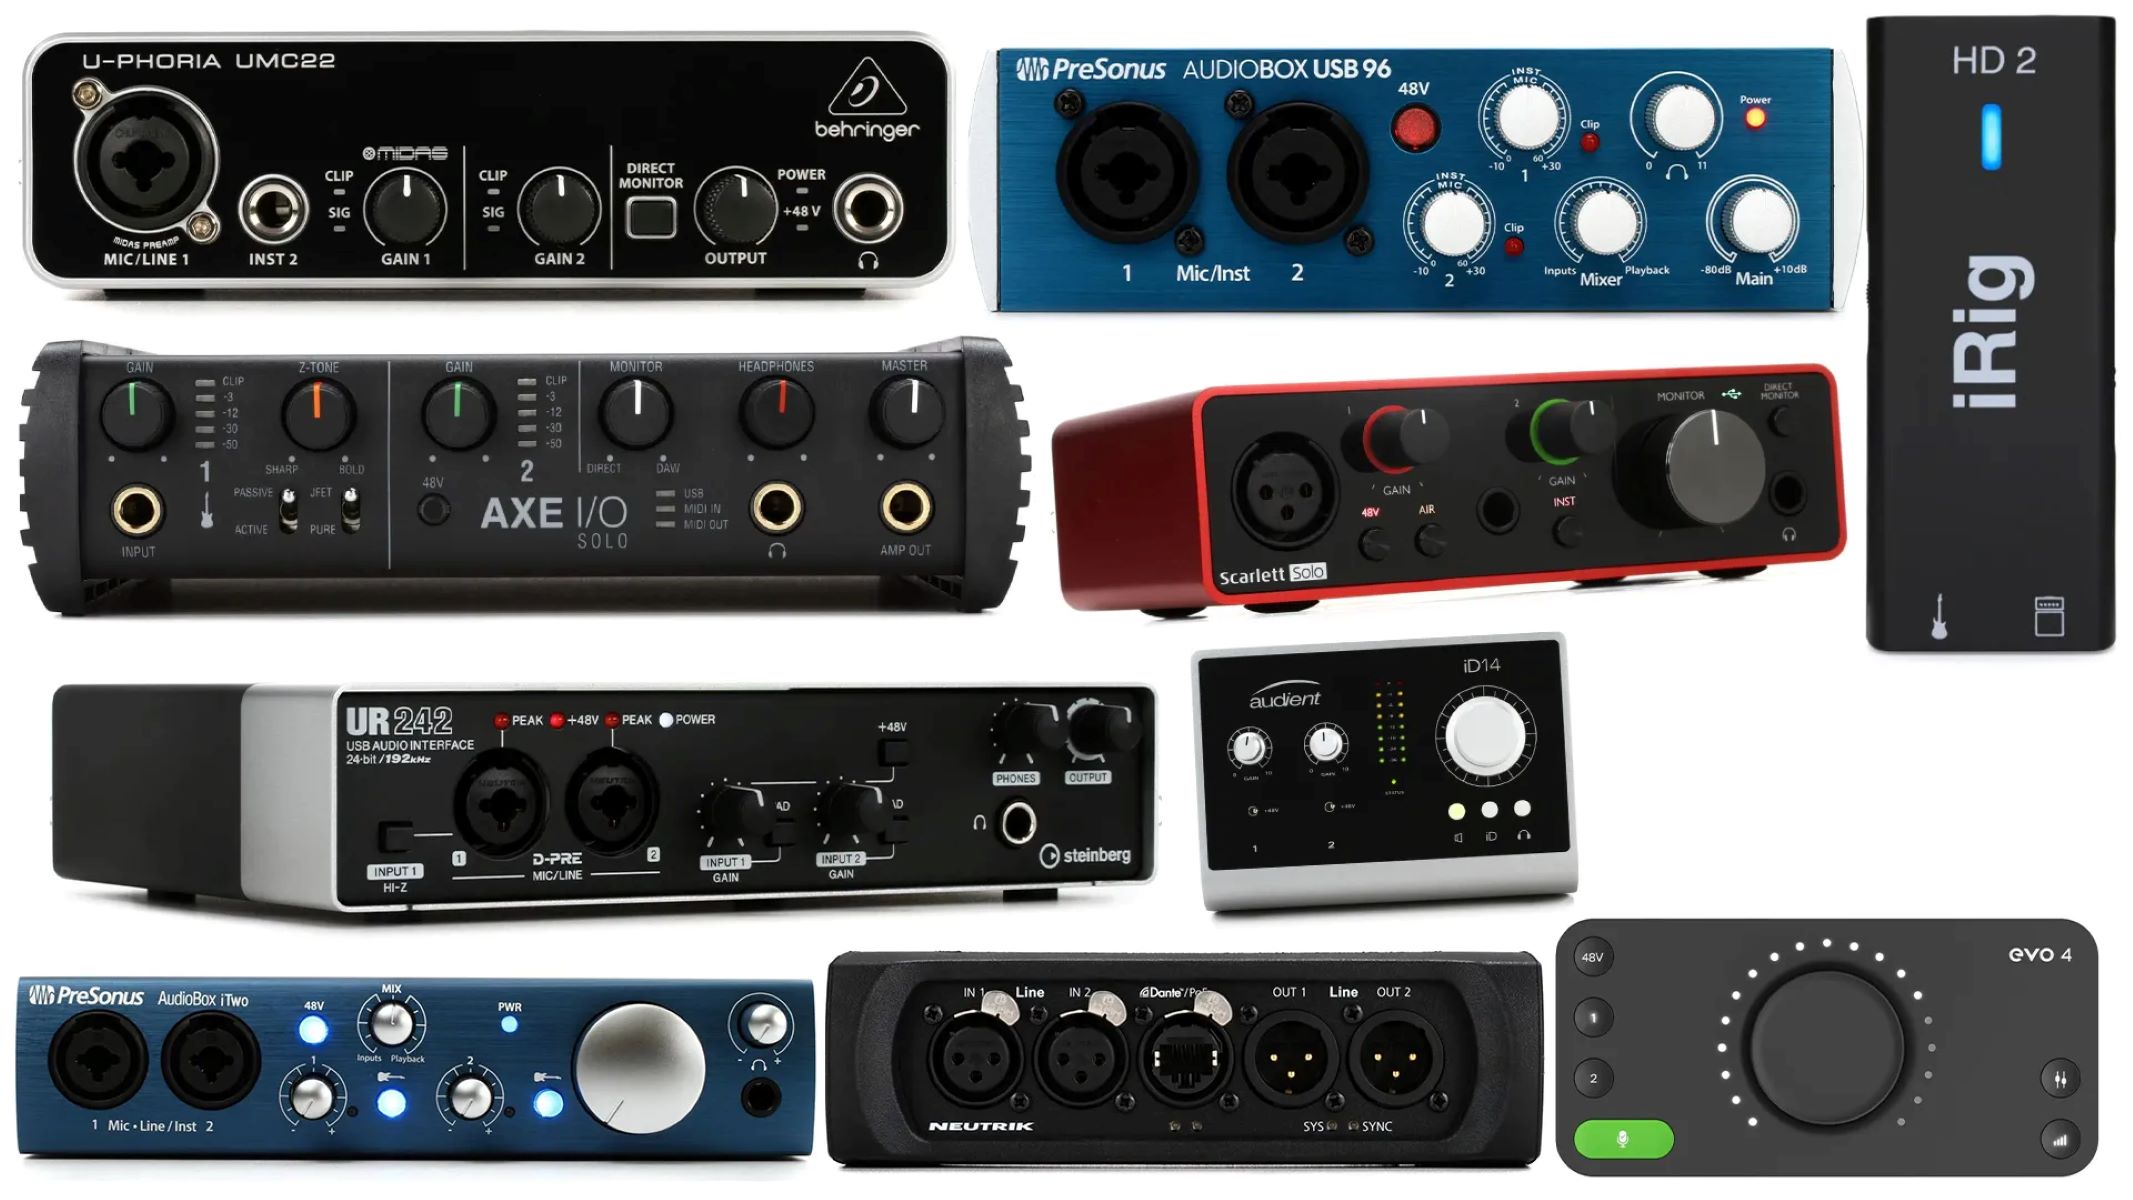
Here are a few popular audio interfaces that are known to work well with the Nintendo Switch:
- Focusrite Scarlett 2i2: A reliable interface with excellent sound quality and two microphone/instrument inputs.
- Behringer U-Phoria UM2: A budget-friendly option offering a single microphone/instrument input and decent sound quality.
- PreSonus AudioBox USB: A versatile interface with two microphone/instrument inputs and compatibility with various devices.
Ultimately, the right audio interface for you will depend on your specific needs, budget, and preferences. It’s essential to do your research, read reviews, and consider the factors mentioned above before making a decision.
Once you’ve selected the right audio interface, it’s time to connect it to your Nintendo Switch. We’ll cover the connection process in the next section.
Connecting the Audio Interface to the Switch
Now that you have chosen the perfect audio interface for your Nintendo Switch, it’s time to connect it and start enjoying enhanced audio quality while gaming. Follow these steps to connect your audio interface to the Switch:
- Power off your Nintendo Switch and any audio devices that you plan to connect to the audio interface.
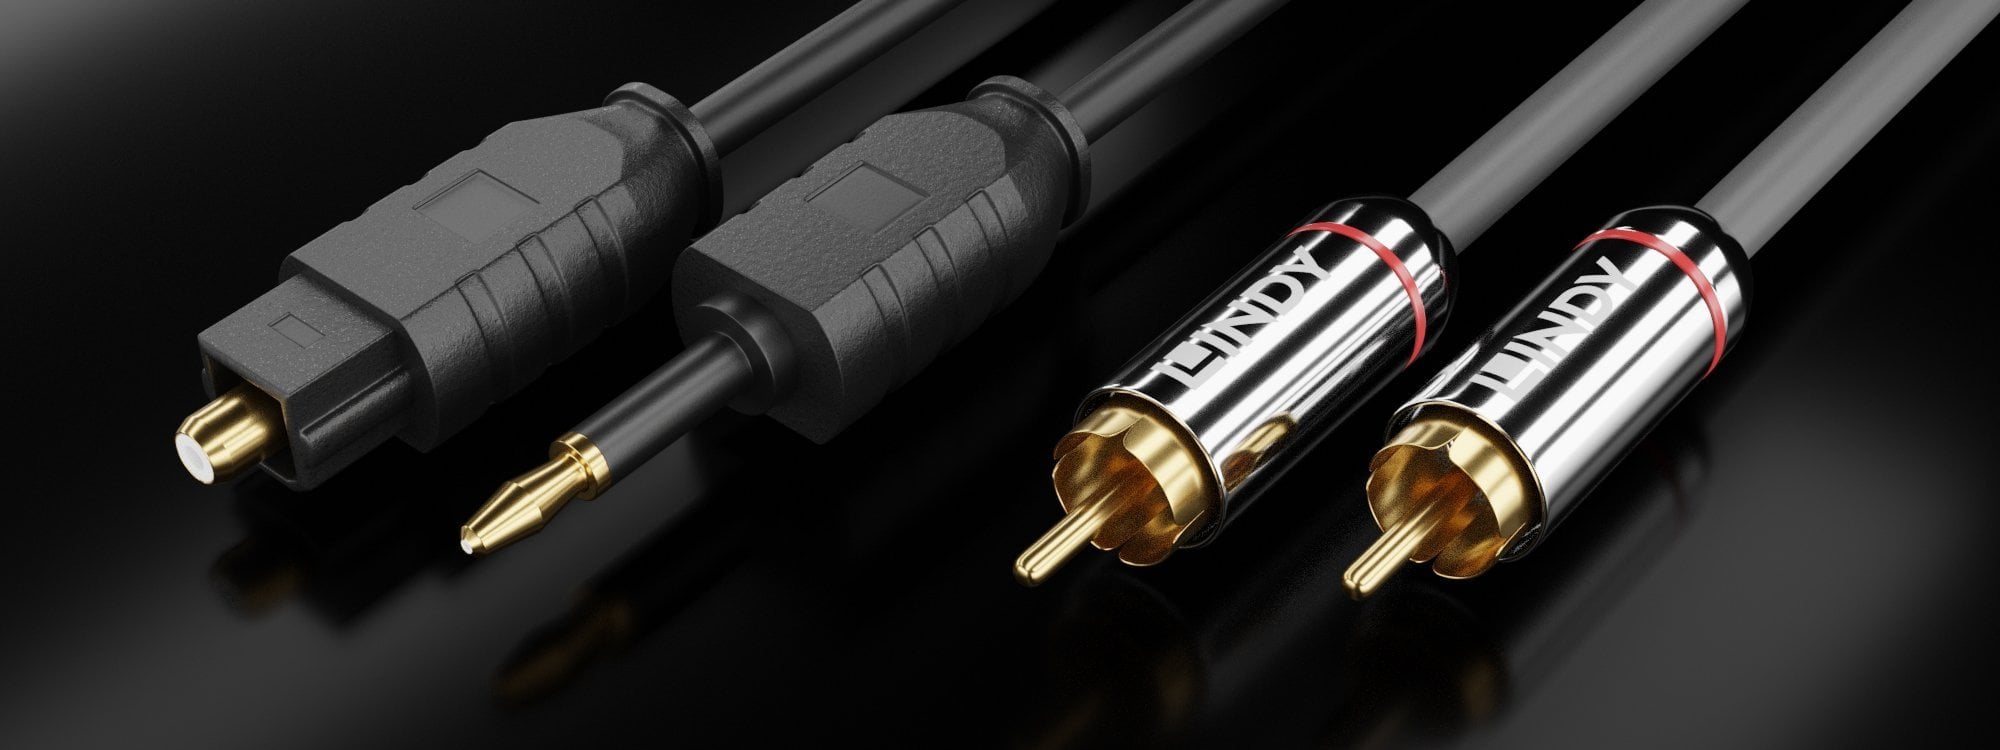
- Locate the audio output port on your Switch. It may vary depending on the model, but it is typically a 3.5mm headphone jack or a USB-C port.
- Connect one end of an appropriate audio cable to the audio output port of the Switch. If your audio interface has a 3.5mm audio input, use a 3.5mm audio cable. If it has a USB or other specific input, use a compatible cable.
- Connect the other end of the audio cable to the input port on your audio interface.
- If necessary, connect any additional devices, such as a microphone or headphones, to the audio interface using their respective cables.
- Once all the connections are made, power on your Switch and the audio interface.
It’s important to note that some audio interfaces may require additional power sources, such as USB connections. Make sure to follow the manufacturer’s instructions regarding power requirements to ensure proper functionality.
After connecting the audio interface to your Nintendo Switch, you may need to adjust some audio settings on the console to ensure optimal sound output. We’ll cover that in the next section.
Now that your audio interface is connected, let’s move on to configuring the audio settings on your Switch.
Adjusting Audio Settings on the Switch
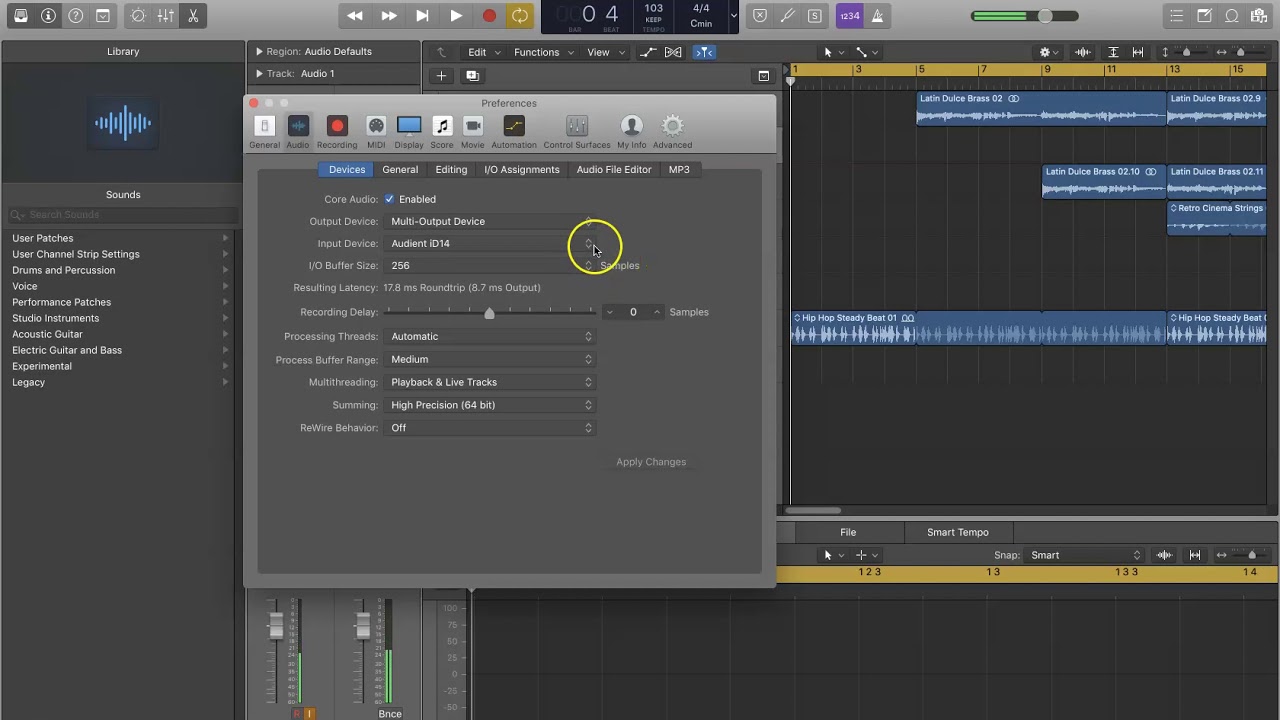
Once you have connected your audio interface to the Nintendo Switch, it’s important to adjust the audio settings on the Switch to ensure you get the best possible audio experience. Follow these steps to adjust the audio settings:
- Power on your Nintendo Switch and navigate to the Home menu.
- Select “System Settings” from the menu options.
- Scroll down and select “TV Output” or “Audio Output,” depending on your Switch model.
- Choose the audio output option that corresponds to your audio interface. For example, if you are using the headphone jack of the audio interface, select “Headphones.”
- If your audio interface has multiple output options, such as stereo or surround sound, choose the option that best matches your audio setup.
- You can also adjust the volume settings by selecting “Volume” from the System Settings menu. Ensure that the volume is set at an appropriate level for your connected audio devices.
- Make any additional audio adjustments or enhancements specific to your audio interface by referring to the manufacturer’s instructions.
It’s crucial to note that the available audio settings may vary depending on your Switch model and the firmware version. Refer to the user manual or Nintendo’s official website for specific instructions tailored to your system.
Once you have adjusted the audio settings on the Switch, you are ready to enjoy your gaming sessions with superior audio quality provided by your audio interface. However, it’s worth mentioning that if you connect an audio interface with microphone capabilities, you may need to adjust the input settings separately to ensure proper microphone functionality during multiplayer games or voice chat.
If you encounter any issues or have questions about specific audio settings, consult the documentation provided with your audio interface or reach out to the manufacturer’s customer support for assistance.
Now that you’ve set up the audio settings on your Nintendo Switch, it’s time to dive into playing Switch audio with the audio interface. We’ll explore the steps in the next section.
Playing Switch Audio with the Audio Interface
Now that you have your audio interface connected to the Nintendo Switch and the audio settings adjusted, it’s time to start playing Switch audio using the audio interface. Follow these steps:
- Power on your Nintendo Switch and launch your desired game.
- Ensure that the audio output is set to the audio interface. If you followed the previous steps to adjust the audio settings, it should already be set correctly.
- Put on your headphones or turn on your external speakers connected to the audio interface.
- Start playing your game and enjoy the enhanced audio quality provided by the audio interface.
- You may also want to experiment with the audio settings on the audio interface itself to tailor the sound to your preferences. Most interfaces have dedicated knobs or software controls to adjust parameters like volume, EQ, and sound effects.
Remember to adjust the volume levels on the audio interface itself and your connected headphones or speakers to avoid any audio overpowering or distortion. Finding the right balance will help you fully immerse yourself in the game’s audio experience.
While playing Switch audio with the audio interface, you may notice a clear improvement in sound quality, dynamics, and overall immersion. Whether you’re gaming solo or engaging in multiplayer battles, the audio interface will undoubtedly enhance your gaming experience.
It’s worth mentioning that not all games may fully utilize the capabilities of the audio interface. While some games may offer advanced audio settings or support specific audio features, others may have more limited audio design. However, the overall improvement in audio quality across games will be noticeable when using an audio interface.
Now that you know how to play Switch audio with the audio interface, let’s move on to the next section, where we’ll provide some troubleshooting tips in case you encounter any issues along the way.
Troubleshooting Tips
While setting up and using an audio interface with your Nintendo Switch should be a smooth process, you may occasionally encounter some issues. Here are some troubleshooting tips to help you resolve common problems:
- Check the connections: Ensure that all cables are securely connected to the audio interface, Switch, and any peripheral devices. Loose or improperly connected cables can result in audio distortion or no sound at all.
- Verify compatibility: Double-check that your audio interface is compatible with the Nintendo Switch. If you experience compatibility issues, consult the manufacturer’s website or contact their support for assistance.
- Update firmware/drivers: Ensure that your audio interface has the latest firmware or driver updates installed. Manufacturers often release updates to improve compatibility and address any known issues.
- Adjust audio settings: Make sure the audio output settings on your Switch are correctly configured to match your audio interface. Select the appropriate output option (e.g., headphones) and adjust volume levels accordingly.
- Restart devices: Try power cycling both your Switch and audio interface. Sometimes, a simple restart can resolve connectivity or performance issues.
- Test with different devices: If possible, try connecting your audio interface to a different device to determine if the issue lies with the interface or the Switch. This can help pinpoint the source of the problem.
- Consult user manuals and forums: Refer to the user manual of your audio interface or visit online forums dedicated to gaming or audio equipment. These resources can provide valuable insights and solutions based on users’ experiences.
- Contact manufacturer support: If you’ve tried all the troubleshooting steps and still can’t resolve the issue, reach out to the audio interface manufacturer’s customer support. They can offer personalized assistance and guide you through further troubleshooting steps.
Remember, every setup may have unique challenges, and these troubleshooting tips are general guidelines. It’s always recommended to consult the specific documentation provided with your audio interface and reach out to the manufacturer for dedicated support when needed.
With these troubleshooting tips in mind, you can address any potential issues and enjoy a seamless audio experience with your audio interface and Nintendo Switch.
Now, let’s wrap up this article with a summary of the key points we’ve covered so far.
Conclusion
Using an audio interface with your Nintendo Switch can significantly enhance your gaming experience by providing superior audio quality and customization options. By following the steps outlined in this article, you can select the right audio interface, connect it to your Switch, adjust the audio settings, and start enjoying immersive audio while playing your favorite games.
Remember to consider factors such as compatibility, features, and budget when choosing an audio interface. Look for reviews and recommendations to ensure you make an informed decision. Once connected, make sure to adjust the audio settings on your Switch to optimize the sound output.
As you embark on your gaming journey with the audio interface, keep in mind that troubleshooting may be required from time to time. Check your connections, verify compatibility, update firmware/drivers, and consult user manuals or forums for assistance. If all else fails, don’t hesitate to reach out to the manufacturer’s customer support for personalized help.
Playing Switch audio with an audio interface brings a new level of immersion and audio fidelity to your gaming sessions. Whether you’re exploring a vibrant fantasy world, engaging in intense multiplayer battles, or enjoying the intricate sound design of indie games, you’ll appreciate the improved sound quality and control provided by the audio interface.
So, why settle for the standard audio capabilities of the Nintendo Switch when you can elevate your gaming experience with an audio interface? Invest in the right equipment, follow the setup process diligently, and get ready to be immersed in a richer and more immersive audio world while gaming on your Nintendo Switch!