Home>Production & Technology>Audio Interface>How To Connect Ps4 To Audio Interface

Audio Interface
How To Connect Ps4 To Audio Interface
Published: February 5, 2024
Learn how to connect your Ps4 to an audio interface for enhanced gaming sound quality. Discover step-by-step instructions and elevate your gaming experience with an audio interface.
(Many of the links in this article redirect to a specific reviewed product. Your purchase of these products through affiliate links helps to generate commission for AudioLover.com, at no extra cost. Learn more)
Table of Contents
Introduction
Are you a gamer looking to enhance your gaming experience by connecting your PS4 console to an audio interface? Look no further! In this comprehensive guide, we will walk you through the step-by-step process of connecting your PS4 to an audio interface. Whether you want to improve your audio quality for gaming or you’re a content creator who wants to record high-quality gameplay footage, using an audio interface can make a significant difference.
An audio interface serves as the bridge between your gaming console and external audio devices such as speakers, headphones, or studio monitors. It captures and processes audio signals, providing better sound quality and more control over audio settings. By connecting your PS4 to an audio interface, you can achieve higher fidelity audio, reduce latency, and have more flexibility in adjusting audio levels and effects.
Before we dive into the steps, it’s essential to ensure that your audio interface is compatible with your PS4. Not all audio interfaces work seamlessly with gaming consoles, so checking compatibility is crucial. Additionally, you’ll need a few cables to establish the connection between your PS4 and audio interface.
So, grab your PS4 controller, and let’s get started on this exciting journey of connecting your PS4 to an audio interface!
Step 1: Check Audio Interface Compatibility
Before attempting to connect your PS4 to an audio interface, it’s important to ensure that your audio interface is compatible with gaming consoles. Not all audio interfaces are designed to work with gaming consoles, so it’s essential to check compatibility beforehand.
First, consult the user manual or the manufacturer’s website of your audio interface to verify if it supports console connectivity. Look for any specific instructions or compatibility guidelines mentioned by the manufacturer.
If you can’t find clear information about console compatibility, you can reach out to the manufacturer’s customer support for assistance. They will be able to provide accurate information and clarify any doubts you may have.
Alternatively, you can search online forums or communities where users discuss audio interfaces and gaming console compatibility. Look for experiences and recommendations from other users who may have already tested the compatibility with their PS4 consoles.
Keep in mind that even if an audio interface is technically compatible with your PS4, there may be limitations or specific settings that need to be adjusted for optimal performance. Be prepared to do some troubleshooting or configuration adjustments to ensure everything works smoothly.
Once you have confirmed compatibility, you can proceed with the next steps to connect your PS4 to the audio interface.
Step 2: Gather the Required Cables
Now that you have confirmed the compatibility of your audio interface with your PS4, it’s time to gather the necessary cables to establish the connection.
The specific cables you’ll need may vary depending on the audio interface and PS4 model you have. However, the most common cables required for connecting a PS4 to an audio interface include:
- HDMI Cable: This cable is used to connect your PS4 to your TV or monitor. You will need this cable to ensure that both the audio and video signals are routed correctly.
- USB Cable: A USB cable is necessary to connect your audio interface to the PS4. It allows for data transfer and power supply.
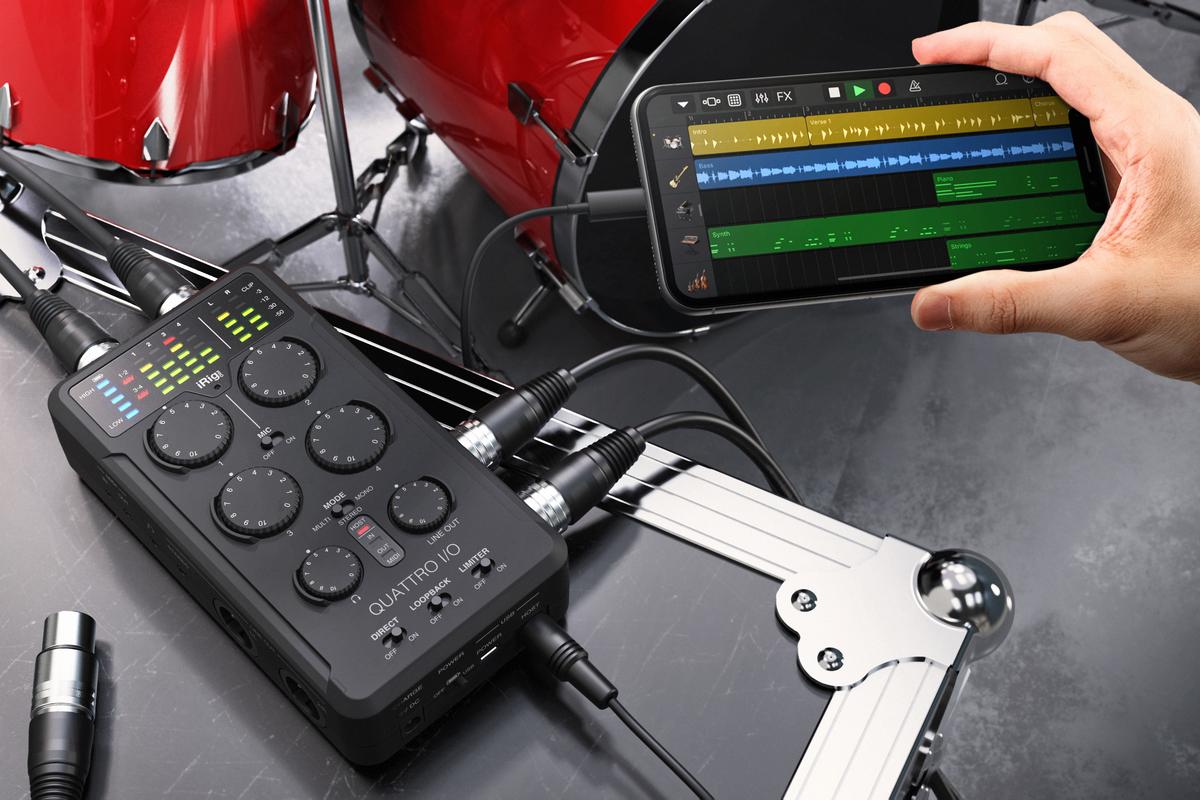
- Audio Cables: Depending on the audio interface and your audio setup, you may need additional audio cables such as XLR, 1/4-inch TRS, or RCA cables. These cables will connect your audio interface to your speakers, headphones, or studio monitors.
It’s important to ensure that the cables you use are of good quality to minimize signal loss and interference. Look for cables with gold-plated connectors and decent shielding to ensure optimal audio performance.
If you’re unsure about the exact cables you need, consult the user manual of your audio interface and PS4. These manuals often provide detailed information regarding cable connections and recommended cable types.
Once you have gathered all the required cables, you’re ready to move on to the next step: connecting the audio interface to your PS4!
Step 3: Connect the Audio Interface to Your PS4
Now that you have the necessary cables, it’s time to connect your audio interface to your PS4. Follow these steps to establish the connection:
- Ensure that both your PS4 and audio interface are powered off.
- Connect one end of the HDMI cable to the HDMI output port of your PS4 console.
- Connect the other end of the HDMI cable to the HDMI input port on your TV or monitor.
- Take the USB cable and connect one end to the USB port of your audio interface.
- Connect the other end of the USB cable to one of the available USB ports on your PS4.
- If your audio interface requires additional audio cables, connect them accordingly. For example, if you’re using XLR or 1/4-inch TRS cables, connect them from the audio interface to your speakers, headphones, or studio monitors.
- Double-check all the connections to ensure they are secure.
Once you have connected all the cables, you’re ready to power on your PS4 and audio interface.
It’s important to note that you may need to adjust the audio settings on your PS4 to ensure that the audio is routed through the audio interface. We will cover this in the next step.
Before moving on, it’s a good idea to consult the user manual of your audio interface for any specific instructions or recommendations regarding the connection process.
Step 4: Adjust PS4 Audio Settings
Now that you have successfully connected your audio interface to your PS4, it’s time to adjust the audio settings to ensure that the audio is routed through the audio interface.
Follow these steps to adjust the audio settings on your PS4:
- Power on your PS4 and navigate to the main menu.
- Go to the settings menu by selecting the “Settings” icon.
- Select “Sound and Screen” from the settings menu.
- Choose “Audio Output Settings” from the options.
- Select “Primary Output Port.”
- Choose “Digital Out (Optical)” or “HDMI” depending on the type of connection you used to connect the audio interface.
- Set the audio format to the desired preference, such as Linear PCM or Bitstream.
- Save the changes and exit the settings menu.
These settings will ensure that the audio output from your PS4 is directed to the audio interface. If you’re using a headset or headphones connected directly to the audio interface, make sure to set the audio output accordingly.
It’s worth mentioning that some audio interfaces may have their own settings or software control panels that you can use to further customize the audio settings. Consult the user manual or the manufacturer’s website for any specific instructions on adjusting the audio settings on your audio interface.
Once you have adjusted the audio settings on your PS4, you’re ready to test the connection and enjoy the enhanced audio experience!
Step 5: Test the Connection
After connecting your PS4 to the audio interface and adjusting the audio settings, it’s crucial to test the connection to ensure that everything is working as expected. Follow these steps to test the connection:
- Power on your PS4 and audio interface.
- Navigate to the game or media you want to test the audio with.
- Play the game or media content and listen for the audio output.
- Ensure that the audio is coming through the speakers, headphones, or studio monitors connected to your audio interface.
- Verify the audio quality, clarity, and volume levels to make sure they meet your expectations.
- Adjust any specific audio settings on your audio interface if needed.
- If you’re using headphones or a headset, test the microphone input as well to ensure that it’s working correctly.
During the testing process, pay attention to any latency issues, distorted audio, or any other audio-related problems. If you encounter any issues, double-check the cable connections and ensure that the audio settings on both your PS4 and audio interface are configured correctly.
If you continue to experience issues or need further assistance, consult the user manual of your audio interface, or reach out to the manufacturer’s customer support for troubleshooting help.
Once you have tested the connection and are satisfied with the audio quality, you’re all set to enjoy a superior gaming or media experience with your PS4 connected to the audio interface!
Conclusion
Connecting your PS4 to an audio interface can greatly enhance your gaming experience or improve the audio quality for content creation. By following the steps outlined in this guide, you can easily connect your PS4 to an audio interface and enjoy high-fidelity audio, reduced latency, and more control over audio settings.
Remember to verify the compatibility of your audio interface with your PS4 and gather the necessary cables before proceeding. Take your time to carefully connect the audio interface to your PS4, ensuring that all cables are securely attached.
Adjusting the audio settings on your PS4 is crucial to route the audio through the audio interface. Make sure to select the appropriate audio output options in the PS4 settings menu and customize any additional settings on your audio interface if necessary.
After testing the connection and ensuring that the audio quality meets your expectations, you can enjoy an immersive gaming experience or record high-quality audio for your content creation endeavors.
If you encounter any issues during the process, consult the user manual of your audio interface or reach out to the manufacturer’s customer support for further assistance. They will be able to provide specific guidance related to your audio interface model and troubleshoot any problems you may encounter.
With your PS4 and audio interface working harmoniously together, you can now indulge in an audio experience that truly elevates your gaming or content creation endeavors. So, grab your favorite games or multimedia content, sit back, and enjoy the enhanced audio experience that your PS4 connected to an audio interface provides!