Home>Production & Technology>MP3>How To Trim MP3 Files On Mac


MP3
How To Trim MP3 Files On Mac
Modified: January 22, 2024
Learn how to trim MP3 files on Mac easily and efficiently with our step-by-step guide. Save time and create the perfect MP3 clips for your projects.
(Many of the links in this article redirect to a specific reviewed product. Your purchase of these products through affiliate links helps to generate commission for AudioLover.com, at no extra cost. Learn more)
Table of Contents
Introduction
MP3 files have become the go-to format for storing and playing audio due to their small file size and compatibility with a wide range of devices. Whether you want to trim a long podcast episode, create a custom ringtone, or remove unwanted sections from a music track, being able to edit MP3 files is essential for any music lover or content creator.
While there are many software options available for trimming MP3 files on Mac, it can be overwhelming to choose the right one. In this article, we will explore four different methods to trim MP3 files on your Mac computer.
These methods are not only easy to use but also offer a variety of features to ensure you get the perfect audio clip every time. Whether you prefer a simple and hassle-free approach or a more advanced editing experience, we have you covered.
So, whether you’re a podcaster, musician, or simply someone who wants to customize their audio files, let’s dive into the different methods and find the best option for you!
Method 1: Using iTunes
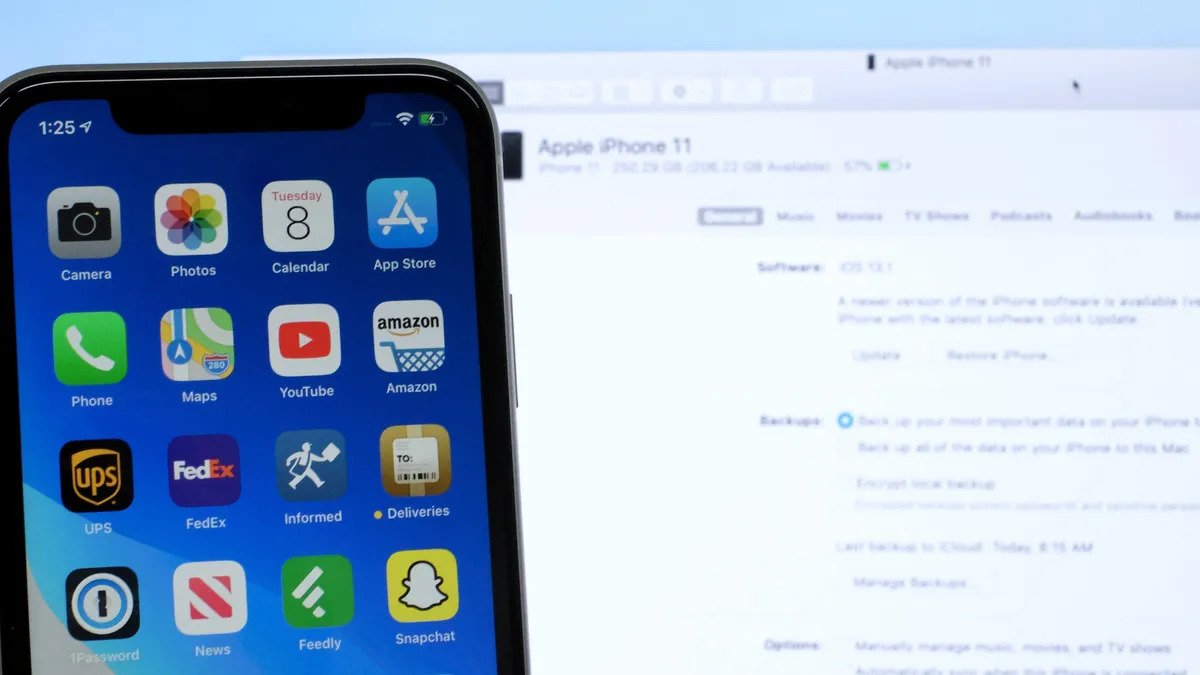
iTunes, the popular media player and library management software, can also be used to trim MP3 files on your Mac. Although primarily designed for managing your music collection, iTunes offers basic editing features that allow you to trim and create shorter audio clips.
Here’s how you can trim an MP3 file using iTunes:
- Open iTunes on your Mac.
- Click on File in the menu bar and select Add File to Library or Add Folder to Library to import the MP3 file you want to trim.
- Once the MP3 file is added to your library, navigate to the song and right-click on it.
- From the contextual menu, select Song Info.
- In the Options tab, you will find Start Time and Stop Time fields.
- Check the Start Time and Stop Time boxes and enter the desired time range for your trimmed clip. Make sure the timing is in seconds.
- Click OK to save the changes.
- Right-click on the song again, and this time select Create AAC Version.
- A new version of the song will be created with the trimmed length.
- Right-click on the newly created version and select Show in Finder.
- The trimmed MP3 file will be displayed in Finder, ready for you to use.
It’s important to note that iTunes will create a new version of the song with the specified time range. The original file will remain unaffected, allowing you to revert to the full version if needed.
Although iTunes provides a straightforward method for trimming MP3 files, it is limited in terms of advanced editing features. If you’re looking for more control over your editing process or need to make precise cuts, you may consider using other methods like QuickTime Player or GarageBand, which we will explore next.
Method 2: Using QuickTime Player
QuickTime Player, the default media player for Mac, is not just for watching videos or playing audio. It also offers a simple yet effective way to trim MP3 files without the need for additional software.
Here’s how you can use QuickTime Player to trim an MP3 file:
- Open QuickTime Player on your Mac.
- Click on File in the menu bar and select Open File to import the MP3 file you want to trim.
- The MP3 file will open in QuickTime Player.
- Use the playback controls to locate the starting point of the section you want to trim. You can use the play button, timeline, or arrow keys for precise navigation.
- Once you have identified the starting point, click on the Trim button in the menu bar.
- The timeline will change to display the section you have selected for trimming.
- Drag the yellow handles on either side of the timeline to adjust the start and end points of the trimmed section.
- Preview the trimmed section by clicking the play button.
- If you’re satisfied with the trimmed section, click on Trim in the menu bar.
- Save the trimmed MP3 file by clicking on File in the menu bar and selecting Save.
QuickTime Player will create a new trimmed version of the MP3 file and save it to your designated location. The original file will remain intact.
Although QuickTime Player offers a convenient and straightforward method for trimming MP3 files, it may lack advanced editing features for more complex audio editing. If you need additional functionalities or want to explore more options, consider using other methods like GarageBand or Audacity, which we will cover next.
Method 3: Using GarageBand
If you’re looking for a more comprehensive audio editing experience, GarageBand is an excellent choice for trimming MP3 files on your Mac. GarageBand is a powerful digital audio workstation that offers a wide range of editing tools and effects.
Follow these steps to trim an MP3 file using GarageBand:
- Open GarageBand on your Mac.
- Click on New Project to create a new project.
- Choose Empty Project or a template based on your preference.
- In the main window, click the Media Browser button in the top-right corner to access your audio files.
- Select the MP3 file you want to trim and drag it onto the GarageBand timeline.
- The MP3 file will be imported into GarageBand.
- Locate the section of the MP3 file you want to trim by zooming in on the timeline.
- Position the playhead at the beginning of the section you want to trim.
- Click on the Scissors button or press Command + T to split the MP3 file at the playhead position.
- Delete the unwanted section by selecting it and pressing the Delete key.
- Repeat the process for the end of the trimmed section, if necessary.
- Preview the trimmed section by playing the project.
- If you’re satisfied with the trim, go to File in the menu bar and select Share > Export Song to Disk.
- Choose your desired audio format and location to save the trimmed MP3 file.
- Click Export to save the trimmed MP3 file.
GarageBand provides advanced editing capabilities and allows you to apply effects, adjust levels, and fine-tune your audio. This makes it an excellent choice if you need more control and want to explore creative possibilities while trimming your MP3 files.
Now that we have covered GarageBand, let’s move on to the final method for trimming MP3 files on your Mac – using Audacity.
Method 4: Using Audacity
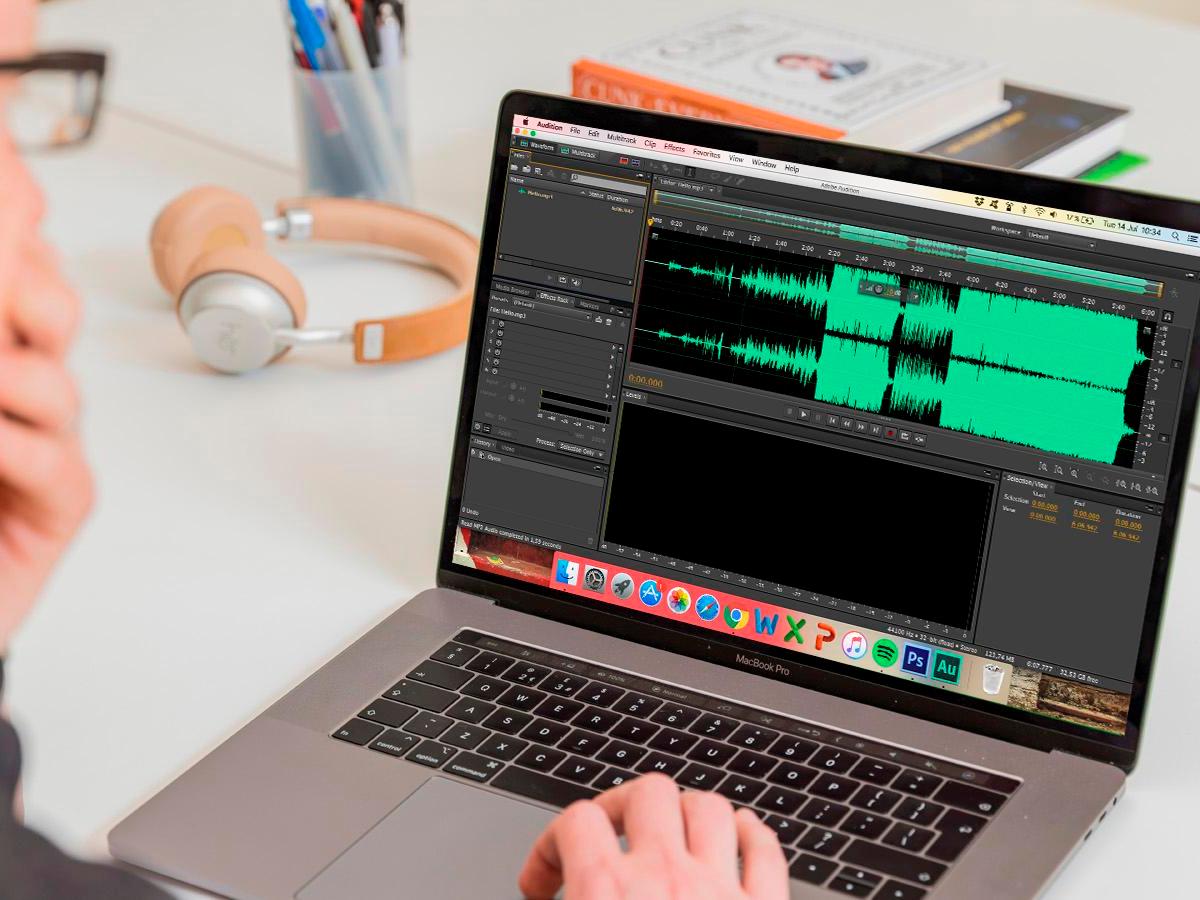
Audacity is a popular open-source audio editing software that provides advanced features for manipulating and trimming MP3 files on your Mac. It offers a wide range of tools and effects, making it a favorite among audio enthusiasts and professionals.
Here’s how you can trim an MP3 file using Audacity:
- Download and install Audacity on your Mac if you haven’t already.
- Launch Audacity.
- Click on File in the menu bar and select Open or drag and drop the MP3 file you want to trim into the Audacity workspace.
- The MP3 file will be imported into Audacity.
- Use the Zoom tools or press Command + 1 to zoom in on the waveform.
- Locate the section of the MP3 file you want to trim.
- Click and drag to select the desired section.
- To trim the selected section, go to Edit in the menu bar and choose Cut or press Command + X.
- The selected section will be removed from the original MP3 file.
- Preview the trimmed section by playing the audio.
- If you’re satisfied with the trim, go to File in the menu bar and select Export.
- Choose your desired audio format and location to save the trimmed MP3 file.
- Click Save to export the trimmed MP3 file.
Audacity allows for precise editing and offers additional features like noise reduction, equalization, and more. Its extensive capabilities make it a go-to choice for professional audio editing tasks.
With these four methods – using iTunes, QuickTime Player, GarageBand, and Audacity – you now have a variety of options to trim MP3 files on your Mac. Choose the method that best suits your needs and preferences, and start creating your perfect audio clips.
Remember, the ability to trim MP3 files opens up endless possibilities for customization and creativity in your audio projects. Whether you’re a content creator, musician, or just someone who loves manipulating audio, these methods will help you achieve professional results right from your Mac computer.
Conclusion
Trimming MP3 files on your Mac allows you to create customized audio clips, whether it’s for personal use, professional projects, or sharing with others. In this article, we explored four different methods for trimming MP3 files on your Mac: using iTunes, QuickTime Player, GarageBand, and Audacity.
Each method offers its own unique set of features and capabilities. iTunes provides a simple and basic trimming option, while QuickTime Player offers a straightforward solution with a user-friendly interface. GarageBand and Audacity, on the other hand, provide more advanced editing features and give you greater control over the trimming process.
When selecting the right method for trimming your MP3 files, consider your specific needs, level of expertise, and desired outcome. If you’re looking for quick and simple edits, iTunes or QuickTime Player may suffice. However, if you require more advanced editing tools and flexibility, GarageBand or Audacity are excellent choices.
Regardless of the method you choose, always remember to work with copies of your MP3 files to avoid any accidental data loss. This way, you can revert to the original files if needed.
With the ability to trim MP3 files, you can create shorter audio clips, remove unwanted sections, or customize your tracks to better suit your preferences. Whether you’re a musician, podcaster, or content creator, having this skill in your repertoire opens up endless possibilities for creating engaging and professional audio content.
So go ahead, explore the methods outlined in this article, and start trimming your MP3 files on your Mac. Let your creativity and imagination run wild as you craft the perfect audio clips for any project or occasion.


