Home>Production & Technology>MP3>How To Convert A Garageband File To MP3
MP3
How To Convert A Garageband File To MP3
Modified: February 19, 2024
Learn how to convert your Garageband files to MP3 format easily and efficiently. Follow our step-by-step guide and start enjoying your music in MP3 format today!
(Many of the links in this article redirect to a specific reviewed product. Your purchase of these products through affiliate links helps to generate commission for AudioLover.com, at no extra cost. Learn more)
Table of Contents
Introduction
Welcome to this comprehensive guide on how to convert a Garageband file to MP3 format. Garageband is a popular digital audio workstation that provides users with a variety of tools and features to create music and audio projects. However, by default, Garageband saves projects in its proprietary format, which can only be opened and edited within the software.
Converting a Garageband file to MP3 format is necessary if you want to share your music or audio projects with others, or if you simply want to create a compatible file that can be played on different devices and platforms.
In this article, we will walk you through the step-by-step process of converting a Garageband file to MP3 format. Whether you’re a musician, podcaster, or audio enthusiast, this guide will provide you with the knowledge and tools to easily convert your Garageband projects into the widely supported MP3 format.
Before we dive into the conversion process, let’s briefly discuss why MP3 is a popular choice for audio file formats. MP3 is a compressed audio format that provides a good balance between audio quality and file size. It allows you to enjoy high-quality audio while conserving storage space, making it ideal for sharing and distributing audio files.
Now that you understand the importance of converting a Garageband file to MP3, let’s move on to the first step: opening Garageband.
Step 1: Opening Garageband
The first step in converting a Garageband file to MP3 is to open the Garageband application on your computer. Garageband is available exclusively for macOS and iOS devices, so make sure you have the software installed before proceeding.
To open Garageband on macOS, you can either click on the Launchpad icon in your dock and search for Garageband, or you can find it in the Applications folder. On iOS devices, you can simply tap on the Garageband app icon on your home screen.
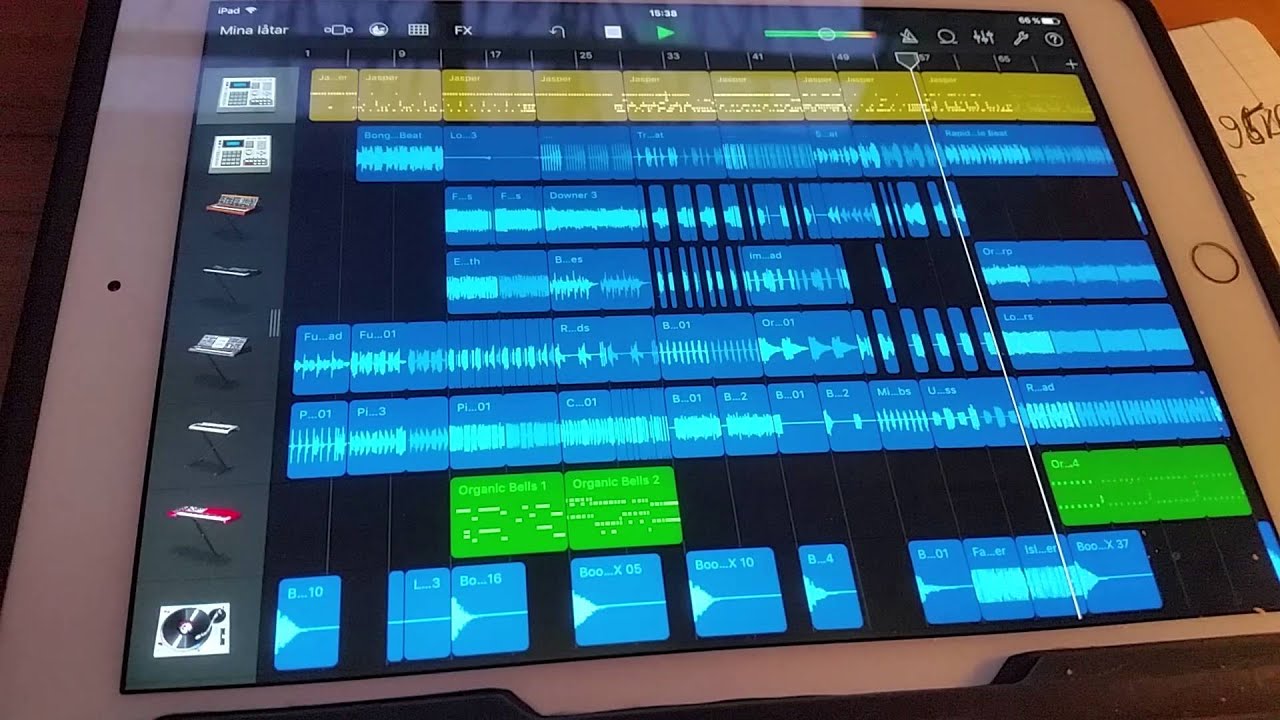
Once you have launched Garageband, you will be greeted with its sleek and intuitive interface. Garageband provides a wide range of features and tools for music creation, but for the purpose of this guide, we will focus on how to convert a Garageband file to MP3 format.
Before we can proceed with the conversion process, it’s important to ensure that you have a Garageband file ready to be converted. If you haven’t created a project in Garageband yet, you can do so by selecting “New Project” or “New Track” from the File menu.
If you already have a Garageband project that you want to convert, you can either open it from the Recent Projects list or navigate to the location where the file is saved and double-click on it.
Once you have opened your Garageband project, you are ready to move on to the next step: loading the Garageband file.
Step 2: Loading the Garageband file
Now that you have Garageband open and a project ready, the next step is to load the Garageband file that you want to convert to MP3 format.
To load the Garageband file, you can either click on the “File” menu in the top menu bar and select “Open,” or you can use the shortcut Command + O (Mac) or Ctrl + O (Windows).
A file dialog window will appear, allowing you to navigate to the location where your Garageband file is saved. Once you have located the file, simply select it and click on the “Open” button.
Garageband will now load the selected file, and you will be able to see the project in the main workspace. The loaded project will display all the recorded tracks, audio files, MIDI instruments, and any other elements that were included in the original project.
It’s important to note that Garageband allows you to work with multiple projects simultaneously. If you have multiple Garageband files that you want to convert to MP3, you can load each project one by one and follow the conversion process for each individual file.
Once your Garageband file is loaded and visible in the main workspace, you are ready to proceed to the next step: adjusting the settings for the conversion process.
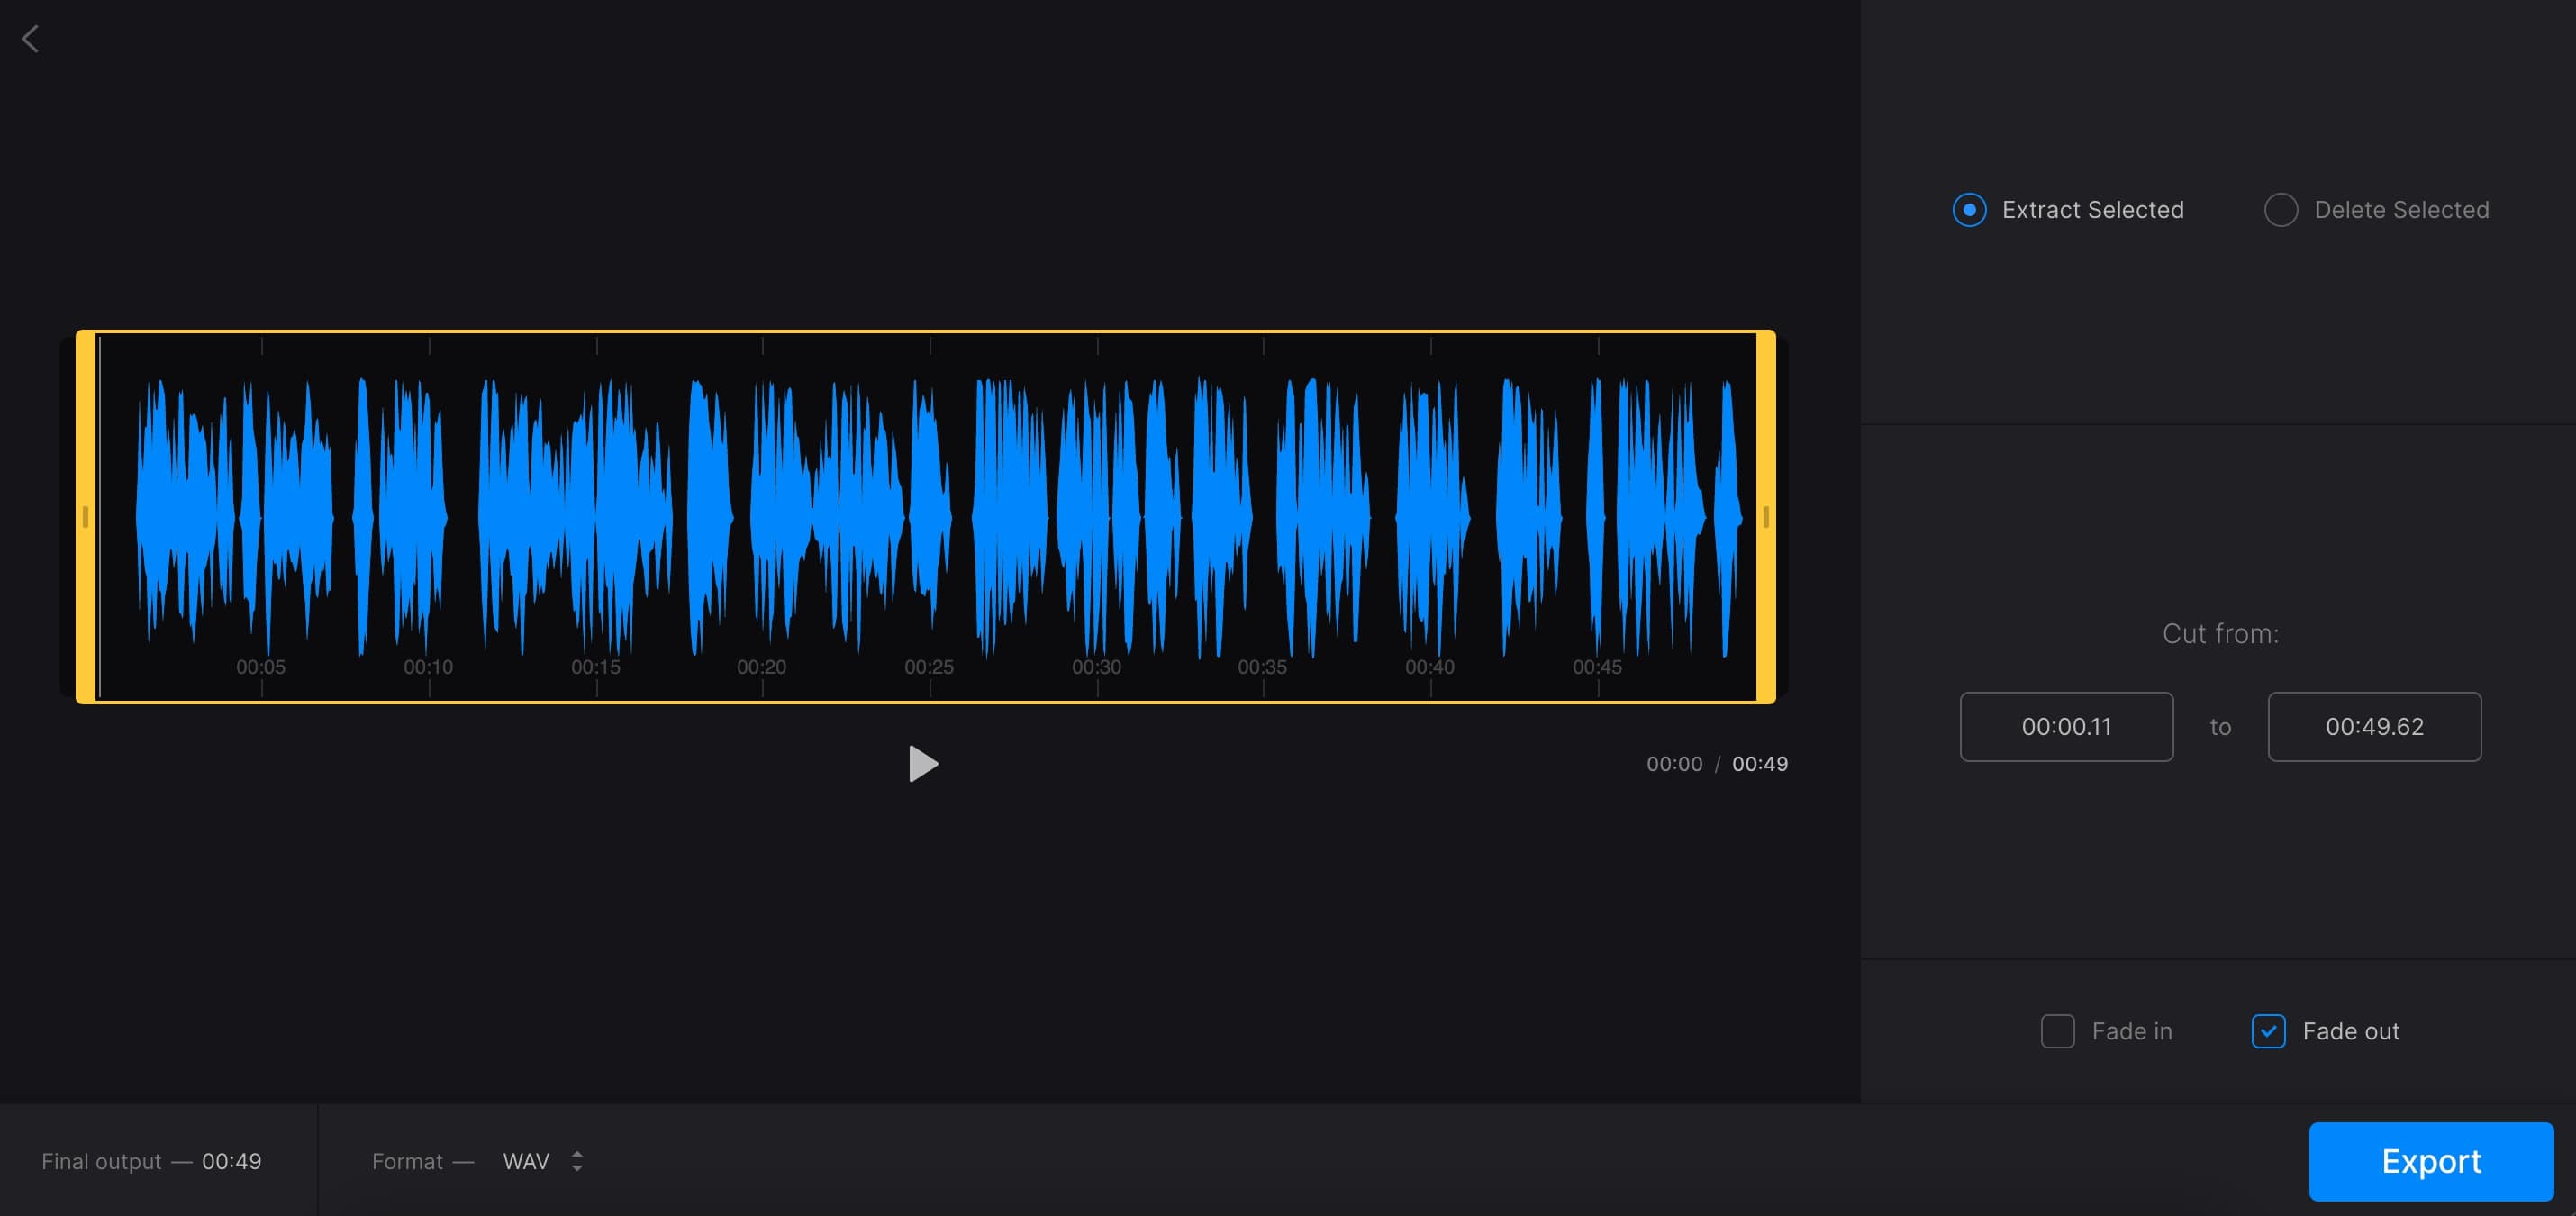
Step 3: Adjusting Settings
Before we proceed with the conversion process, it’s essential to adjust the settings in Garageband to ensure that the converted MP3 file meets your desired specifications. There are a few settings you may want to consider before exporting your Garageband project as an MP3 file.
First, you’ll need to decide on the quality of the MP3 file. Garageband offers various quality options, typically measured in kilobits per second (kbps). Higher kbps values result in higher audio quality but larger file sizes, while lower values provide lower audio quality but smaller file sizes. The most common options are 128 kbps and 256 kbps, but you can choose according to your preferences and requirements.
To adjust the quality settings, you can go to the “File” menu and select “Project Settings” or use the shortcut Command + J (Mac) or Ctrl + J (Windows). In the Project Settings window, switch to the “Audio” tab and adjust the “Quality” slider to your desired kbps value.
Additionally, you may want to consider adjusting the export range if you only wish to convert a specific section of your Garageband project. By default, Garageband exports the entire project, but you have the option to export a selection or a specific range. To do this, select the desired portion of the project in the timeline and go to the “Edit” menu and choose “Set Range to Cycle” or use the shortcut Option + Command + R (Mac) or Alt + Ctrl + R (Windows).
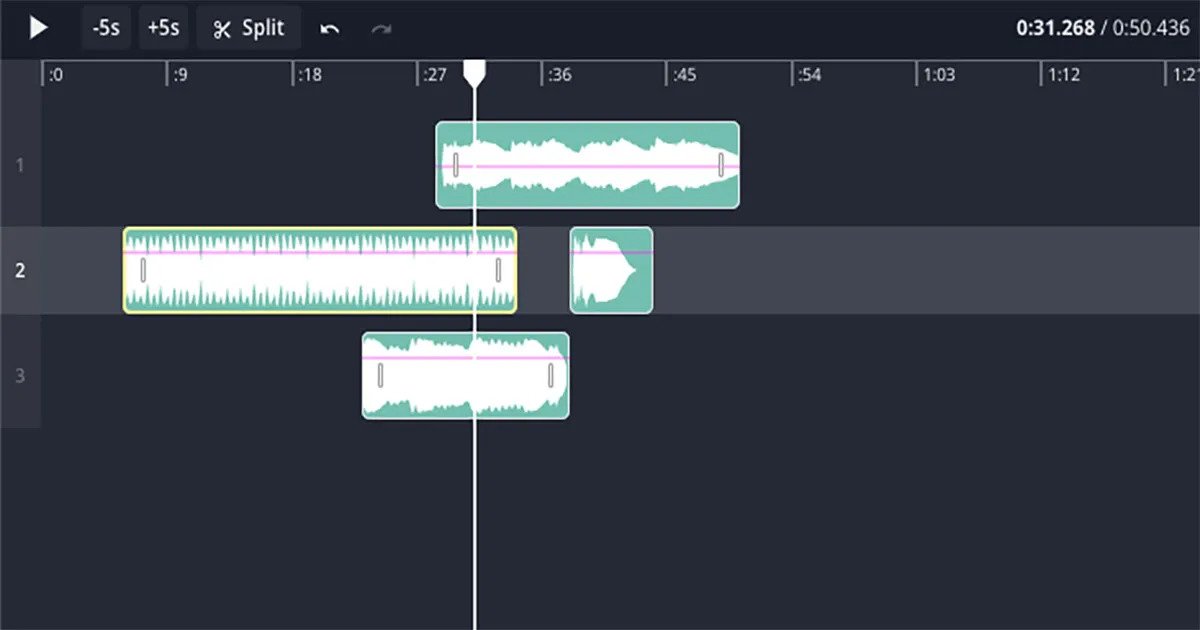
Furthermore, if your Garageband project contains multiple tracks, you may want to adjust the mix and balance of each track to achieve the desired audio output. You can do this in Garageband by selecting the track and adjusting the volume and panning settings in the Mixer or Track Editor.
Once you have made the necessary adjustments to the settings in Garageband, you are ready to move on to the next step: exporting the file in preparation for conversion.
Step 4: Exporting the File
After adjusting the settings for your Garageband project, the next step is to export the file in preparation for the conversion process. Garageband provides a straightforward export feature that allows you to save your project as an audio file that can be converted to MP3.
To export the file, navigate to the “Share” menu in the top menu bar and select the “Export Song to Disk” option. Alternatively, you can use the shortcut Command + E (Mac) or Ctrl + E (Windows).
A file dialog window will appear, prompting you to choose the destination location for the exported audio file. You can navigate to the desired folder on your computer and provide a name for the file. Ensure that you save the file in a location that is easily accessible and memorable.
Garageband supports multiple file formats for export, including AIFF, WAV, and AAC. However, for the purpose of converting to MP3, it’s recommended to choose the AIFF or WAV format, as they provide lossless audio quality.
Select the format of your choice and click on the “Export” button. Garageband will then begin the exporting process, which may take some time depending on the length and complexity of your project.
Once the exporting process is complete, you will have an AIFF or WAV audio file that can be converted to MP3 format. The exported file will maintain the audio quality and settings you adjusted in Garageband.
Now that you have successfully exported the Garageband file, it’s time to move on to the next step: converting the file to MP3 format.
Step 5: File Conversion Options
Now that you have your Garageband project exported as an AIFF or WAV audio file, it’s time to explore the various file conversion options available to convert it to MP3 format. There are several methods and tools you can use to convert the audio file, depending on your preference and operating system.
One option is to use dedicated audio conversion software. There are many third-party applications available that specialize in converting audio files to different formats, including MP3. These software programs often provide a user-friendly interface and allow you to customize the conversion settings, such as bitrate and sample rate.
If you prefer a web-based solution, there are online audio converters that enable you to upload your file and convert it to MP3 format directly from your browser. These services are usually free and convenient since they don’t require any software installation.
Another option is to use media player software that supports audio conversion. Applications like iTunes, Windows Media Player, and VLC Media Player allow you to import your Garageband file and convert it to MP3 within the program. However, keep in mind that not all media players support Garageband’s native file format, so it’s always a good idea to check the compatibility.
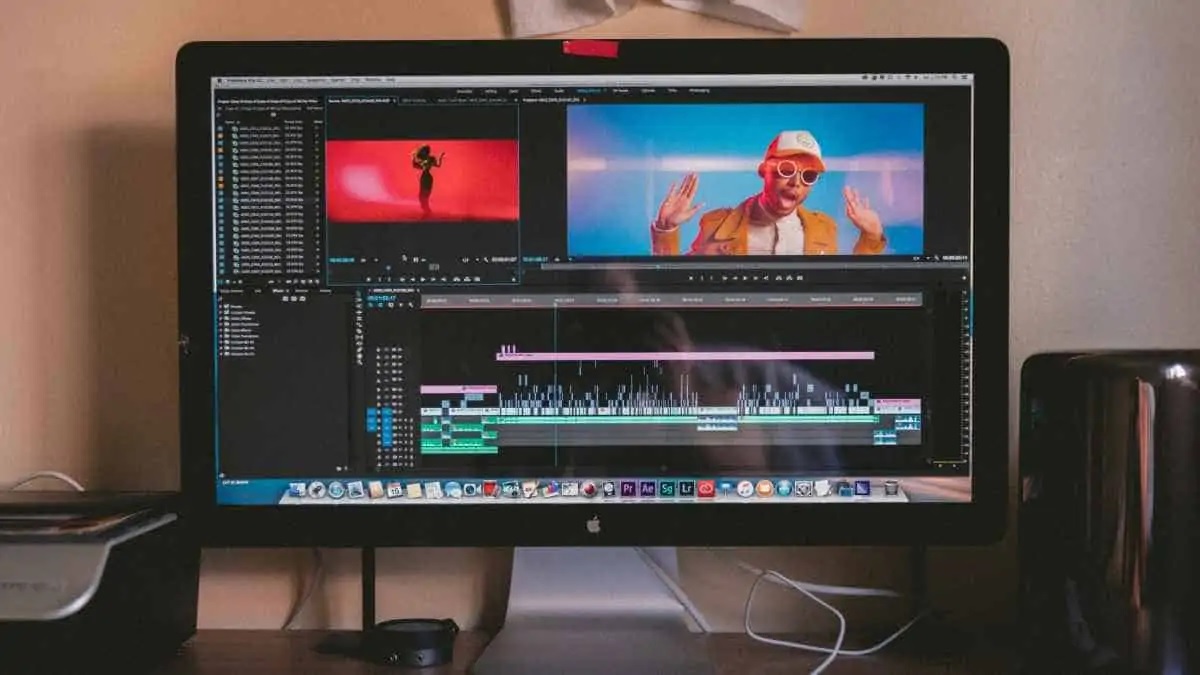
Additionally, if you’re using a digital audio workstation other than Garageband, such as Ableton Live or FL Studio, you can import your Garageband project into that software, and then use the built-in audio exporting or conversion features to save it as an MP3.
When selecting a file conversion method, consider factors such as ease of use, customization options, and compatibility with your operating system. Whichever method you choose, ensure that it provides the capability to convert your AIFF or WAV file to the desired MP3 format.
Now that you are aware of the different file conversion options available, let’s move on to the next step: saving your Garageband project as an MP3 file.
Step 6: Saving as MP3 Format
Once you have chosen your preferred method for file conversion, it’s time to save your Garageband project as an MP3 file. The specific steps may vary depending on the software or tool you are using, but the general process remains similar.
If you are using dedicated audio conversion software, open the program and locate the option to import or add your AIFF or WAV file. Once the file is imported, look for the option to choose the output format and select MP3. You may also have the ability to adjust additional settings, such as bitrate, channels, and filename. Once you have made your selections, initiate the file conversion process, and the software will generate an MP3 file from your Garageband project.
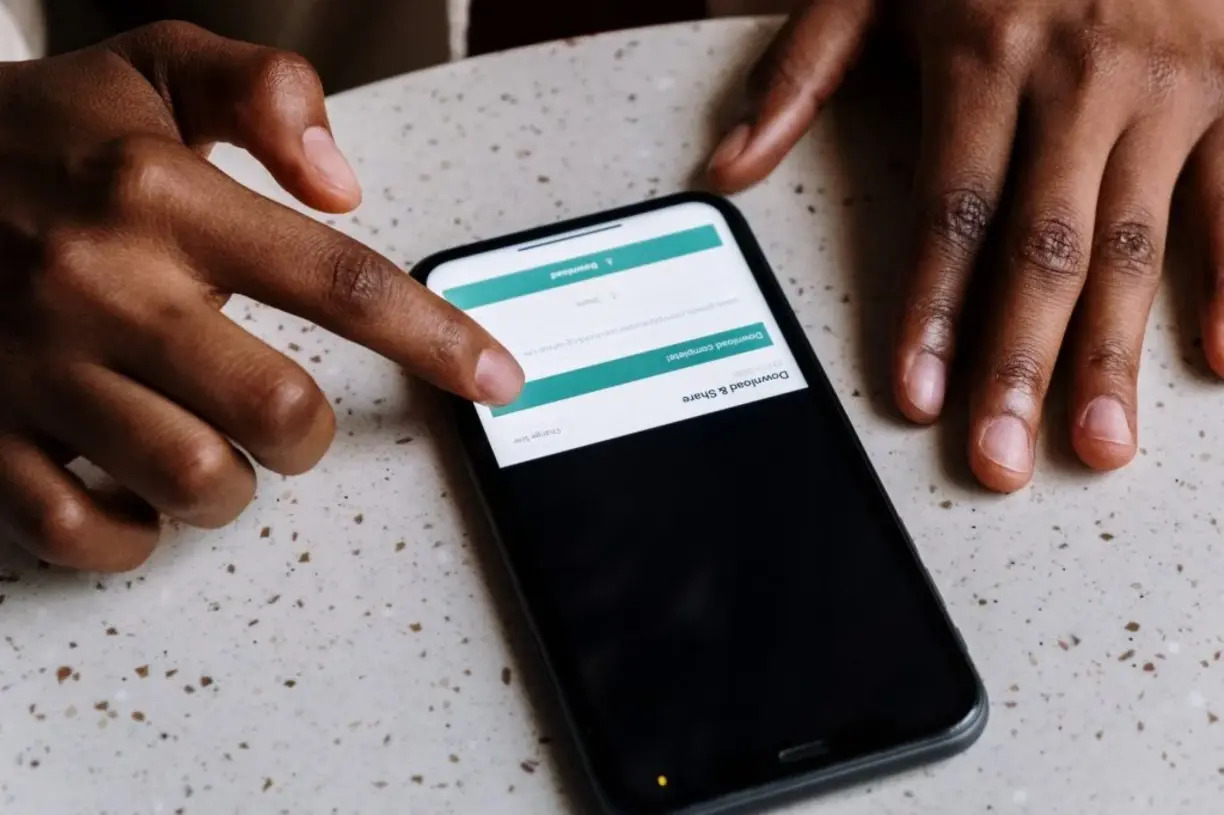
If you are using an online audio converter, visit the website of the chosen service and follow the instructions to upload your AIFF or WAV file. Select the output format as MP3 and any other desired settings provided. Then, initiate the conversion process, and the website will convert your file to MP3 before offering it for download. Remember to save the downloaded MP3 file to a location on your computer where you can easily access it later.
If you are using media player software, open the application and locate the option to import or open your exported AIFF or WAV file. Once the file is imported, look for the option to save or export the file. In the export settings, choose MP3 as the output format and, if available, adjust any desired settings such as bitrate or file location. Initiate the export process, and the software will convert the audio file to MP3 format.
If you are using a different digital audio workstation, refer to the software’s documentation or support resources to learn how to import and export audio files, specifically saving them as MP3 format. The process will vary based on the specific software, but most digital audio workstations have built-in conversion capabilities.
Be patient during the conversion process, as it may take some time depending on the size and complexity of your Garageband project. Once the conversion is complete, you will have a fully converted MP3 file that can be easily shared, distributed, or played on various devices and platforms.
Now that your Garageband project is saved as an MP3 file, you are ready for the final step: finalizing the conversion process.
Step 7: Finalizing the Conversion Process
Congratulations! You have successfully converted your Garageband project to MP3 format. However, before you consider the conversion process complete, there are a few final steps you should take to ensure everything is in order and ready for use.
First, it’s important to double-check the converted MP3 file to ensure that it meets your expectations. Play the file using your preferred media player or audio software to confirm that the audio quality, volume, and other aspects are as intended. If there are any issues or discrepancies, you may need to revisit the conversion settings or adjust them accordingly.
Next, consider organizing your MP3 files in a logical and easy-to-navigate folder structure. This will make it easier to locate and manage your converted files in the future. Create specific folders for different projects, genres, or purposes, and give each MP3 file a clear and descriptive name to enhance clarity and organization.
Furthermore, make sure to back up your converted MP3 files in a secure location. This can be an external hard drive, cloud storage service, or any other backup method of your choice. By having a backup, you can ensure that your files are protected in case of any data loss or system failures.
If you plan on sharing or distributing your converted MP3 files, consider adding metadata such as artist name, track title, album information, and cover art. This will enhance the professionalism and visual presentation of your MP3 files, especially when they are played on devices or media players that support metadata display.
Lastly, if you plan to make your converted MP3 files available online or for streaming services, it’s important to ensure that you have the appropriate rights and permissions for any copyrighted material used in your Garageband project. This will help you avoid any legal issues and ensure that you are in compliance with copyright laws.
By following these final steps, you can finalize the conversion process and have your Garageband project successfully transformed into a high-quality MP3 file. Whether you plan to share your music, distribute podcasts, or enjoy your audio creations on various devices, the MP3 format offers compatibility and versatility.
With your Garageband project converted to MP3, you can now confidently share your creativity with the world. Enjoy the flexibility and accessibility that the MP3 format provides, and continue pursuing your passion for music and audio production.
Let your converted MP3 files be a testament to your talent and dedication, and may your music or audio projects resonate with listeners around the globe!
Good luck, and happy converting!
Conclusion
Congratulations on successfully converting your Garageband file to MP3 format! Throughout this comprehensive guide, we have covered the step-by-step process of converting your Garageband projects into the widely supported and versatile MP3 format.
By following the instructions provided, you have learned how to open Garageband, load your project, adjust settings, export the file, explore file conversion options, save as MP3 format, and finalize the conversion process. Through each step, you have gained the knowledge and tools necessary to easily convert your Garageband files.
Converting your Garageband projects to MP3 format opens up a world of possibilities. MP3 files are compatible with a wide range of devices, platforms, and media players, allowing you to share your music, podcasts, or audio projects with ease. The compressed format provides a good balance between audio quality and file size, making it ideal for distribution and sharing.
Remember to consider the quality settings, audio adjustments, and file organization to ensure the best outcome for your converted MP3 files. Taking these additional steps will enhance the professional presentation and accessibility of your audio creations.
Whether you are a musician, podcaster, or audio enthusiast, this guide has equipped you with the necessary knowledge and tools to confidently convert your Garageband files to MP3 format. Embrace the flexibility and compatibility that MP3 offers and continue to explore the world of music and audio production.
Now that you have mastered the art of converting Garageband files to MP3, you can amplify your creativity and share your music and audio projects with a wider audience. Enjoy the freedom and accessibility that MP3 format provides and keep creating amazing content.
Thank you for following this guide, and we hope it has been helpful in your journey to convert Garageband files to MP3 format. Happy converting!