Home>Production & Technology>Audiophile>How To Set Up An Equalizer Audiophile

Audiophile
How To Set Up An Equalizer Audiophile
Published: December 17, 2023
Learn how to set up an equalizer for the ultimate audiophile experience. Enhance your audio quality and customize your sound with expert tips and techniques.
(Many of the links in this article redirect to a specific reviewed product. Your purchase of these products through affiliate links helps to generate commission for AudioLover.com, at no extra cost. Learn more)
Table of Contents
Introduction
Welcome to the world of audiophiles, where the pursuit of superior sound quality is a never-ending journey. If you’re passionate about music and want to elevate your listening experience to the next level, then a good audio setup is crucial. One key component in achieving optimal audio quality is an equalizer.
An equalizer is a powerful tool that allows you to finely adjust the frequency response of your audio system, enhancing specific audio frequencies and compensating for any imbalances. By carefully calibrating your equalizer, you can achieve a more accurate and balanced sound reproduction, tailored to your preferences and the characteristics of your listening environment.
In this article, we will guide you through the process of setting up an equalizer for your audiophile system. We will cover everything from understanding the different types of equalizers, choosing the right one for your needs, gathering the necessary equipment, to setting up and optimizing the equalizer settings for the best audio experience possible.
Whether you’re a seasoned audiophile or just starting on your journey, understanding and properly utilizing equalizers will significantly enhance your listening pleasure. So, let’s dive in and unravel the secrets of setting up an equalizer for your audiophile system.
Understanding Equalizers
Before we dive into the process of setting up an equalizer, it’s important to have a solid understanding of what an equalizer is and how it works.
An equalizer, often referred to as EQ, is a device or software that allows you to adjust and shape the frequency response of an audio signal. It consists of a series of electronic filters, each responsible for boosting or attenuating specific frequency bands.
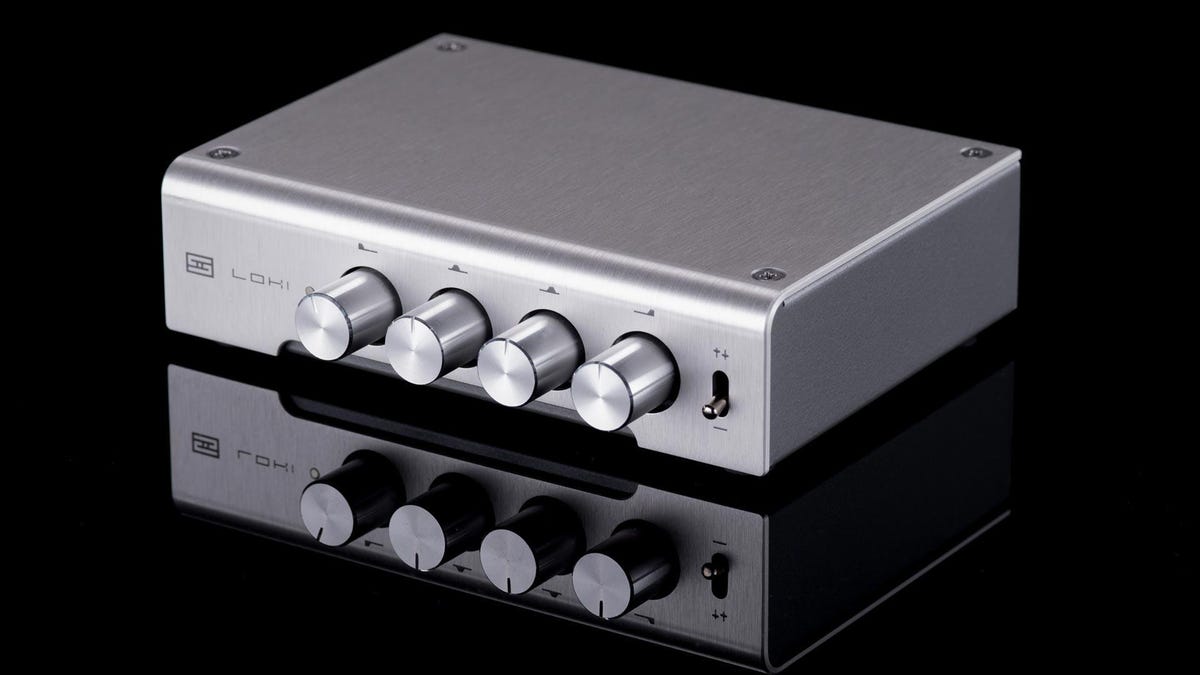
Equalizers come in various forms, including graphic equalizers, parametric equalizers, and software-based equalizers. Graphic equalizers feature a set of sliders, each representing a specific frequency band, allowing you to adjust the level of that band. Parametric equalizers offer more precise control, allowing you to adjust not only the level but also the center frequency and bandwidth of each band.
The primary purpose of an equalizer is to compensate for any imbalances in the frequency response of your audio system. Every sound system, whether it’s speakers or headphones, has its own unique frequency characteristics. An equalizer empowers you to fine-tune and correct any peaks, dips, or colorations in these frequency responses, resulting in a more accurate and pleasing audio experience.
Equalizers are not only useful for correcting frequency imbalances but also for personalizing the sound according to your preferences. Whether you prefer a boosted bass response, smoother midrange, or more prominent treble, an equalizer enables you to tailor the sound signature to your liking.
Understanding the frequency spectrum and how different frequencies interact with each other is crucial when using an equalizer effectively. The frequency spectrum ranges from low frequencies, such as bass, to high frequencies, like treble. By adjusting the levels of specific frequency bands, you can shape the overall sound to your desired tonal balance.
Now that we have a clear understanding of what equalizers are and their purpose, let’s move on and explore how to choose the right equalizer for your audiophile system.
Choosing the Right Equalizer
When it comes to choosing the right equalizer for your audiophile system, there are a few factors to consider to ensure you get the best performance and compatibility. Let’s go through these factors to help you make an informed decision.
Type of Equalizer: As mentioned earlier, there are different types of equalizers available, including graphic equalizers, parametric equalizers, and software-based equalizers. Graphic equalizers are user-friendly and offer a visual representation of frequency bands, making them a popular choice for beginners. On the other hand, parametric equalizers provide more precise control over the audio frequencies and are commonly used by professionals. Software-based equalizers provide the convenience of adjusting equalizer settings digitally through a computer or mobile device.
Number of Bands: The number of frequency bands an equalizer has determines the level of control you have over the audio spectrum. The more bands available, the more precise adjustments you can make. However, keep in mind that having more bands doesn’t necessarily mean better sound quality if you’re not experienced in using them effectively.
Build Quality: Consider the build quality and reputation of the equalizer brand. Look for well-known and reputable manufacturers that have a track record of producing high-quality audio equipment. A well-built equalizer will ensure durability and longevity.
Compatibility: Check the compatibility of the equalizer with your existing audio system. Make sure it has the necessary input and output connections to integrate seamlessly with your setup.
Budget: Set a budget range that aligns with your requirements and priorities. Equalizers can range in price from budget-friendly options to high-end models with advanced features. Assess your needs and allocate your budget accordingly.
Reviews and Recommendations: Read reviews and seek recommendations from fellow audiophiles or experts to gain insights into the performance and user experience of different equalizer models. This can help you narrow down your choices and make an informed decision.
By considering these factors, you’ll be able to select an equalizer that suits your needs and enhances the overall audio quality of your system. Once you’ve chosen the right equalizer, it’s time to gather the necessary equipment for setting it up, which we’ll discuss next.
Gathering the Required Equipment
Setting up an equalizer for your audiophile system requires a few essential pieces of equipment. Let’s go through the items you’ll need to ensure a smooth and successful setup.
Equalizer: Of course, the main piece of equipment you’ll need is the equalizer itself. Choose the one that best suits your needs and budget, based on the factors discussed earlier in the article.
Audio Source: You’ll need an audio source to connect to the equalizer. This can be a CD player, a turntable, a streaming device, or any other device that outputs audio signals. Ensure that you have the necessary cables to connect your audio source to the equalizer.
Amplifier: An amplifier is responsible for boosting the audio signal from the equalizer and driving it to your speakers or headphones. Some equalizers come with built-in amplification, while others may require an external amplifier. Make sure you have an amplifier that matches the power requirements of your speakers or headphones.
Speakers or Headphones: Depending on your preference, you’ll need speakers or headphones to listen to the audio output from your system. Choose speakers or headphones that are capable of reproducing high-quality sound and are compatible with your amplifier.
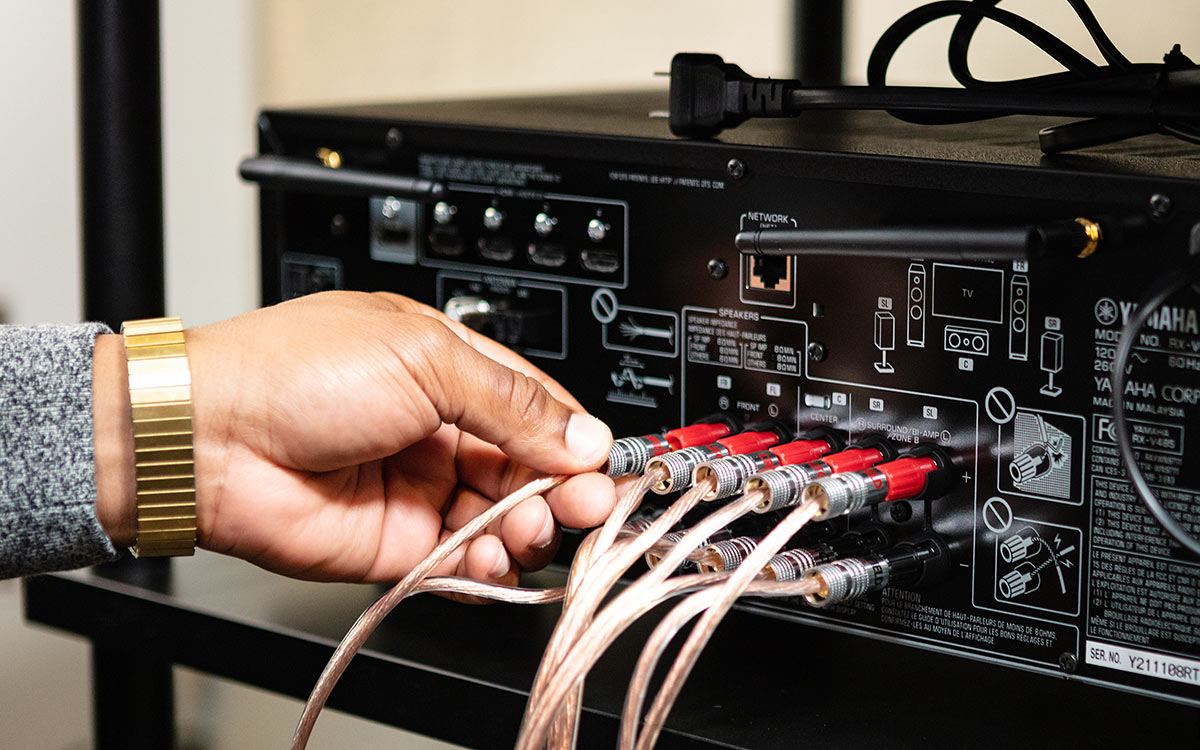
Cables and Connectors: To connect all the components together, you’ll need various cables and connectors. Ensure that you have the appropriate audio cables such as RCA, XLR, or 3.5mm cables, as well as any adapters or splitters that may be necessary for your specific setup.
Power Supply: Make sure you have a stable power supply to provide electricity to your equalizer, amplifier, and other components. Consider using a surge protector to protect your equipment from power surges.
Listening Environment: While not an equipment item, the listening environment plays a crucial role in the overall audio experience. Ensure that you set up your audio system in a suitable space, considering factors like room acoustics, furniture placement, and sound isolation.
By gathering all the necessary equipment, you’ll be well-prepared to move on to the next steps of setting up your equalizer and fine-tuning your audio system. In the following sections, we’ll guide you through the process of setting up the equalizer and making the necessary adjustments for optimal sound quality.
Setting Up the Equalizer
Now that you have all the required equipment, it’s time to set up the equalizer in your audiophile system. Follow these steps to ensure a proper setup:
- Placement: Choose a suitable location for your equalizer. It should be easily accessible and ideally placed between your audio source and amplifier.
- Connections: Connect the audio source to the equalizer using the appropriate cables. Ensure that the input and output connections are correctly made.
- Power On the Equalizer: Once the connections are in place, power on the equalizer. Confirm that it’s receiving the necessary power and check for any indicator lights or display on the unit.
- Set Default Equalizer Settings: Most equalizers come with default settings. Start with these default settings to have a baseline to work from. This will ensure that any adjustments you make are relative to a neutral starting point.
- Disable Any Equalizer Features: If your audio source or amplifier has built-in equalizer features, make sure to disable them to avoid conflicting adjustments and maintain control solely through the external equalizer.
At this stage, your equalizer is set up and ready for adjustment. The next step is to fine-tune the individual frequency bands to achieve the desired sound quality. We’ll discuss this in the next section.
Adjusting Frequency Bands
With your equalizer set up, it’s time to adjust the individual frequency bands to achieve the desired audio response. Here’s a step-by-step guide on how to adjust the frequency bands:
- Start with the Basics: Begin by adjusting the low-frequency bands (bass) first. These typically range from 20Hz to 250Hz. Listen to some bass-heavy tracks and gradually increase or decrease the level of these bands until you achieve a balanced and pleasing bass response.
- Move to the Midrange: The midrange frequencies (250Hz to 4kHz) are crucial for vocals and instrument clarity. Adjust the midrange bands to enhance or attenuate specific frequencies to bring out the desired detail and presence in the sound.
- Tweak the Treble: The high-frequency bands (4kHz to 20kHz) govern the clarity and sparkle in the sound. Experiment with these bands to achieve a well-rounded treble response without overpowering or harshness.
- Consider Your Listening Environment: Take into account the acoustics of your listening environment. If your room has natural resonances or is too reflective, you may need to make adjustments to compensate for these acoustic anomalies.
- Listen and Fine-Tune: After making adjustments, listen to familiar tracks across different genres. Pay attention to the overall balance and tonal quality of the sound. Make any necessary tweaks to individual frequency bands to refine the sound to your satisfaction.
The process of adjusting the frequency bands requires patience and careful listening. Take your time to experiment, making small adjustments as you go along until you achieve your desired sound signature.
Once you’ve balanced the frequency bands, it’s time to focus on balancing the overall sound through volume adjustments. We’ll discuss this in the next section.
Balancing the Sound
Now that you have adjusted the frequency bands on your equalizer, the next step is to balance the overall sound by adjusting the volume levels. Follow these steps to achieve a balanced audio output:
- Play Reference Tracks: Choose a few reference tracks that you are very familiar with, preferably from different genres. These tracks should represent a wide range of frequencies and dynamics.
- Set the Volume to a Comfortable Level: Start by setting the volume to a comfortable level, ensuring it is neither too soft nor too loud. This will serve as the baseline for balancing the sound.
- Listen Carefully: Play the reference tracks and listen attentively. Pay attention to any parts of the track that may be overpowering or too recessed in the mix.
- Adjust Individual Frequency Bands: If certain frequencies are overpowering, adjust the respective frequency bands on the equalizer to attenuate those frequencies. Conversely, if certain frequencies are lacking presence, boost the corresponding bands to bring them forward in the mix.
- Fine-Tuning: Make subtle adjustments to achieve a balanced sound. Continuously listen to different instrumentations, vocals, and sound elements to ensure a harmonious blend.
- Take Breaks: It’s essential to take breaks during the sound balancing process. Our ears can become fatigued, and taking short breaks allows us to reset our listening perception.
Remember that achieving a balanced sound is subjective and depends on personal preferences and the characteristics of your listening environment. It may take some time and experimentation to find the sweet spot that suits your taste.
Once you’re satisfied with the sound balance, it’s time to finalize the equalizer settings and ensure they are saved for future use.
Finalizing the Equalizer Settings
After adjusting the frequency bands and balancing the sound, it’s important to finalize and save your equalizer settings. This will allow you to easily recall and maintain your preferred audio configuration. Follow these steps to finalize your equalizer settings:
- Save Presets: Most equalizers have the option to save presets or user-defined settings. Take advantage of this feature by saving your current equalizer configuration as a preset. This will ensure you can easily return to your preferred settings in the future.
- Label Presets: Give your presets meaningful names to identify different configurations. For example, you can have presets for different music genres, listening environments, or personal preferences.
- Test with Different Content: Verify the effectiveness of your equalizer settings by testing them with various audio content. Play music from different genres, movies, and podcasts to ensure your equalizer settings are versatile and provide a satisfactory listening experience across different media.
- Make Adjustments as Needed: Over time, you may find that certain equalizer settings need further refinement. Continuously evaluate your presets and make adjustments when necessary to keep your audio experience at its best.
- Back Up and Document: Consider creating a backup of your equalizer presets and documenting your settings. This will serve as a valuable reference point if you ever need to reset your equipment or make changes in the future.
By finalizing and saving your equalizer settings, you can easily recreate your preferred audio experience whenever you use your audiophile system. This allows for consistency and ensures that you can enjoy your music, movies, and other content at their fullest potential.
With your equalizer settings finalized, you’re ready to immerse yourself in a captivating audio experience that is personalized to your liking. Enjoy the enhanced sound quality and the ability to tailor your audio to your unique preferences.
Conclusion
Setting up an equalizer for your audiophile system can significantly enhance your listening experience by allowing you to fine-tune the sound and achieve optimal audio quality. By understanding the purpose of equalizers, choosing the right one for your needs, and gathering the necessary equipment, you can embark on the journey of customizing your audio to your preferences.
Throughout the process, it’s important to have a clear understanding of the frequency spectrum and how different frequencies interact with each other. This knowledge will enable you to make informed adjustments to the individual frequency bands and create a balanced sound that suits your taste.
Balancing the sound and finalizing the equalizer settings require careful listening and experimentation. Take your time to explore different tracks, test various settings, and make subtle adjustments until you achieve the desired audio configuration. Don’t forget to save your presets and document your settings for future reference.
Remember, the beauty of an equalizer lies in its ability to personalize your audio experience. So, have fun, trust your ears, and enjoy the journey of fine-tuning the sound to perfection.
Now that you have the knowledge and expertise to set up an equalizer for your audiophile system, it’s time to take the plunge and unlock the full potential of your audio setup. Get ready to be immersed in a world of meticulous audio customization and elevate the way you listen to music, movies, and podcasts.


