Home>Production & Technology>Metronome>How To Change Metronome In Mainstage 3
Metronome
How To Change Metronome In Mainstage 3
Published: January 13, 2024
Learn how to change the metronome settings in Mainstage 3 and improve your performance tempo. Discover the steps to customize the metronome to suit your needs
(Many of the links in this article redirect to a specific reviewed product. Your purchase of these products through affiliate links helps to generate commission for AudioLover.com, at no extra cost. Learn more)
Table of Contents
Introduction
Welcome to the wonderful world of Mainstage 3, where your live performances come to life! If you’re a musician or a performer, you know how essential it is to have a reliable metronome to keep your timing steady and your performance tight. With Mainstage 3, you have the power to not only customize your sounds and effects but also the metronome that accompanies your performance.
In this article, we will explore how to change the metronome in Mainstage 3, so you can personalize it to suit your preferences and needs. Whether you want a traditional tick-tock sound or something more unconventional, Mainstage 3 has got you covered.
We’ll walk you through the steps to change the metronome settings, giving you the flexibility to select the sound, tempo, and visual display that best fits your style. So, let’s dive in and discover how to customize the metronome in Mainstage 3!
Understanding the Metronome in Mainstage 3
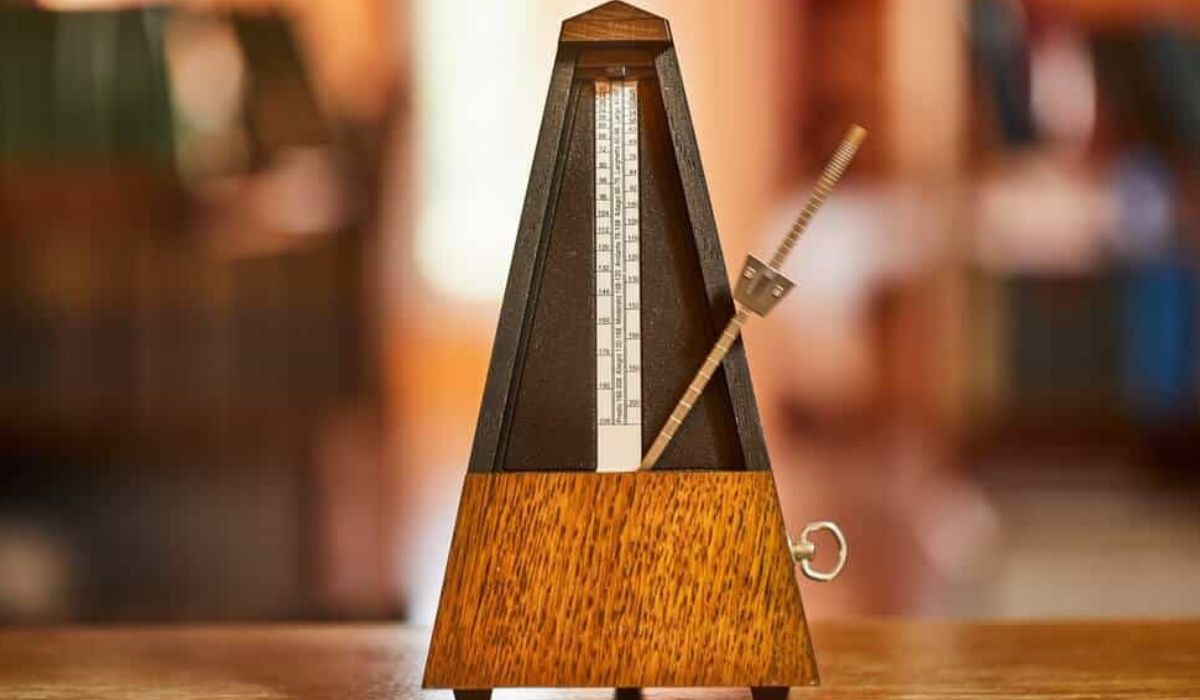
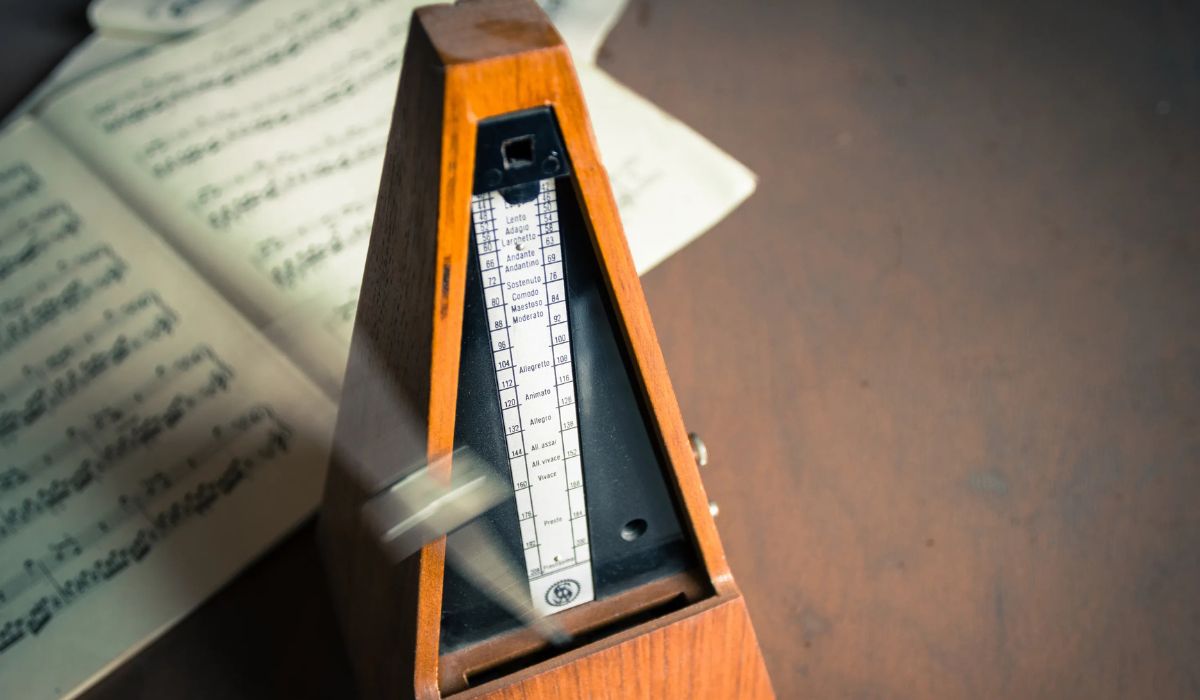
Before we go into the details of changing the metronome in Mainstage 3, let’s take a moment to understand what the metronome does and its significance in live performances. The metronome is a tool that helps musicians maintain a consistent tempo and rhythm while playing or practicing.
In Mainstage 3, the metronome serves as a helpful guide, keeping you and your bandmates in sync during your live performances. It provides a constant beat that can be heard audibly and visually, ensuring everyone stays on the same page.
Mainstage 3 offers a range of options to customize the metronome to match your personal preferences. You can choose the sound, adjust the tempo, and even add visual cues to make it easier to follow along during your performances.
Now that we have a basic understanding of the metronome’s role in Mainstage 3, let’s move on to the next section to learn how to change its settings according to your liking.
Steps to Change the Metronome in Mainstage 3
Customizing the metronome in Mainstage 3 is a straightforward process. Follow the steps below to change its sound, tempo, and visual display:
- Open Mainstage 3: Launch the Mainstage 3 application on your computer. Once it’s open, you’ll be greeted with the main interface.
- Select the Concert: In the main interface, locate the Concerts area. Click on the Concert you want to work with or create a new one if needed.
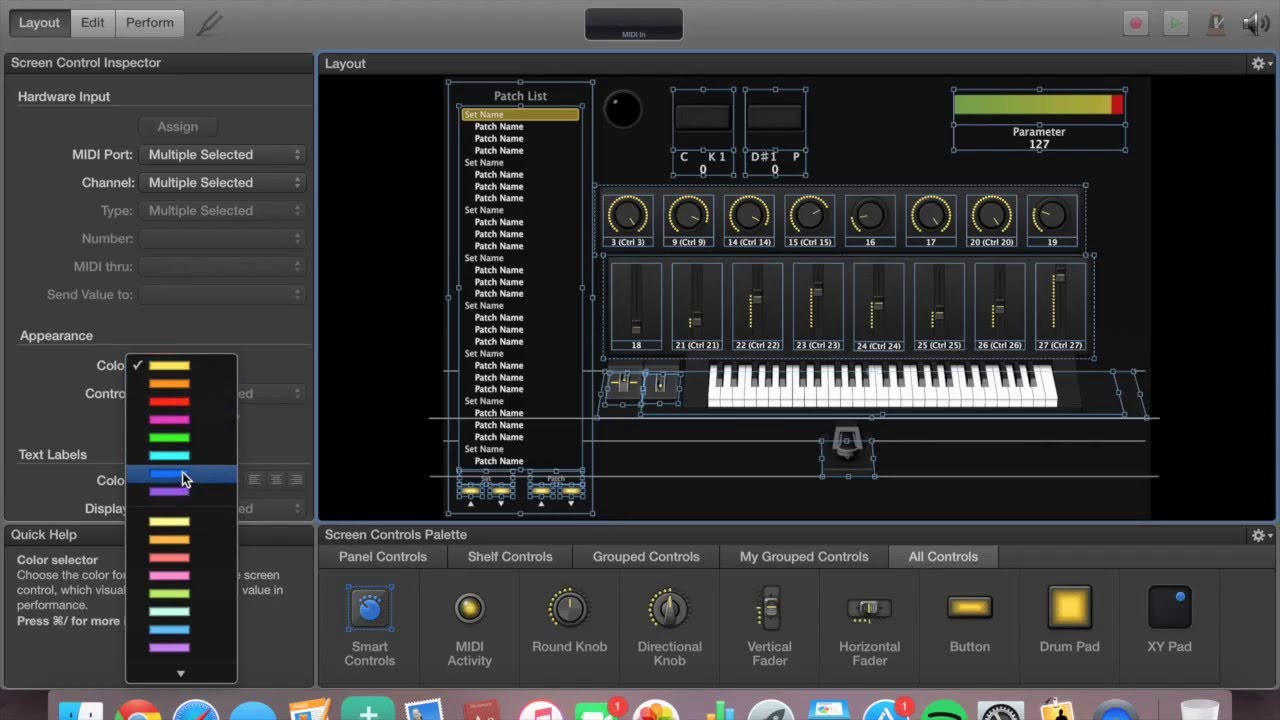
- Access the Metronome Settings: In the Concert window, navigate to the Toolbar at the top of the screen. Click on the “Settings” button, which looks like a gear icon. A drop-down menu will appear.
- Click on Metronome: In the drop-down menu, find and select “Metronome.” This will open the Metronome settings panel.
- Choose the Sound: In the Metronome settings panel, you can now select the sound you prefer. Mainstage 3 offers a variety of metronome sounds, including traditional options like tick-tock or click as well as more contemporary options. Choose the sound that best suits your taste and style.
- Adjust the Tempo: Next, you can adjust the tempo of the metronome. You can do this by using the Tempo slider or by typing the desired tempo value directly into the Tempo box. Experiment with different tempos to find the rhythm that matches your performance needs.
- Add Visual Cues (Optional): If you prefer visual cues to accompany the metronome sound, you can enable them in the Metronome settings panel. With visual cues, you’ll be able to see a flashing light or a bouncing ball that corresponds to the rhythm of the metronome. This can be particularly helpful for keeping time in dark or dimly lit environments.
- Save the Changes: Once you’ve made all the desired adjustments to the metronome settings, click on the “Done” button at the bottom right of the Metronome settings panel to save the changes.
Congratulations! You have successfully customized the metronome in Mainstage 3. Now, you can practice and perform with a metronome that is tailored to your preferences.
Conclusion
Changing the metronome in Mainstage 3 is a simple yet powerful way to personalize your live performances. By selecting the sound, adjusting the tempo, and adding visual cues, you can tailor the metronome to match your musical style and enhance your timing precision.
With Mainstage 3’s flexibility, you can choose from a range of metronome sounds, whether it’s the classic tick-tock, a modern click, or something more unique. Additionally, being able to adjust the tempo allows you to practice and perform at the perfect speed for your songs.
Visual cues are another valuable feature of Mainstage 3’s metronome. They provide an alternative way to keep time by using a flashing light or a bouncing ball, helping you stay in sync with the rhythm even in low-light environments.
So don’t hesitate to dive into the Metronome settings in Mainstage 3 and explore the options that can elevate your performances to new heights.
Remember, a reliable metronome is an essential tool for any musician or performer. It keeps your timing tight, your band in sync, and helps you deliver a captivating performance. With Mainstage 3, you have the power to customize the metronome to suit your preferences and needs.
Now, armed with the knowledge of how to change the metronome in Mainstage 3, go ahead and unleash your creativity on stage, confident that the metronome will guide you every step of the way!