Home>Production & Technology>Tempo>How To Change The Tempo Of A Section Of Music On Garageband
Tempo
How To Change The Tempo Of A Section Of Music On Garageband
Modified: February 20, 2024
Learn how to change the tempo of a specific section of music on Garageband with this easy step-by-step guide. Adjust the speed of your tracks effortlessly and create dynamic compositions.
(Many of the links in this article redirect to a specific reviewed product. Your purchase of these products through affiliate links helps to generate commission for AudioLover.com, at no extra cost. Learn more)
Table of Contents
Introduction
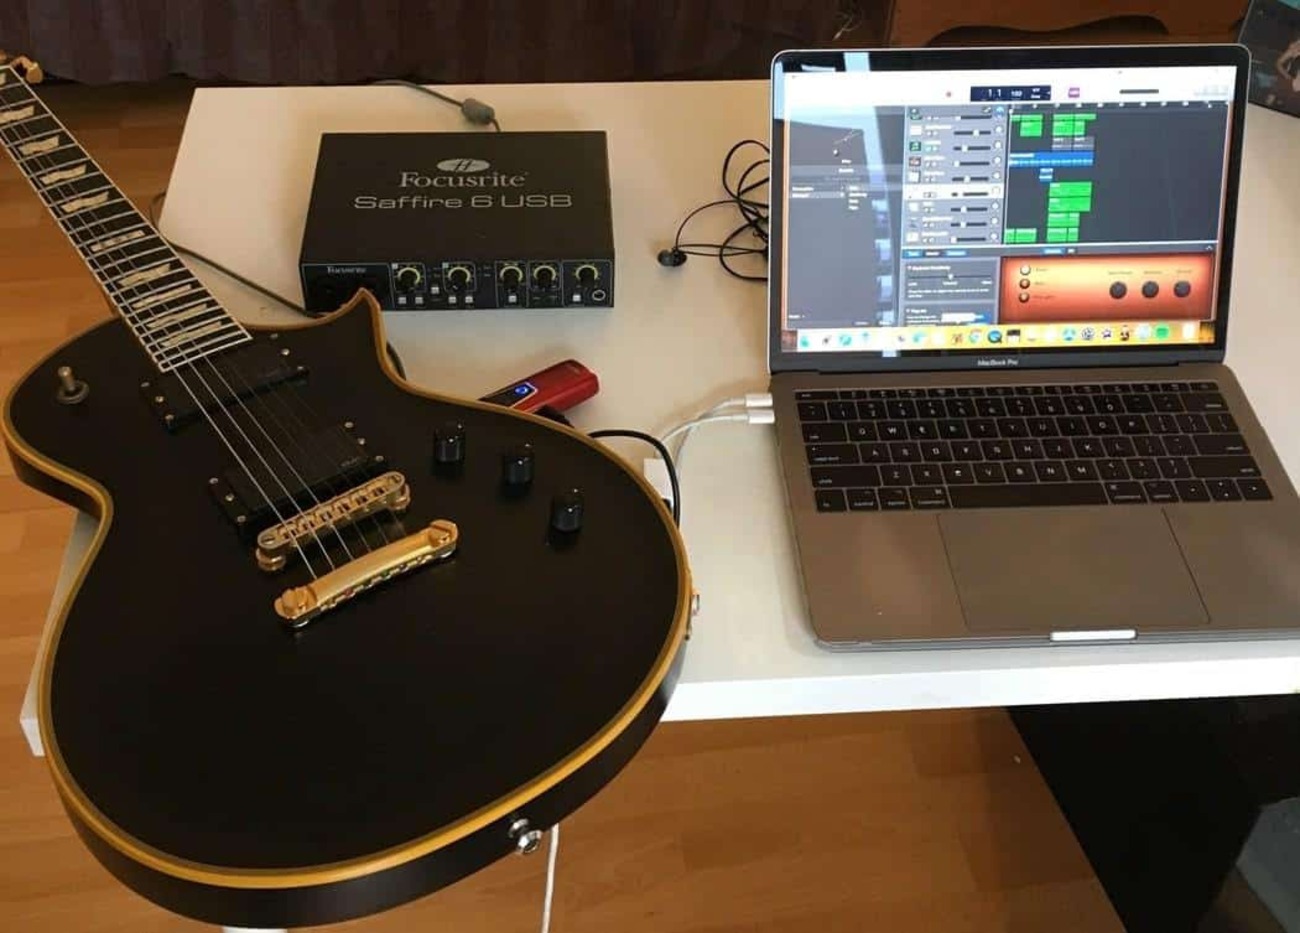
Garageband is a popular digital audio workstation (DAW) that allows users to create and edit music on their Mac devices. It offers a wide range of features and tools, making it accessible for both beginners and experienced musicians. One of the most powerful features of Garageband is the ability to change the tempo of a section of music.
Changing the tempo of a music section can be incredibly useful in various scenarios. Whether you want to create a dramatic buildup, add a bridge between two contrasting sections, or simply experiment with different musical ideas, Garageband provides the flexibility to make these adjustments. In this article, we will explore how to change the tempo of a section of music on Garageband.
Before we dive into the process, it’s important to have a basic understanding of Garageband. If you’re new to the software, don’t worry! Garageband is designed to be user-friendly, even for those with limited musical knowledge or technical expertise.
Garageband offers a wide range of virtual instruments, pre-recorded loops, and audio effects that can be used to create professional-sounding tracks. Additionally, it provides a simple interface that allows you to arrange and edit your musical creations with ease.
Now that we have a brief overview of Garageband, let’s move on to the process of selecting and changing the tempo of a specific section in your music.
Understanding Garageband
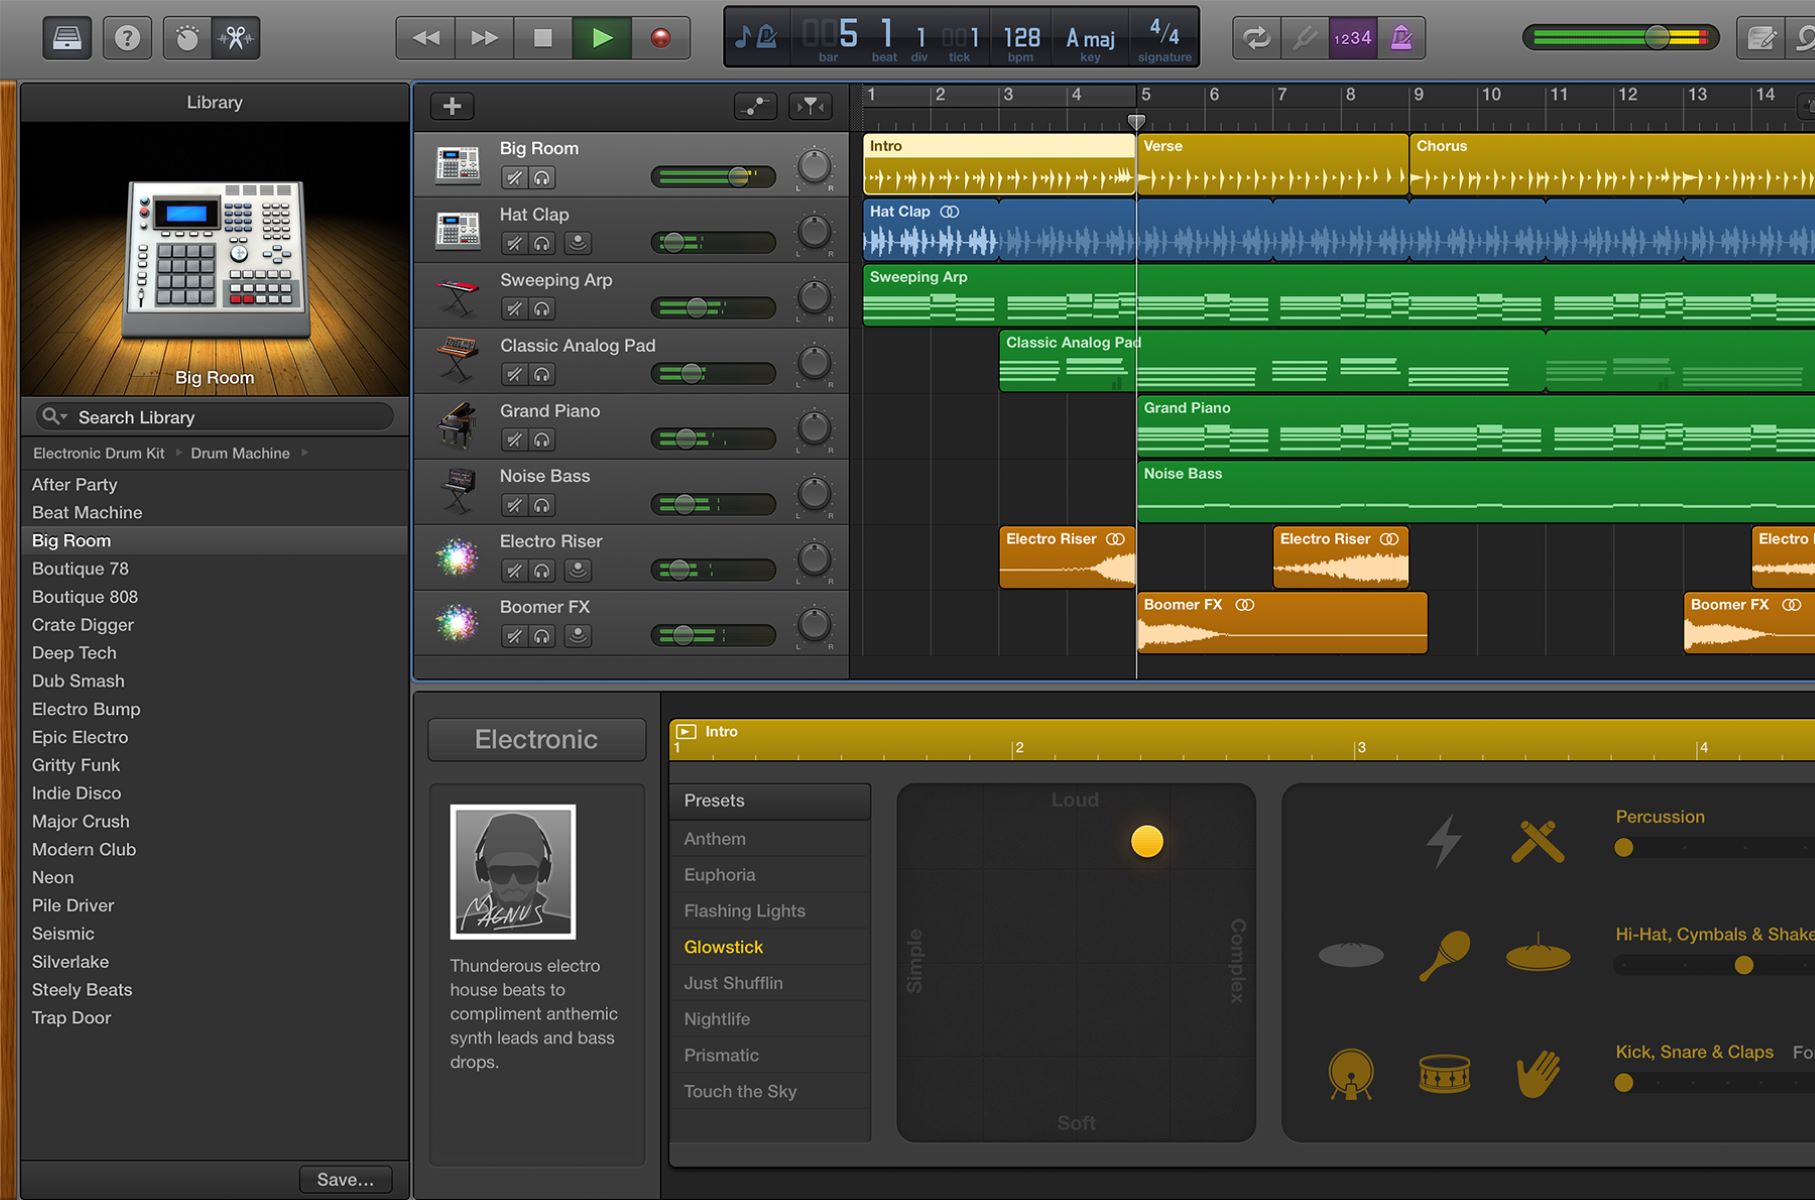
Before we delve into the process of changing the tempo of a music section in Garageband, let’s take a moment to understand the software and its key components. Garageband is a robust digital audio workstation (DAW) that allows users to create, edit, and produce music. It offers a user-friendly interface and a wide range of features that cater to musicians of all levels.
One of the main elements of Garageband is the virtual instrument library. This library provides access to a variety of realistic and customizable instruments, including keyboards, drums, guitars, and more. Users can choose from a selection of pre-recorded loops, utilize software instruments, or even record their own music using a MIDI controller.
In addition to the virtual instruments, Garageband also offers a collection of audio effects and filters. These effects can be applied to individual tracks or the entire project, allowing users to refine and enhance the sound of their music. From reverbs and delays to compressors and EQs, Garageband provides a plethora of options to shape and mold your sound.
Another notable feature of Garageband is the ability to arrange and edit your musical creations. The software provides a timeline-based interface where users can lay down tracks, adjust volume levels, cut and trim sections, and much more. This allows for precise control over the structure and composition of your music.
Garageband also supports third-party plugin integration, giving users the option to expand their sonic capabilities further. With a vast selection of plugins available in the market, musicians can choose to add new virtual instruments, effects, and audio processors to their Garageband setup.
Overall, Garageband is a versatile and powerful music production tool that encompasses everything from virtual instruments to effects and mixing capabilities. With its user-friendly interface and robust feature set, it provides an ideal platform for both beginners and experienced musicians to create their music.
Now that we have a solid understanding of Garageband and its key components, let’s proceed to the next step: selecting the music section that we want to change the tempo for.
Selecting the Music Section
Before we can change the tempo of a specific section in our music, we need to accurately select the section we want to modify. Garageband provides various tools and techniques to make this process quick and seamless.
The first step is to open up your music project in Garageband. Once your project is loaded, locate the section of music you wish to change the tempo for. This could be a single measure, a chorus, a verse, or any other section of your composition.
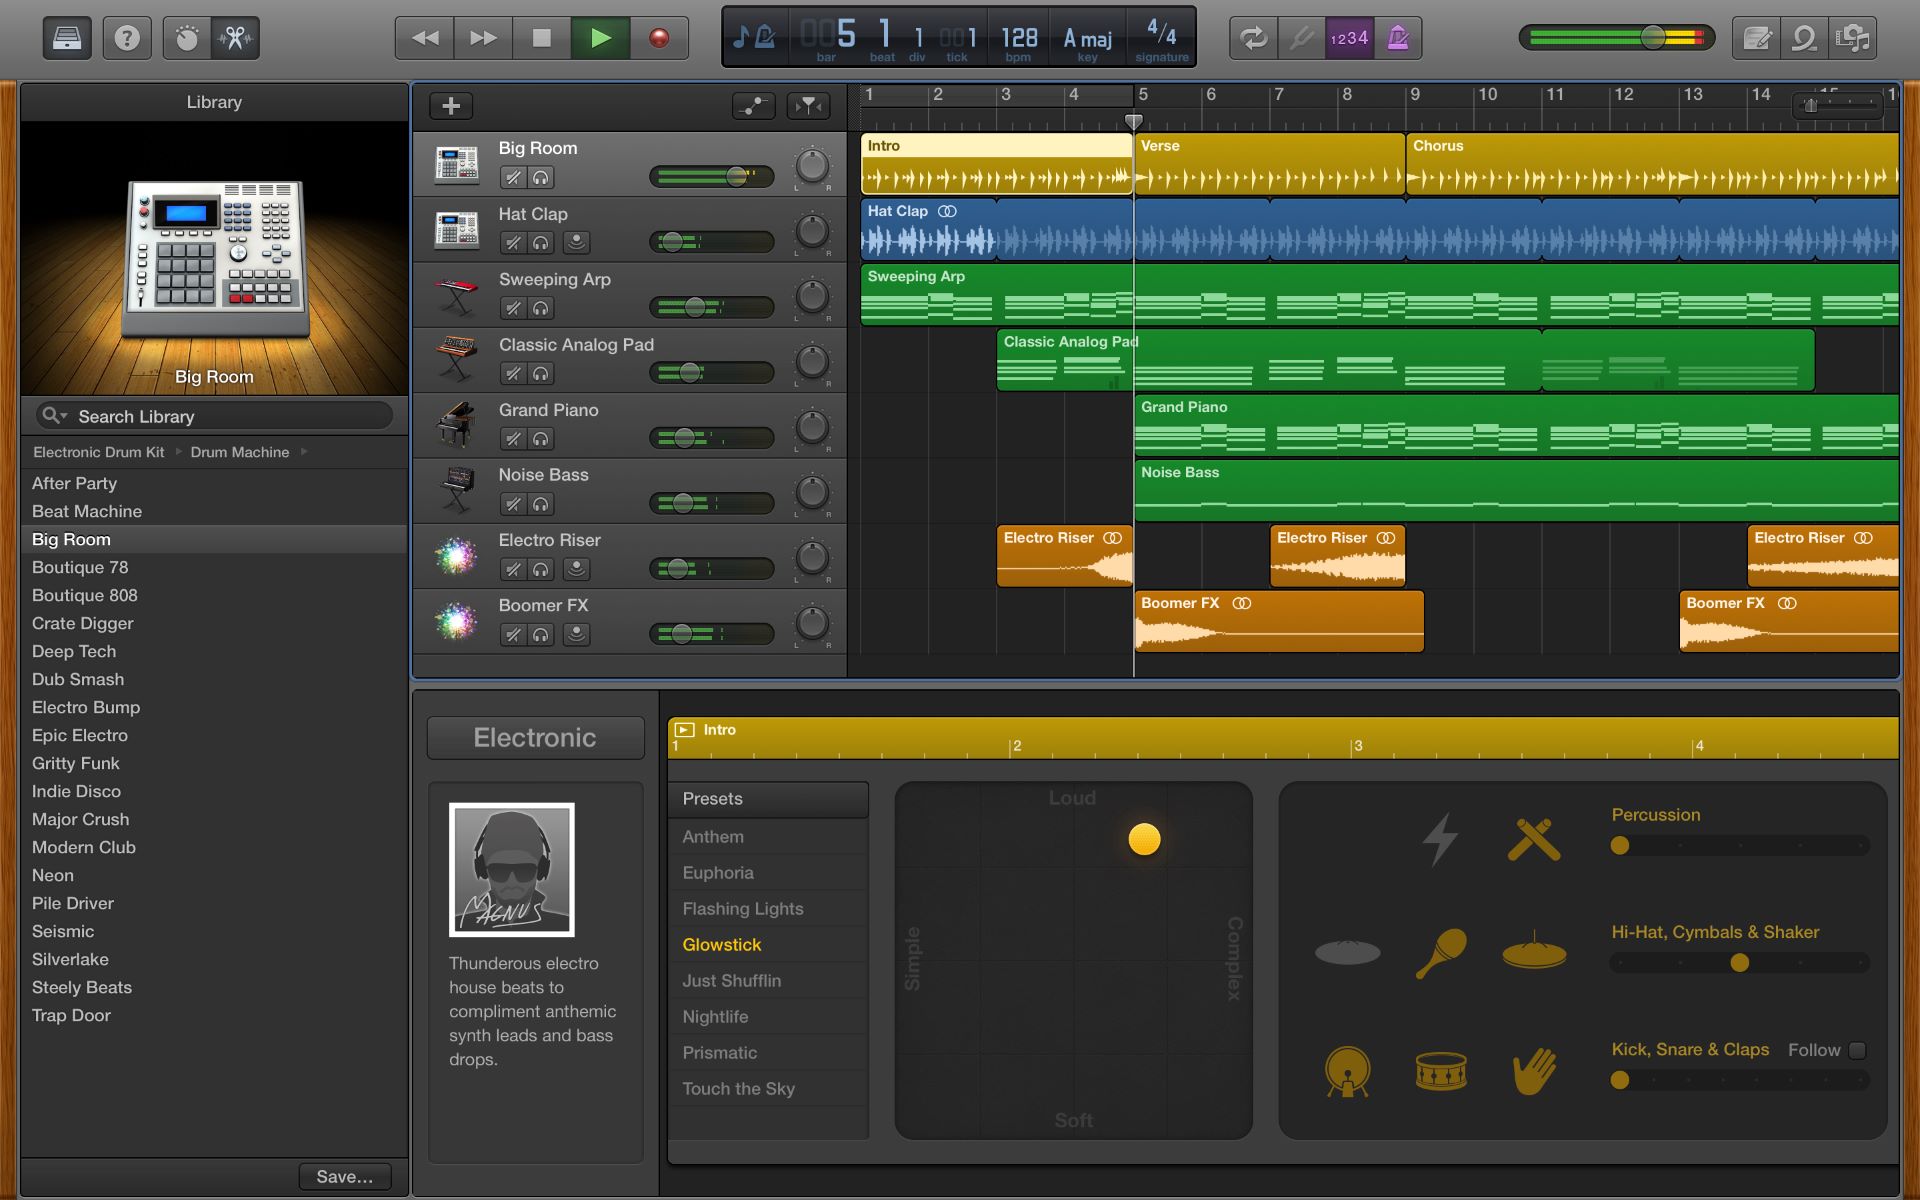
Garageband offers a couple of helpful features to aid in selecting the desired section. One option is to use the zoom feature to get a detailed view of your project’s timeline. This allows you to pinpoint the exact measures or beats where the section starts and ends. You can zoom in and out using the zoom controls located at the top right corner of the Garageband interface.
Another useful tool is the loop selection feature in Garageband. By enabling loop mode, you can set a specific range that will continuously play, making it easier to identify and fine-tune the section you want to modify. To enable loop mode, simply click on the loop button located at the top transport bar.
Once you have selected the desired section, it’s important to make sure it’s properly aligned with the grid. Garageband provides a snap-to-grid function that ensures your selection aligns with the musical beats or measures. This can be especially handy when working with complex rhythms or intricate sections.
Remember, the key to selecting the right music section is precision and accuracy. Take your time to listen and evaluate the section to ensure you have selected the exact portion you want to modify. Once you are confident in your selection, it’s time to move on to the next step: accessing the tempo controls in Garageband.
Accessing Tempo Controls
Now that we have selected the section of music we want to change the tempo for in Garageband, the next step is to access the tempo controls. Garageband provides easy access to these controls, allowing you to make adjustments quickly and efficiently.
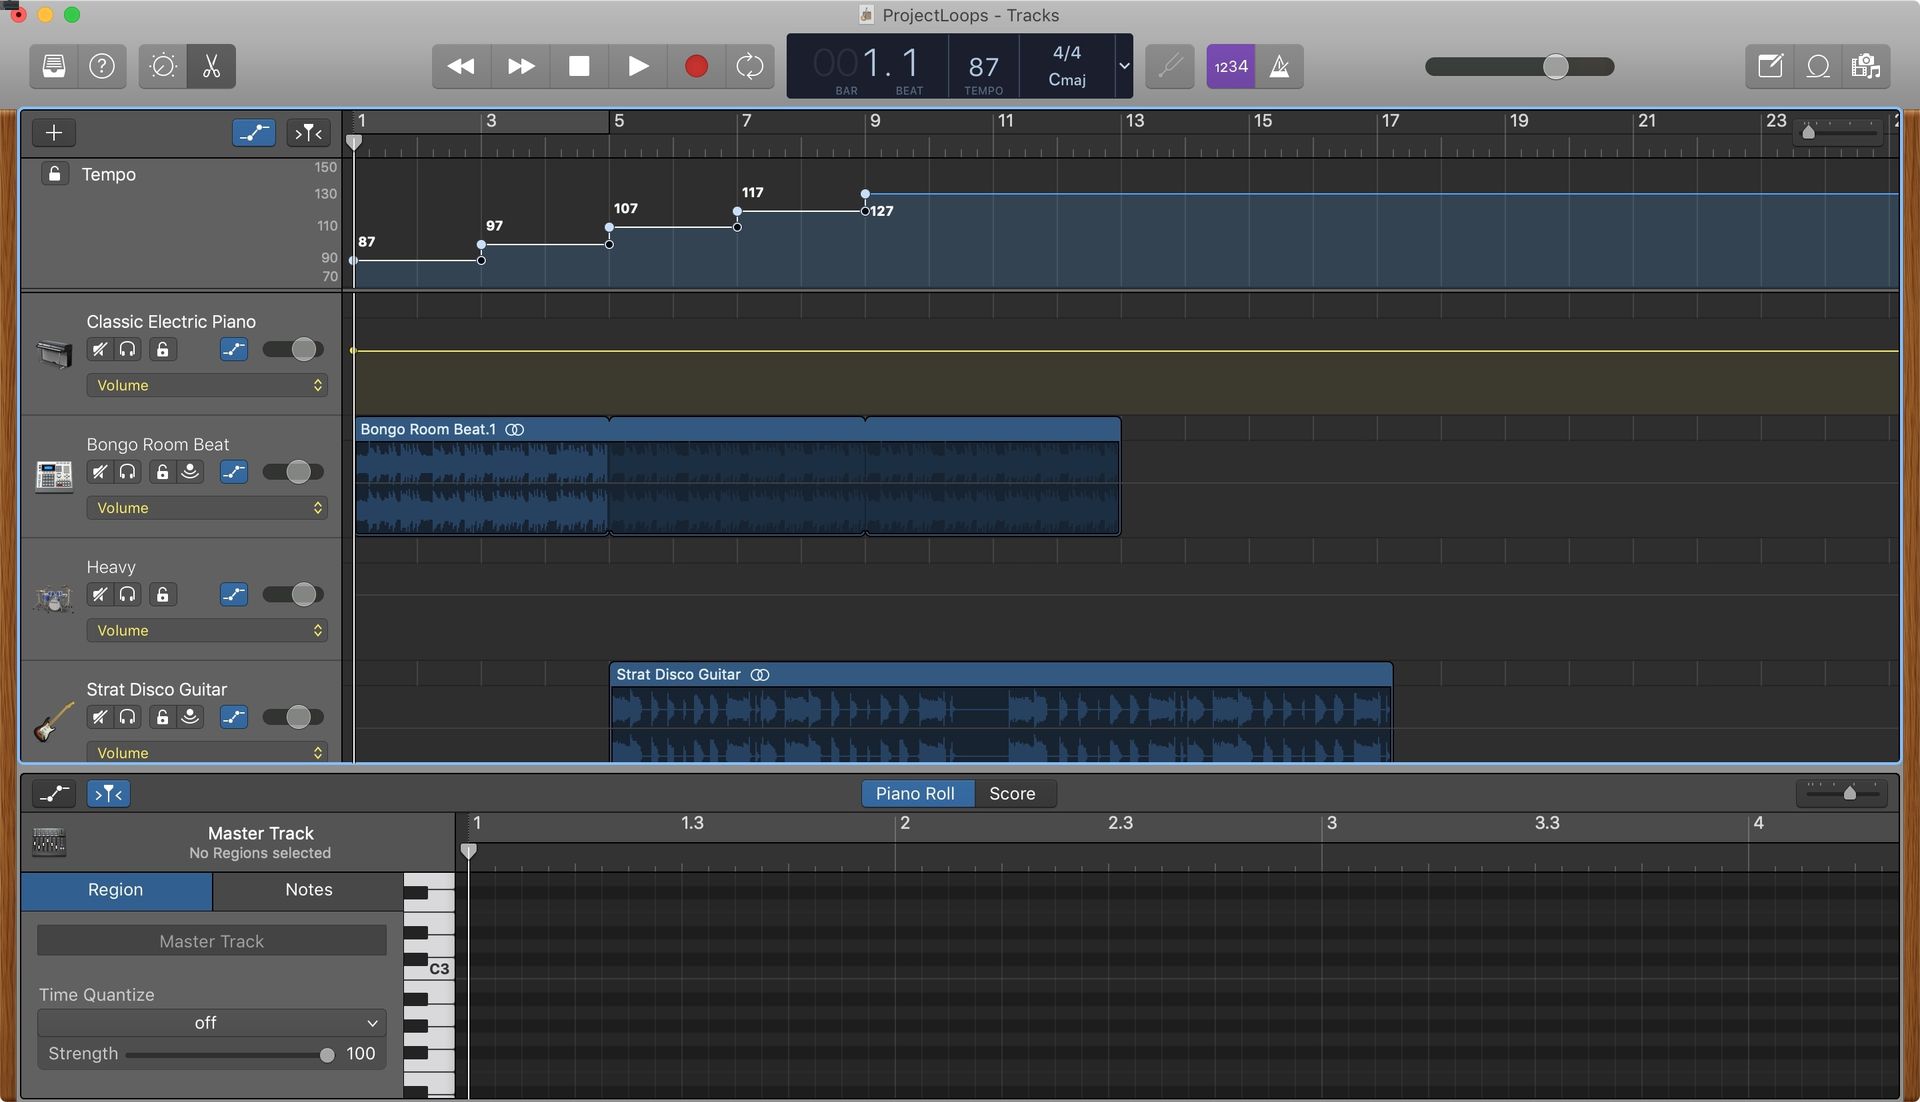
To access the tempo controls, locate the uppermost toolbar in the Garageband interface. At the top-right corner of the toolbar, you will find the “Smart Controls” button, represented by a guitar icon. Clicking on this button will open up the Smart Controls pane.
In the Smart Controls pane, you will see various sliders and buttons that control different aspects of your music project. To access the tempo controls specifically, click on the “Track” tab in the top-left corner of the pane. This will bring up a selection of track parameters.
Within the track parameters, you will find the tempo control slider. This slider allows you to adjust the tempo of the selected section of your music. Simply click and drag the slider to the left or right to decrease or increase the tempo, respectively.
Garageband provides a visual representation of the tempo changes as you move the slider. The current tempo value and the modification will be displayed in real-time, allowing you to precisely determine the desired tempo for your section.
Additionally, Garageband offers a couple of useful features related to tempo control. You can enable the “Follow Tempo & Pitch” option to ensure that any tempo changes made in your selected section are reflected throughout the entire project. This is particularly useful if you want to maintain consistent tempo changes in different sections of your music.
Furthermore, you can use the “Flex Time” feature to manipulate the timing within your section. Flex Time allows you to stretch or compress the audio within the defined section, adding further flexibility and creative possibilities to your composition.
Now that we have accessed the tempo controls in Garageband, it’s time to move on to the next step: changing the tempo of the selected music section.
Changing the Tempo
Now that we have accessed the tempo controls in Garageband, it’s time to make the desired changes to the tempo of our selected music section. With Garageband’s intuitive interface, adjusting the tempo is a straightforward process.
To begin, ensure that the selected section is still highlighted or active in Garageband. This ensures that the tempo changes will only apply to the specific section and not the entire project.
Once your section is ready, locate the tempo control slider in the Smart Controls pane. Click and drag the slider to the left to decrease the tempo or to the right to increase it. As you move the slider, Garageband provides real-time feedback, displaying the current tempo value and the modifications you are making.
Experiment with different tempo settings to find the perfect fit for your music section. Garageband allows for precise adjustments, letting you fine-tune the tempo to match your creative vision.
Additionally, if you want more granular control over the tempo changes, you can input the desired tempo value manually. To do this, click on the tempo value displayed next to the slider and enter the desired value using your keyboard. This is particularly helpful if you already have a specific tempo in mind.
Remember, you can always experiment with different tempos to see how your music section transforms. Garageband allows you to make multiple adjustments until you find the tempo that best complements your composition.
It’s worth noting that changing the tempo can have a significant impact on the overall feel and mood of your music. Faster tempos can create a sense of energy and excitement, while slower tempos can evoke a more relaxed or contemplative atmosphere. Consider how the tempo changes align with your artistic intentions and the overall context of your music.
Once you are satisfied with the tempo changes you have made, it’s time to move on to the next step: listening to the modified section and evaluating the outcome.
Listening to the Modified Section
After making the desired tempo changes to your selected music section in Garageband, it’s important to listen to the modified section to evaluate the outcome. By doing so, you can ensure that the tempo adjustments have met your creative goals and have enhanced the overall musicality of the section.
To listen to the modified section, simply play back your music project in Garageband. You can do this by clicking the play button located in the transport bar at the top of the interface. As the music plays, focus on the section you modified and pay attention to how the tempo changes have affected the overall flow and feel of the music.
Listen carefully to the newly adjusted tempo and observe its impact on the rhythm, dynamics, and emotional tone of the section. Notice if the changes have enhanced the energy, added tension, or created a sense of relaxation, depending on the direction you took with the tempo adjustments.
While listening, it’s also important to take note of any discrepancies or unintended effects that may have occurred as a result of the tempo changes. For example, if the timing between elements within the section sounds off or if certain instrument parts no longer align properly, you may need to make further adjustments to fine-tune the tempo or utilize Garageband’s Flex Time feature to address any timing issues.
Consider seeking feedback from others during this stage as well. Asking for the opinions of trusted friends, fellow musicians, or music producers can provide valuable insights and help you make more informed decisions about the modified section.
Remember that experimentation is key. If you are not fully satisfied with the tempo changes, feel free to revert back to the previous tempo, or continue to iterate and make further adjustments until you achieve the desired outcome.
Once you are confident that the modified section accurately reflects your creative vision and is seamlessly integrated into the overall composition, it’s time to save and export the edited music.
Saving and Exporting the Edited Music
Now that you have successfully modified and fine-tuned the tempo of your selected music section in Garageband, it’s important to save and export your edited music. By doing so, you can preserve your work and share it with others or use it in other projects.
To save your edited music in Garageband, go to the “File” menu at the top of the interface and click on “Save” or use the keyboard shortcut “Command + S”. This will save your project with the tempo changes intact.
It’s recommended to create a backup of your project by periodically using the “Save As” option, which allows you to save a copy of the project under a different name or in a different location. Creating backups ensures that you have multiple versions of your work, providing added security and the flexibility to revert back to a previous state if needed.
When it comes to exporting your edited music, Garageband offers various options to suit your needs. To access the export options, go to the “Share” menu at the top of the interface. From there, you can choose to export your edited music as an audio file, a Garageband project, or even directly to a streaming service.
If you want to export your edited music as an audio file, you can select the “Export Song to Disk” option. This will allow you to choose the desired file format, quality settings, and location to save the file. Formats such as MP3, WAV, or AIFF are commonly used for exporting music.
If you prefer to export your edited music as a Garageband project, you can use the “Export Project to Disk” option. This allows you to save your project in a format that can be opened and further edited in Garageband or other compatible DAWs.
Garageband also provides a convenient option for directly sharing your music to streaming platforms such as Apple Music or SoundCloud. This allows you to distribute your edited music to a wider audience and showcase your creative work.
Before exporting, it’s crucial to double-check and listen to the exported audio to ensure that all the tempo changes are accurately reflected. This step helps to prevent any surprises or discrepancies when sharing or using the edited music in other contexts.
By following these steps and saving/exporting your edited music correctly, you can preserve your creative work and share it with the world. Now that you have successfully completed the process of changing the tempo of a section of music in Garageband, take pride in your accomplishment and continue to explore the endless possibilities of music production in this powerful software.
Conclusion
Garageband provides a user-friendly platform for musicians to create, edit, and produce their own music. The ability to change the tempo of a section of music within the software opens up a world of creative possibilities. Whether you’re looking to add excitement, create transitions, or experiment with different musical ideas, Garageband’s tempo controls make it easy.
In this article, we’ve covered the step-by-step process of changing the tempo of a section in Garageband. We began by understanding the software’s key components and features, ensuring a solid foundation for working with Garageband. Then, we explored how to select the desired music section accurately, using zoom and loop tools to facilitate the process.
Accessing the tempo controls in Garageband was straightforward, thanks to the intuitive interface. We discussed how to locate and utilize the tempo slider, allowing for both manual input and real-time adjustments. By making careful changes to the tempo, musicians have the power to deeply influence the mood and impact of their music.
Listening to the modified section is a crucial step in the process. By carefully evaluating the impact of the tempo changes, musicians can ensure that their creative goals have been met. Fine-tuning the tempo, addressing timing issues using Garageband’s Flex Time feature, and seeking feedback from others can further enhance the quality of the modified section.
Lastly, we explored how to save and export the edited music. By saving the project, creating backups, and exporting the music as audio files or Garageband projects, musicians can share their work with others or use it in different contexts. Garageband even provides convenient options for direct sharing on streaming platforms, broadening the reach of the edited music.
In conclusion, Garageband offers a powerful and accessible toolset for musicians to experiment, create, and innovate. With its tempo-changing capabilities and a wide range of features, Garageband empowers musicians to craft their music exactly as they envision. So go ahead, embrace the tempo controls in Garageband, and unleash your creativity to take your music to new heights.