Home>Production & Technology>Metronome>How To Change Metronome In Ableton Live
Metronome
How To Change Metronome In Ableton Live
Modified: February 20, 2024
Learn how to change the metronome settings in Ableton Live and improve your timing and rhythm. Discover different metronome options to enhance your music production.
(Many of the links in this article redirect to a specific reviewed product. Your purchase of these products through affiliate links helps to generate commission for AudioLover.com, at no extra cost. Learn more)
Table of Contents
Introduction
Welcome to the world of music production! Whether you’re a beginner or a seasoned producer, having a solid sense of rhythm is crucial. This is where the metronome comes into play. It acts as your virtual drummer, keeping time and providing a steady beat to guide your musical endeavors.
One of the most popular digital audio workstations (DAW) among music producers is Ableton Live. Known for its versatility and user-friendly interface, Ableton Live offers a wide array of features, including a customizable metronome. With Ableton Live, you have the ability to change the default metronome settings, adjust the volume, customize the sound, and even sync it with external devices.
In this article, we will guide you through the process of changing the metronome settings in Ableton Live, allowing you to tailor it to your specific needs and preferences. Whether you prefer a steady click, a unique sound, or a different time signature, we’ve got you covered. So, let’s dive in and discover how to make the metronome in Ableton Live work for you.
Understanding the Metronome in Ableton Live
The metronome is a fundamental tool in music production and is used to establish a consistent beat or tempo for your compositions. In Ableton Live, the metronome serves as a guide, helping you stay in time and maintain a steady rhythm.
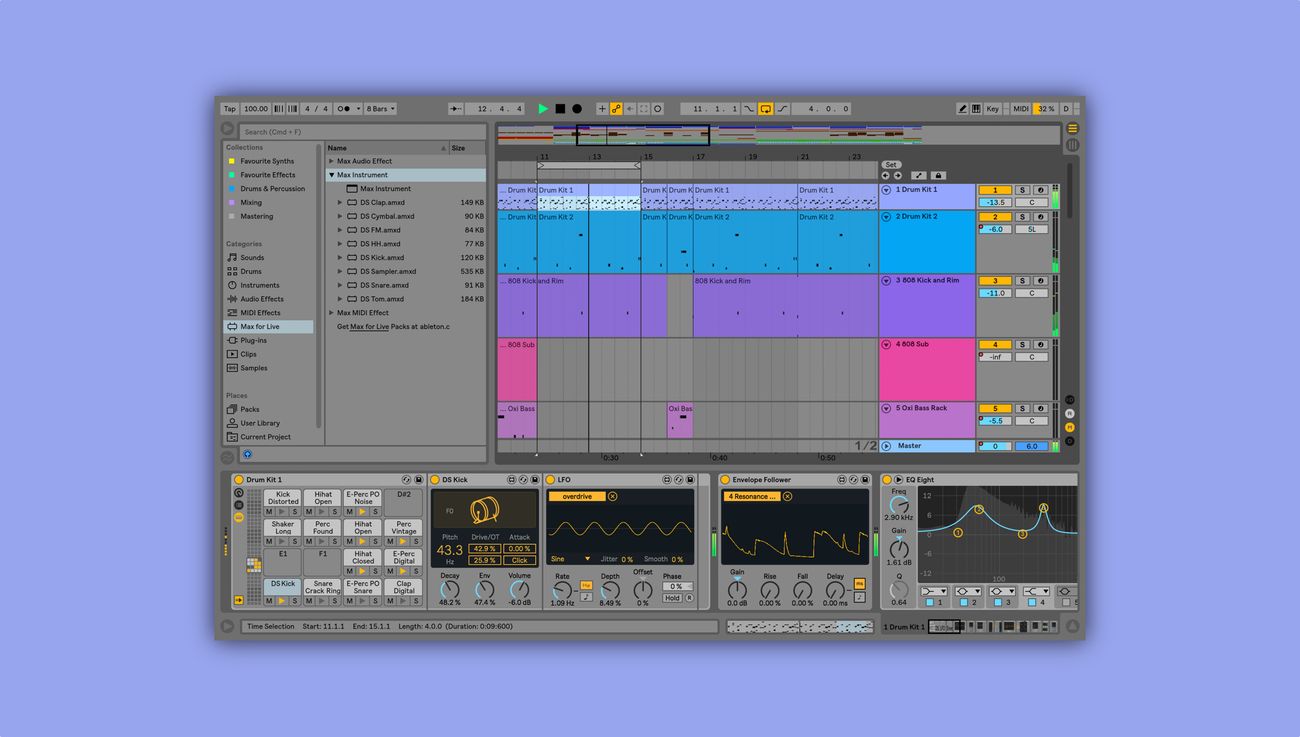
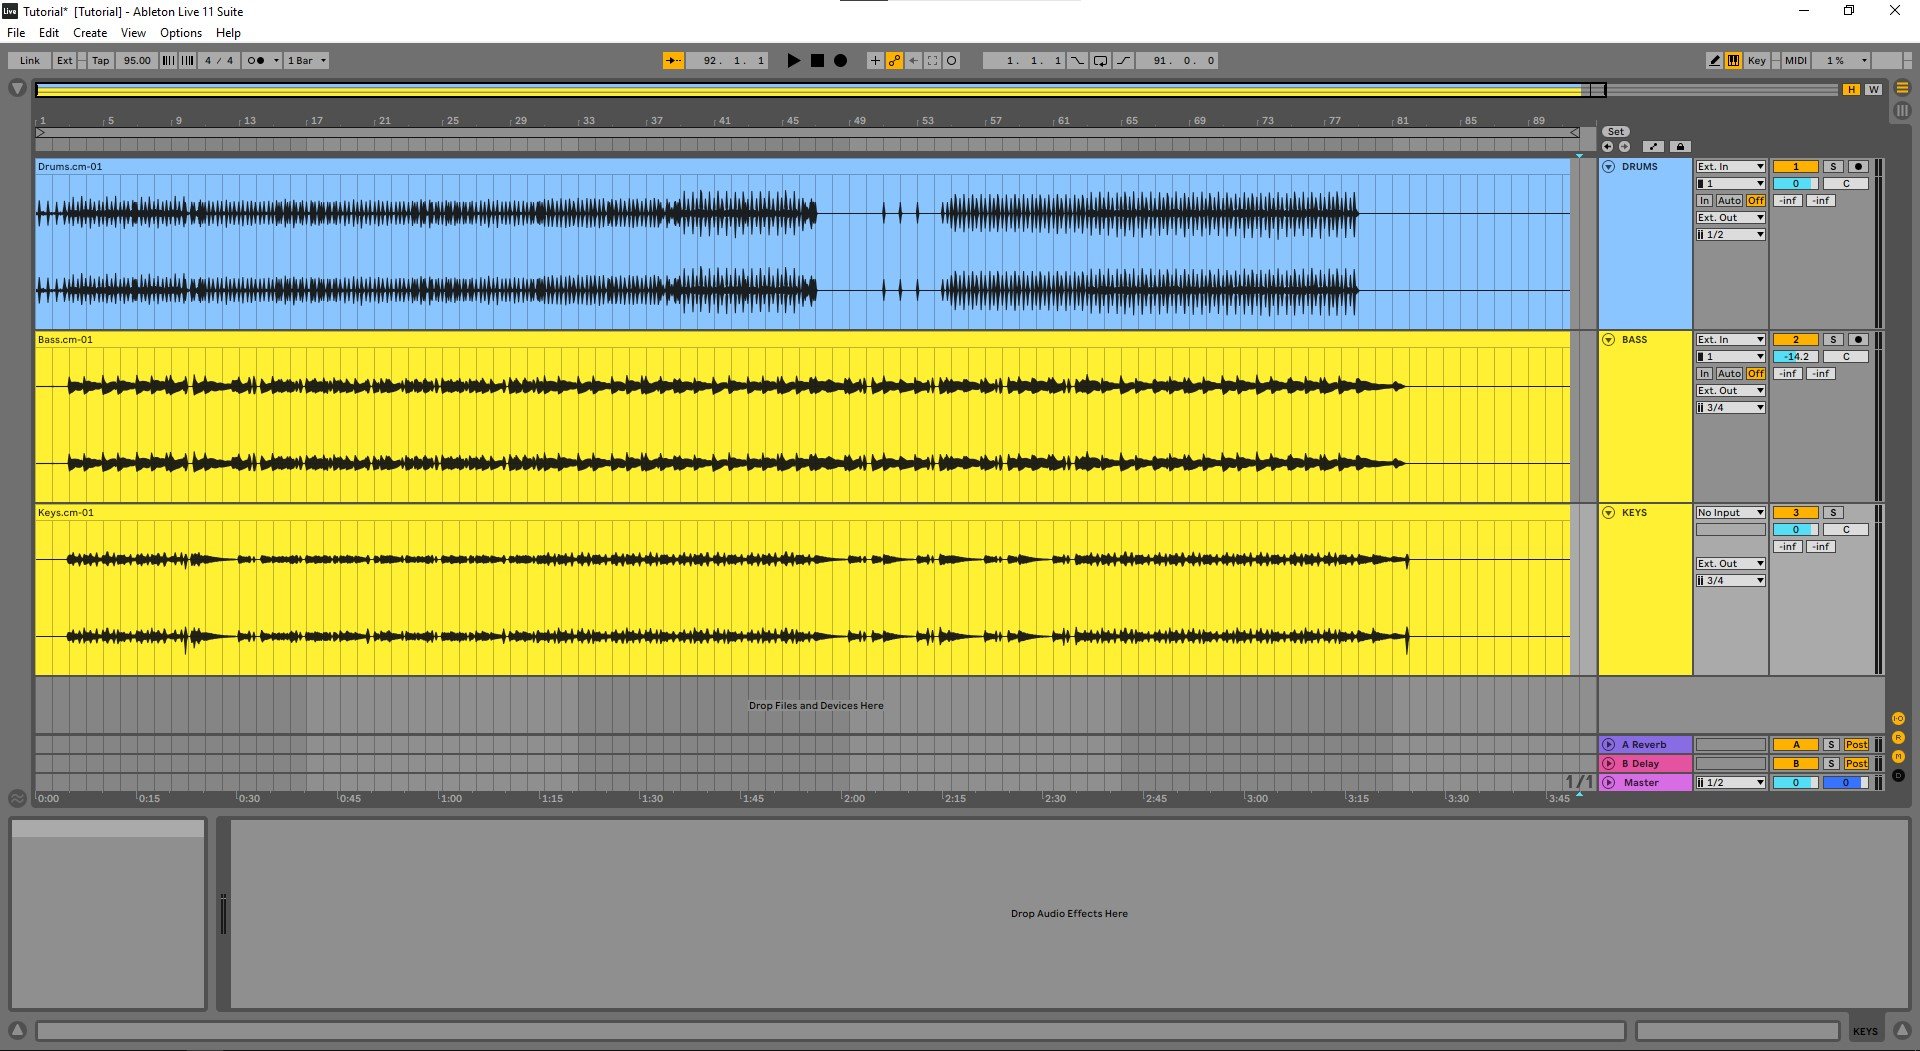
By default, the metronome in Ableton Live is set to a simple click sound that plays on every beat. It is represented by a small speaker icon located near the transport controls at the top of the interface. When the metronome is active, you will see a white bar moving across the timeline to indicate the current beat.
Understanding the metronome’s role is crucial, as it helps you align different elements of your music, such as drum patterns, melodies, and basslines. It acts as the heartbeat of your composition, ensuring all the elements work together harmoniously.
Additionally, the metronome provides a reference point for recording and performing live. It helps you maintain a consistent tempo, which is especially important when working with other musicians or syncing your music with visuals.
As a producer, it’s essential to familiarize yourself with the metronome and how it interacts with your workflow. From changing its sound to adjusting the volume and time signature, being able to customize the metronome in Ableton Live allows you to create a more personalized and comfortable working environment.
Now that we have a basic understanding of the metronome’s importance, let’s explore how to change its default settings in Ableton Live.
Changing the Default Metronome Settings
In Ableton Live, you have the flexibility to modify the default metronome settings to suit your preferences and workflow. By adjusting parameters such as volume, sound, and time signature, you can create a metronome that aligns perfectly with your creative vision.
To begin customizing the metronome settings, locate the metronome icon near the top of the Ableton Live interface. Click on the metronome icon to open the metronome settings panel.
One of the first settings you can change is the metronome volume. By default, the volume is set to 0 decibels, which allows you to hear the metronome clearly without overpowering other elements of your project. However, you can freely adjust the volume slider to increase or decrease the metronome’s loudness.
Next, you can customize the metronome sound. Ableton Live offers a variety of click sounds to choose from, including various types of clicks, ticks, and even musical tones. To change the sound, click on the drop-down menu labeled “Sound” within the metronome settings panel. Experiment with different sounds and choose the one that resonates with your style of music.
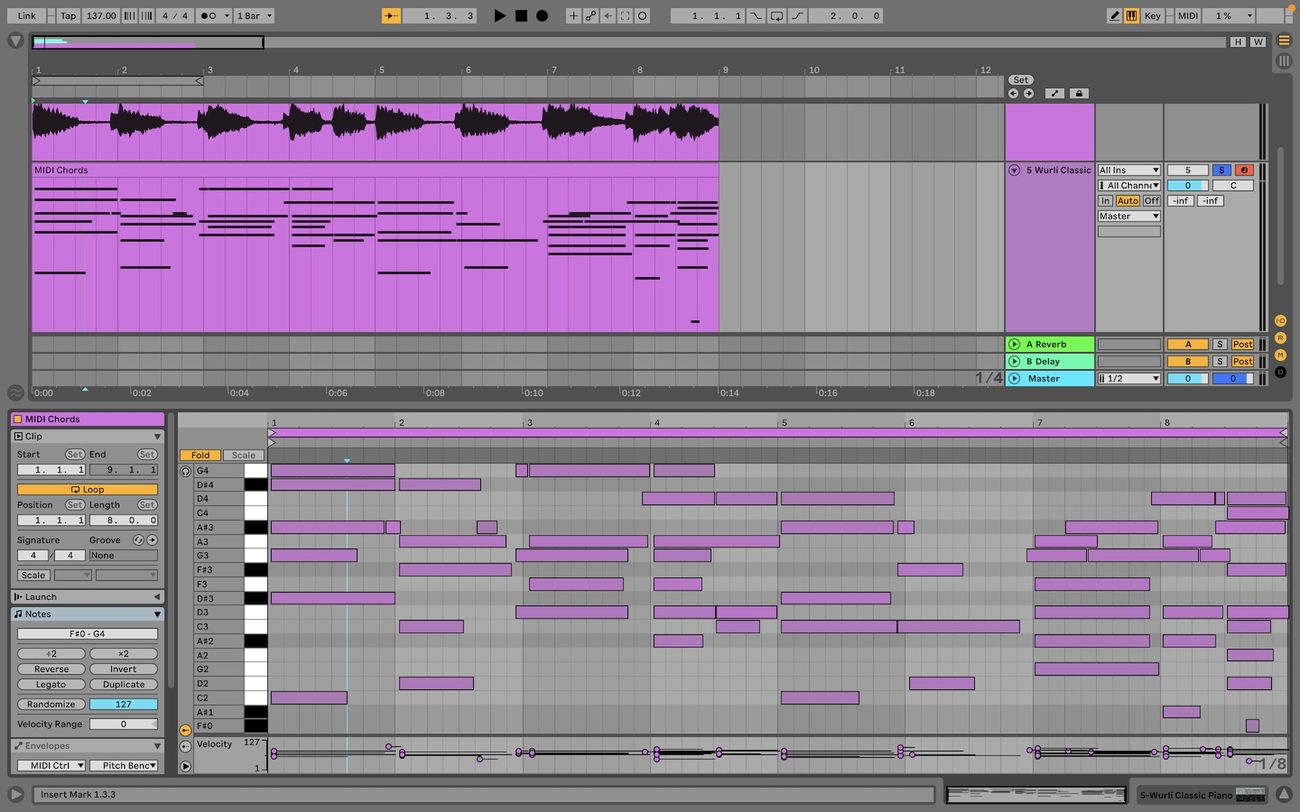
In addition to volume and sound, you can also modify the metronome’s time signature. By default, the time signature is set to 4/4, which is a common time signature in many genres. However, if you’re working on a project with a different time signature, you can easily adjust it to match your desired rhythmic pattern. Simply click on the drop-down menu labeled “Time Signature” and select the appropriate option.
Remember, these changes are not permanent and will only affect the current session. If you want to save these settings for future projects, you can create a template or adjust the default settings in Ableton Live’s preferences.
By customizing the default metronome settings in Ableton Live, you can create a rhythmic foundation that perfectly aligns with your creative vision. Whether you prefer a subtle click sound at a low volume or a distinct sound with a unique time signature, Ableton Live allows you to tailor the metronome to your liking.
Now that we’ve explored how to change the default metronome settings, let’s move on to adjusting the metronome volume for a more comfortable listening experience.
Adjusting the Metronome Volume
Having the ability to control the volume of the metronome in Ableton Live is essential for maintaining a comfortable and balanced listening experience. By adjusting the metronome volume, you can ensure that it doesn’t overpower other elements of your project while still providing a clear and audible beat to guide your music production.
To adjust the metronome volume in Ableton Live, follow these steps:
- Click on the metronome icon located near the top of the Ableton Live interface. This will open the metronome settings panel.
- Locate the volume slider within the metronome settings panel. By default, the volume is set to 0 decibels (dB).
- Drag the volume slider to increase or decrease the metronome volume. Moving the slider to the right will increase the volume, while moving it to the left will decrease it.
- While adjusting the volume, it’s important to find a balance where the metronome is clearly audible but not overpowering. Consider the other elements in your project, such as drums, instruments, and vocals, and ensure that the metronome doesn’t dominate the mix.
By tweaking the metronome volume, you can customize your listening experience to match your preferences and working environment. Some producers prefer a subtle metronome sound, while others may prefer it to be more prominent. Additionally, adjusting the volume allows you to accommodate different monitoring setups, such as headphones, studio monitors, or portable speakers.
Remember to listen critically and make adjustments as needed. You can always come back to the metronome settings panel and modify the volume if necessary. It’s all about finding the right balance that allows you to stay in time and capture the essence of your musical ideas.
Now that you know how to adjust the metronome volume, let’s move on to customizing the metronome sound to add a personal touch to your productions.
Customizing the Metronome Sound
One of the advantages of using Ableton Live is the ability to customize the metronome sound. The metronome doesn’t have to be a traditional click; instead, you can choose from a range of sounds to make it unique and fit your style of music.
To customize the metronome sound in Ableton Live, follow these steps:
- Click on the metronome icon near the top of the Ableton Live interface to open the metronome settings panel.
- Within the metronome settings panel, locate the drop-down menu labeled “Sound”. Click on the drop-down menu to reveal a list of available sound options.
- Preview different sound options by clicking on them. This will allow you to hear how each sound sounds before selecting it.
- Once you find a sound that you like, click on it to select it as your new metronome sound.
When customizing the metronome sound, it’s important to consider the genre and mood of your music. For example, if you’re producing electronic dance music (EDM), you may prefer a more synthetic and percussive sound. On the other hand, if you’re working on a jazz or classical composition, a softer and more traditional sound might be more appropriate.
Experimenting with different metronome sounds can also inspire creativity and add a unique touch to your productions. Some producers even create their own custom metronome sounds using samples or synthesizers to truly make it their own.
Remember, the choice of metronome sound is subjective and should reflect your personal taste and artistic vision. By customizing the metronome sound, you can create a more engaging and enjoyable working environment that enhances your creative process.
Now that we’ve explored how to customize the metronome sound, let’s move on to changing the metronome time signature for more complex rhythmic possibilities.
Changing the Metronome Time Signature
In music production, the time signature defines the rhythmic structure of a piece. Ableton Live allows you to change the metronome time signature to match the specific rhythmic pattern or time signature of your composition.
To change the metronome time signature in Ableton Live, follow these steps:
- Click on the metronome icon near the top of the Ableton Live interface to open the metronome settings panel.
- Within the metronome settings panel, locate the drop-down menu labeled “Time Signature”. Click on the drop-down menu to reveal a list of available time signature options.
- Choose the desired time signature from the available options. Ableton Live provides a wide range of choices, including common time signatures like 4/4, 3/4, and 6/8, as well as more complex and irregular time signatures.
- Once you’ve selected the appropriate time signature, the metronome will automatically adjust to the new rhythm. The white bar moving across the timeline will reflect the updated time signature, providing you with an accurate beat and reference point for your music.
Changing the metronome time signature opens up a world of possibilities in terms of rhythm and groove. It allows you to experiment with different rhythmic patterns and syncopations, adding complexity and interest to your compositions.
Keep in mind that when altering the time signature, it’s important to consider the overall structure of your music. Different time signatures convey different moods and create distinct rhythmic feels. Understanding the musical implications of time signatures and experimenting with different combinations can result in exciting and unique musical arrangements.
By changing the metronome time signature in Ableton Live, you can expand your rhythmic capabilities and explore new creative avenues in your music production process.
Now that we’ve covered how to change the metronome time signature, let’s delve into syncing the metronome with external devices.
Syncing the Metronome with External Devices
In addition to using the metronome within Ableton Live, you can also sync it with external devices to ensure perfect timing and synchronization. This feature is particularly useful when collaborating with other musicians, performing live, or integrating your music with visuals or lighting.
To sync the metronome with external devices in Ableton Live, follow these steps:
- Connect your external device, such as a MIDI controller or drum machine, to your computer using the appropriate cables.
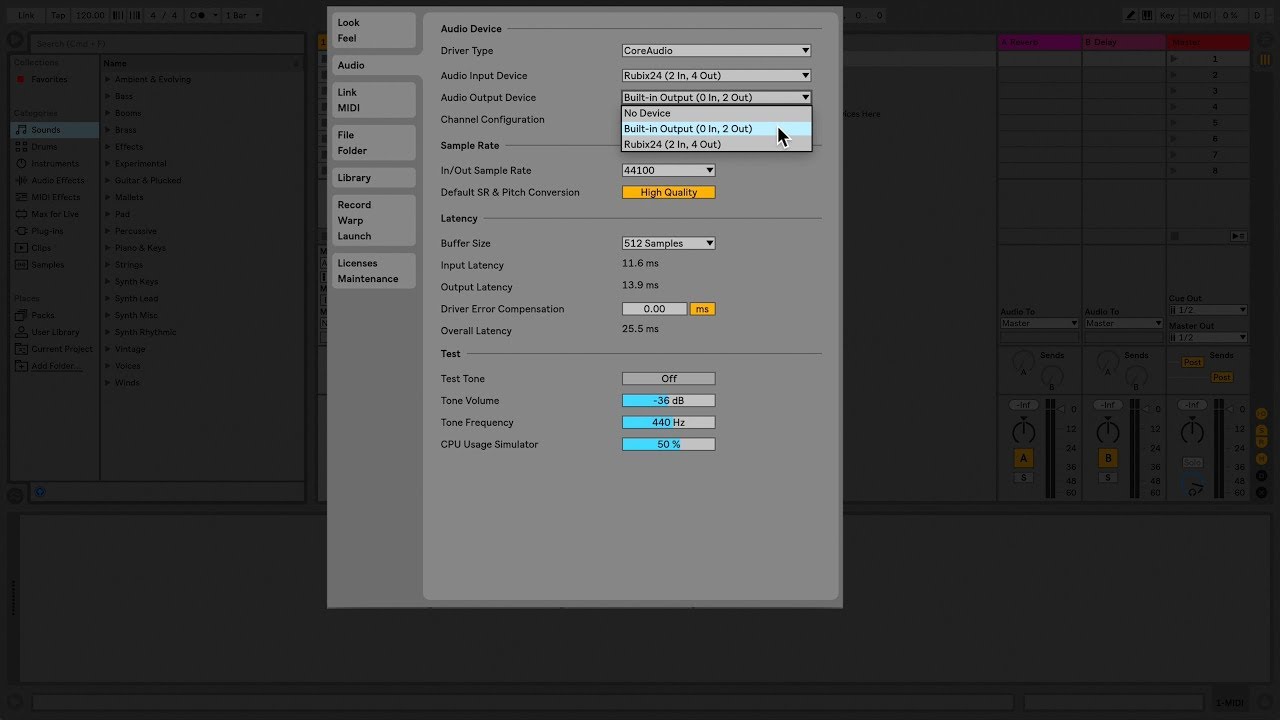
- In Ableton Live, navigate to the Preferences menu by clicking on “Live” in the toolbar and selecting “Preferences”.
- Within the Preferences menu, select the “Link/MIDI” tab.
- Under the “MIDI Sync” section, select the desired MIDI output port for your external device.
- Ensure that the “Sync” button is enabled. This will enable Ableton Live to automatically sync with your external device.
- Start playback in Ableton Live, and the metronome will now sync with your external device, allowing you to maintain perfect timing and synchronization.
Syncing the metronome with external devices enhances collaboration and performance capabilities by ensuring that all musicians and elements of your production are in sync. This is particularly important when working with drum machines, samplers, or any other hardware that relies on precise timing.
With Ableton Live’s MIDI syncing capabilities, you have the freedom to integrate your music with live visuals or lighting systems, creating a fully immersive and synchronized audiovisual experience. This is especially useful for live performances or when producing music for videos or multimedia projects.
Remember, when syncing the metronome with external devices, it’s important to consider the MIDI settings of both Ableton Live and the connected hardware. Consult the user manuals or documentation of your specific devices for instructions on setting up MIDI sync.
By syncing the metronome with external devices in Ableton Live, you can elevate your music production and performance capabilities, ensuring precise timing and synchronized audiovisual experiences.
Now that we’ve covered syncing the metronome with external devices, let’s conclude our exploration of the metronome in Ableton Live.
Conclusion
The metronome is an essential tool for any music producer, and Ableton Live provides powerful features to customize and optimize its functionality. Throughout this article, we’ve explored how to change the default metronome settings, adjust the volume, customize the sound, and even sync it with external devices.
By taking advantage of Ableton Live’s metronome customization options, you can enhance your workflow, stay in time, and create music that flows effortlessly. Whether you prefer a subtle click or a unique sound, Ableton Live allows you to tailor the metronome to your personal preferences and musical style.
Remember to adjust the metronome volume to suit your listening environment and ensure it doesn’t overpower other elements of your project. Experiment with different metronome sounds to add a personalized touch to your productions, and consider changing the metronome time signature to explore new rhythmic possibilities.
Furthermore, by syncing the metronome with external devices, you can collaborate with other musicians, perform live with perfect synchronization, or integrate your music with visuals and lighting systems for a more immersive experience.
As you continue your music production journey with Ableton Live, make the metronome your trusted companion. Use it to stay on beat, align different musical elements, and develop a solid sense of rhythm. With the ability to customize and optimize the metronome in Ableton Live, you are empowered to create music that is precise, expressive, and truly your own.
So, embrace the power of the metronome in Ableton Live and let it guide you on your musical adventures. Stay in time, feel the groove, and create music that moves the soul.