Home>Production & Technology>Metronome>How To Change Metronome On Yamaha Keyboard

Metronome
How To Change Metronome On Yamaha Keyboard
Published: January 14, 2024
Learn how to change the metronome settings on your Yamaha keyboard and improve your rhythm and timing. Discover the various options and customize the metronome to suit your musical preferences.
(Many of the links in this article redirect to a specific reviewed product. Your purchase of these products through affiliate links helps to generate commission for AudioLover.com, at no extra cost. Learn more)
Table of Contents
Introduction
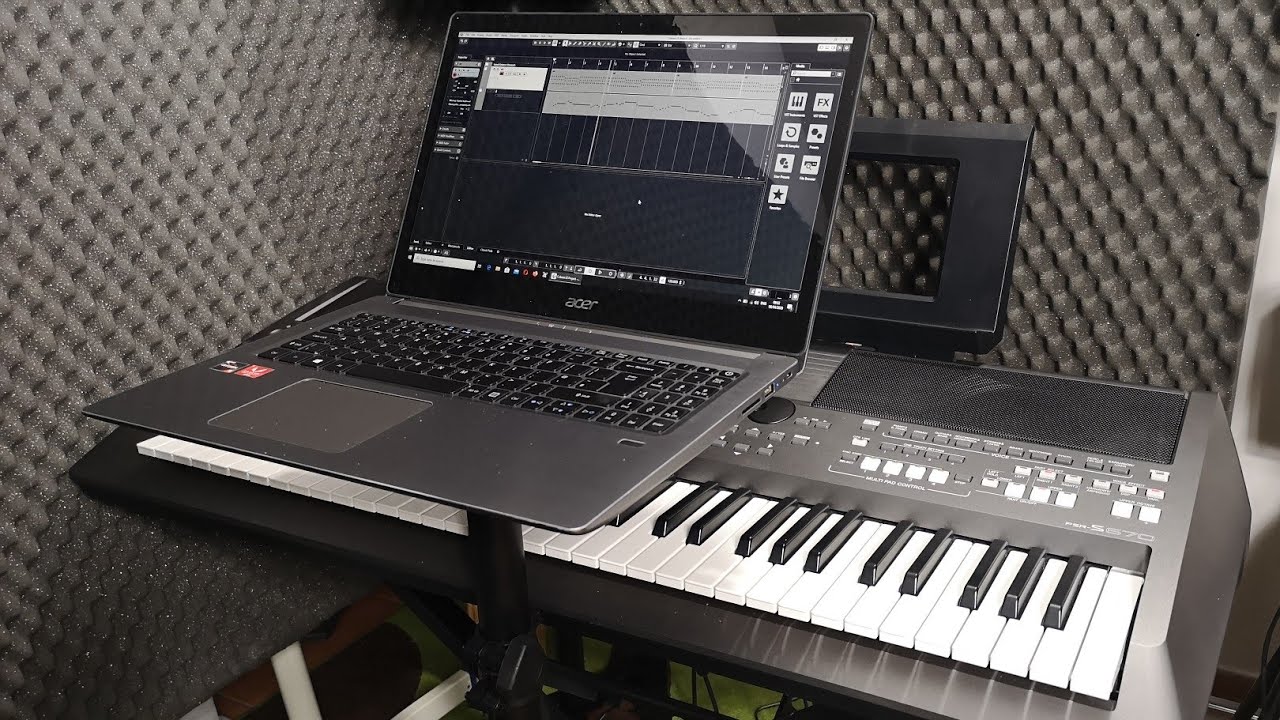
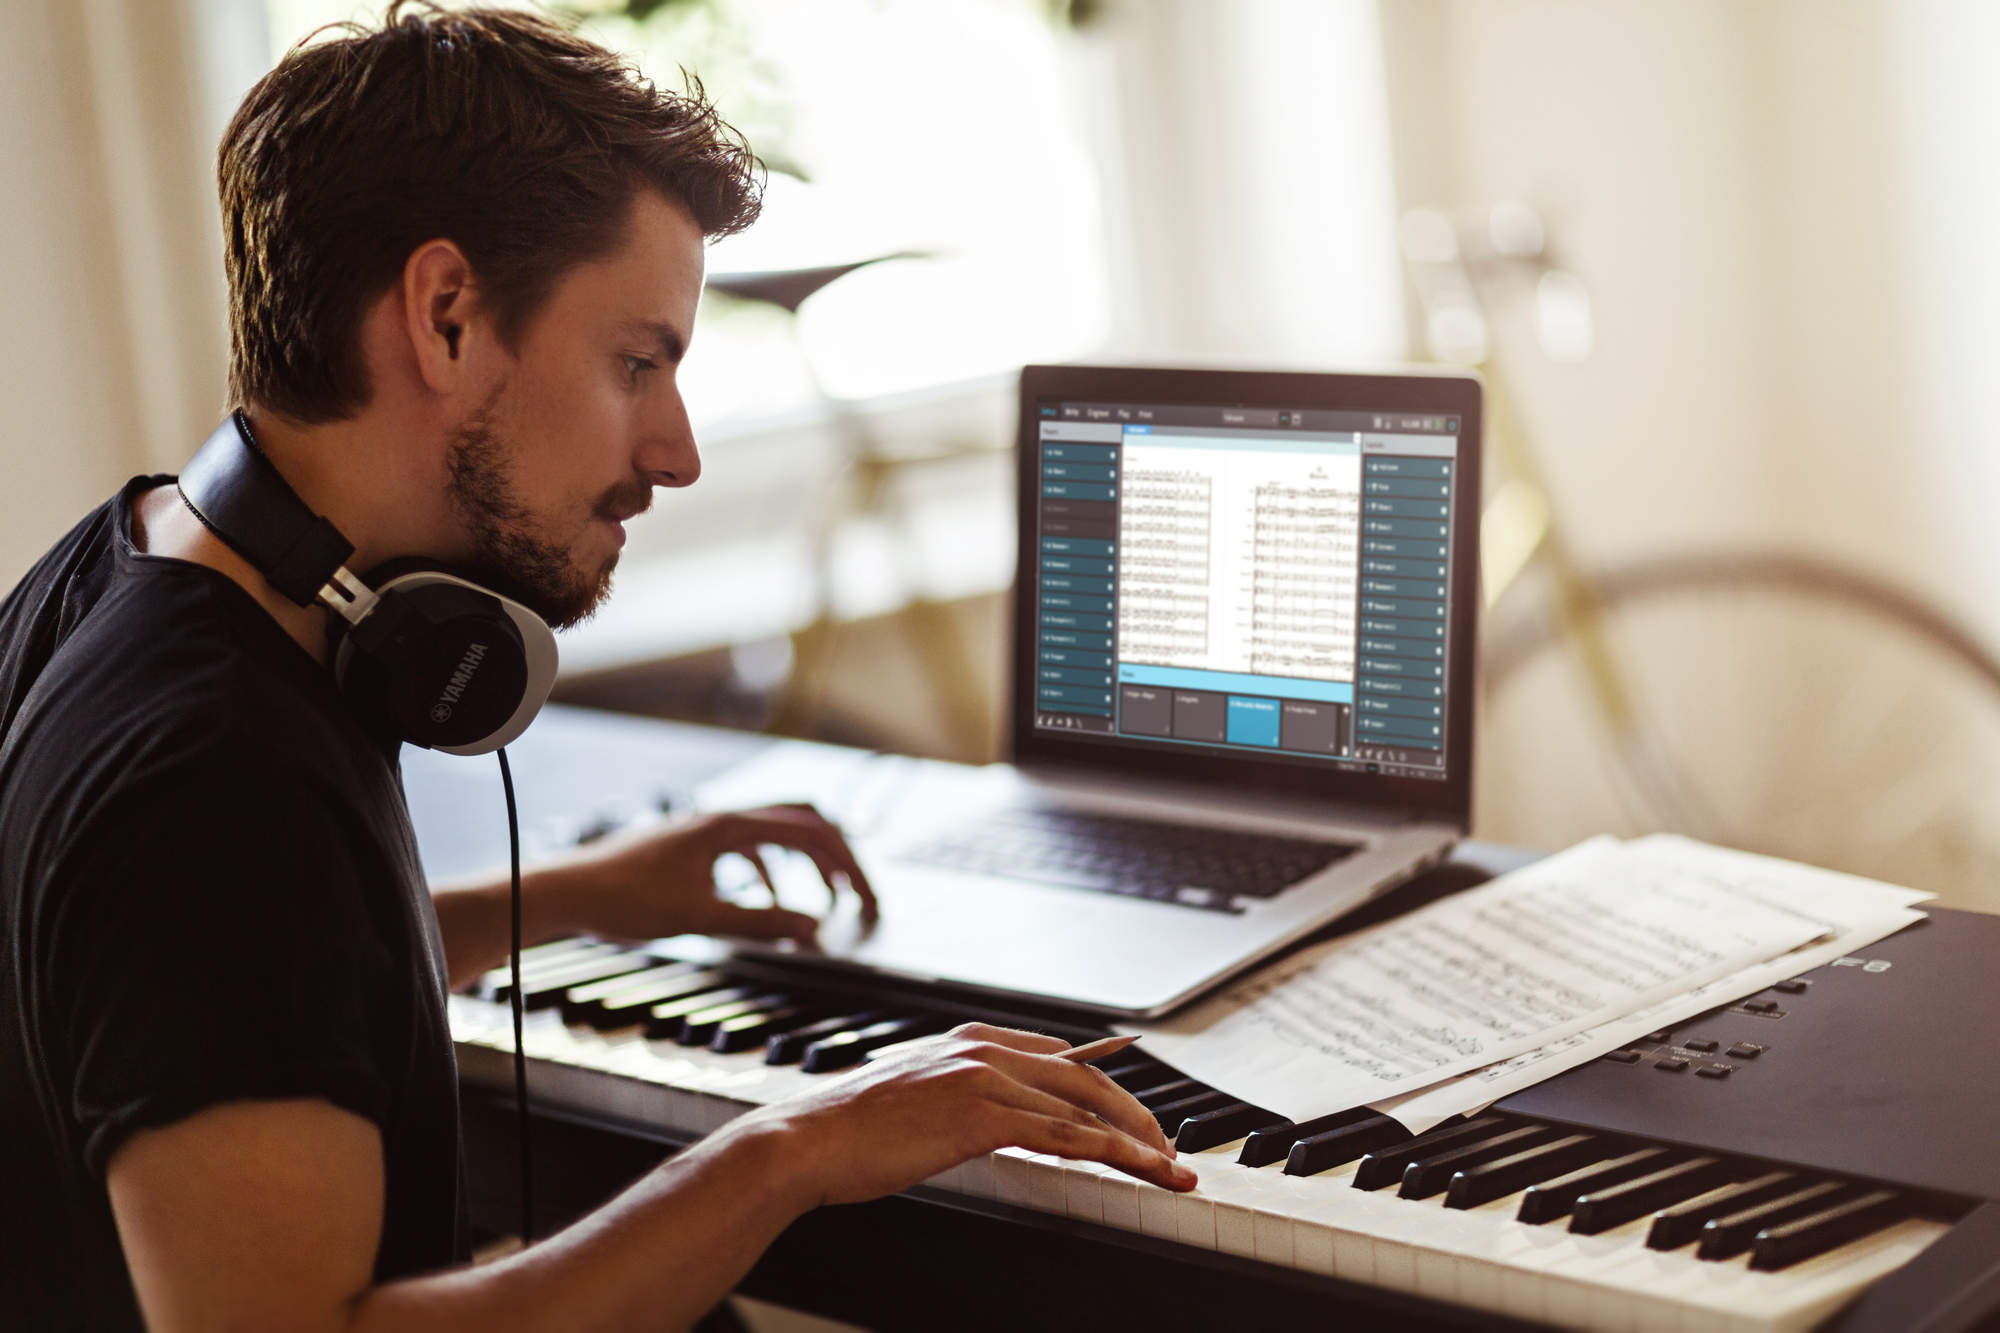
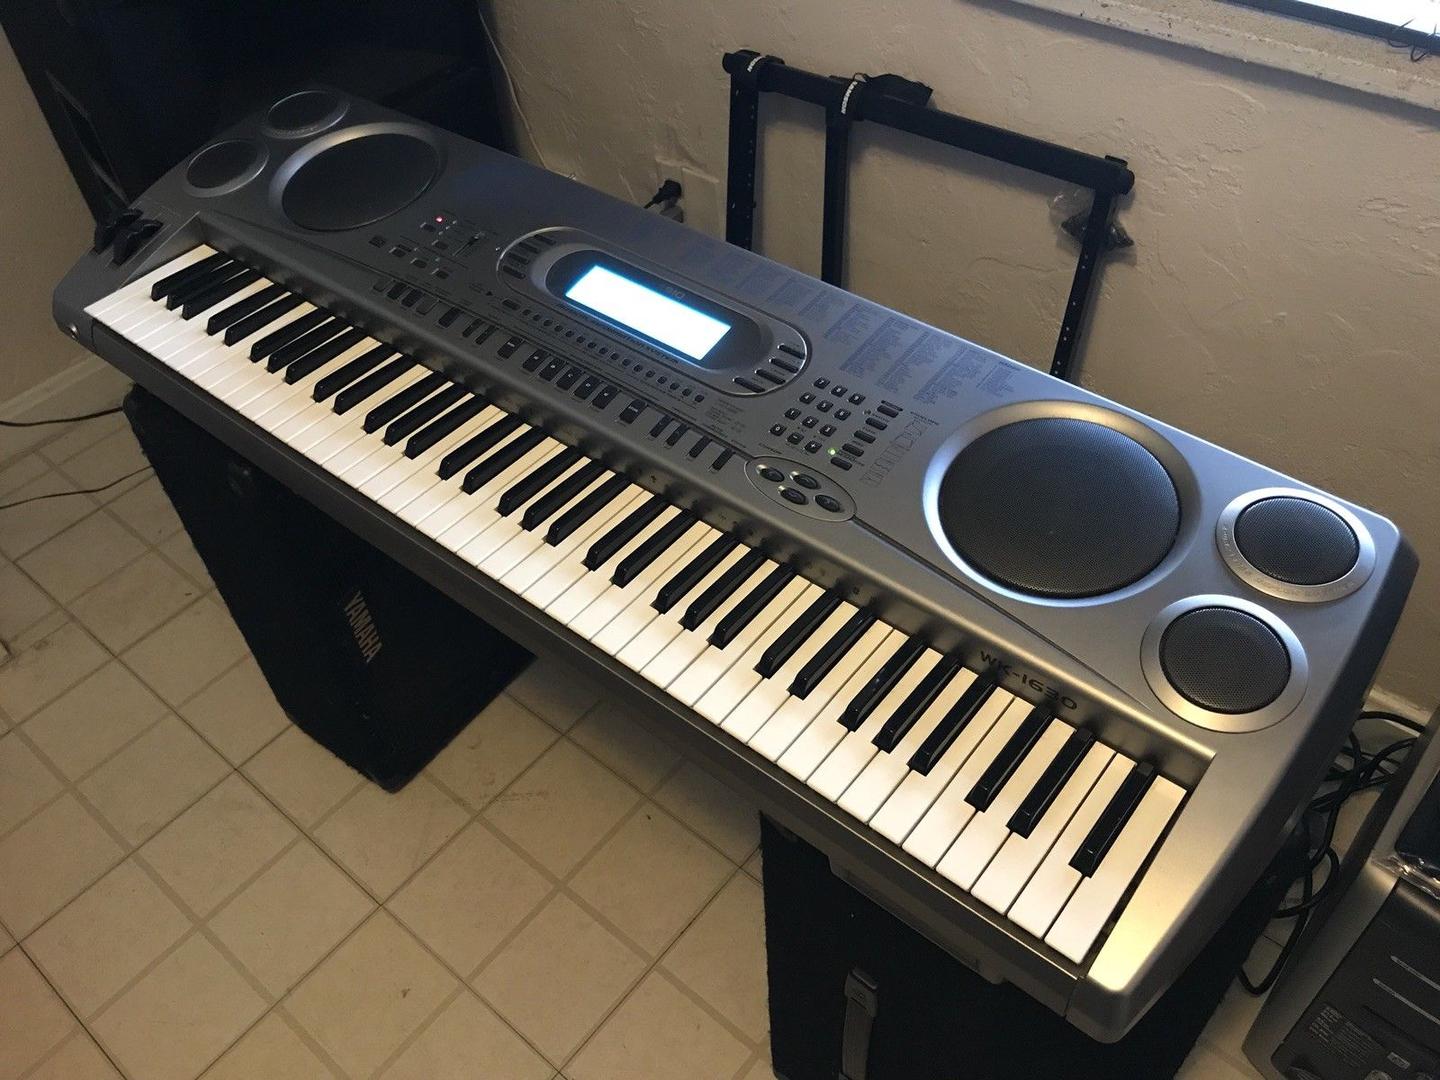
Welcome to our guide on how to change the metronome on your Yamaha keyboard. The metronome is a crucial tool for musicians of all levels, providing a steady beat and rhythm to help improve timing and accuracy. Whether you’re a beginner learning to play your favorite songs or an experienced musician practicing complex pieces, being able to customize the metronome settings on your Yamaha keyboard can greatly enhance your practice sessions.
The Yamaha keyboard offers a range of metronome features that allow you to adjust the tempo, style, beats, and accentuations according to your preferences. This flexibility ensures that you can tailor the metronome to suit various musical genres and playing styles. In this guide, we will take you through the step-by-step process of changing the metronome settings on your Yamaha keyboard.
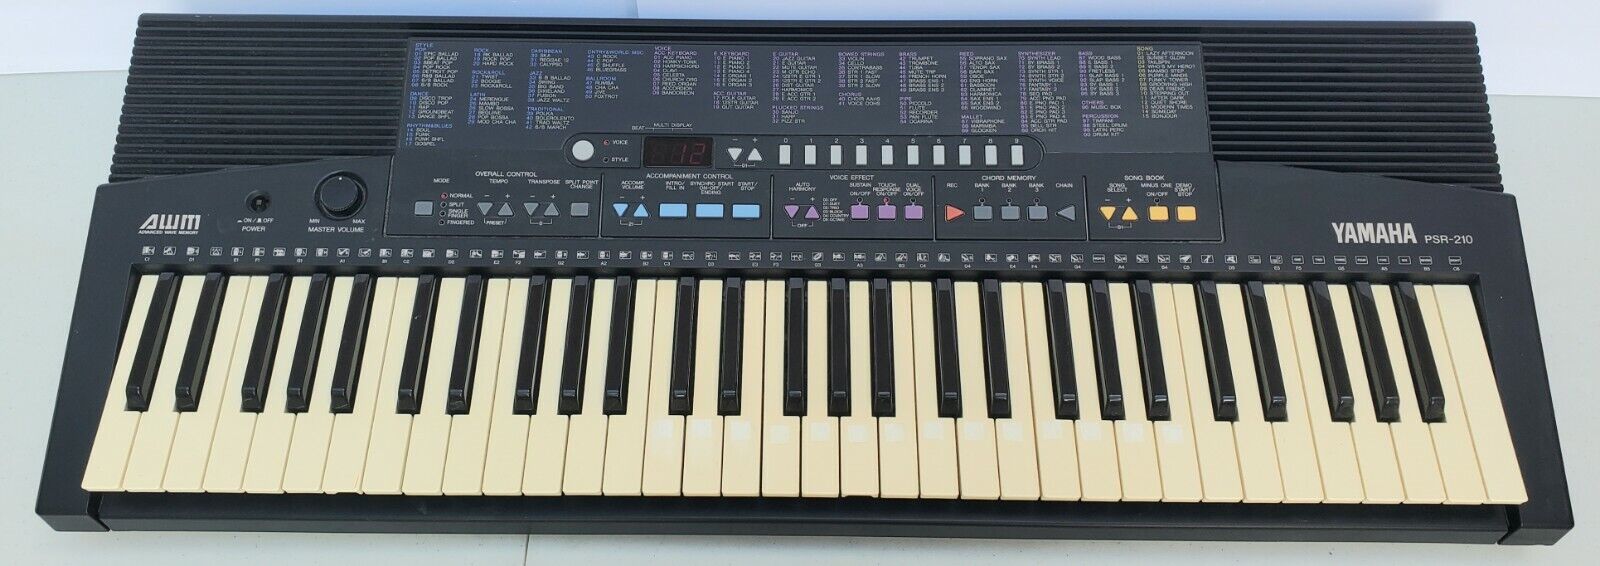
Before we dive into the details, it’s important to note that different models of Yamaha keyboards may have slightly different menu layouts and options. However, the general process for accessing and adjusting the metronome settings remains consistent across most Yamaha keyboards. So, regardless of the specific model you own, this guide should serve as a helpful resource for changing the metronome settings.
Are you ready to enhance your practice sessions and take control of the metronome on your Yamaha keyboard? Let’s get started with the first step: powering on the keyboard.
Step 1: Powering on the Yamaha Keyboard
Before you can change the metronome settings on your Yamaha keyboard, you need to ensure that it is properly powered on. Here’s how:
- Locate the power switch on your Yamaha keyboard. It’s usually found on the back or side of the instrument.
- Flip the power switch to the “On” position. You may hear a small click or see a power indicator light up to confirm that the keyboard is now powered on.
- Wait for the keyboard to initialize. Depending on your model, this may take a few seconds.
Once your Yamaha keyboard is powered on and ready, you can proceed to the next step of accessing the metronome settings.
Note: If your keyboard is battery-powered, make sure you have fresh batteries or a fully charged battery pack inserted before powering on the instrument. This will ensure uninterrupted use of the keyboard and its features, including the metronome.
Step 2: Accessing the Metronome Settings
Now that your Yamaha keyboard is powered on, it’s time to access the metronome settings. Follow these steps:
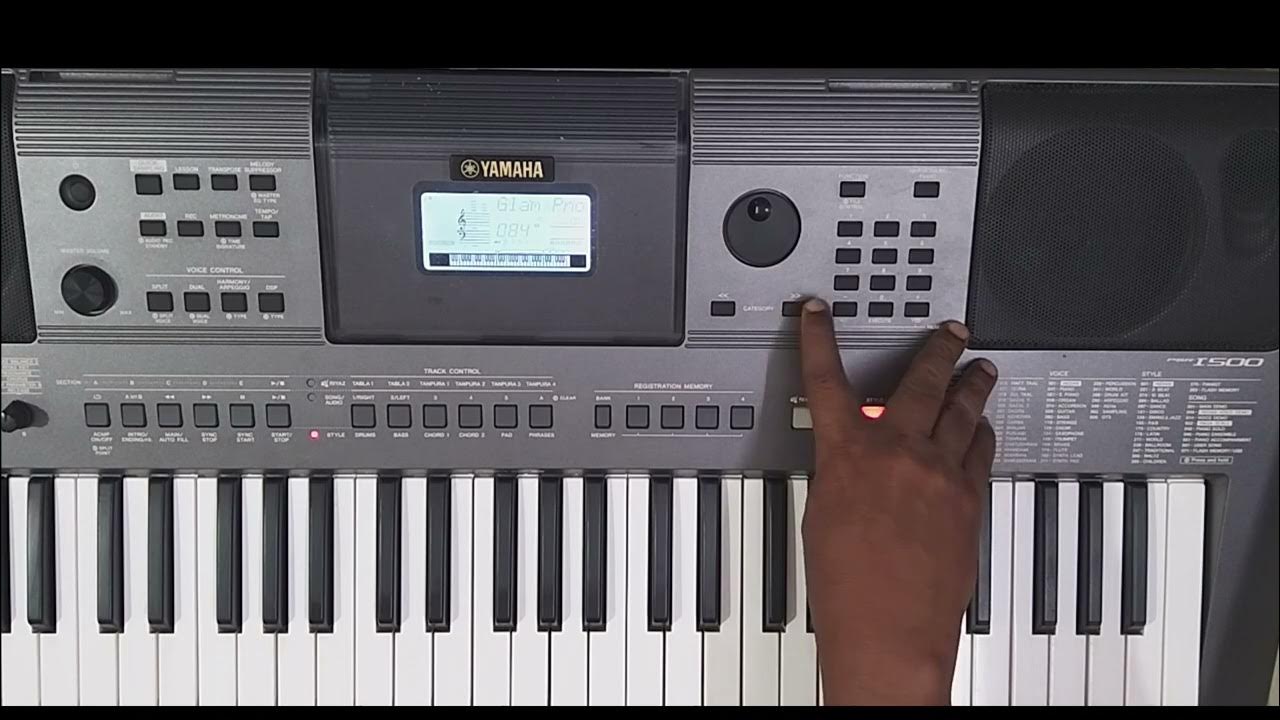
- Look for the “Function” or “Utility” button on your Yamaha keyboard. This button is typically labeled and located near the display screen.
- Press the “Function” or “Utility” button to enter the function menu.
- Use the navigation buttons or the data wheel to scroll through the menu options until you find “Metronome” or “Metronome Settings”.
- Once you’ve located the “Metronome” option, press the corresponding button or select it using the data wheel to enter the metronome settings menu. The display screen should now show the available metronome options.
By navigating through the function menu, you have successfully accessed the metronome settings on your Yamaha keyboard. In the next step, we will explore how to select a metronome style.
Note: The specific location and labeling of the buttons may vary depending on your Yamaha keyboard model. Refer to your keyboard’s user manual if you have any difficulty finding the function or metronome settings.
Step 3: Selecting a Metronome Style
With the metronome settings menu open on your Yamaha keyboard, it’s time to choose a metronome style that suits your musical preferences. Follow these steps to select a metronome style:
- Using the navigation buttons or the data wheel, scroll through the available metronome styles displayed on the screen. These styles may include options such as “Classic,” “Rock,” “Jazz,” “Latin,” and more, depending on your Yamaha keyboard model.
- As you scroll through the options, the metronome should play a sample beat for each style, giving you an idea of how it sounds.
- When you find a metronome style that you like, press the corresponding button or select it using the data wheel to choose that style.
By selecting a specific metronome style, you can customize the sound and groove of the metronome beat to match the genre or style of music you’re practicing. This adds a dynamic element to your practice sessions and helps you develop a better sense of rhythm within specific musical contexts.
Once you’ve chosen a metronome style, it’s time to move on to the next step: adjusting the metronome tempo.
Note: The available metronome styles and the method of selecting them may vary depending on your Yamaha keyboard model. Refer to your keyboard’s user manual for specific instructions on selecting a metronome style.
Step 4: Adjusting the Metronome Tempo
Now that you’ve selected a metronome style on your Yamaha keyboard, it’s time to adjust the tempo to your desired speed. Follow these steps to adjust the metronome tempo:
- Locate the tempo control buttons or knobs on your Yamaha keyboard. These buttons are typically labeled “Tempo” or have arrows pointing up and down.
- Press the “Tempo” button once to activate the tempo adjustment mode. Alternatively, if your Yamaha keyboard has a data wheel, simply turn the wheel to access the tempo adjustment.
- Use the tempo control buttons or the data wheel to increase or decrease the metronome tempo. Pay attention to the display screen or LED indicators, which should show the current tempo value as you make adjustments.
- Continue adjusting the tempo until you reach your desired speed. With each adjustment, the metronome will play the beat at the newly set tempo.
Choosing the right tempo is crucial for practicing with accuracy and building a solid sense of rhythm. Start with a slower tempo if you’re learning a new piece or technique, and gradually increase the pace as you become more comfortable.
After adjusting the metronome tempo, you’re ready to move on to the next step: customizing metronome beats and accentuations.
Note: The location and labeling of the tempo control may vary depending on your Yamaha keyboard model. Refer to your keyboard’s user manual for specific instructions on adjusting the metronome tempo.
Step 5: Customizing Metronome Beats and Accentuations
Customizing the beats and accentuations of the metronome on your Yamaha keyboard allows you to tailor the rhythmic patterns to your specific musical needs. Follow these steps to customize the metronome beats and accentuations:
- Look for the “Beat” or “Rhythm” buttons on your Yamaha keyboard. These buttons are typically labeled and located near the display screen.
- Press the “Beat” or “Rhythm” button to enter the beat customization menu.
- Using the navigation buttons or the data wheel, scroll through the available beat options. These options may include different beats such as 2/4, 3/4, 4/4, 6/8, and more.
- Select the desired beat by pressing the corresponding button or using the data wheel.
- Once you’ve chosen the beat, you may have the option to adjust the accentuations. Accentuations emphasize specific beats within a measure, often creating a syncopated or heavily accented rhythm.
- Explore the available accentuation options by using the navigation buttons or data wheel.
- Select the desired accentuation or disable accentuations altogether, depending on your preference.
Customizing the metronome beats and accentuations allows you to practice various rhythmic patterns and time signatures. It’s especially useful when working on genres such as jazz, Latin, or complex classical compositions.
Once you’ve customized the beats and accentuations, you can move on to the final step: saving and applying the metronome settings.
Note: The specific location and labeling of the beat and accentuation buttons may vary depending on your Yamaha keyboard model. Refer to your keyboard’s user manual for detailed instructions on customizing the metronome beats and accentuations.
Step 6: Saving and Applying Metronome Settings
After customizing the metronome settings on your Yamaha keyboard, it’s important to save your changes and apply them for future use. Follow these steps to save and apply your metronome settings:
- Locate the “Save” or “Apply” button on your Yamaha keyboard. This button is typically labeled and located within the metronome settings menu.
- Press the “Save” or “Apply” button to save your customized metronome settings.
- Once the settings are saved, exit the metronome settings menu by pressing the “Exit” or “Back” button.
- Start playing your keyboard and listen to the metronome to confirm that your customized settings are being applied.
By saving your metronome settings, you ensure that your preferences are retained even after the keyboard is powered off. The next time you power on the Yamaha keyboard, your customized metronome settings will still be in place, allowing you to resume your practice sessions without the need for reconfiguration.
If you decide to make further adjustments to the metronome settings in the future, simply follow the steps outlined in the previous sections and save the changes again.
Remember, regular practice with the metronome is an excellent way to improve your timing, rhythm, and overall musicality. Experiment with different styles, tempos, beats, and accentuations to challenge yourself and enhance your playing skills.
Congratulations! You have now successfully changed and customized the metronome on your Yamaha keyboard. Use this powerful tool to enhance your practice sessions and take your playing to new heights.
Conclusion
Changing and customizing the metronome settings on your Yamaha keyboard opens up a world of possibilities for musicians of all levels. By following the step-by-step guide outlined in this article, you can effectively tailor the metronome to match your preferred style, tempo, beats, and accentuations. This level of customization allows you to practice with precision, improve your timing, and develop a strong sense of rhythm.
Remember to power on your Yamaha keyboard and access the metronome settings through the function menu. From there, you can select a metronome style that suits your musical genre or preference, and adjust the tempo to your desired speed. Customizing the beats and accentuations further enhances your practice sessions, allowing you to explore different rhythmic patterns and time signatures.
Once you’ve tailored the metronome to your liking, don’t forget to save and apply the settings. This ensures that your customized metronome is ready for use whenever you power on your keyboard, eliminating the need for repeated configuration.
Regular practice with the metronome can greatly benefit your musical growth. It helps improve your timing, accuracy, and overall musicality. As you become more comfortable with the metronome, challenge yourself by experimenting with different styles, tempos, beats, and accentuations. This can expand your musical repertoire and push your playing skills to new heights.
With the knowledge and understanding of how to change the metronome settings on your Yamaha keyboard, you have a powerful tool at your disposal. Embrace the metronome as a valuable practice companion and watch your musical abilities flourish.
—
In conclusion, harness the full potential of your Yamaha keyboard’s metronome feature. Customize it to suit your musical needs, practice with precision, and unlock your true musical potential. Happy playing!