Home>Production & Technology>Metronome>How To Make Metronome Not Affect Audio In Ableton
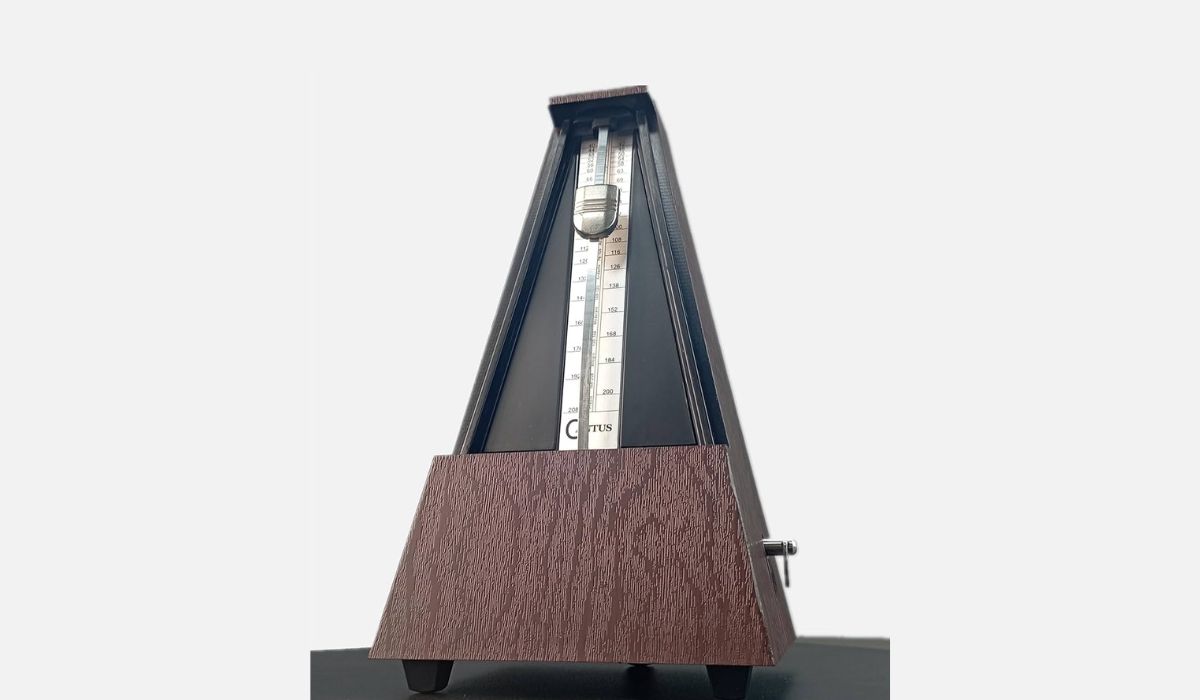
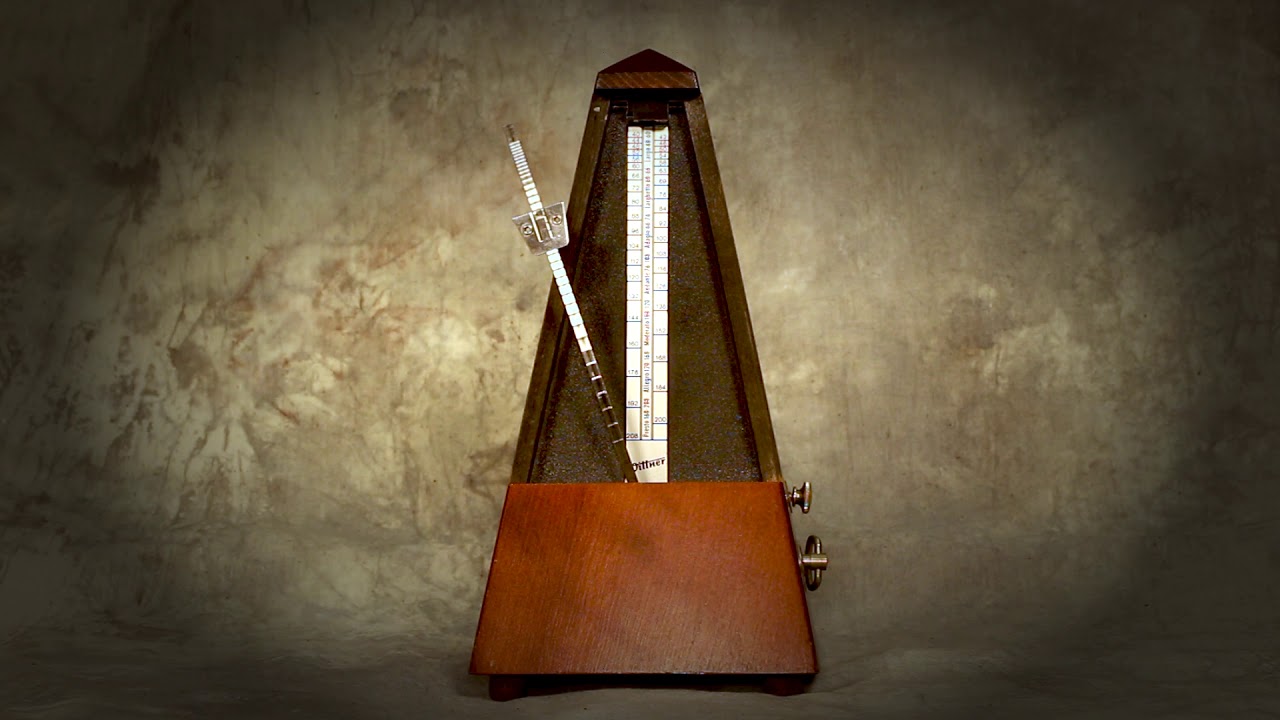
Metronome
How To Make Metronome Not Affect Audio In Ableton
Modified: February 19, 2024
Learn how to prevent the metronome from interfering with your audio recordings in Ableton. Find out the best techniques to isolate the metronome sound and maintain high-quality audio.
(Many of the links in this article redirect to a specific reviewed product. Your purchase of these products through affiliate links helps to generate commission for AudioLover.com, at no extra cost. Learn more)
Table of Contents
Introduction
Welcome to the world of music production! If you’re a beginner or even an experienced producer, you’ve probably come across a common issue when using a metronome in your music production software. You may have noticed that when the metronome is activated, it affects the audio quality of your tracks. It can be frustrating when you’re trying to create a polished and professional sound, only to have the metronome interfere with your recordings.
In this article, we’ll explore different techniques to eliminate the unwanted impact of the metronome on your audio in Ableton, one of the most popular music production software programs. We’ll look at various approaches, from adjusting buffer size and sample rate to using external audio interfaces and exploiting the built-in metronome sounds. By the end of this article, you’ll have a toolkit of strategies to ensure that your metronome no longer compromises the quality of your tracks.
Before we dive into the solutions, it’s essential to understand why this issue occurs in the first place. When you activate the metronome in Ableton, it generates an audio click that falls on the same audio path as your recorded tracks. The click sound must pass through the same signal processing and mixing stages as your recorded audio, which can lead to artifacts and compromises in the audio quality.
Now that we have a clear understanding of the problem, let’s explore some solutions that will allow us to use the metronome without affecting the audio quality in Ableton.
Understanding the Issue
To effectively address the issue of the metronome affecting the audio in Ableton, it’s important to have a solid grasp of the underlying factors that contribute to this problem. When the metronome is activated, it generates a click sound that can interfere with your recorded tracks, resulting in undesirable artifacts and compromises in audio quality. Here are some key factors to consider when trying to understand the issue:
- Signal path interference: The metronome click sound follows the same signal path as your recorded tracks, meaning it undergoes the same signal processing and mixing stages. Due to this shared path, the metronome can introduce unwanted artifacts into your audio, affecting its overall quality.
- Buffer size: The buffer is a temporary storage area that holds small chunks of audio data. The buffer size determines the amount of audio data that is processed at one time. When the buffer size is set too low, the computer may struggle to handle the simultaneous processing of the metronome click and the recorded audio, leading to audio glitches and quality degradation.
- Sample rate: The sample rate refers to the number of samples captured per second during recording. It is crucial to ensure that your sample rate is consistent across all tracks and devices. Mismatched sample rates can lead to synchronization issues between the metronome click and the recorded audio, resulting in timing discrepancies and audio artifacts.
To overcome these challenges, we need to explore various techniques and settings within Ableton that allow us to minimize or eliminate the interference caused by the metronome. By adjusting the buffer size, sample rate, or utilizing external audio interfaces, we can optimize the performance of Ableton and achieve a seamless integration between the metronome and our recorded audio.
Now that we have a solid understanding of the issue at hand, let’s move on to the practical solutions that will help us resolve the problem of the metronome affecting the audio in Ableton.
Adjusting Buffer Size
One of the first steps in addressing the issue of the metronome affecting audio quality in Ableton is adjusting the buffer size. The buffer size refers to the amount of audio data processed at one time, and it plays a crucial role in maintaining smooth and glitch-free playback.
When the buffer size is set too low, the computer may struggle to handle the simultaneous processing of the metronome click and the recorded audio, resulting in audio glitches and compromises in quality. On the other hand, setting the buffer size too high can introduce latency, causing a delay between triggering the metronome and hearing the click.
So, how do you find the optimal buffer size for your specific setup? The key is to strike a balance that allows for efficient processing without compromising audio quality or introducing noticeable latency.
In Ableton, you can adjust the buffer size by navigating to the “Preferences” menu and selecting the “Audio” tab. Here, you’ll find an option to set the buffer size in samples or milliseconds. As a general rule of thumb, increasing the buffer size will help alleviate audio glitches, while decreasing it can reduce latency.
Experiment with different buffer size values to find the sweet spot that works best for your specific setup. Start by increasing the buffer size gradually, testing the performance of the metronome and the impact on your audio recordings. If you find that the audio glitches persist or the latency becomes too noticeable, try reducing the buffer size incrementally until you find the optimal setting.
It’s important to note that the optimal buffer size can vary depending on your computer’s processing power, the complexity of your project, and the number of tracks you’re working with. Take the time to fine-tune this setting to achieve the best balance for your specific needs.
By adjusting the buffer size in Ableton, you can optimize the processing of the metronome click and your recorded audio, minimizing any interference or compromises in audio quality. This step is a fundamental part of ensuring a seamless integration between the metronome and your overall music production workflow.
Adjusting Sample Rate
Another important aspect to consider when addressing the issue of the metronome affecting audio quality in Ableton is the sample rate. The sample rate refers to the number of samples captured per second during recording, and it plays a crucial role in maintaining accurate timing and overall audio fidelity.
When working with multiple tracks, it’s essential to ensure that all tracks and devices in your Ableton project share the same sample rate. Mismatched sample rates can lead to synchronization issues between the metronome click and the recorded audio, resulting in timing discrepancies and audio artifacts.
To adjust the sample rate in Ableton, navigate to the “Preferences” menu and select the “Audio” tab. Here, you’ll find an option to set the sample rate. The most common sample rates used in music production are 44.1 kHz and 48 kHz. Make sure to choose a sample rate that is compatible with your audio interface and other recording devices.
It’s important to note that changing the sample rate may require you to adjust the settings on your audio interface as well. Ensure that all devices in your audio chain are set to the same sample rate to maintain consistency and avoid any potential synchronization issues.
By ensuring a consistent sample rate across all tracks and devices, you create a solid foundation for accurate timing and high-quality audio production. This eliminates the possibility of the metronome click interfering with your recorded audio and ensures seamless integration between the metronome and your music production workflow.
Experiment with different sample rates to find the one that works best for your specific project and audio interface. Keep in mind that higher sample rates generally offer better audio quality but require more processing power and disk space. Therefore, it’s essential to strike a balance between audio fidelity and the limitations of your setup.
Investing time in adjusting the sample rate in Ableton will result in a more cohesive and professional sound in your music productions. As an added bonus, it will help eliminate any unwanted artifacts or compromises in audio quality caused by the metronome.
Using External Audio Interface
If you’re still experiencing issues with the metronome affecting audio quality in Ableton, one effective solution is to utilize an external audio interface. An audio interface serves as the bridge between your computer and audio devices, providing better audio processing capabilities and reducing latency.
When using the built-in audio interface of your computer, it may struggle to handle the simultaneous processing of the metronome click and your recorded audio, leading to glitches and compromises in quality. By connecting an external audio interface, you can offload the processing tasks to a dedicated device, resulting in better performance and audio fidelity.
Here’s how you can use an external audio interface in Ableton:
- Connect the audio interface to your computer via USB or another suitable connection.
- In Ableton, open the “Preferences” menu and navigate to the “Audio” tab.
- Select your external audio interface as the audio input and output device.
- Adjust the settings on your audio interface to match the sample rate and buffer size settings in Ableton.
- Ensure that the audio interface is equipped with high-quality digital-to-analog and analog-to-digital converters to maintain audio quality.
By using an external audio interface, you can free up system resources and reduce the likelihood of the metronome affecting the audio quality in your Ableton projects. The improved processing capabilities and reduced latency of the audio interface will ensure that the metronome click and your recorded audio are handled separately and without interference.
Remember to select an audio interface that suits your specific needs and budget. Consider factors such as the number and type of inputs and outputs, audio quality, and compatibility with your computer system.
Using an external audio interface not only resolves the issue of the metronome affecting audio quality but also enhances overall performance and gives you more control over your music production process. It’s an investment that can significantly improve the quality and professional sound of your tracks.
Using Built-in Metronome Sounds
If you’re still facing challenges with the metronome affecting audio quality in Ableton, one alternative solution is to explore the built-in metronome sounds within the software itself. Ableton provides a variety of metronome sounds that you can utilize instead of the default click sound, which may produce less interference and better integrate with your recorded audio.
Here’s how you can use the built-in metronome sounds in Ableton:
- In Ableton, open the “Preferences” menu and navigate to the “Record/Warp/Launch” tab.
- Scroll down to the “Metronome” section and select “Use Samples” instead of the default “Click” option.
- Click on the “Browse” button next to the samples option to explore the available metronome sounds.
- Preview and choose a metronome sound that complements your music style and blends well with your recorded audio.
- Adjust the volume and other settings of the metronome sound to ensure it is audible and properly balanced with your other audio elements.
By utilizing the built-in metronome sounds in Ableton, you can reduce the interference and compromises in audio quality caused by the default click sound. Experiment with different metronome samples and choose the one that best fits the genre and style of your music.
Furthermore, you can also explore the option of adding effects or processing to the metronome sound to make it blend even better with your recorded tracks. This can help create a more cohesive and integrated sound in your music production.
Using the built-in metronome sounds not only resolves the issue of the metronome affecting audio quality but also allows you to add a unique touch to your music and enhance the overall atmosphere of your tracks. It provides a creative solution that contributes to a more professional and polished sound.
Using MIDI or MIDI Clock
If you’re still facing difficulties with the metronome affecting audio quality in Ableton, another effective solution is to utilize MIDI or MIDI Clock for synchronization. MIDI (Musical Instrument Digital Interface) is a protocol that allows electronic musical instruments and software to communicate with each other.
By using MIDI or MIDI Clock, you can synchronize your metronome with other MIDI-enabled devices or software, ensuring accurate timing and minimizing interference with your recorded audio. Here’s how you can use MIDI or MIDI Clock in Ableton:
- In Ableton, open the “Preferences” menu and navigate to the “MIDI/Sync” tab.
- Enable MIDI Clock Sync and select the MIDI output device that you want to use for synchronization.
- Connect your MIDI-enabled devices or software to the corresponding MIDI input and output ports on your computer or audio interface.
- Configure each device or software to receive MIDI Clock signals from Ableton or transmit their own MIDI Clock signals to Ableton.
- Start the MIDI Clock synchronization in Ableton, and ensure that your metronome is set to follow the MIDI Clock signals.
By using MIDI or MIDI Clock for synchronization, the metronome in Ableton will be aligned with the tempo and timing of your other MIDI-enabled devices or software. This ensures precise synchronization and minimizes the interference with your recorded audio.
MIDI synchronization offers a range of possibilities, allowing you to integrate drum machines, synthesizers, and other MIDI devices seamlessly into your music production workflow. It also opens up opportunities for creative exploration and live performances.
Remember to consult the documentation of your MIDI devices or software to understand the specific MIDI Clock implementation and configuration required. Keep in mind that some devices may require additional settings or adjustments to ensure smooth synchronization.
Using MIDI or MIDI Clock not only resolves the issue of the metronome affecting audio quality but also expands your creative capabilities and flexibility in music production. It allows for a more integrated and cohesive sound, ensuring that your metronome remains in sync with your recorded audio throughout the production process.
Conclusion
Dealing with the issue of the metronome affecting audio quality in Ableton can be frustrating, but with the right techniques, you can overcome this challenge and ensure a seamless integration between the metronome and your recorded tracks. Throughout this article, we explored various solutions that can help eliminate the unwanted impact of the metronome on your audio.
By adjusting the buffer size and sample rate, you can optimize the performance of Ableton and reduce any interference or compromises in audio quality caused by the metronome. Experimenting with different settings allows you to find the optimal balance that works best for your specific setup and project requirements.
Using an external audio interface can significantly improve audio processing capabilities, reduce latency, and offload the metronome click and recorded audio processing to a dedicated device. This ensures better performance and minimizes any interference or glitches.
Exploring the built-in metronome sounds within Ableton offers an alternative to the default click sound and can provide a better blend with your recorded tracks. Choosing a metronome sound that complements your music style and adjusting its volume and settings can further enhance the overall audio experience.
Lastly, utilizing MIDI or MIDI Clock for synchronization allows for precise timing and integration between the metronome and other MIDI-enabled devices or software. This results in accurate synchronization and minimal interference with your recorded audio, opening up possibilities for creative exploration and live performances.
It’s important to remember that each solution may require some trial and error to find what works best for your specific setup and musical goals. Take the time to experiment and fine-tune the settings to achieve the desired results.
By implementing these techniques, you can ensure that the metronome no longer compromises the audio quality in Ableton. You’ll be able to focus on creating polished and professional tracks without any unwanted artifacts or glitches caused by the metronome, giving you the freedom to express your musical vision to its fullest.