Home>Production & Technology>Sound Effects>How To Load Sound Effects In Pro Tools
Sound Effects
How To Load Sound Effects In Pro Tools
Modified: January 22, 2024
Learn how to load and use sound effects in Pro Tools with our comprehensive guide. Enhance your audio editing and create professional-quality soundscapes.
(Many of the links in this article redirect to a specific reviewed product. Your purchase of these products through affiliate links helps to generate commission for AudioLover.com, at no extra cost. Learn more)
Table of Contents
Introduction
Welcome to the world of sound effects! Whether you are a filmmaker, video editor, game developer, or multimedia artist, sound effects play a crucial role in enhancing the overall experience of your project. From realistic explosions to whimsical magical spells, sound effects bring your creations to life, adding depth, emotion, and atmosphere.
In this article, we will explore the process of loading sound effects in Pro Tools, one of the most popular digital audio workstations (DAWs) used in the industry. Pro Tools offers a wide range of features and tools specifically designed to handle sound effects, making it a favorite among professionals in the field.
Before we delve into the technical aspects of loading sound effects in Pro Tools, let’s take a moment to understand what sound effects are. Sound effects are audio recordings or synthesized sounds used to simulate or enhance various events, emotions, or actions in a visual or audiovisual production. They can be natural sounds, such as footsteps or bird chirping, or artificially created sounds, like laser blasts or spaceship engines.
Sound effects are an integral part of movies, TV shows, video games, and other multimedia projects. They provide important auditory cues, immerse the audience in the story, and evoke specific emotions or reactions. Whether it’s the suspenseful background music in a horror film or the satisfying “ping” sound when a character collects a power-up in a video game, sound effects have a profound impact on the audience’s engagement and overall enjoyment of the production.
Now that we have a good understanding of the significance of sound effects, it’s time to dive into the world of Pro Tools and learn how to load them into this powerful software. So, let’s get started!
Understanding Sound Effects
Before we explore the process of loading sound effects in Pro Tools, it’s important to have a solid understanding of what sound effects are and the different types that exist. By doing so, you’ll be better equipped to choose and utilize the right sound effects for your projects.
Sound effects can be categorized into two main types: natural and synthetic. Natural sound effects are recordings of real-world sounds, such as footsteps, applause, rain, or animal noises. These sounds are typically captured using microphones and are often edited or enhanced in post-production to achieve the desired effect.
On the other hand, synthetic sound effects are artificially created through various means, including synthesis, sampling, or combining different elements. These types of effects are commonly used in science fiction, fantasy, and action genres, where realistic natural sounds may not be suitable or available.
Sound effects can also be categorized based on their purpose or function in a production. Some common categories include:
- Impact sounds: These are sounds created by collisions or heavy objects hitting a surface. They are often used to add intensity and impact to action sequences or dramatic moments.
- Atmospheric sounds: These sounds create a sense of ambiance or atmosphere in a scene. They can include things like wind, waves, or background chatter.
- Mechanical sounds: As the name suggests, these sounds are associated with machinery or mechanical devices. Examples include gears turning, doors opening, or engines revving.
- Animals and creatures: These sounds encompass a wide range of animal noises, from a dog barking to a mythical creature growling. They are commonly used in animations, video games, and fantasy productions.
- Weather effects: Rain, thunder, lightning, and other weather-related sounds can add realism and intensity to a scene.
- UI (user interface) sounds: These sounds are specifically designed for interactive elements in user interfaces, such as button clicks, notifications, and menu transitions.
Understanding the different types and categories of sound effects can help you choose the most appropriate ones for your projects and create a more immersive and engaging experience for your audience. Now that we have a grasp on the basics, it’s time to dive into the process of preparing and loading sound effects into Pro Tools.
Preparing Sound Effects for Pro Tools
Before you can start loading sound effects into Pro Tools, it’s important to properly prepare them to ensure optimal performance and compatibility. Here are some key steps to follow when preparing your sound effects for Pro Tools:
- Selecting High-Quality Files: Begin by choosing sound effects that are of high quality and match the requirements of your project. Look for files with a clean and clear recording, without any background noise or distortion. This will ensure that your sound effects blend seamlessly with the rest of your audio.
- File Format and Sample Rate: Pro Tools supports various audio file formats, including WAV and AIFF. Ensure that your sound effects are in a compatible format. Additionally, consider the sample rate of your files. Pro Tools typically works well with sample rates of 44.1 kHz or 48 kHz, so make sure your sound effects are recorded or converted to these sample rates.
- Organize Your Sound Effects Library: It’s essential to organize your sound effects library in a systematic way to easily locate and access the files when needed. Create folders and subfolders based on categories, genres, or any other criteria that make sense for your specific workflow. This will save you time and make the loading process much smoother.
- Naming Conventions: Assigning clear and descriptive names to your sound effect files is crucial for easy identification and navigation. Be specific with your naming conventions, including relevant details such as the type of sound, its purpose, or any unique characteristics. This will help you quickly find and select the right sound effect from your library.
- Trimming and Editing: In some cases, you might need to trim or edit your sound effects to remove any unnecessary portions or adjust their duration to fit your project’s timing. Use audio editing software, such as Audacity or Adobe Audition, to make these modifications before importing the files into Pro Tools.
- Metadata and Tags: Adding metadata and tags to your sound effects can greatly enhance your organization and search capabilities within Pro Tools. Include information such as the file’s author, description, keywords, and any other relevant details. This will make it easier to locate specific sound effects in your library using Pro Tools’ search functions.
By following these steps and properly preparing your sound effects, you’ll create a streamlined workflow and ensure that your files are ready to be loaded into Pro Tools seamlessly. In the next section, we’ll explore the process of importing sound effects into Pro Tools.
Importing Sound Effects into Pro Tools
Once you have prepared your sound effects, it’s time to import them into Pro Tools. Pro Tools provides several methods to import sound effects, allowing you to choose the one that suits your workflow best. Here’s how you can import sound effects into Pro Tools:
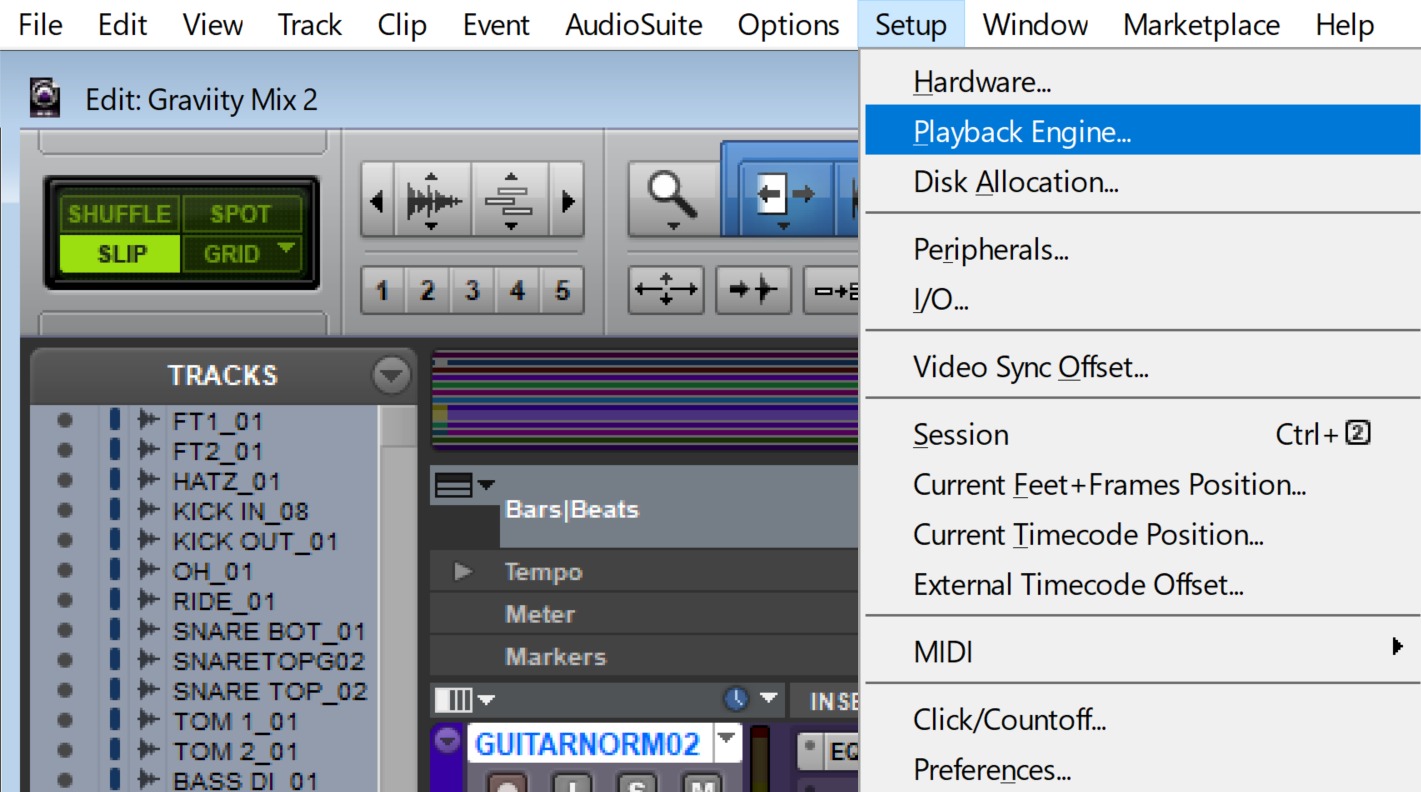
- The Import Audio File Option: To use this method, go to the File menu in Pro Tools and select Import > Audio. This will open a dialog box where you can navigate to the location of your sound effect files. Select the files you want to import, and Pro Tools will import them into your session. Make sure to choose the appropriate options for file placement and sample rate conversion if necessary.
- Drag and Drop: If you prefer a more intuitive approach, you can simply drag and drop your sound effect files directly into the Pro Tools session. Open the folder containing your sound effects alongside your Pro Tools session and arrange the windows to easily access both. Then, click and drag the sound effect file from the folder into the Pro Tools session window. Pro Tools will automatically import the files and place them in your session.
- Spot Mode: Spot mode is a handy feature in Pro Tools that allows you to import sound effects and place them at specific time locations within your session. To use spot mode, go to the File menu and select Spot. From there, you can navigate to your sound effect files and choose where you want them to be placed in the session timeline. This is especially useful when you need precise timing for your sound effects.
- Using Pro Tools Libraries: Another convenient way to import sound effects into Pro Tools is by utilizing the built-in Pro Tools sound libraries. Pro Tools provides a vast collection of high-quality sound effects that you can access directly from the Browser window. Simply open the Browser, navigate to the Sound Libraries tab, and browse through the available categories. Once you find the desired sound effect, you can either preview it or drag it directly into your Pro Tools session.
Regardless of which method you choose, it’s important to pay attention to the organization and placement of your imported sound effects within your Pro Tools session. Making use of dedicated tracks or regions can help maintain clarity and easily make adjustments or modifications later on.
Now that your sound effects are successfully imported into Pro Tools, let’s move on to organizing them within the software in the next section.
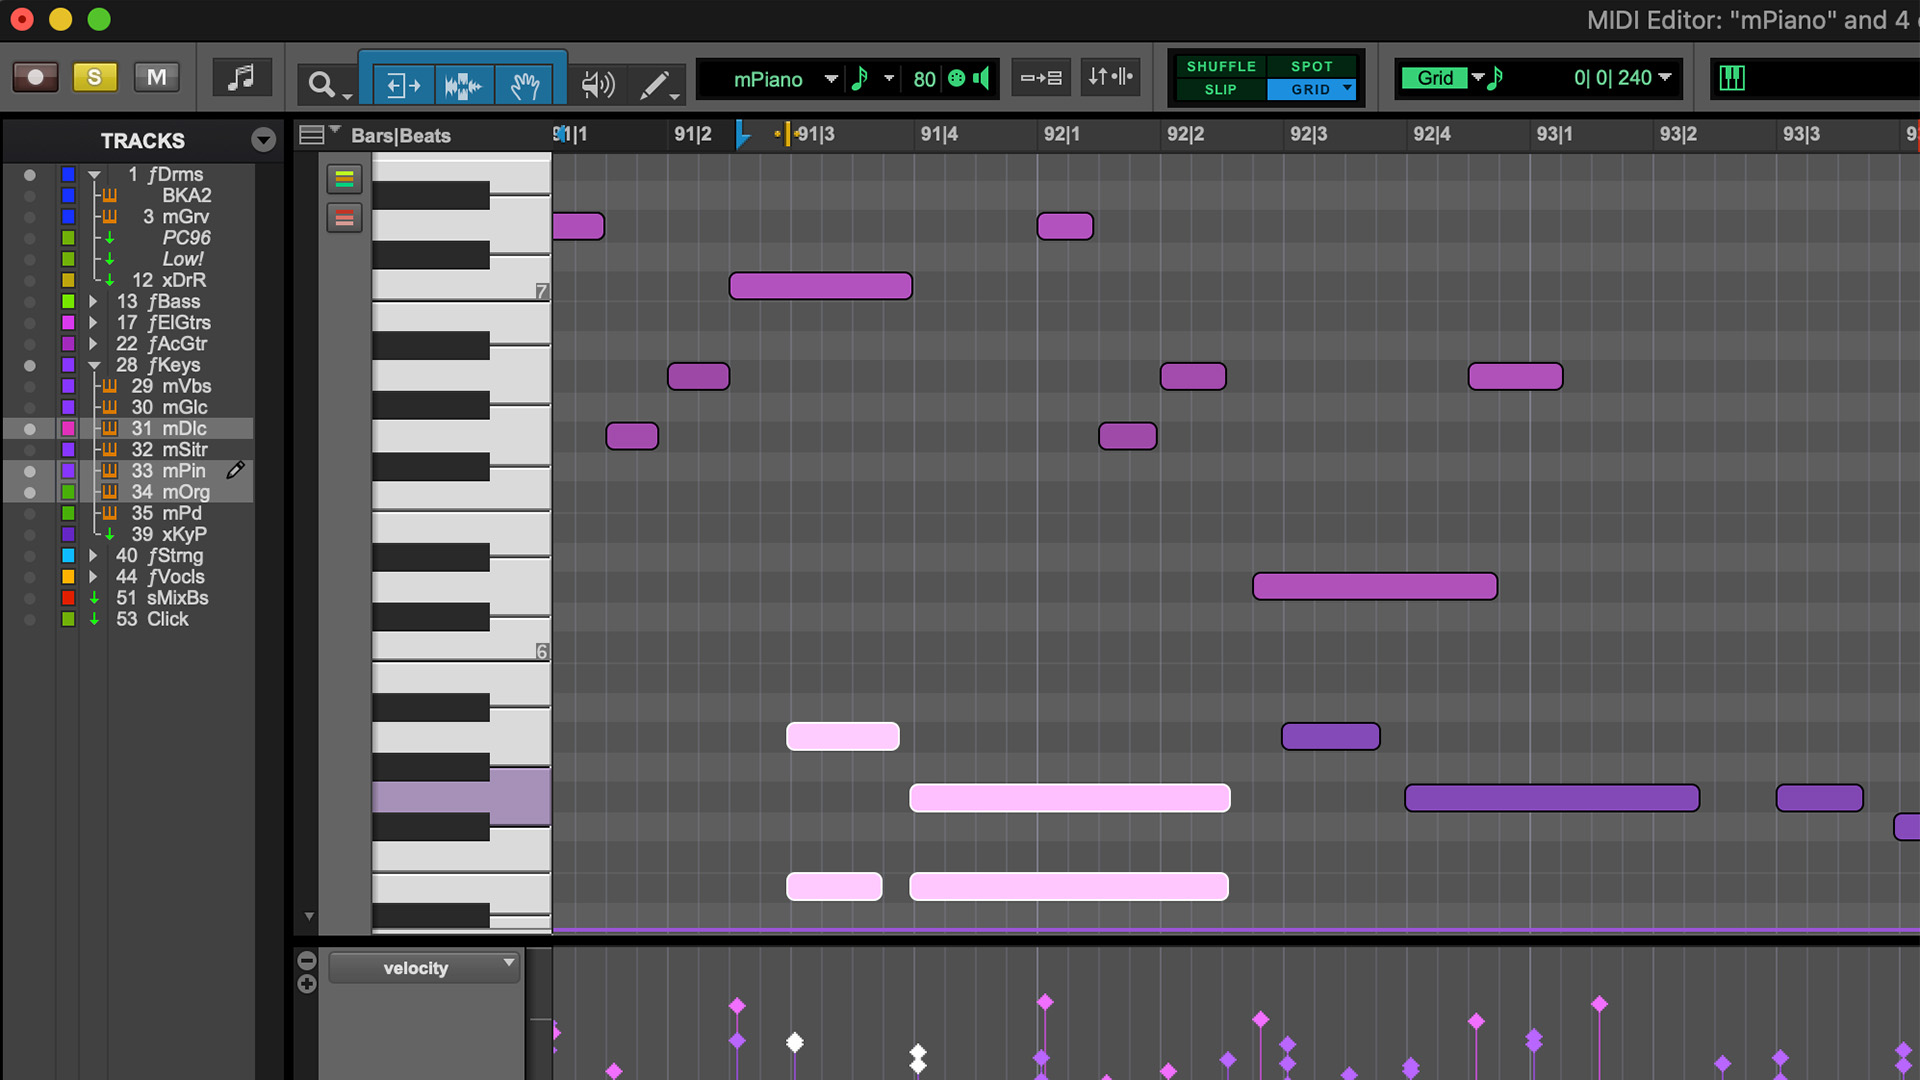
Organizing Sound Effects in Pro Tools
As the number of sound effects in your Pro Tools session grows, it’s essential to have a well-organized system in place to quickly locate and manage your files. Proper organization can significantly enhance your workflow and save you time during the production process. Here are some tips for organizing sound effects in Pro Tools:
- Use Dedicated Tracks: Assign specific tracks in your Pro Tools session exclusively for sound effects. This allows you to keep them separate from your other audio tracks and makes it easier to apply effects, automation, or edits to specific sound effects. You can create as many tracks as needed to accommodate different types or categories of sound effects.
- Color Coding: Utilize Pro Tools’ color-coding system to visually differentiate your sound effects tracks. Assign a specific color to each track based on the type or category of sound effects it contains. This makes it easier to navigate through your session and quickly identify different groups of sound effects.
- Arrange in Playlists: Pro Tools allows you to create playlists within each track. This feature is helpful when you have multiple versions or variations of a sound effect. You can create alternative playlists for different takes or variations of the same sound effect, enabling you to easily compare and choose the most suitable one.
- Use Folders and Groups: If you have a large number of sound effects, organizing them into folders or groups can be helpful. Create folders based on categories, such as “Ambience”, “Explosions”, or “Vehicles”, and then drag and drop the corresponding sound effect tracks into the respective folders. This hierarchical organization helps keep your session visually clean and makes it easier to find specific sound effects.
- Apply Naming Conventions: Consistent and descriptive naming conventions are crucial for efficiently managing your sound effects. Add prefixes or acronyms to the names of your sound effect tracks to indicate their category or type. This allows for quick identification and searching within your session.
- User Defined Databases: Pro Tools also supports user-defined databases where you can create custom tags and metadata for your sound effects. This feature allows you to add additional information and search criteria to your sound effects for easier retrieval. You can create custom fields for key details like the sound’s source, usage rights, or any other pertinent information you might need later on.
By implementing these organizational strategies in your Pro Tools session, you can maintain a neat and efficient workspace, making it effortless to locate, manage, and manipulate your sound effects as your project progresses.
Now that your sound effects are organized, it’s time to learn how to apply them creatively within Pro Tools in the next section.
Applying Sound Effects in Pro Tools
Once your sound effects are loaded and organized in Pro Tools, it’s time to start applying them to your project to enhance the audio experience. Here are some techniques for creatively applying sound effects in Pro Tools:
- Automation: Pro Tools provides powerful automation features that enable you to control the level and parameters of your sound effects over time. You can automate elements like volume, panning, and effect parameters to create dynamic and immersive soundscapes. Experiment with different automation curves and timing to achieve the desired impact.
- Layering: Layering multiple sound effects can add depth and richness to your audio. Combine different sound effects that complement each other to create a more complex and realistic sound. For example, layering footsteps on different surfaces or combining different types of explosions can result in a more dynamic and convincing sound design.
- Sound Design Techniques: Pro Tools offers various sound design tools and plugins that can take your sound effects to the next level. Experiment with audio manipulation techniques such as pitch shifting, time stretching, and modulation effects to create unique and unexpected sounds. Explore the wide range of plugins available in Pro Tools to add texture, spatialization, or other creative elements to your sound effects.
- Sound Effects Libraries and Libraries: Pro Tools gives you access to a vast collection of sound effects libraries, allowing you to easily integrate professional-quality sound effects into your projects. Browse through the libraries and experiment with different sounds to find the perfect fit for your scene or sequence. Make use of Pro Tools’ editing and processing capabilities to customize and optimize the chosen sound effects to suit your specific needs.
- Sound Effect Markers: Use markers within your Pro Tools session to indicate the specific points where sound effects should be triggered. This is particularly useful for syncing sound effects with visual cues or specific beats in music. Markers make it easy to precisely locate and edit your sound effects, ensuring perfect synchronization with the visuals.
- Real-Time Processing: Pro Tools allows you to apply real-time processing to your sound effects during playback. This feature is useful when you want to experiment with different effects or parameters on the fly. It allows you to instantly hear the impact of your adjustments and make quick decisions about what works best for your project.
Remember, sound effects are not limited to being background elements. They can also serve as storytelling devices or convey important information to the audience. Be creative and think outside the box when applying sound effects in Pro Tools to create a truly immersive and engaging audio experience.
Next, let’s explore how you can adjust the parameters of your sound effects within Pro Tools to fine-tune and customize their characteristics.
Adjusting Sound Effect Parameters
Once you have applied your sound effects in Pro Tools, you can further enhance and customize their characteristics by adjusting various parameters. These adjustments allow you to fine-tune the sound effects to perfectly fit your project. Here are some key parameters you can adjust in Pro Tools:
- Volume: The volume level of a sound effect greatly impacts its impact and presence in the overall mix. Use Pro Tools’ volume automation or manual adjustments to control the level of your sound effects. Increase the volume for more prominent effects or decrease it for subtler nuances.
- Panning: Adjusting the panning of your sound effects can help create a sense of movement or spatial placement. Pan a sound effect to the left or right within the stereo field to position it in the mix. This can be particularly useful for simulating sounds coming from specific directions or creating a more immersive experience.
- EQ and Filtering: Use Pro Tools’ equalizer and filtering plugins to shape the frequency content of your sound effects. Enhance or attenuate specific frequencies to achieve a desired tone or to make a sound effect fit better in the overall mix. You can also apply filtering techniques like low-pass or high-pass filters to create specific sonic characteristics.
- Time and Pitch: Adjusting the time and pitch of a sound effect can be a creative way to achieve different effects or to synchronize with specific visual elements. Use time compression or expansion to change the duration of the sound effect, and pitch shifting to alter its pitch. These modifications can create unique variations or match the tempo and mood of your project.
- Effects Processing: Experiment with Pro Tools’ vast collection of plugins to apply effects processing to your sound effects. Add reverb or delay to create a sense of space, use modulation effects to add movement or depth, or apply distortion or compression to add character or impact. The possibilities are endless, so explore different effects to find the perfect processing for your sound effects.
- Automation: Utilize automation within Pro Tools to dynamically adjust parameters of your sound effects over time. For example, you can gradually increase the volume of a sound effect to build tension or automate the panning to create a sweeping effect. Automation allows for precise control and adds a level of sophistication to your sound design.
Remember to experiment and trust your ears when adjusting these parameters. Use your creativity and artistic intuition to achieve the desired effect and make your sound effects truly stand out in your project.
Now that your sound effects are adjusted to perfection, it’s time to explore how you can export your final mix from Pro Tools in the next section.
Exporting Sound Effects from Pro Tools
Once you have completed the sound design and mixing process in Pro Tools, it’s time to export your final sound effects for use in your project. Pro Tools offers several options for exporting your sound effects with different settings to ensure optimal quality and compatibility. Here’s how you can export your sound effects from Pro Tools:
- Consolidate and Export Selected: One common method is to consolidate your sound effects into separate regions or tracks and then export them individually. To do this, select the region or track you want to export, go to the File menu, and choose Export > Selected as Files. Specify the desired file format, bit depth, and sample rate, and then choose the destination folder where your sound effects will be saved. This method allows for precise control over each sound effect and is useful when you want to export specific selections.
- Export Session as File: If you have multiple sound effects in your Pro Tools session and want to export them all at once, you can use the Export Session as File option. This method exports your entire session, including all tracks, effects, and settings, as a single audio file. Go to the File menu, select Export > Session as File, and specify the destination folder and desired file format, bit depth, and sample rate. This is a convenient way to create a complete mixdown of your sound effects.
- Export in Real-Time: Pro Tools also allows you to export your sound effects in real-time, which means that the export process will take place at the speed of playback. To export in real-time, go to the File menu, select Export > Audio Mixdown, and choose the desired options for file format, bit depth, and sample rate. This method is useful when you want to capture any real-time effects or automation in your sound effects.
- Multiple Outputs: If you have configured multiple outputs in your Pro Tools session, you can export your sound effects to separate files for each output. This is helpful when you want to export different elements or stems of your sound effects, such as individual tracks or submixes. Go to the File menu, select Export > Selected Tracks as Files, and choose the desired options for file format, bit depth, and sample rate. Pro Tools will export each selected track to a separate audio file.
Remember to choose the appropriate file format, bit depth, and sample rate based on the requirements of your project. Consult the specifications document or guidelines provided by the project’s destination for specific requirements.
By following these steps, you can successfully export your sound effects from Pro Tools, ensuring that they are ready to be integrated into your project seamlessly.
Now that you have learned how to export your sound effects, let’s wrap up this article with some concluding thoughts.
Conclusion
Sound effects are a vital component of any audiovisual project, adding depth, atmosphere, and emotion. In this article, we explored the process of loading sound effects in Pro Tools, one of the industry’s leading digital audio workstations. We started by understanding the different types and categories of sound effects, emphasizing the importance of selecting high-quality files and organizing them effectively.
We then delved into the process of importing sound effects into Pro Tools, discussing various methods such as drag-and-drop, import audio file, spot mode, and utilizing Pro Tools libraries. Organizing sound effects within Pro Tools was also highlighted, with techniques like using dedicated tracks, color coding, arranging in playlists, and utilizing folders or groups.
Applying sound effects creatively in Pro Tools was another crucial aspect of this article, outlining techniques such as automation, layering, sound design, and utilizing Pro Tools’ vast collection of plugins. We also explored adjusting sound effect parameters to fine-tune their characteristics, including volume, panning, EQ, time and pitch, effects processing, and automation.
Finally, we discussed the various methods for exporting sound effects from Pro Tools, such as consolidating and exporting selected, exporting the session as a file, exporting in real-time, and exporting multiple outputs. Each method offers flexibility and customization options to ensure your sound effects are exported in the desired format.
By following these processes and techniques, you can effectively load, organize, apply, adjust, and export sound effects in Pro Tools, enhancing the overall audio experience of your projects. Remember to unleash your creativity and experiment with different combinations and techniques to achieve the desired impact.
So, get ready to immerse your audience in a world of captivating sound effects as you continue your journey in the realm of audio production with Pro Tools!