Home>Production & Technology>Metronome>How To Turn On Metronome In Ezdrummer 2
Metronome
How To Turn On Metronome In Ezdrummer 2
Published: January 13, 2024
Learn how to enable the metronome feature in EZdrummer 2 and improve your timing and rhythm while playing. Enhance your music with the help of the built-in metronome.
(Many of the links in this article redirect to a specific reviewed product. Your purchase of these products through affiliate links helps to generate commission for AudioLover.com, at no extra cost. Learn more)
Table of Contents
Introduction
Welcome to the world of music production with EZdrummer 2! Whether you are a seasoned musician or just starting your music production journey, EZdrummer 2 is an invaluable tool for creating professional-sounding drum tracks. One of the key features of EZdrummer 2 is its built-in metronome, which helps you stay in time and maintain a consistent tempo throughout your recordings.
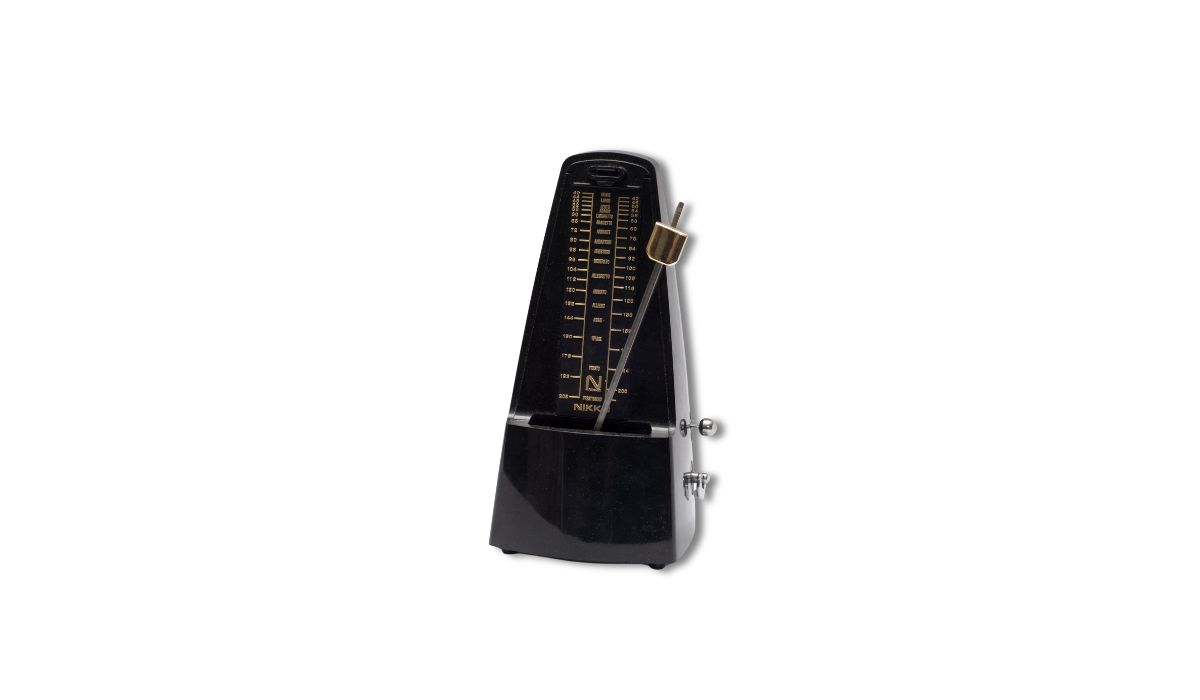
The metronome is an essential tool for musicians of all levels. It provides a steady beat that helps you stay in sync with the music and serves as a reference point for your timing. In EZdrummer 2, the metronome is not only an audible click track, but it can also be customized to suit your preferences, ensuring that it fits perfectly into your musical compositions.
In this article, we will guide you through the process of turning on the metronome in EZdrummer 2. We will explore various steps to help you enable the metronome, adjust its settings, and synchronize it with your Digital Audio Workstation (DAW) for seamless music production. So, let’s get started and make sure your drum tracks are locked in with precision!
Step 1: Launching EZdrummer 2
The first step to turning on the metronome in EZdrummer 2 is launching the software. Locate the EZdrummer 2 application on your computer and open it. Once the software is loaded, you will be greeted with a user-friendly interface designed to simplify the drum production process.
Take a moment to familiarize yourself with the various sections of the EZdrummer 2 interface. You will notice the drum kit library, mixer, and various controls and options that allow you to customize your drum sound. The metronome feature is conveniently located within the software, ensuring easy access during your music production sessions.
If you already have a project open in your Digital Audio Workstation (DAW), make sure to load EZdrummer 2 as a plugin or virtual instrument. This will ensure that the metronome is synchronized with your DAW’s playback, allowing for seamless integration.
Now that EZdrummer 2 is launched and ready to go, it’s time to dive into the next step of enabling the metronome and laying down your rhythm.
Step 2: Selecting a Drum Kit
Once you have launched EZdrummer 2, the next step is to select a drum kit that suits your musical style. EZdrummer 2 offers a wide range of high-quality drum kits, ranging from vintage classics to modern flavors, ensuring that you find the perfect sound for your production.
To select a drum kit, navigate to the drum kit library section of the EZdrummer 2 interface. Here, you will find an extensive collection of drum kit presets organized into categories for easy browsing. You can access the drum kit library by clicking on the ‘Drumkit’ tab or a similar labeled button in the software’s interface.
Once in the drum kit library, take your time exploring the different drum kits available. You can preview each drum kit by clicking on it, allowing you to audition the sound and identify the one that resonates with your creative vision. Additionally, you can use the search bar or filter options to narrow down the drum kit selection based on specific characteristics, such as genre, sound character, or drumming style.
Choose a drum kit that best complements your musical genre and desired sound. Whether you’re producing rock, pop, jazz, or any other genre, EZdrummer 2 has a vast selection of drum kits to suit your needs. Remember, the drum kit you select will be the foundation for the metronome sound that guides your rhythm, so take your time to find the perfect fit.
Once you have chosen a drum kit, you are ready to move on to the next step of enabling the metronome and fine-tuning its settings to match your musical preferences and workflow.
Step 3: Opening the Mixer
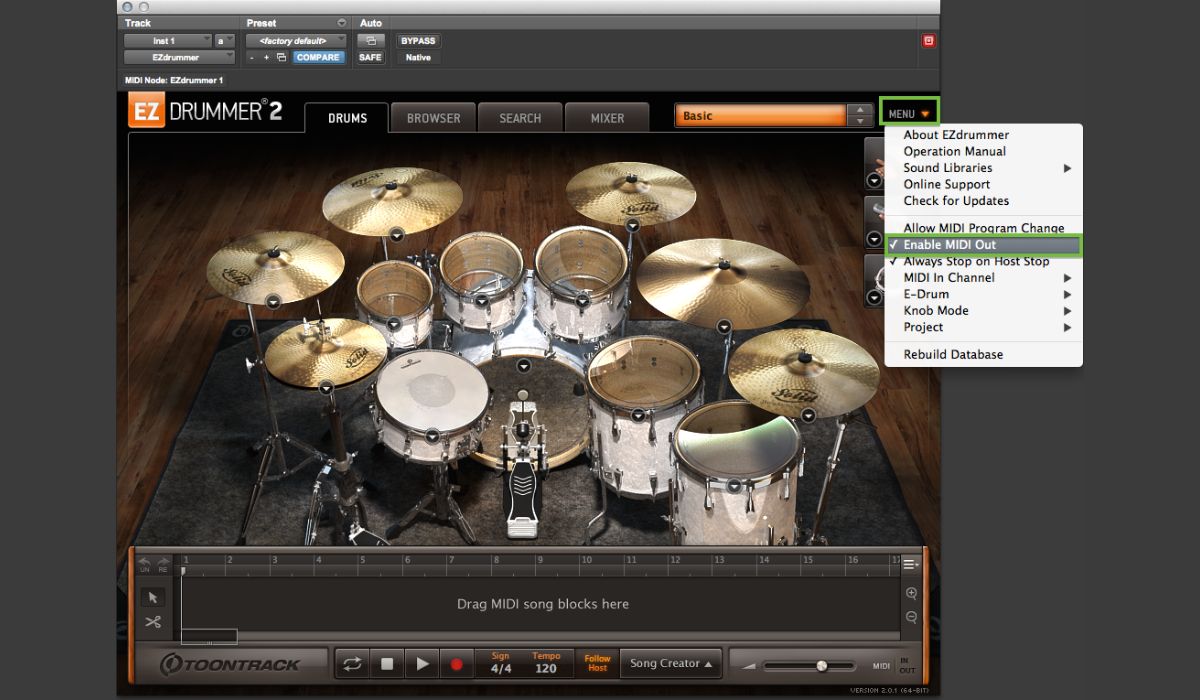
After selecting a drum kit in EZdrummer 2, it’s time to open the mixer. The mixer allows you to adjust the individual drum and cymbal levels, add effects, and control the overall sound of your drum kit. Opening the mixer will also give you access to the metronome settings, allowing you to activate and configure it to your liking.
To open the mixer, look for the Mixer tab or button in the EZdrummer 2 interface. It is usually located near the drum kit library section. Click on the Mixer tab, and a window will appear displaying the virtual mixing console.
Once the mixer is open, you will see various faders, knobs, and other controls for each drum and cymbal in your selected drum kit. These controls allow you to adjust the volume, pan, and other parameters for each individual drum element, giving you precise control over your drum sound.
Within the mixer window, you will also find the metronome settings. Look for the metronome icon or label, and click on it to access the metronome configuration options. Here, you can customize the metronome’s behavior, including its volume, count-in settings, and other related parameters.
Take a moment to explore the mixer and familiarize yourself with its controls. Adjust the drum and cymbal levels to your liking and ensure that everything sounds balanced within your mix. Once you are comfortable with the mixer settings, it’s time to move on to the next step of enabling the metronome and getting it ready to guide your rhythm.
Step 4: Enabling the Metronome
Now that you have opened the EZdrummer 2 mixer, it’s time to enable the metronome. The metronome will provide you with a steady click track to help you maintain a consistent tempo while recording or composing your music.
To enable the metronome, locate the metronome control within the mixer window. It is usually represented by a small metronome icon or labeled as “Metronome” or “Click.” Click on the icon or toggle the switch to activate the metronome.
Once the metronome is enabled, you should start hearing a steady click sound, indicating the beat of your chosen tempo. The metronome click will serve as your guide, helping you stay in time and providing a solid foundation for your recordings.
At this stage, it’s important to ensure that the metronome volume is set at an appropriate level. Adjust the metronome volume using the designated control within the mixer to ensure that it is audible enough to guide your playing, but not overpowering or distracting.
With the metronome now enabled and set to the desired volume, you are ready to move on to the next step and fine-tune the metronome settings to align with your workflow and musical preferences.
Keep in mind that the metronome is a valuable tool for staying on time, but it can also be customized to meet your specific needs. In the next step, we will explore the various metronome settings available in EZdrummer 2.
Step 5: Adjusting the Metronome Settings
Once you have enabled the metronome in EZdrummer 2, it’s time to fine-tune its settings to best suit your workflow and musical preferences. EZdrummer 2 offers a range of customizable options for the metronome, allowing you to personalize its behavior and sound.
To access the metronome settings, look for the metronome icon or label within the mixer window. Click on it, and a menu or window will appear with various options for configuring the metronome.
One of the essential metronome settings is the tempo. You can adjust the tempo by using a slider, numerical input, or tapping the desired tempo directly on the interface. Set the tempo to match the desired speed of your project or the specific section you are working on.
Additionally, you may have the option to adjust the time signature. The time signature determines the rhythm structure and beats per measure. Select the appropriate time signature depending on the musical style and composition you are working on.
Another crucial setting is the count-in. The count-in refers to the number of bars or beats that play before the recording or playback begins. By enabling the count-in, you can have a brief lead-in period to prepare before the recording or playing starts.
Furthermore, EZdrummer 2 may provide options to customize the metronome sound. You can choose from different click sounds, such as traditional click, woodblock, or cowbell. Experiment with different sounds to find the one that best suits your taste and helps you stay in the groove.
Lastly, some metronome settings may offer visual indicators to complement the audible click. These visual indicators, such as a flashing light or bouncing ball, can provide additional visual cues to help you stay on beat.
Take your time to adjust the metronome settings to your liking. Experiment with different tempo, time signature, click sounds, and count-in options until you find the perfect combination that aids your productivity and enhances your musical experience.
Now that you have fine-tuned the metronome settings, it’s time to integrate the metronome with your DAW and start creating music in perfect time.
Step 6: Starting Your DAW’s Playback
With the metronome settings adjusted to your liking in EZdrummer 2, it’s time to sync the metronome with your Digital Audio Workstation (DAW). Starting the DAW’s playback will ensure that the metronome and your music are in perfect harmony.
First, make sure that EZdrummer 2 is set up as a plugin or virtual instrument within your DAW. This will allow the metronome to follow the tempo and timing of your project seamlessly.
In your DAW, locate the playback controls, typically represented by play, stop, and pause buttons. Start the playback by clicking on the play button or using the assigned shortcut key.
As soon as the DAW’s playback starts, you will hear the metronome’s click align with your project’s tempo. The metronome will provide a consistent beat, acting as a guide to keep your playing or recording in time with your music.
Listen to the metronome and your music together to ensure that they are perfectly synchronized. If necessary, make adjustments to the tempo or metronome settings in EZdrummer 2 to achieve the desired results.
During playback, the metronome will continue to click according to the tempo and time signature you’ve set, providing you with a steady reference point to stay in rhythm. This will greatly enhance the overall musicality and cohesion of your production.
Remember, the metronome is not only useful during recording sessions but also valuable when composing or arranging your music. It can help you maintain consistency throughout your project and allow for precise layering and editing.
Now that your DAW’s playback is up and running along with the metronome, you’re ready to focus on your creative process and bring your musical ideas to life.
Step 7: Syncing the Metronome with Your DAW
Syncing the metronome with your Digital Audio Workstation (DAW) is crucial to ensure that the metronome and your DAW’s timeline are perfectly aligned. This synchronization allows for seamless music production and accurate tempo control.
To sync the metronome with your DAW, you must establish a connection between the two. Start by making sure that EZdrummer 2 is set up as a plugin or virtual instrument within your DAW. This will allow the metronome to follow the timing and tempo of your project.
Once EZdrummer 2 is integrated into your DAW, ensure that the DAW’s tempo and time signature settings match those in EZdrummer 2. This ensures that both the metronome and your project are synchronized and in perfect harmony.
In some cases, your DAW may automatically detect and sync with the tempo of EZdrummer 2. However, if the synchronization does not occur automatically, you can manually adjust the DAW’s tempo to match the tempo set in EZdrummer 2. Consult your DAW’s documentation or support resources for detailed instructions on adjusting the tempo.
Furthermore, it is essential to ensure that the DAW’s playback and the metronome in EZdrummer 2 are in sync. Start the playback in your DAW and listen to the metronome click from EZdrummer 2. If there is any discrepancy, adjust the metronome settings or tempo within EZdrummer 2 until the metronome aligns seamlessly with your DAW’s playback.
Syncing the metronome with your DAW ensures that all your recorded or programmed tracks adhere to the same tempo and timing. This synchronization is crucial for maintaining a consistent rhythm and creating a cohesive musical composition.
Take some time to double-check the metronome and DAW synchronization before proceeding with your music production. This attention to detail will greatly enhance the overall quality and professionalism of your work.
Now that the metronome is perfectly synced with your DAW, you can continue your music production process with confidence and precision.
Step 8: Changing the Metronome Sound
In addition to controlling the tempo and timing, EZdrummer 2 allows you to customize the sound of the metronome. Changing the metronome sound not only adds variety and personalization to your music production but also helps you find a click that complements your musical style and preference.
To change the metronome sound in EZdrummer 2, locate the metronome settings within the mixer or preferences menu. Look for options related to the metronome sound or click.
Once you have accessed the metronome sound options, you will have several choices available. EZdrummer 2 offers a range of click sounds to choose from, including classic digital clicks, woodblock, cowbell, or even more unique sounds like electronic beeps or exotic percussion instruments.
Preview each metronome sound option by selecting it and playing the metronome. This allows you to hear how each click interacts with your music and how it resonates with your creative vision.
Experiment with different metronome sound options and listen to how they blend with your music. Consider the genre and mood of your composition and choose a click sound that enhances the overall vibe of your music.
Remember, the metronome sound is a personal choice, and there are no right or wrong options. Trust your instincts and select the click sound that feels right to you and keeps you inspired and on beat.
Changing the metronome sound can provide a refreshing change during long recording or production sessions. It adds an element of creative flair to your process, making it more enjoyable and engaging.
Once you have found the perfect metronome sound, take a moment to save your preferences, ensuring that the selected click sound is retained for future sessions. This way, you can maintain consistency and avoid the need to search for your preferred metronome sound each time you use EZdrummer 2.
Now that you have customized the metronome sound to your liking, you can fully immerse yourself in the music production process with a click that resonates with your creative instincts.
Conclusion
Congratulations! You have successfully learned how to turn on and customize the metronome in EZdrummer 2. With this knowledge, you now have a powerful tool at your disposal to help you stay on beat and create professional-sounding drum tracks.
The metronome is a valuable asset in any music production workflow. It provides a steady beat and reference point to ensure that your rhythm remains consistent and tight throughout your recordings. By following the steps outlined in this article, you can easily enable the metronome, sync it with your DAW, and adjust its settings to suit your musical style and preference.
Remember, the metronome is not just a simple click track. EZdrummer 2 allows you to customize the metronome sound, giving you the freedom to choose a click that enhances your creative vision and keeps you inspired.
Continue to explore and experiment with different metronome settings and drum kits within EZdrummer 2. The more familiar you become with the software, the more you can unleash your creativity and produce incredible drum tracks.
So, whether you’re a musician, producer, or songwriter, incorporating the metronome into your music production process is a game-changer. It will help you maintain a precise tempo, improve your timing, and elevate the overall quality of your music.
Now, go ahead and unleash your musical potential with EZdrummer 2’s powerful metronome features. Let it guide you as you create amazing drum tracks and bring your musical ideas to life!