Home>Devices & Equipment>Turntable>How To Hook Turntable Up To Scarlett 2I2
Turntable
How To Hook Turntable Up To Scarlett 2I2
Published: January 20, 2024
Learn how to easily connect your turntable to the Scarlett 2i2 audio interface for high-quality sound recording and playback.
(Many of the links in this article redirect to a specific reviewed product. Your purchase of these products through affiliate links helps to generate commission for AudioLover.com, at no extra cost. Learn more)
Table of Contents
Introduction
Welcome to the world of vinyl! If you’re a music enthusiast, you may have recently acquired a turntable and are eager to start enjoying your favorite vinyl records. One essential step in setting up your turntable is connecting it to a quality audio interface like the Scarlett 2i2 by Focusrite. The Scarlett 2i2 is a popular choice among musicians and audiophiles for its reliable performance and versatile connectivity. In this article, we will guide you through the process of hooking up your turntable to the Scarlett 2i2, enabling you to enjoy the warm, authentic sound of vinyl while having the option to digitize your music seamlessly.
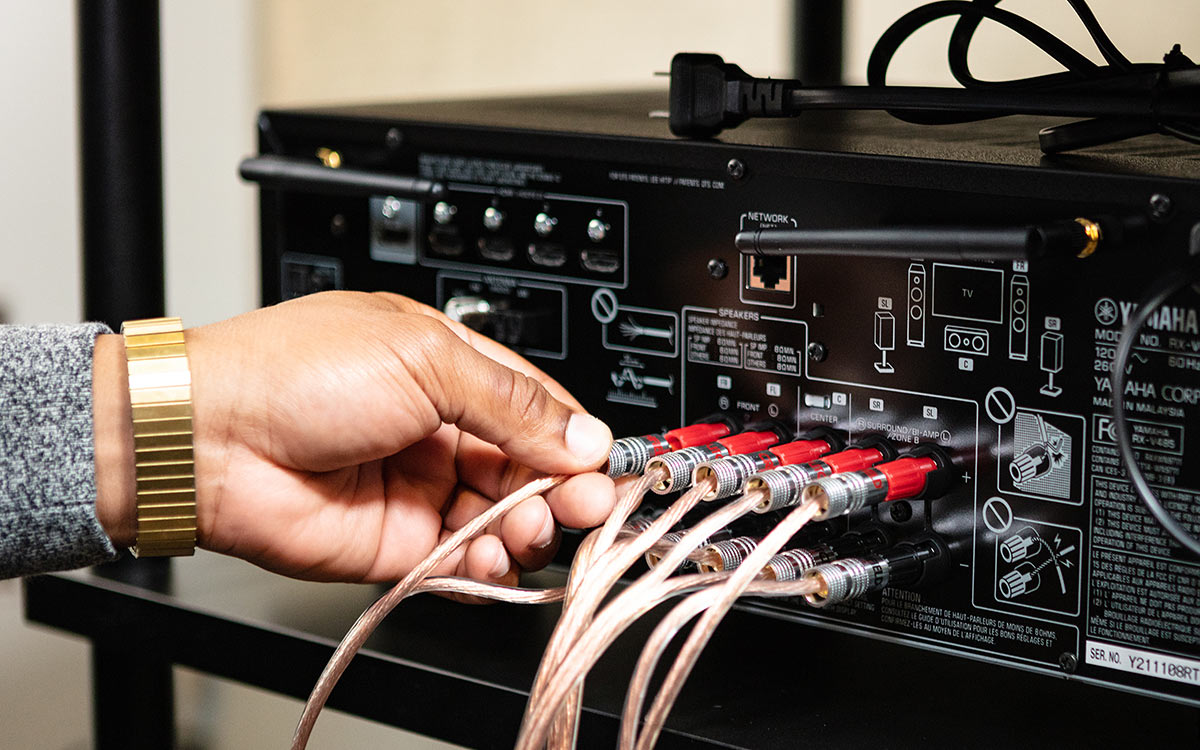
Before we dive into the step-by-step process, let’s briefly discuss the equipment you’ll need for this setup. Besides your turntable and Scarlett 2i2, you’ll require a few cables, including an RCA cable and a USB cable. These are readily available at most audio equipment retailers and online stores.
Now that we have an overview of what to expect, let’s dive into the details and get your turntable connected to the Scarlett 2i2!
Equipment Needed
Before we begin the setup process, let’s make sure you have all the necessary equipment at hand. Here’s a list of items you’ll need:
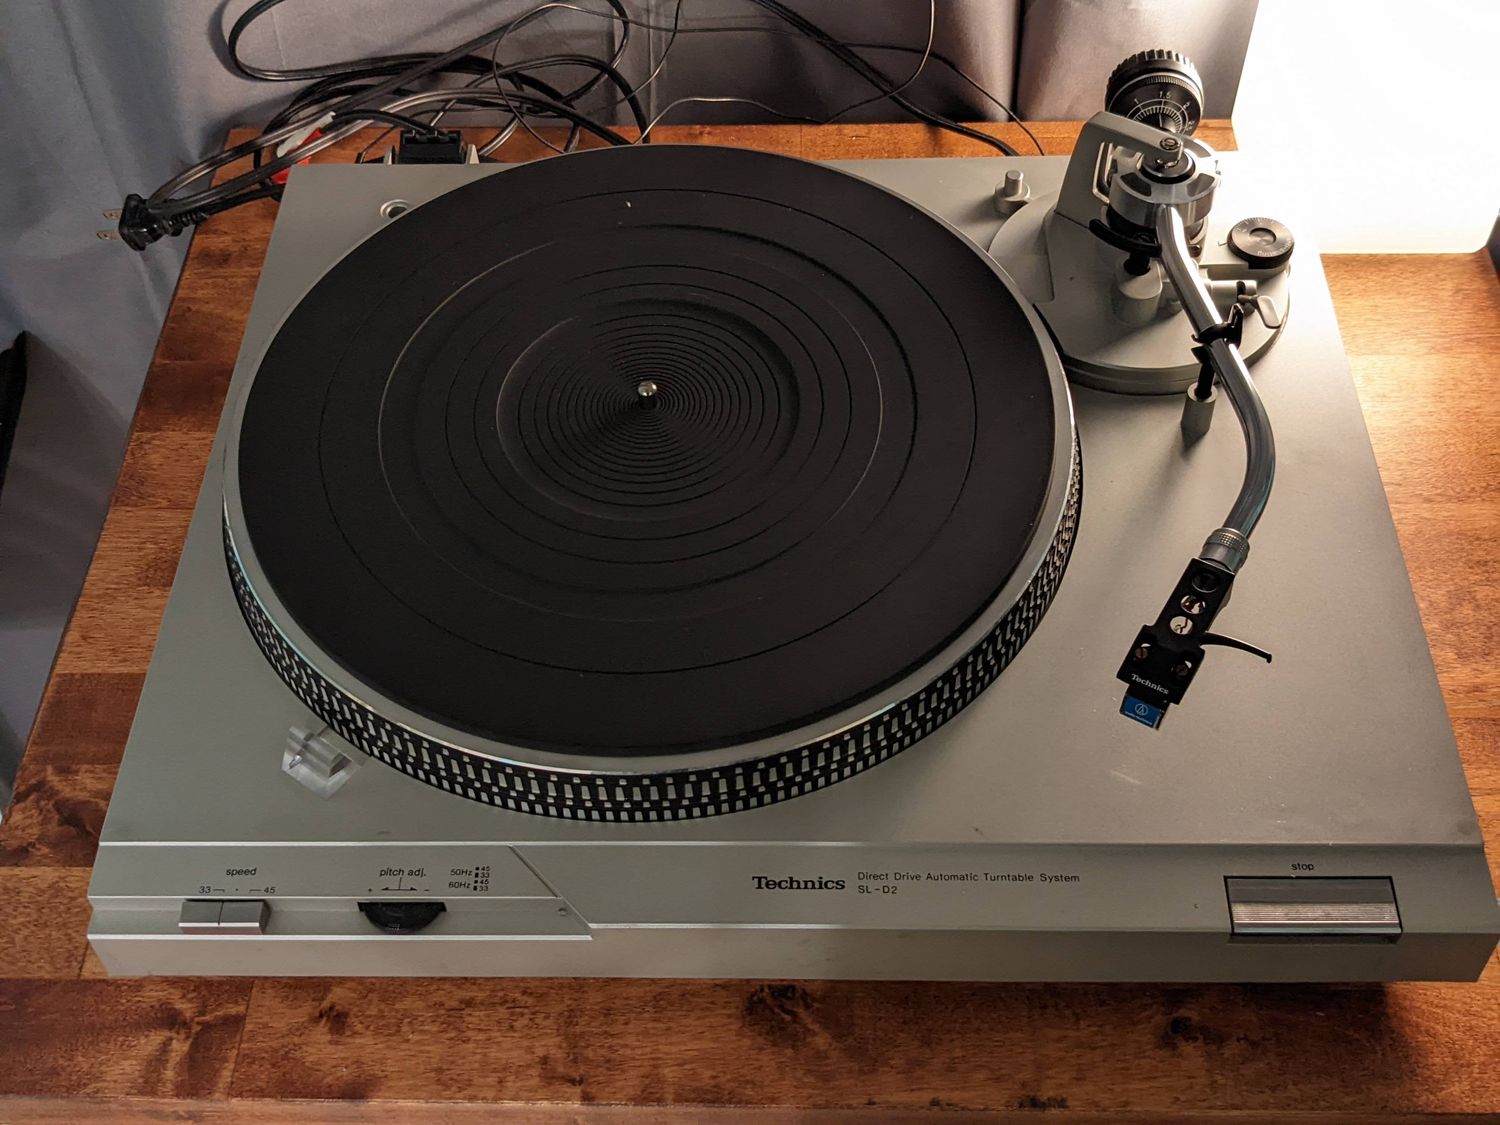
- Turntable: This is obviously the key component in your vinyl setup. Make sure your turntable is in good working condition and has a built-in preamp. If not, you’ll need to use an external preamp.
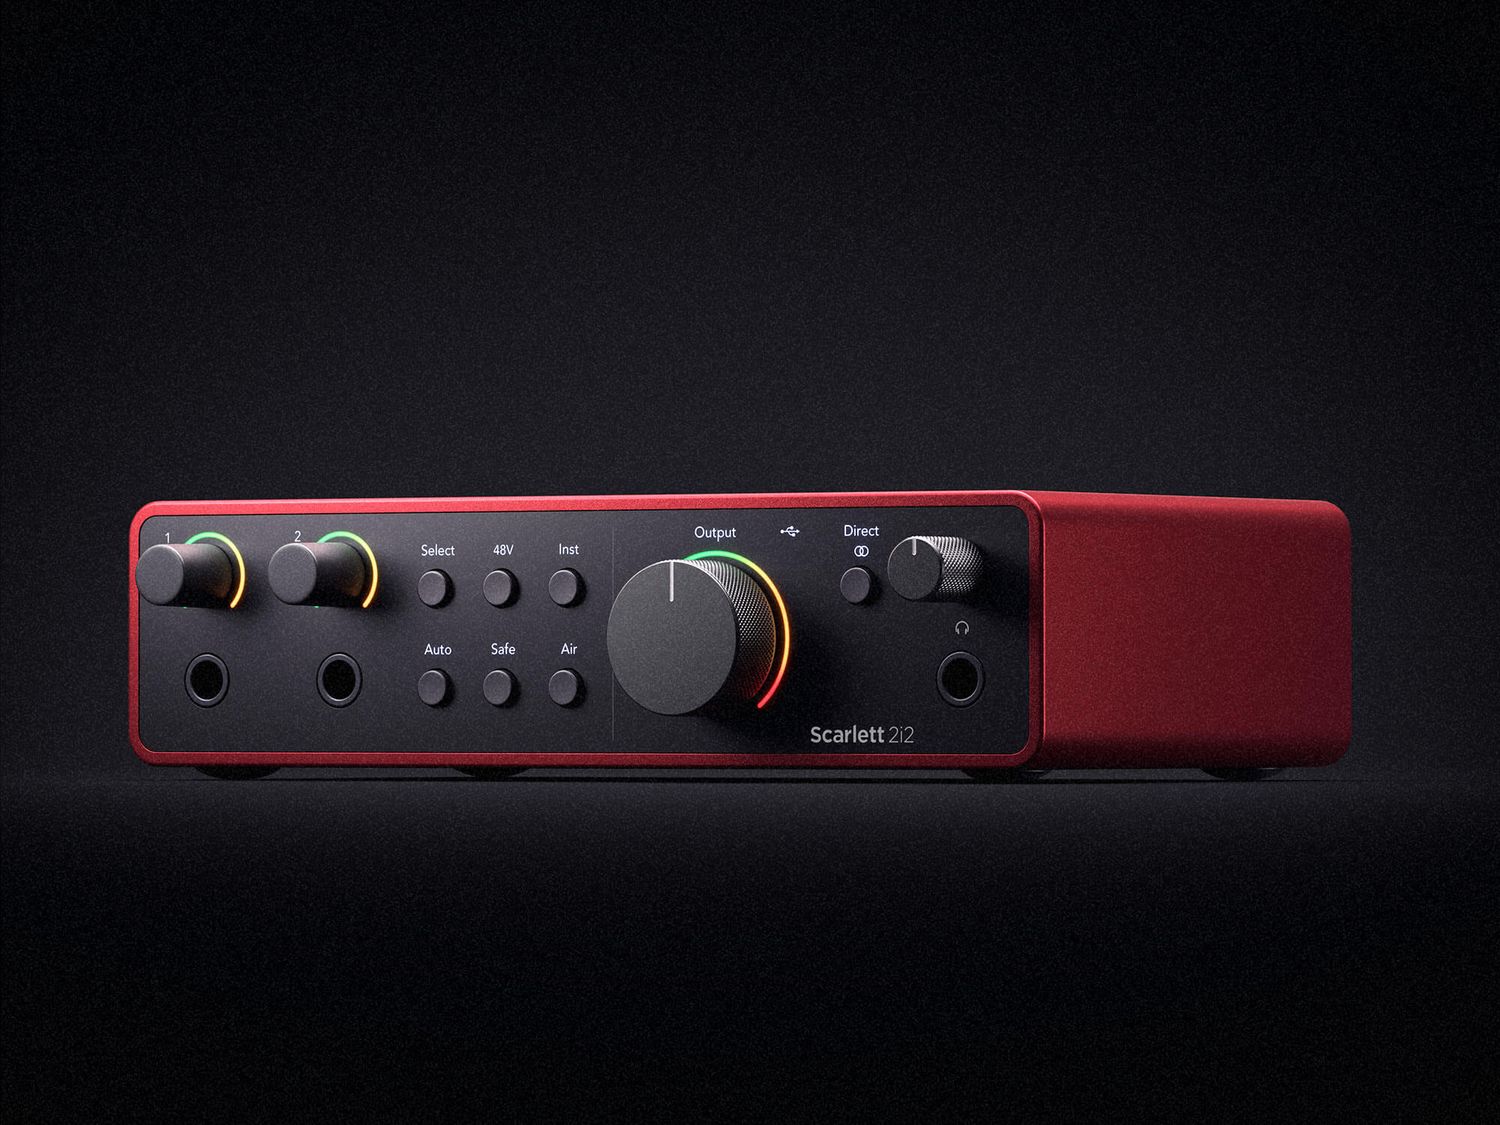
- Scarlett 2i2: This audio interface by Focusrite is an excellent choice for connecting your turntable to your computer and amplifier. It offers high-quality sound conversion and versatility in terms of connectivity.
- RCA Cable: This cable is essential for connecting your turntable to the Scarlett 2i2. It typically has red and white connectors on one end to plug into the turntable and an RCA connector on the other end to connect to the Scarlett 2i2.
- USB Cable: You’ll need a USB cable to connect the Scarlett 2i2 to your computer. Make sure you have a USB-A to USB-B cable on hand.
- Audio Cables: Depending on your specific setup, you may need additional audio cables to connect the Scarlett 2i2 to your amplifier or speakers.
Once you have gathered all the necessary equipment, you’re ready to proceed with the setup process. Let’s move on to the next steps!
Step 1: Gather the Necessary Cables
The first step in setting up your turntable with the Scarlett 2i2 is to gather all the necessary cables. As mentioned earlier, you’ll need an RCA cable and a USB cable for this setup. Here’s a breakdown of what each cable is used for:
RCA Cable: This cable is essential for connecting your turntable to the Scarlett 2i2. It carries the analog audio signal from the turntable to the audio interface. The RCA cable typically has red and white connectors on one end, which will be plugged into the output jacks of your turntable. The other end of the cable will have an RCA connector that goes into the input ports on the Scarlett 2i2.
USB Cable: The USB cable is used to connect the Scarlett 2i2 to your computer. It enables the transfer of audio data and provides power to the audio interface. The Scarlett 2i2 has a USB-B port, so make sure you have a USB-A to USB-B cable to establish the connection between the audio interface and your computer.
Ensure that you have these cables readily available before proceeding to the next steps. It’s a good idea to check the condition of the cables and make sure they are in proper working order. If you find any damaged cables, it’s recommended to replace them with new ones for optimal audio quality and reliability.
Once you have gathered and inspected the necessary cables, you’re ready to move on to the next step: connecting your turntable to the Scarlett 2i2.
Step 2: Connect the Turntable to the Scarlett 2i2
Now that you have all the required cables, it’s time to connect your turntable to the Scarlett 2i2. This step involves establishing the audio connection between these two devices. Follow these steps:
- Locate the RCA outputs on your turntable. These are usually found on the back of the turntable or on the side. They may be color-coded, with red for the right channel and white for the left channel.
- Take one end of the RCA cable and plug the red connector into the right channel output of your turntable, and the white connector into the left channel output.
- Now, locate the RCA inputs on the Scarlett 2i2. These inputs are usually located on the rear panel of the audio interface. They may also be labeled as “Line Inputs” or “Analog Inputs”.
- Take the other end of the RCA cable and insert the red connector into the right channel input on the Scarlett 2i2, and the white connector into the left channel input.
- Make sure the connections are secure and that the cables are plugged in firmly.
Once you have completed these steps, you have successfully connected your turntable to the Scarlett 2i2. The audio signals from your turntable will now be transmitted to the audio interface via the RCA cable. Now, let’s move on to the next step: connecting the Scarlett 2i2 to your computer.
Step 3: Connect the Scarlett 2i2 to your Computer
With the turntable successfully connected to the Scarlett 2i2, it’s time to establish the connection between the audio interface and your computer. This step involves using a USB cable to connect the Scarlett 2i2 to a USB port on your computer. Follow these steps:
- Locate the USB-B port on the Scarlett 2i2. It is usually located on the rear panel.
- Take one end of the USB cable (USB-A) and plug it into a vacant USB port on your computer.
- Take the other end of the USB cable (USB-B) and insert it into the USB-B port on the Scarlett 2i2.
- Ensure that the USB cable is securely plugged in on both ends.
Once the Scarlett 2i2 is connected to your computer via the USB cable, it will establish a data and power connection. This allows the audio interface to communicate with your computer and enables you to record or playback audio through your digital audio workstation (DAW) or any other audio software.
Please note that some computers may require driver installation for the Scarlett 2i2 to function properly. Check the manufacturer’s website or the included documentation to download and install the latest drivers for your specific operating system.
Now, your turntable is connected to the Scarlett 2i2, and the audio interface is connected to your computer. Next, we’ll move on to adjusting the input settings of the Scarlett 2i2 to ensure optimal audio capture and playback.
Step 4: Adjust the Input Settings
Now that you have the turntable connected to the Scarlett 2i2 and the audio interface connected to your computer, it’s time to adjust the input settings on the Scarlett 2i2. These settings will ensure that the audio signal from the turntable is recorded and played back accurately. Follow these steps:
- On your computer, open your preferred digital audio workstation (DAW) or audio recording software.
- Go to the audio settings or preferences within the software. This is usually found in the menu bar under “Settings,” “Preferences,” or “Options.”
- Select the Scarlett 2i2 as the input device for recording. It may be listed as “Focusrite Scarlett 2i2” or similar.
- Within the software’s input settings, ensure that the correct channels are selected for the turntable. Typically, the left channel corresponds to the white RCA connector, and the right channel corresponds to the red RCA connector.
- Adjust the input gain on the Scarlett 2i2. This controls the sensitivity of the audio interface to the input signal. Start with a low gain setting and gradually increase it until the audio signal from the turntable is clear and at an appropriate level.
It’s essential to find the right balance of gain to avoid clipping (distortion) or recording audio that is too low in volume. Experiment with the gain settings while playing a record on your turntable to find the optimal level.
Once you have adjusted the input settings on the Scarlett 2i2 and in your recording software, you’re ready to test the connection and ensure everything is working as expected.
Now that you’ve successfully adjusted the input settings, let’s move on to the final step of this setup: testing the connection and enjoying your vinyl records!
Step 5: Test the Connection
After setting up and adjusting the input settings, it’s crucial to test the connection between your turntable, Scarlett 2i2, and computer. Testing the connection will ensure that everything is working correctly and that you can enjoy the sound of your vinyl records. Follow these steps to test the connection:
- Select a vinyl record from your collection that you’d like to listen to.
- Place the vinyl record on the turntable and start playing it.
- In your digital audio workstation or audio recording software, create a new recording track or open an existing one.
- Make sure that the track is armed for recording and that the input is set to the Scarlett 2i2.
- Press the play button on the turntable to start playing the record.
- Monitor the audio input on the recording track. You should see the audio signal registering, indicating that the connection is working.
- Listen to the playback through your computer’s speakers or headphones connected to the Scarlett 2i2.
While listening to the playback, pay attention to the audio quality, clarity, and volume. If the sound is distorted, too low, or there are any issues, try adjusting the gain on the Scarlett 2i2 or the input settings in your recording software. Make sure the cables are securely connected and that you are using quality audio cables to minimize any potential interference or signal loss.
If everything sounds good and you’re hearing the full, warm sound of your vinyl records, congratulations! You have successfully hooked up your turntable to the Scarlett 2i2 and are ready to enjoy your vinyl collection.
Remember to regularly maintain your turntable and keep your records clean for the best audio experience. Now, sit back, relax, and let the nostalgic sound of vinyl transport you back in time!
Conclusion
Congratulations on successfully hooking up your turntable to the Scarlett 2i2 audio interface! You’ve now unlocked the ability to listen to your beloved vinyl records with exceptional sound quality, and even digitize them if desired. Let’s recap the key steps involved in this setup:
- Gather the necessary cables: RCA cable and USB cable.
- Connect the turntable to the Scarlett 2i2 using the RCA cable.
- Connect the Scarlett 2i2 to your computer using the USB cable.
- Adjust the input settings on the Scarlett 2i2 and in your recording software.
- Test the connection and ensure the audio signal is clear and at an appropriate level.
By following these steps, you’ve created a seamless connection between your turntable and the Scarlett 2i2, allowing you to experience the rich, warm sound of vinyl recordings. Whether you’re a music enthusiast, DJ, or audiophile, this setup opens up a world of possibilities for enjoying and preserving your favorite vinyl records.
Remember to explore the various features of the Scarlett 2i2, such as monitoring options, sample rate settings, and additional signal processing capabilities. These can further enhance your listening experience and provide more versatility in your audio projects.
Now that you’re all set up, sit back, relax, and enjoy the magic of vinyl. Immerse yourself in the full, analog sound that only turntables can deliver. Whether you’re rediscovering classic albums or exploring new releases on vinyl, the combination of your turntable and Scarlett 2i2 will provide you with a high-quality, enjoyable listening experience for years to come.