Home>Production & Technology>MIDI>How To Control External Hardware Via MIDI In FL
MIDI
How To Control External Hardware Via MIDI In FL
Published: February 22, 2024
Learn how to control external hardware using MIDI in FL Studio with our step-by-step guide. Master MIDI control and enhance your music production today.
(Many of the links in this article redirect to a specific reviewed product. Your purchase of these products through affiliate links helps to generate commission for AudioLover.com, at no extra cost. Learn more)
Table of Contents
Introduction
MIDI, which stands for Musical Instrument Digital Interface, is a powerful and versatile protocol that allows electronic musical instruments, computers, and other devices to communicate with each other. It has revolutionized the way music is created, produced, and performed, enabling seamless integration between different pieces of equipment. One of the most exciting applications of MIDI is its ability to control external hardware from within a digital audio workstation (DAW) such as FL Studio.
In this article, we will delve into the fascinating world of controlling external hardware via MIDI in FL Studio. Whether you're a seasoned producer looking to expand your sonic palette or a beginner eager to explore new creative possibilities, understanding how to harness the potential of MIDI to interface with external hardware can open up a world of musical opportunities.
We will walk through the process of setting up external hardware in FL Studio, configuring MIDI output, and sending MIDI signals to control external devices. Additionally, we will cover troubleshooting tips to help you overcome common challenges and ensure a smooth workflow. By the end of this article, you will have a comprehensive understanding of how to seamlessly integrate external hardware into your music production environment using MIDI in FL Studio.
So, grab your favorite MIDI controller, connect your external hardware, and let's embark on a journey to unlock the full potential of MIDI in FL Studio. Whether you're looking to control synthesizers, drum machines, or other MIDI-compatible gear, this guide will equip you with the knowledge and skills to take your music production to the next level. Let's dive in and explore the exciting possibilities of controlling external hardware via MIDI in FL Studio.
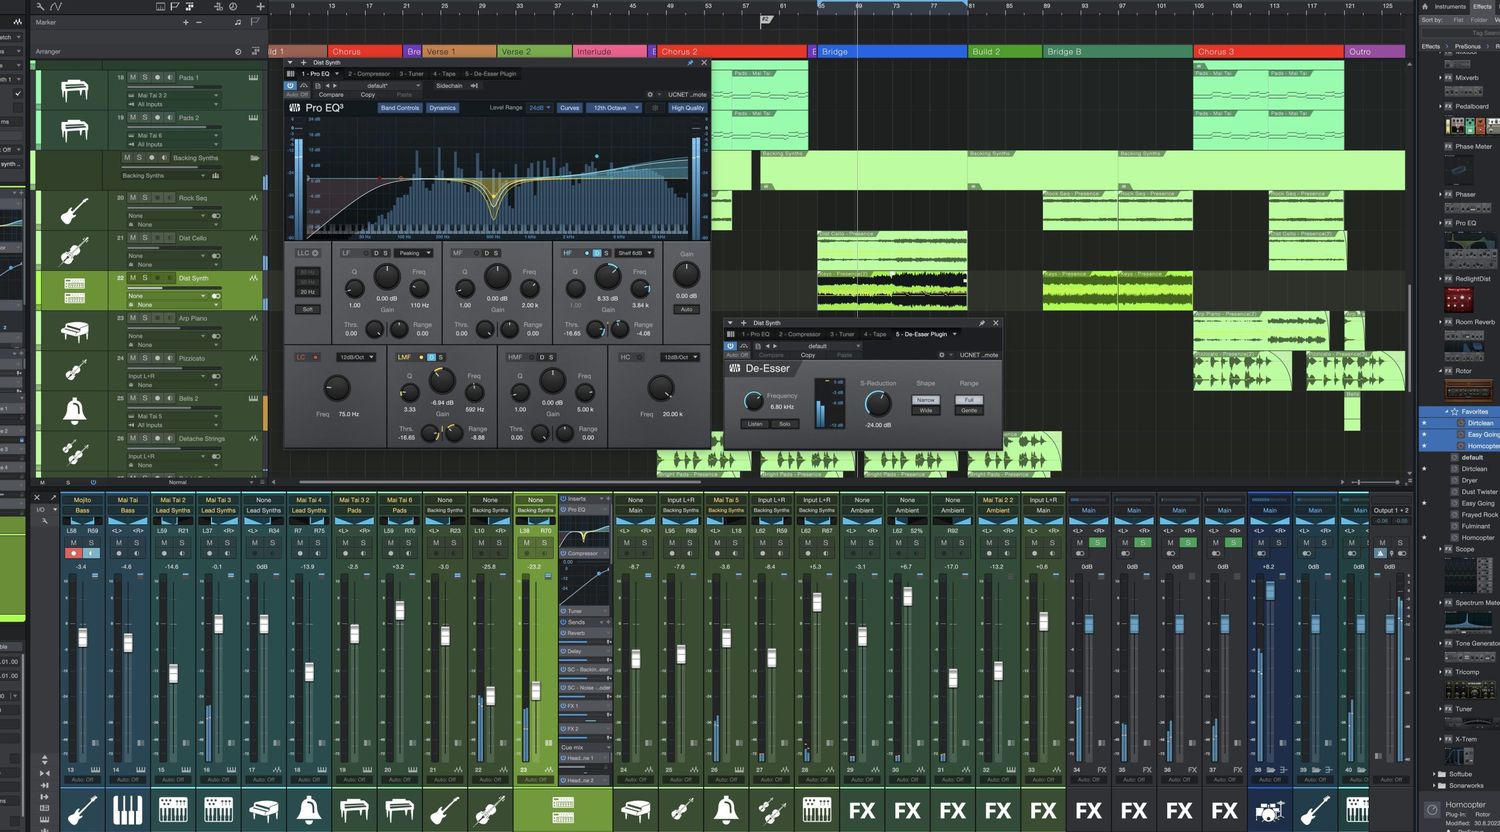
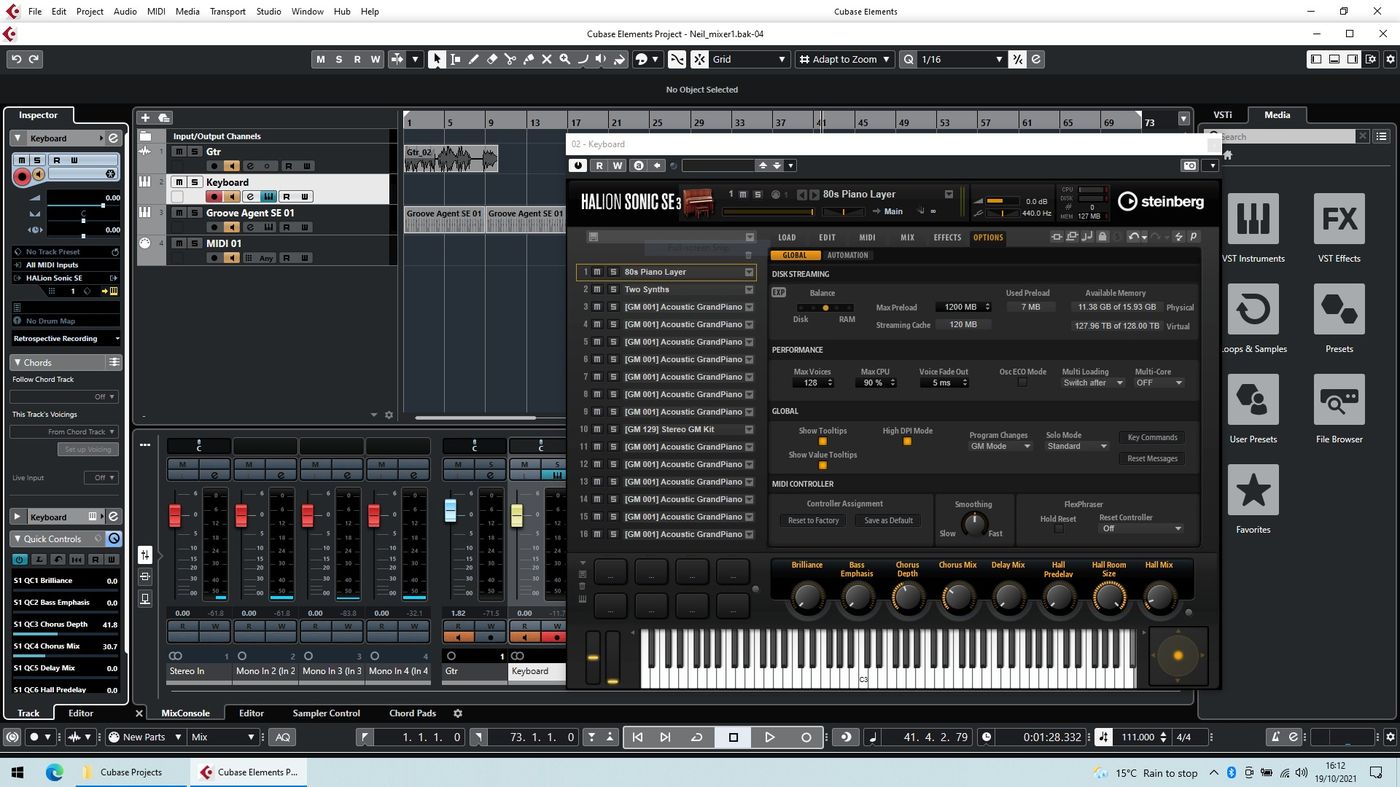
Setting up External Hardware in FL Studio
Setting up external hardware in FL Studio is a pivotal step in harnessing the power of MIDI to control and interact with a wide array of physical instruments and devices. Whether you have a hardware synthesizer, drum machine, or MIDI controller, integrating these external components into your FL Studio setup can significantly enhance your creative possibilities.
-
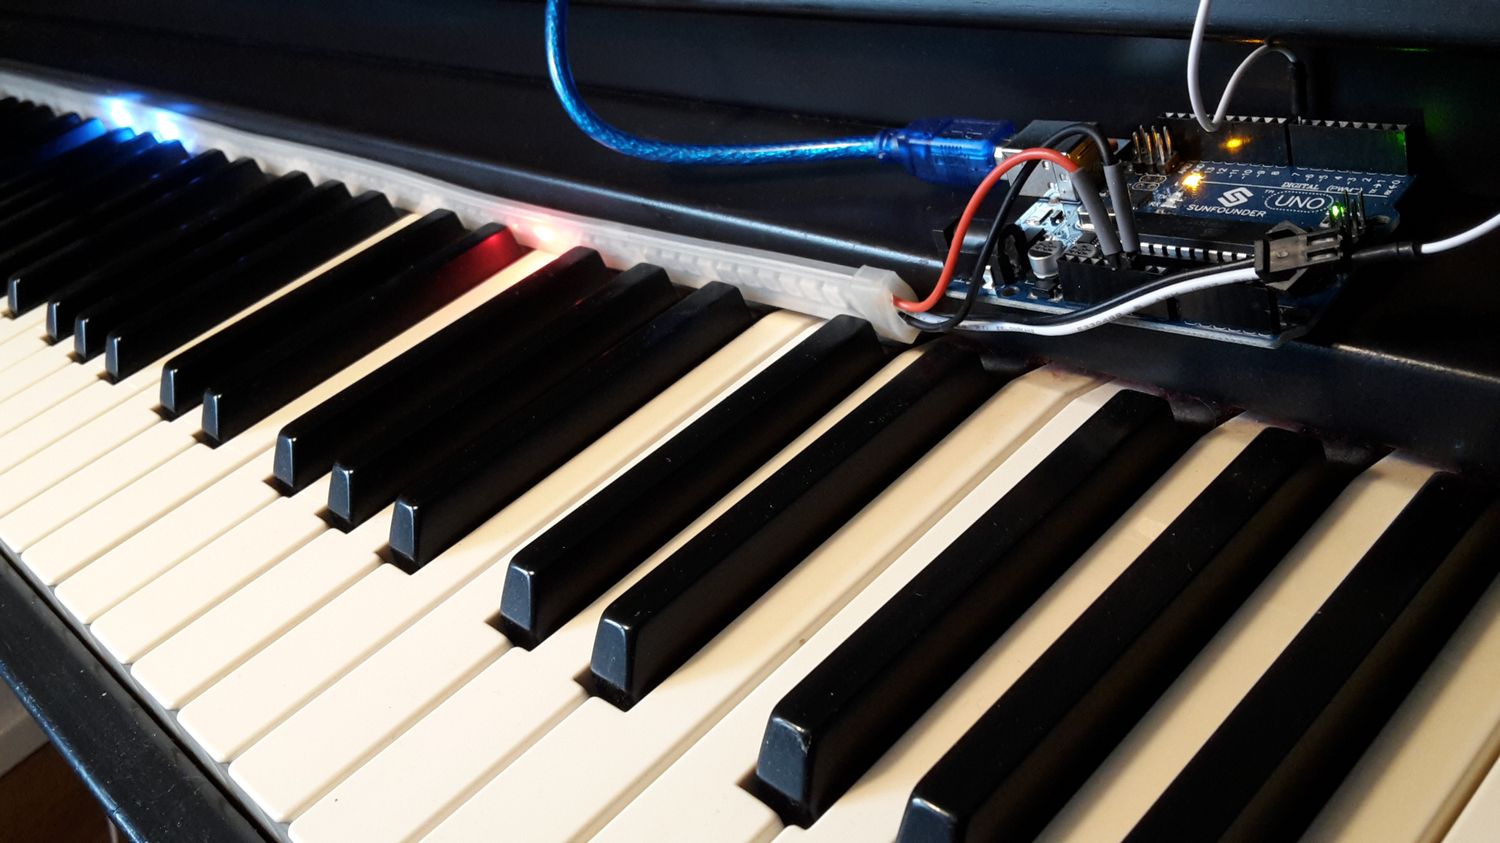
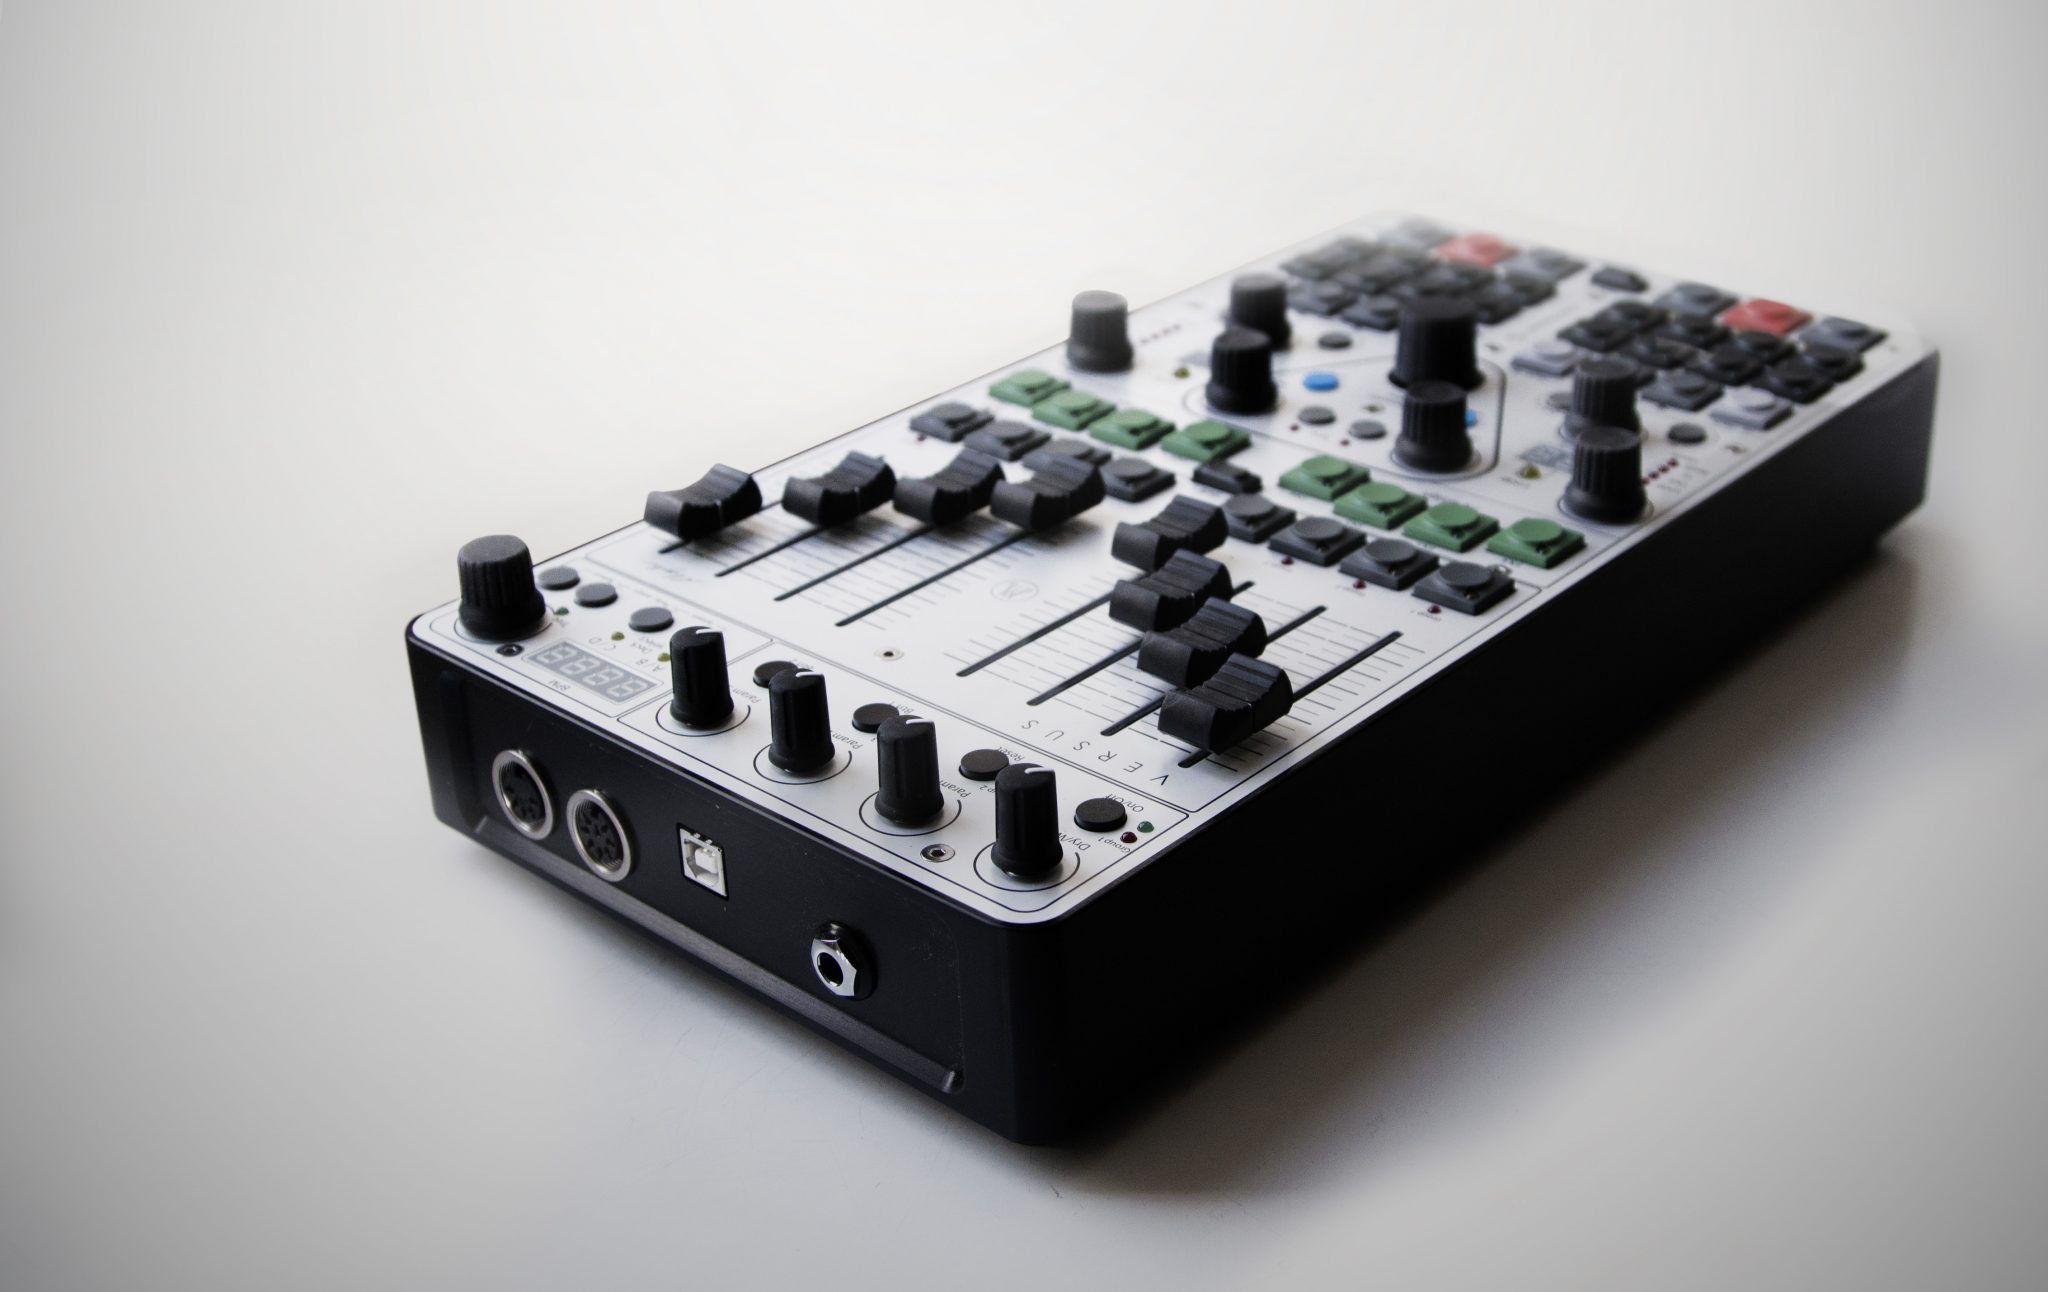
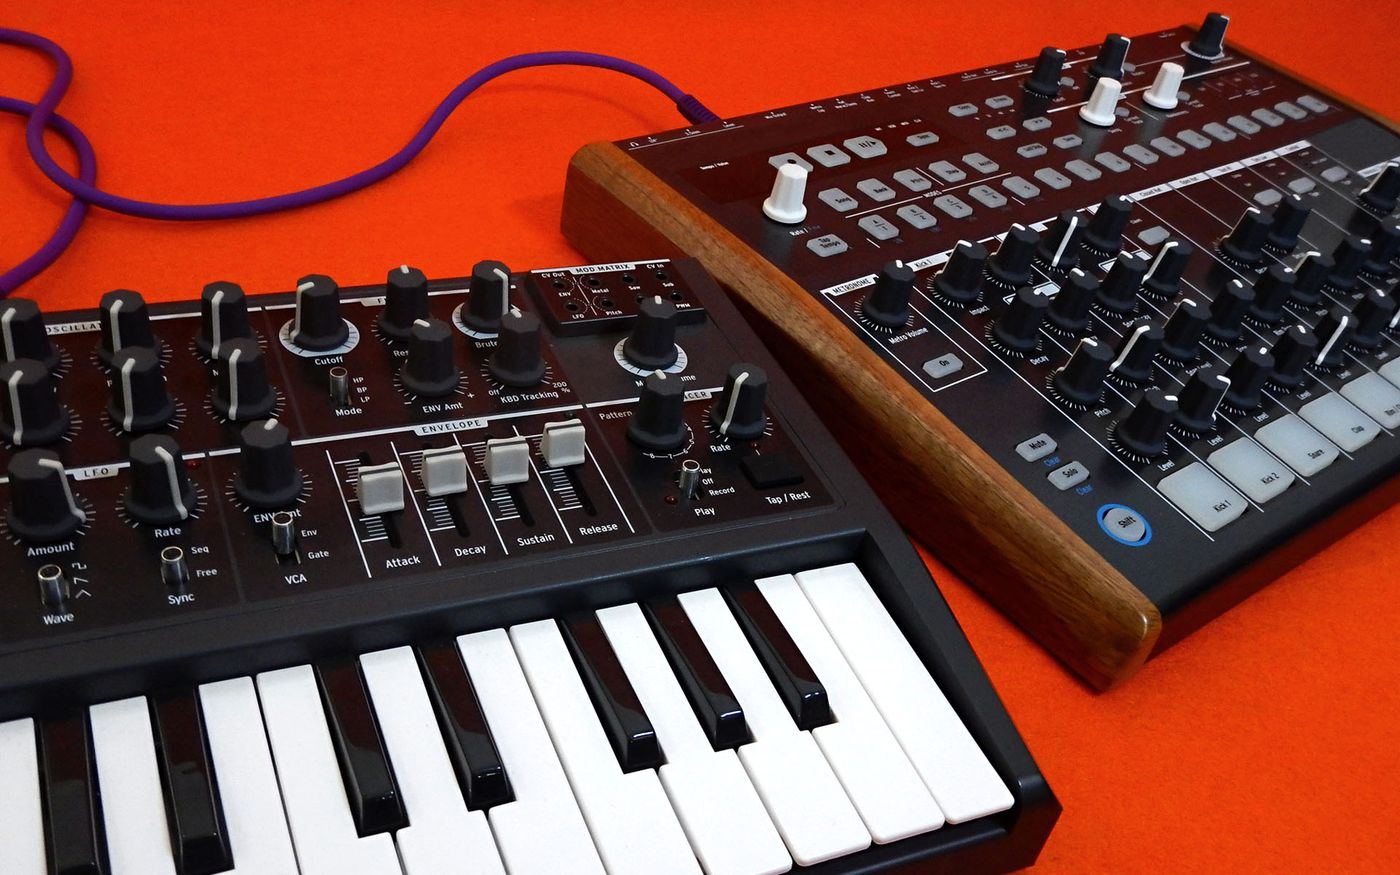
Physical Connection: The first step in setting up external hardware in FL Studio is establishing the physical connection between your computer and the external device. This typically involves connecting the MIDI Out port of your computer's audio interface or MIDI controller to the MIDI In port of the external hardware using MIDI cables. Additionally, if your external hardware supports USB MIDI connectivity, you can directly connect it to your computer via a USB cable.
-
Audio Interface Configuration: If you're using an audio interface to connect your external hardware, ensure that the audio interface is properly configured within FL Studio. This involves selecting the audio interface as the input and output device in FL Studio's audio settings. By doing so, FL Studio will recognize the connected external hardware and enable seamless communication via MIDI.
-
MIDI Controller Integration: If you're using a MIDI controller to interface with external hardware, ensure that the controller is recognized and configured within FL Studio. This typically involves accessing FL Studio's MIDI settings and selecting the MIDI controller as an input device. Once configured, the MIDI controller can be used to send MIDI signals to control the parameters and functions of the external hardware.
-
Hardware Instrument Recognition: Upon establishing the physical and software connections, FL Studio should recognize the external hardware as a MIDI device. This recognition is essential for enabling MIDI communication between FL Studio and the external hardware. You can verify the recognition by accessing FL Studio's MIDI settings and confirming that the external hardware is listed as an available MIDI device.
By following these steps, you can seamlessly set up external hardware in FL Studio, paving the way for a seamless integration of physical instruments and devices into your music production environment. Once the external hardware is properly configured, you can proceed to configure MIDI output, send MIDI signals, and explore the boundless creative possibilities that MIDI offers in controlling external hardware within FL Studio.
Configuring MIDI Output in FL Studio
Configuring MIDI output in FL Studio is a crucial step in establishing a seamless communication channel between the software and external hardware. By configuring the MIDI output settings, you can ensure that FL Studio effectively transmits MIDI signals to control and interact with your connected hardware devices. Here's a detailed exploration of the process:
-
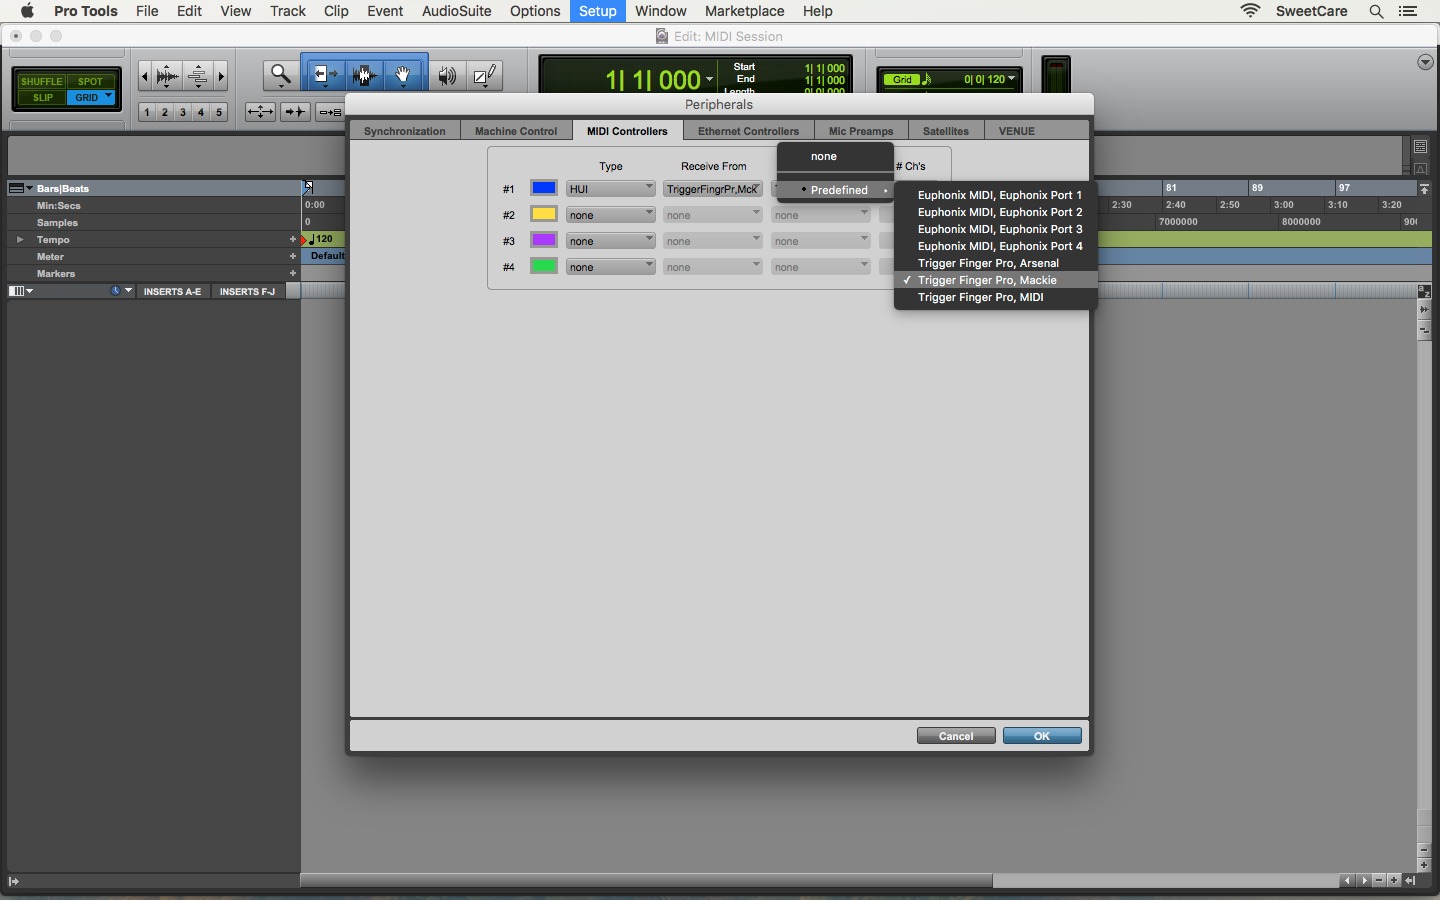
Accessing MIDI Settings: To configure MIDI output in FL Studio, start by accessing the software's MIDI settings. This can typically be done by navigating to the "Options" menu and selecting "MIDI Settings." Within the MIDI settings window, you will find a range of options related to MIDI input and output configurations.
-
Selecting MIDI Output Device: Once in the MIDI settings window, identify the section dedicated to MIDI output devices. Here, you can select the specific MIDI output device that corresponds to your external hardware. If you have multiple MIDI output devices connected to your system, ensure that you choose the correct device that corresponds to the hardware you intend to control.
-
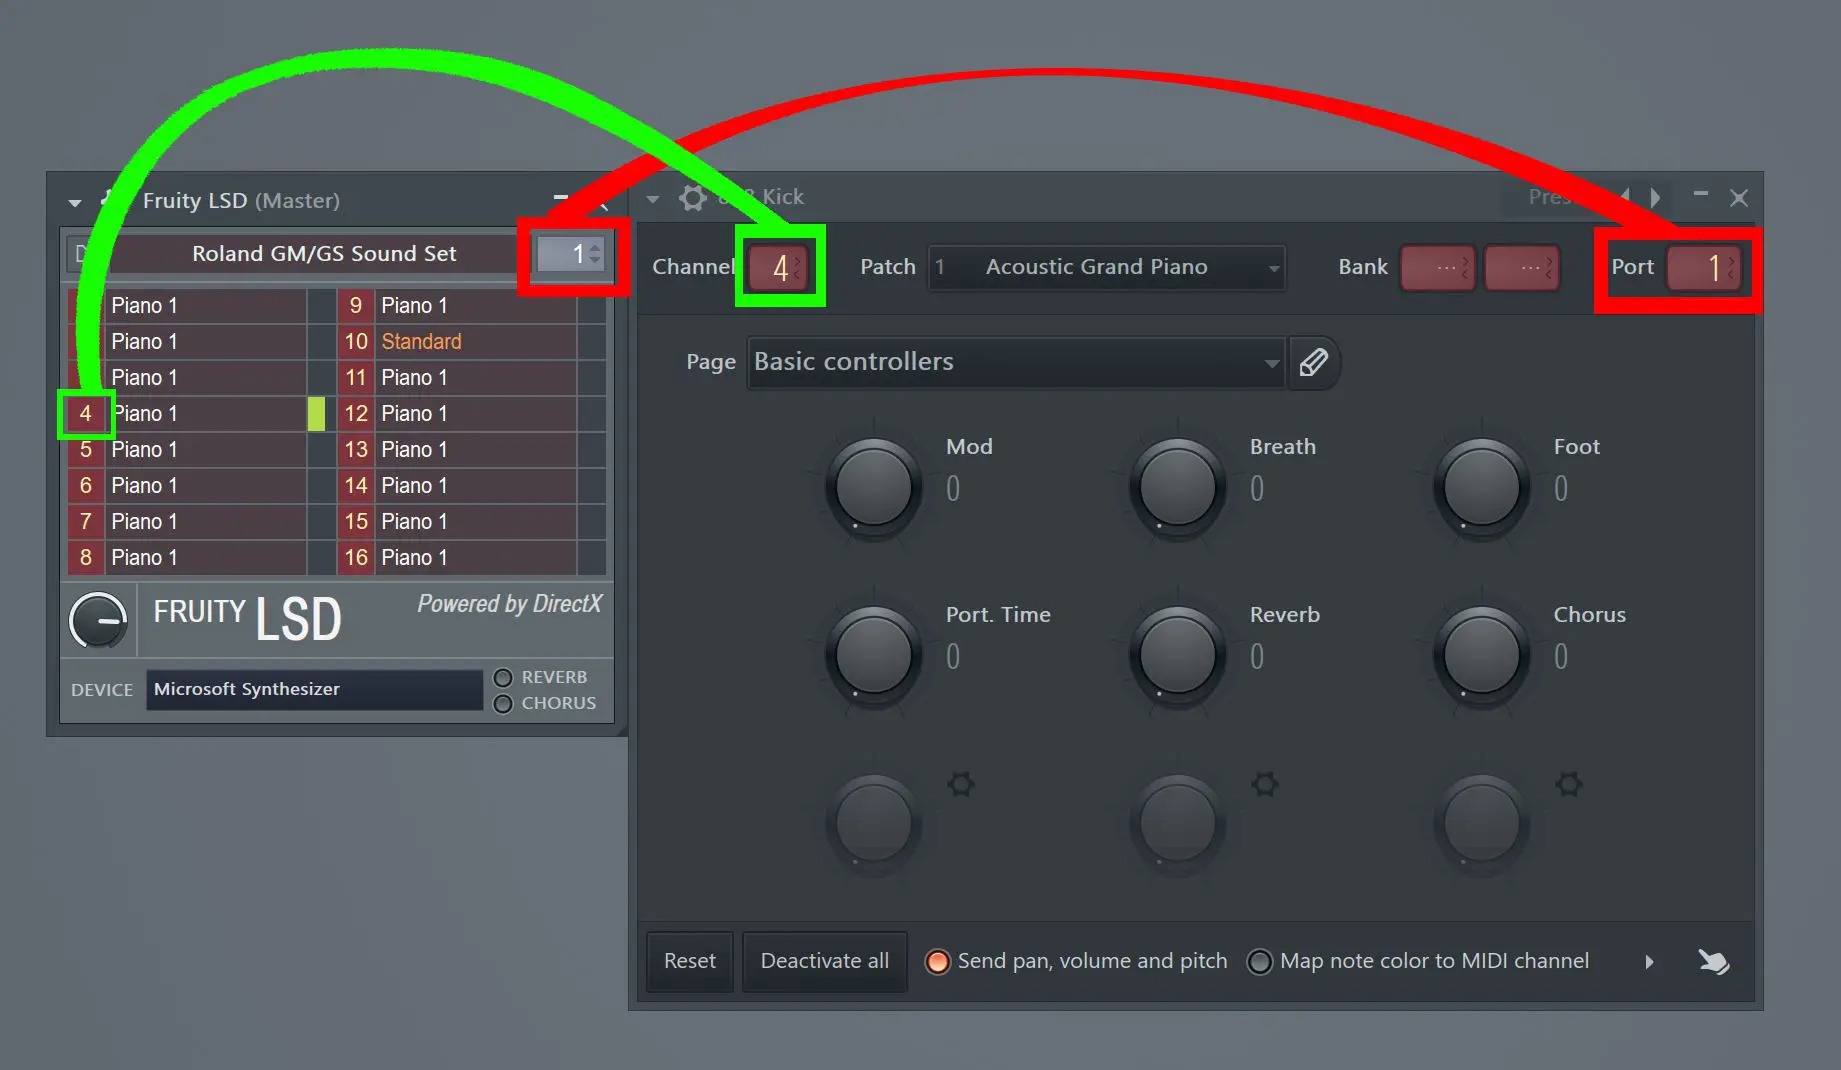
Assigning MIDI Channels: In FL Studio, MIDI channels play a crucial role in determining which MIDI signals are sent to specific hardware devices. When configuring MIDI output, you have the option to assign specific MIDI channels to individual hardware components. This allows for targeted control and interaction with different instruments or devices connected to your setup.
-
Configuring MIDI Thru: MIDI Thru functionality in FL Studio enables the software to pass incoming MIDI data directly to the configured MIDI output device. By enabling MIDI Thru for the desired output device, you can ensure that MIDI signals generated within FL Studio are efficiently transmitted to the connected hardware, facilitating real-time control and manipulation.
-
Testing MIDI Output: After configuring the MIDI output settings, it's essential to test the functionality to ensure that MIDI signals are being successfully transmitted to the external hardware. This can be done by triggering notes, sending control messages, or manipulating parameters within FL Studio and observing the corresponding response from the connected hardware devices.
By meticulously configuring the MIDI output settings in FL Studio, you can establish a robust and reliable connection between the software and your external hardware. This enables you to harness the full potential of MIDI to control and interact with a diverse range of physical instruments, synthesizers, drum machines, and other MIDI-compatible devices, opening up endless creative possibilities within your music production workflow.
Sending MIDI Signals to External Hardware
Sending MIDI signals to external hardware in FL Studio is a transformative process that empowers you to exert precise control over a myriad of musical parameters and functions within your connected hardware devices. Whether you're triggering notes on a synthesizer, adjusting parameters on a drum machine, or modulating effects on an external MIDI-compatible device, the ability to send MIDI signals from FL Studio to external hardware opens up a universe of creative possibilities.
MIDI Note Triggering
One of the fundamental ways to send MIDI signals to external hardware is through note triggering. In FL Studio, you can use piano roll, step sequencer, or MIDI controller to input note data, which is then transmitted as MIDI signals to the connected hardware device. This allows you to play and sequence notes on external synthesizers, samplers, and other MIDI-enabled instruments directly from FL Studio, providing a seamless integration of digital and analog sound sources.
Parameter Control and Automation
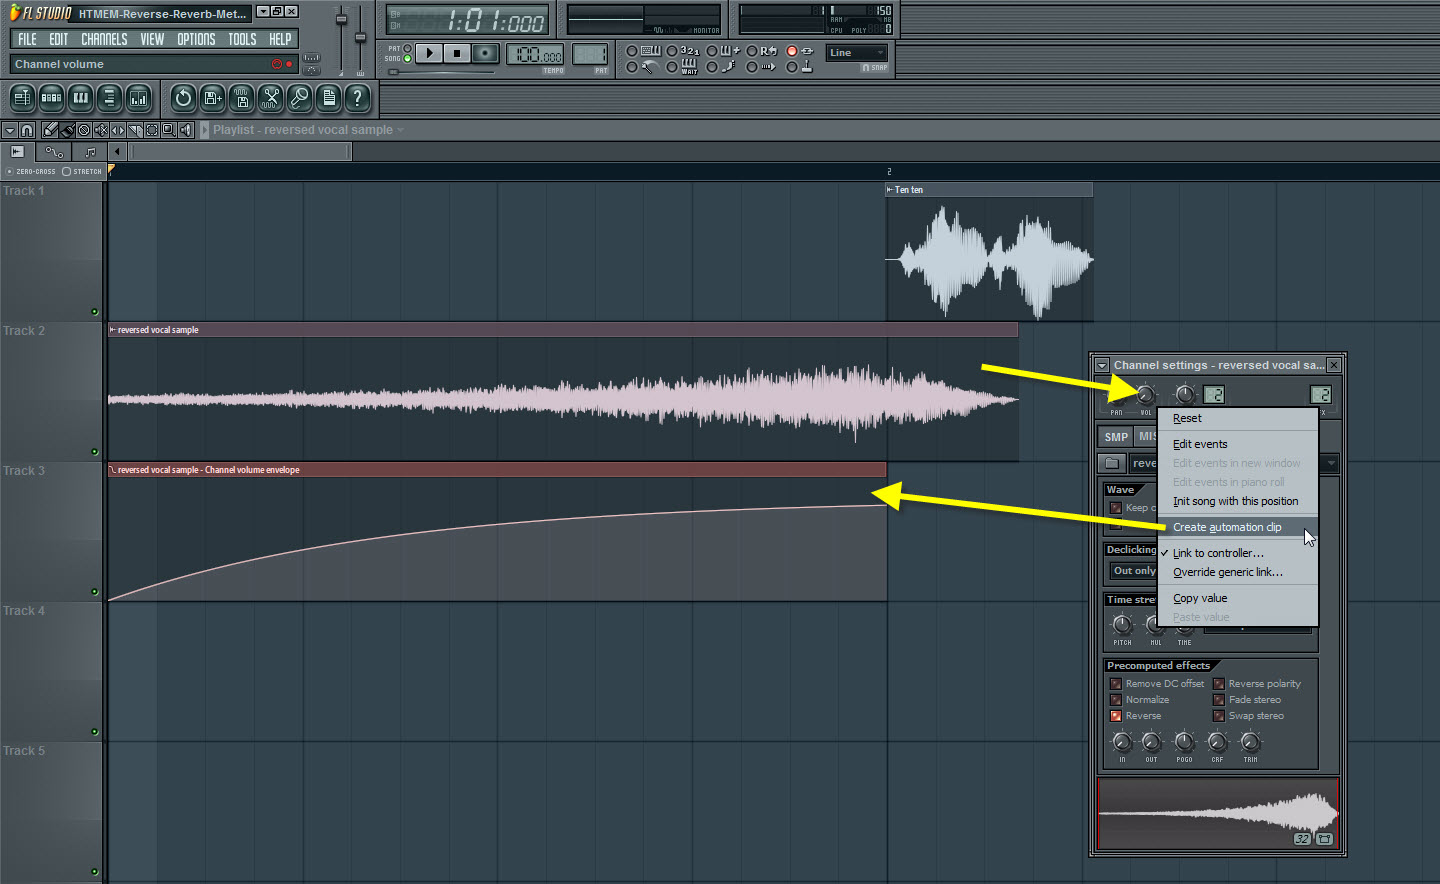
Beyond note triggering, FL Studio enables you to send MIDI signals to control and automate a wide range of parameters within external hardware. This includes adjusting filter cutoff frequencies, modifying envelope settings, manipulating LFO rates, and more. By mapping MIDI continuous controller (CC) messages to specific parameters on your hardware devices, you can dynamically modulate and shape the sonic characteristics of your instruments, injecting expressive nuances into your music production.
Real-Time Performance and Interaction
Sending MIDI signals from FL Studio to external hardware facilitates real-time performance and interaction, blurring the boundaries between software and hardware instruments. Whether you're performing live or recording a studio session, the ability to send MIDI signals in real time allows for spontaneous improvisation, dynamic expression, and seamless integration of hardware instruments into your musical workflow.
Sequencing and Synchronization
FL Studio's powerful MIDI sequencing capabilities extend to external hardware, enabling you to synchronize and sequence multiple MIDI-enabled devices within your setup. By sending MIDI clock signals and transport commands, FL Studio acts as a central hub for coordinating the playback, tempo, and timing of external hardware, ensuring tight synchronization and cohesive musical arrangements.
In essence, sending MIDI signals to external hardware in FL Studio transcends the traditional boundaries of music production, empowering you to orchestrate a symphony of electronic and analog sounds with precision and creativity. Whether you're sculpting intricate melodies, sculpting evolving textures, or driving pulsating rhythms, the seamless integration of MIDI signals between FL Studio and external hardware devices amplifies your artistic vision and propels your music production endeavors to new heights.
Troubleshooting and Tips
When integrating external hardware via MIDI in FL Studio, encountering technical challenges or seeking optimization opportunities is not uncommon. To ensure a smooth and efficient workflow, consider the following troubleshooting tips and practical insights:
1. MIDI Device Recognition
- Issue: If FL Studio fails to recognize your external MIDI device, check the physical connections and verify that the device is powered on. Additionally, ensure that the MIDI drivers for the device are properly installed on your computer.
- Tip: Restart FL Studio and your computer after connecting the MIDI device to allow for proper detection. If the issue persists, consult the device's user manual or the manufacturer's support resources for troubleshooting guidance.
2. Latency and Timing
- Issue: Latency, or the delay between triggering a MIDI event and the corresponding response from the external hardware, can impact the performance and recording experience.
- Tip: Adjust the audio buffer settings in FL Studio to minimize latency. Additionally, consider using ASIO drivers for your audio interface to optimize real-time MIDI communication and reduce latency.
3. MIDI Channel Configuration
- Issue: If MIDI signals are not reaching the intended external hardware device, review the MIDI channel settings to ensure that the correct channel is selected for transmitting the signals.
- Tip: Double-check the MIDI channel assignments in FL Studio and on the external hardware device to ensure alignment. Consistent MIDI channel configuration is essential for seamless communication between the software and hardware.
4. Firmware Updates
- Issue: Outdated firmware on MIDI devices can lead to compatibility issues and performance limitations.
- Tip: Regularly check for firmware updates for your external hardware and ensure that the devices are running the latest available versions. Updated firmware can address bugs, improve functionality, and enhance compatibility with FL Studio.
5. MIDI Mapping and Control
- Issue: Difficulty in mapping MIDI controllers or assigning MIDI parameters to external hardware may hinder the intuitive control and modulation of instruments and effects.
- Tip: Familiarize yourself with FL Studio's MIDI mapping features and the MIDI learn functionality. Understanding how to map MIDI controls to specific parameters on external hardware can streamline your workflow and empower expressive performance and manipulation.
By proactively addressing potential issues and implementing these practical tips, you can optimize the integration of external hardware via MIDI in FL Studio, ensuring a seamless and rewarding music production experience. Embracing a troubleshooting mindset and leveraging these insights will empower you to unlock the full potential of MIDI-driven control and creativity within your production environment.
Conclusion
In conclusion, the integration of external hardware via MIDI in FL Studio represents a gateway to a boundless realm of creative expression and sonic exploration. By following the steps outlined in this guide, you have gained the knowledge and practical insights to seamlessly control and interact with a diverse array of hardware instruments, synthesizers, and MIDI-compatible devices within the FL Studio environment.
The journey from setting up external hardware to configuring MIDI output and sending MIDI signals has equipped you with the tools to transcend the limitations of traditional music production. By establishing robust connections, mapping MIDI parameters, and synchronizing hardware devices, you have unlocked the potential to orchestrate intricate compositions, sculpt captivating soundscapes, and deliver compelling performances with precision and finesse.
The seamless integration of MIDI-driven control and interaction between FL Studio and external hardware devices empowers you to blur the boundaries between digital and analog realms, fostering a dynamic ecosystem where the tactile nature of hardware instruments converges with the boundless possibilities of software-based production. This convergence not only amplifies your creative potential but also elevates the authenticity and expressiveness of your musical endeavors.
As you embark on your musical journey, remember that troubleshooting and optimization are integral parts of the process. Embrace the troubleshooting tips and practical insights provided in this guide to overcome technical challenges and refine your workflow, ensuring that the integration of external hardware via MIDI in FL Studio remains a seamless and rewarding experience.
Ultimately, the ability to control external hardware via MIDI in FL Studio transcends technical proficiency; it embodies a fusion of artistry, technology, and innovation. Whether you're shaping ethereal textures, crafting pulsating rhythms, or sculpting evocative melodies, the synergy between FL Studio and external hardware amplifies your creative vision and propels your musical aspirations to new heights.
So, as you continue your exploration of MIDI-driven control and interaction, embrace the endless possibilities that await. Let your imagination soar, experiment fearlessly, and harness the power of MIDI to shape a sonic landscape that reflects your unique artistic identity. With the knowledge and skills acquired from this guide, you are poised to embark on a transformative musical odyssey, where the seamless integration of external hardware via MIDI in FL Studio becomes a catalyst for innovation, expression, and musical excellence.